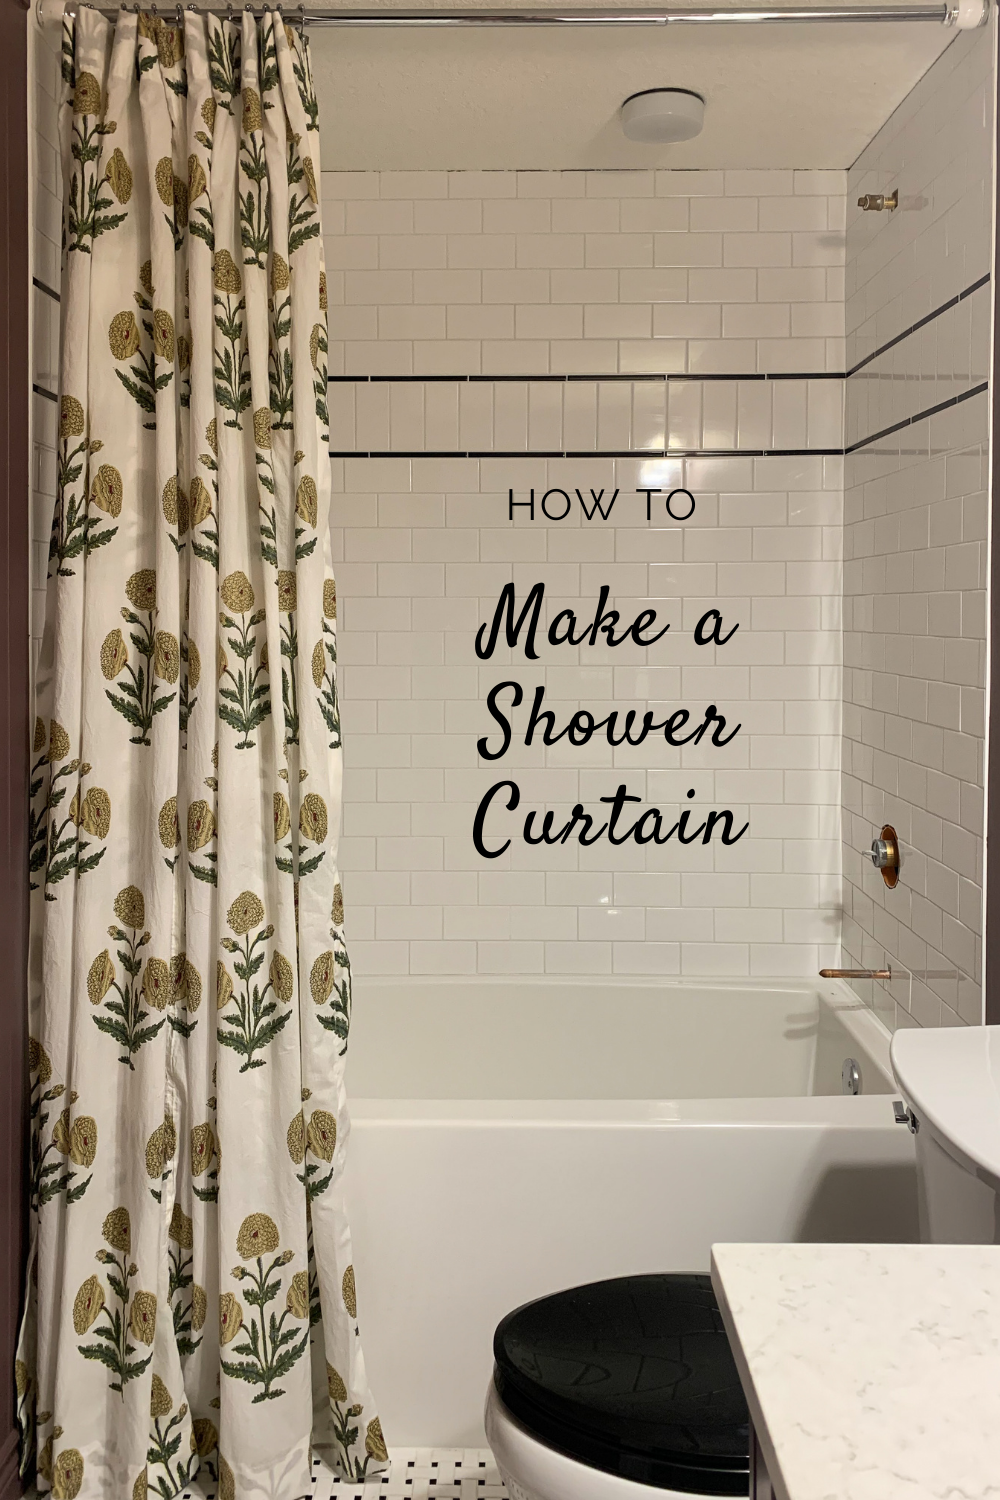
DIY Full Length Shower Curtain
If you’ve hopped over from the One Room Challenge website, welcome! We are deep into the renovation of our kid’s bathroom, nearing the finish line with only one week left! You can read all about our progress here:
Week 1/ Week 2/ Week 3/ Week 4/ Week 5/ Week 6
This week, I’ve been buttoning up the details – installing the doors, toilet, hooks etc.. This bathroom is still awaiting a very important element, the fixtures which are still in shipping limbo… and I optimistically lined up my plumber for Friday. It’s like a manifestation of what I hope will happen. All the fingers and toes are crossed over here! Along with the final details come some of the styling elements – art, accessories, and a shower curtain!
This post may contain affiliate links. That means if you purchase anything from these links I earn a small commission, at no extra cost to you! This helps support my blog, so thank you!
Table of Contents
- Why do a Full Length Shower Curtain?
- How to Make a DIY Full Length Shower Curtain
- Pin it for later:
- FAQ’s
- Coming Up:
- You might also like:
Why do a Full Length Shower Curtain?
If you have been here a minute you know that I am no stranger to customizing things with fabric and that I usually outsource that to my mom. However, I know that I am always encouraging all of you to try something new and outside of your comfort zone and so this week I decided to take a little of my own advice and try making my own shower curtain!
Disclaimer, I do have some basic sewing knowledge and a pretty good machine (my mom won a new machine in a contest so I inherited her old one) and I have my mom around to troubleshoot. But I did this one all by myself, with basic sewing skills and so if I can do this, you can do it too!
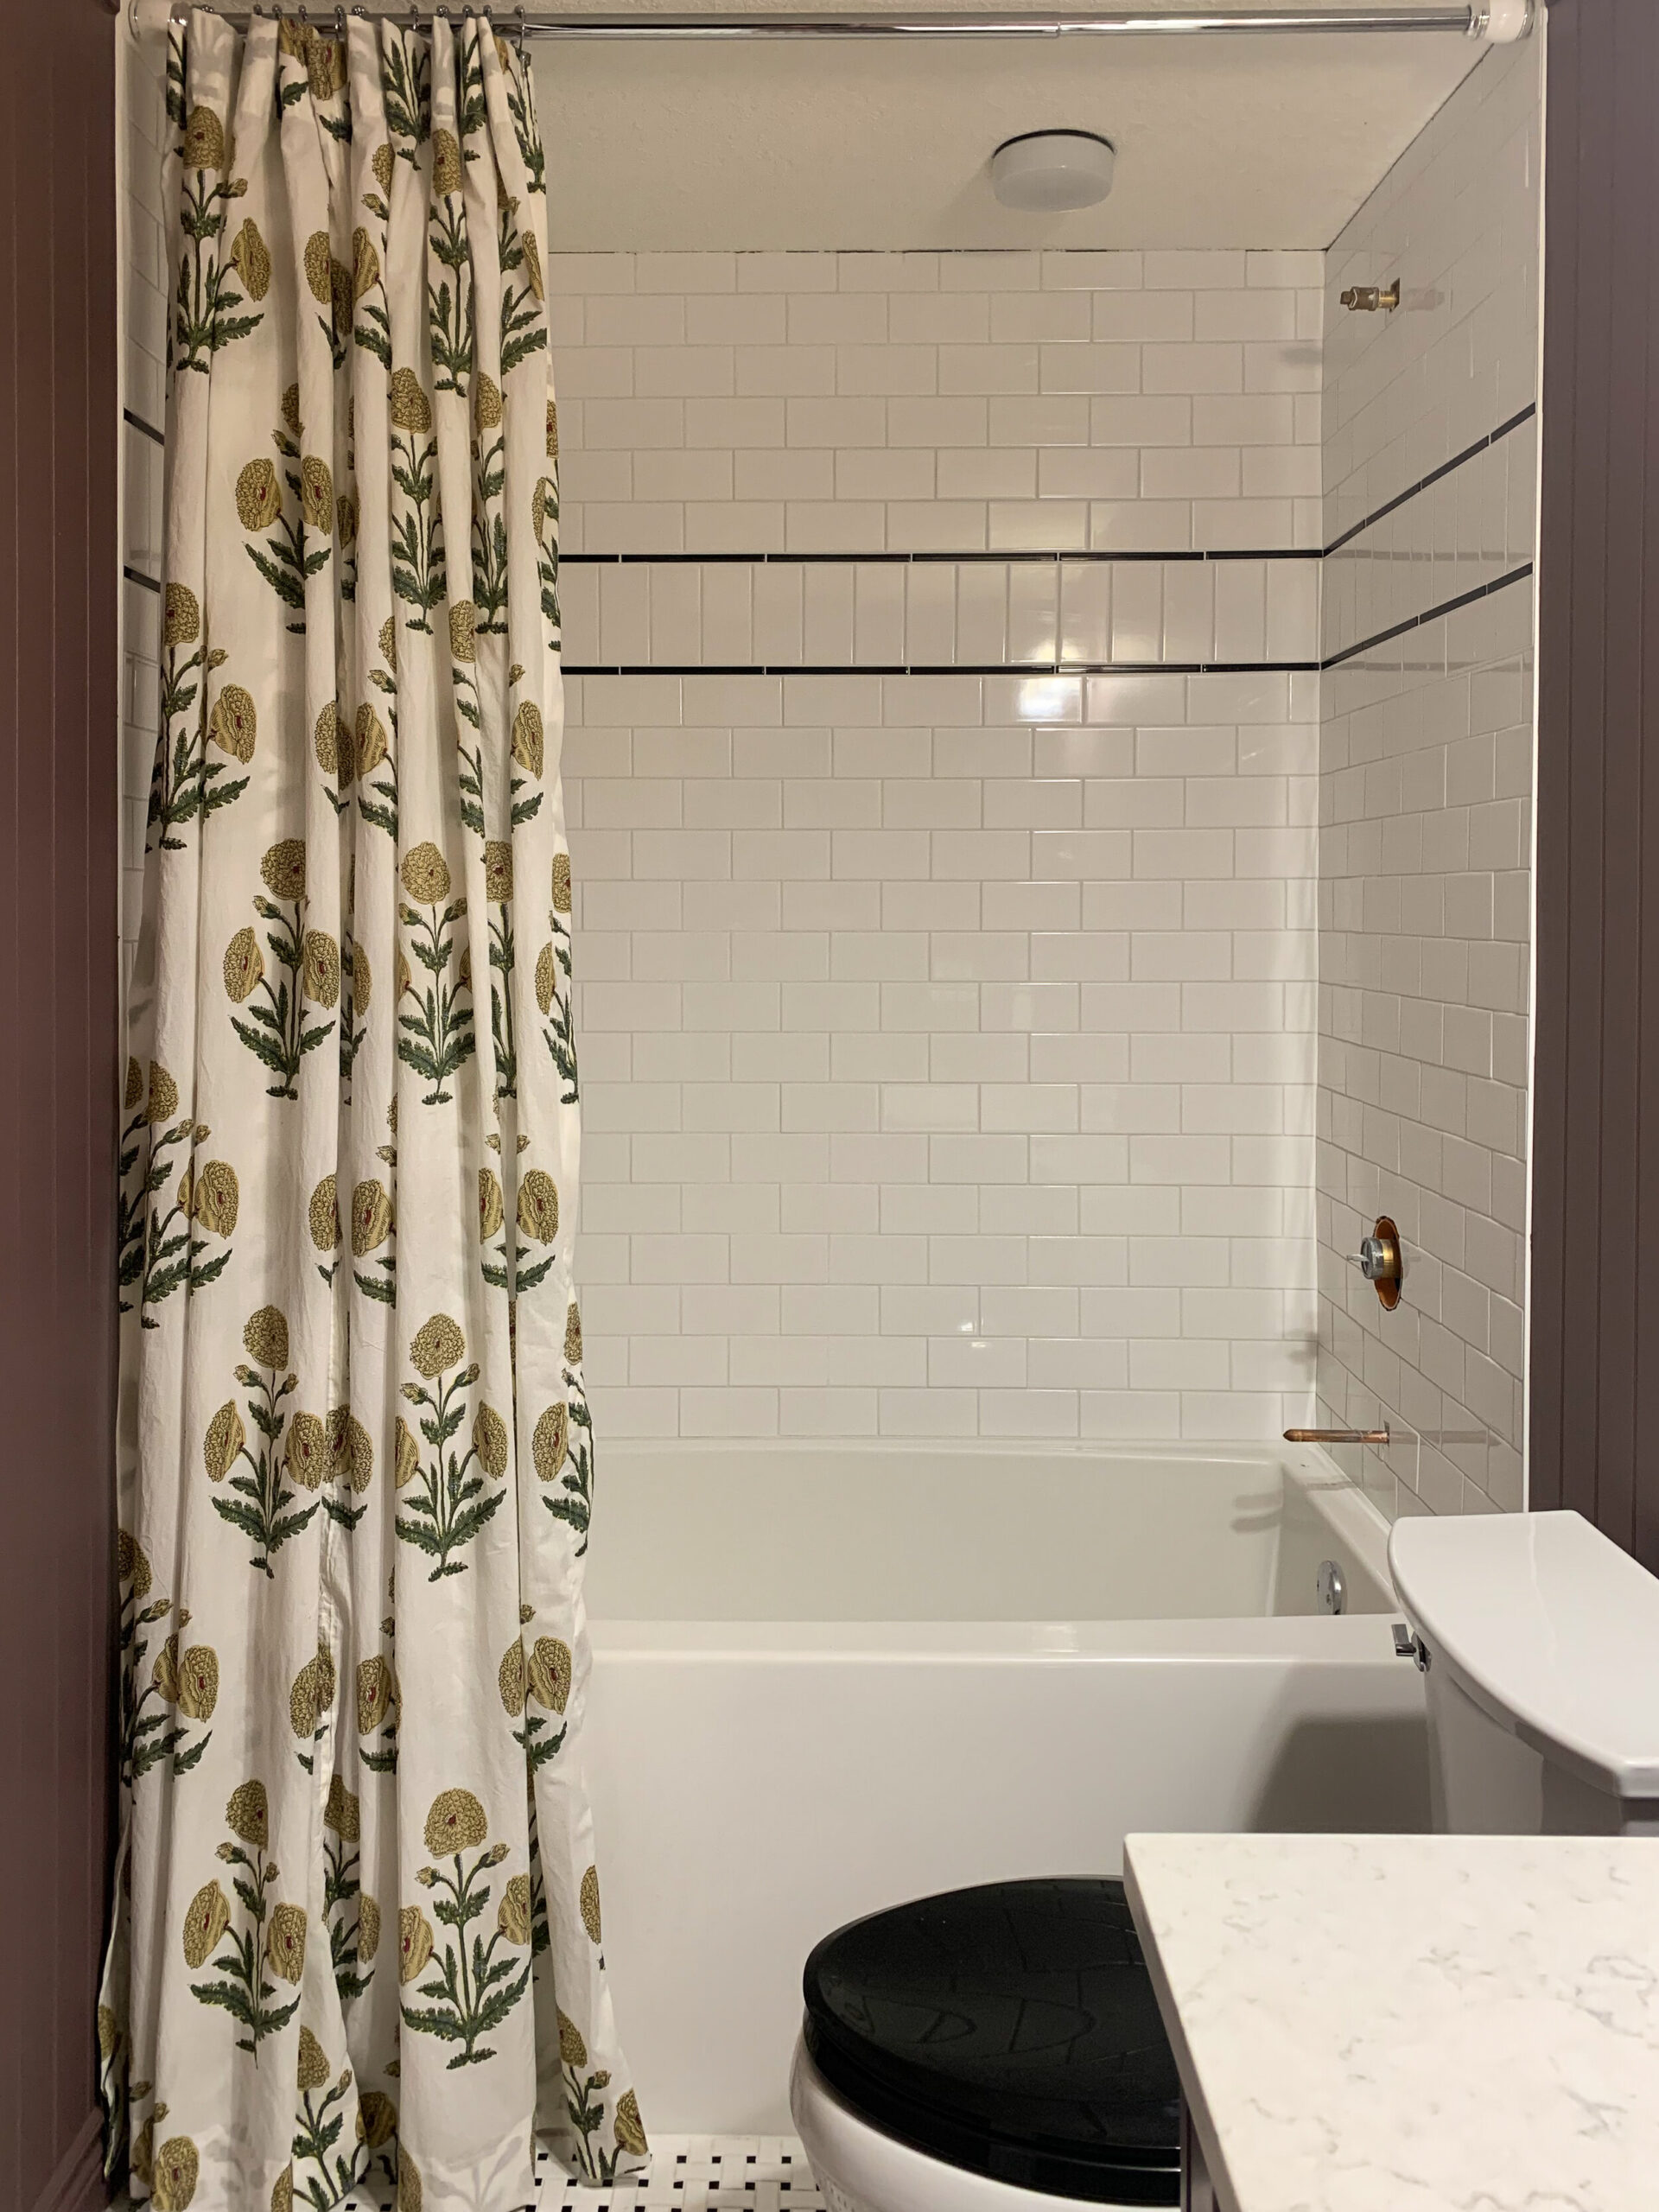
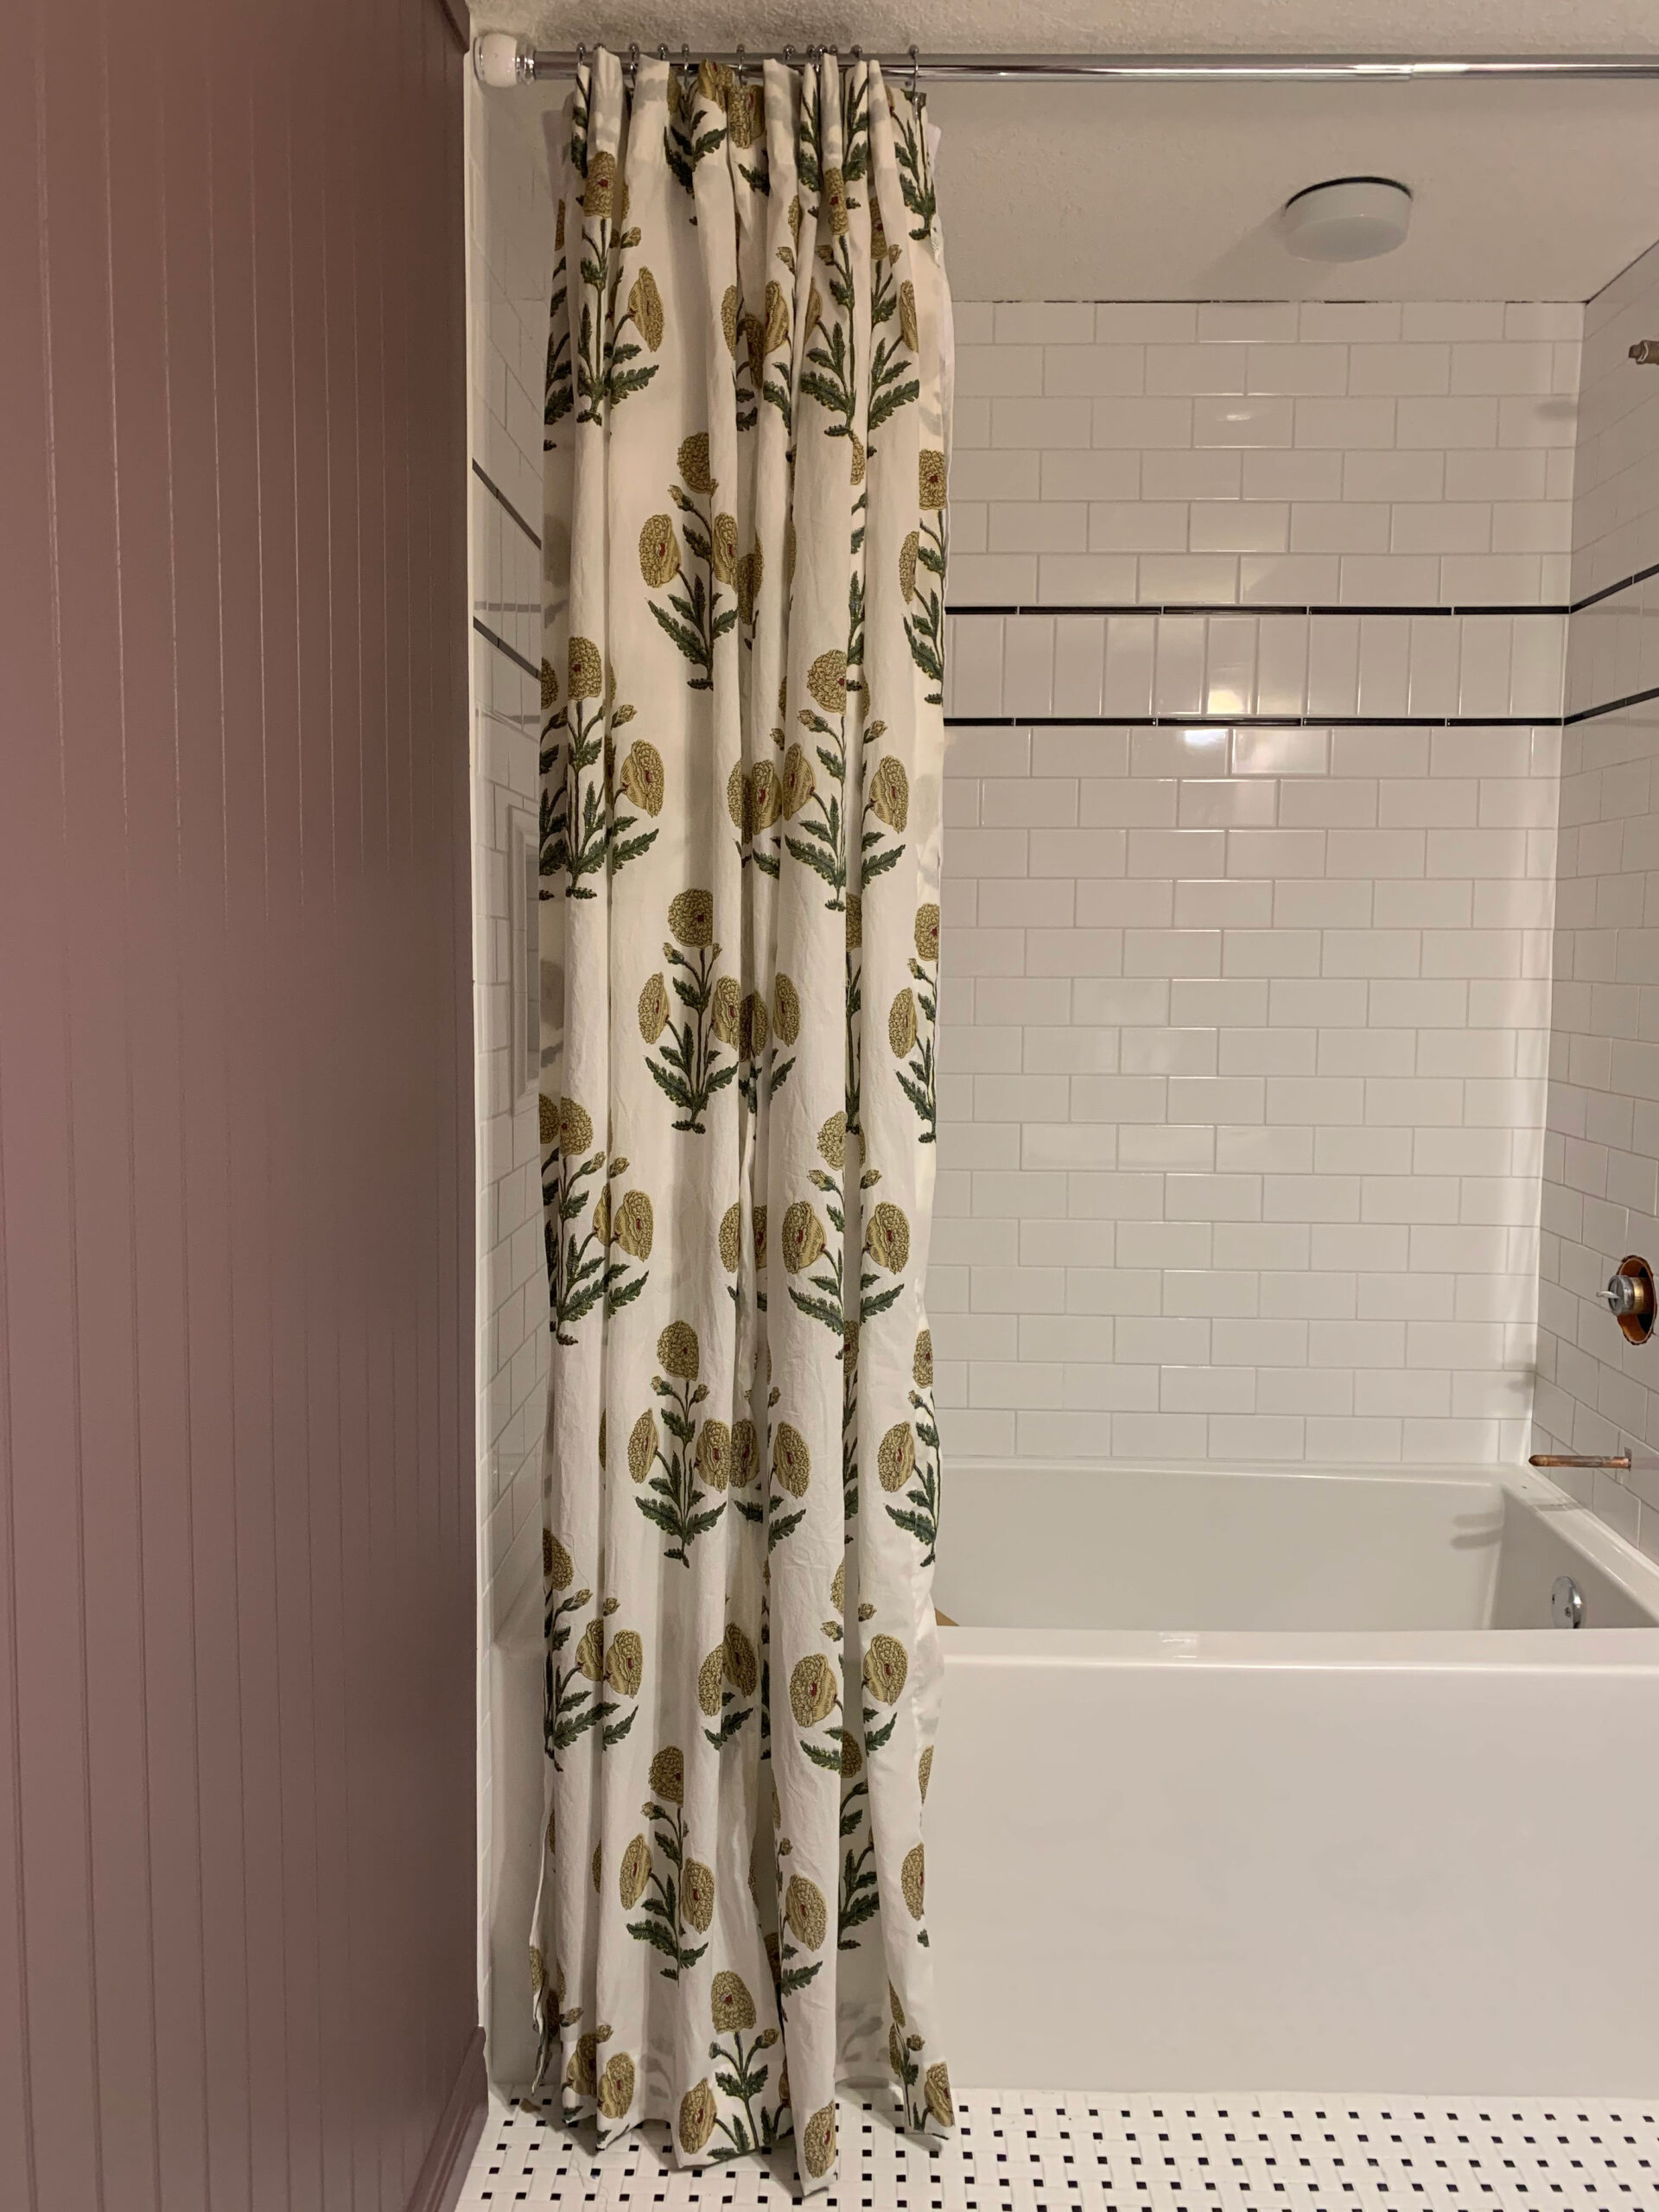
Before I start with a tutorial can I just tell you how much I love a full-length shower curtain? And can I also tell you how much better they look? An extra-long shower curtain just has the power to draw the eye all the way up to the ceiling for a big impact, no matter the bathroom size for such a sophisticated look.
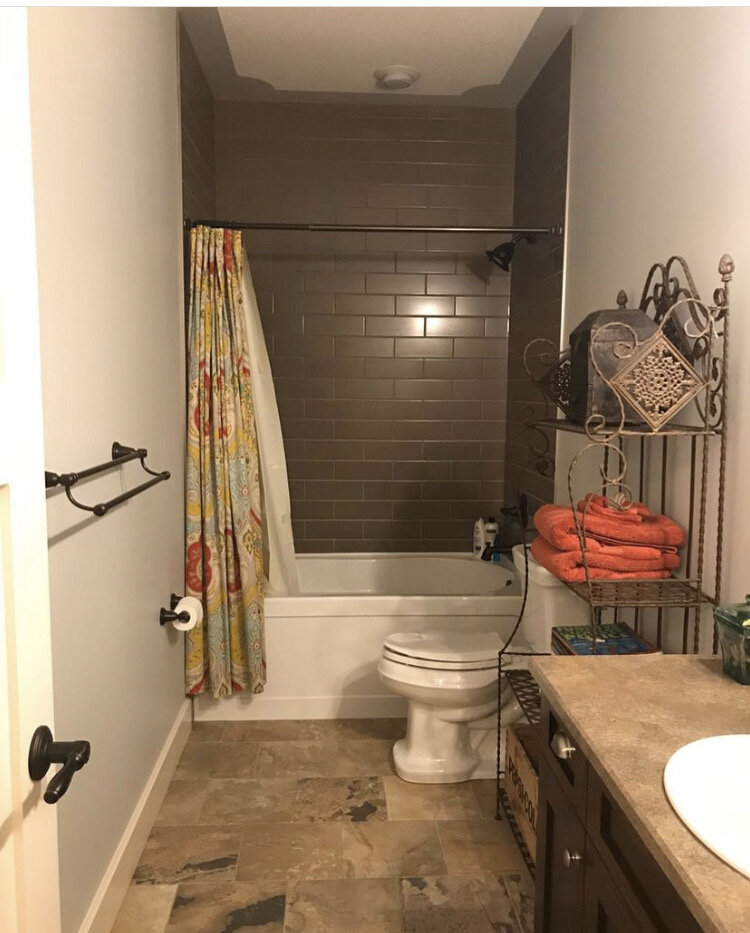
I also prefer a shower curtain to a glass shower door, as there are a lot of hard surfaces in the bathroom and that is one way you can bring in a little softness. Behold exhibit A from my last house guest bathroom:
So why do they make standard shower curtains only 72” long usually? If your shower curtain is going to hang inside the tub and you know, repel water and all that jazz, it makes sense that you would want it to be shorter so you aren’t stepping on it. But nowadays, don’t we all use a practical water-repelling plastic shower liner and a not-so-practical but oh-so-beautiful outer designer shower curtain? Yes, yes we do.
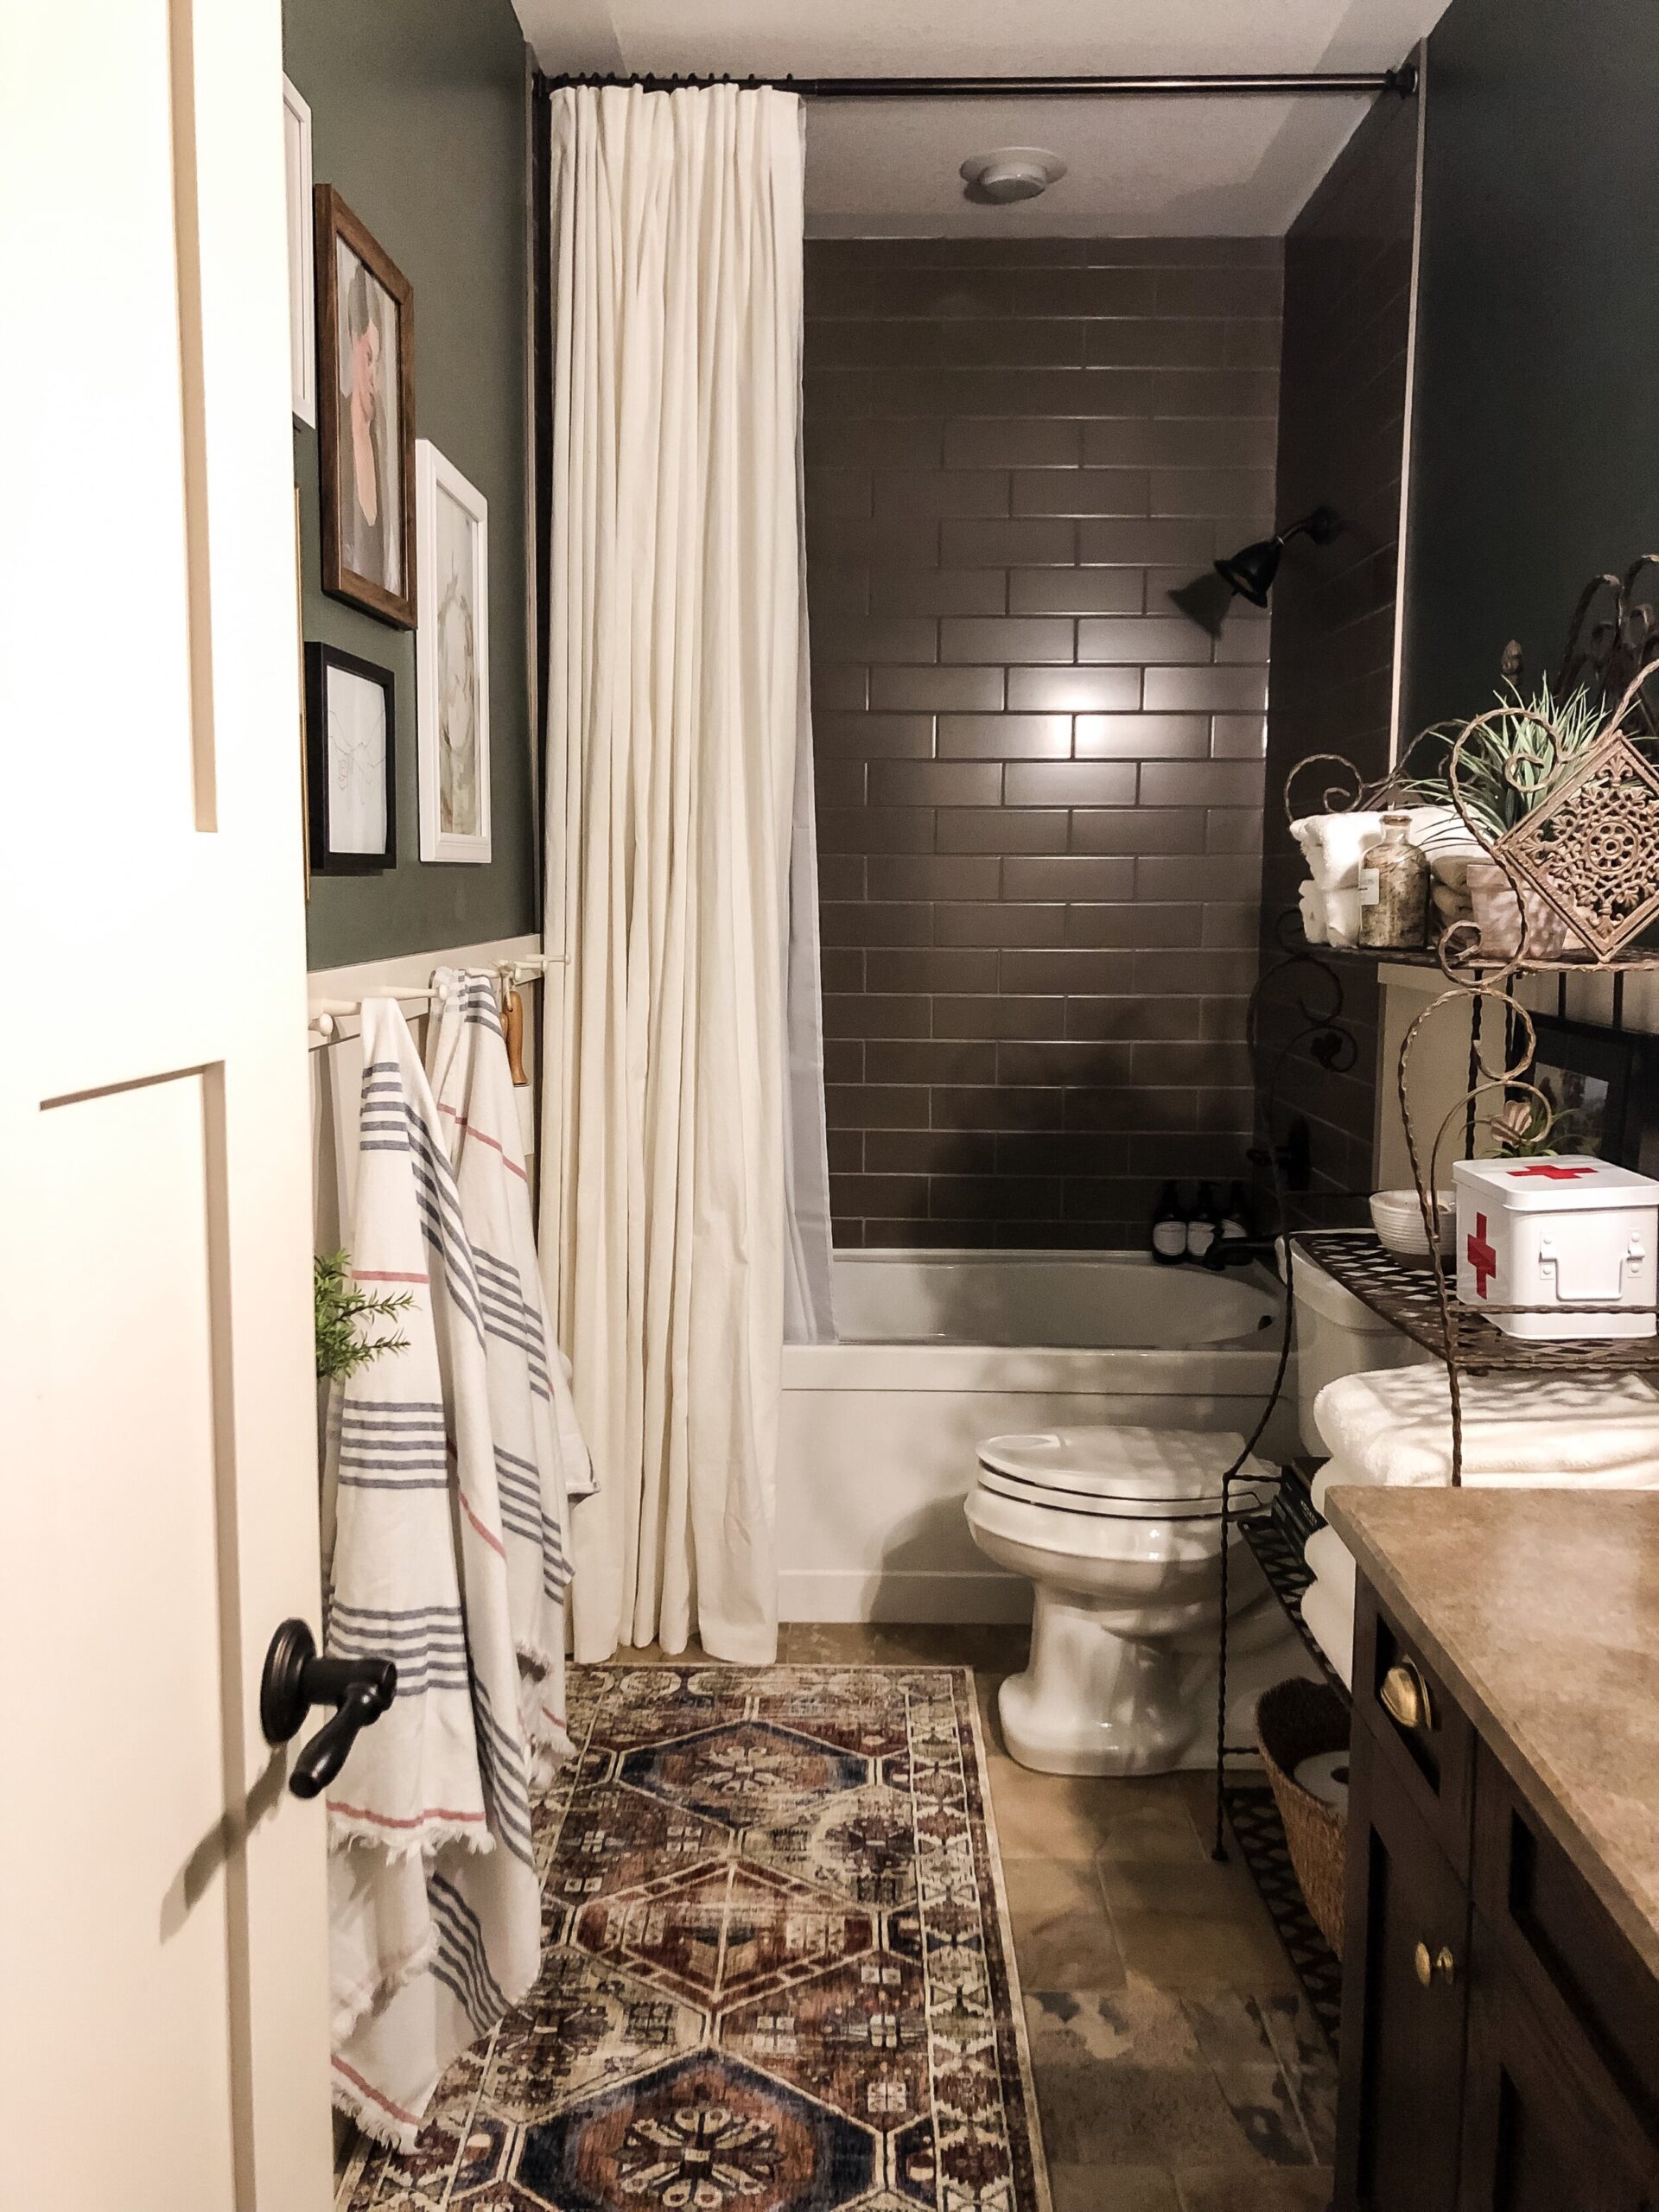
So if you want a floor-to-ceiling shower curtain, you might have to make one! In my last house, I sewed two regular window curtains together to create a DIY shower curtain that was really nice and full, and that’s an option. This white shower curtain was made from sewing together two regular curtains (IKEA Ritvas) to make an extra-wide shower curtain.
If you want to pick a custom fabric, bright colors, or just want a big look and have it take the center stage of the bathroom design … well, you better whip out that sewing machine or pay someone to make you one. This is definitely a beginner sewing project so if you have some basic sewing skills you can do this! Let’s get started on making your own DIY full length shower curtain:
How to Make a DIY Full Length Shower Curtain
Order your DIY shower curtain fabric
I used THIS block print in an attractive floral design from Etsy- I bought 6 yards and had very minimal waste for my 8’ ceilings. Calculate the amount you need based on this formula:
Length of final shower curtain + 16” x 2 (you need to sew two widths together). For my shower curtain I needed about 86” finished length, so I added 16” to get 102”, and multiplied by 2 is 204” or 5.7 Yards, so I ordered 6 yards. (Consider the pattern repeat if you have a pattern and want to match it up – if you have a wide pattern repeat like mine, add that amount to your calculation. For example, if it’s 12” pattern repeat add 12” to the length that you need, as you may have to waste as much as 12” when you are lining up the pattern).
Wash the fabric for your DIY full length shower curtain
At some point you are probably going to want wash that shower curtain, so it’s a good idea to throw the rough fabric in the washing machine before you start. That way you get any shrinkage out of the way now before the new curtain is made precisely to fit your bathroom.
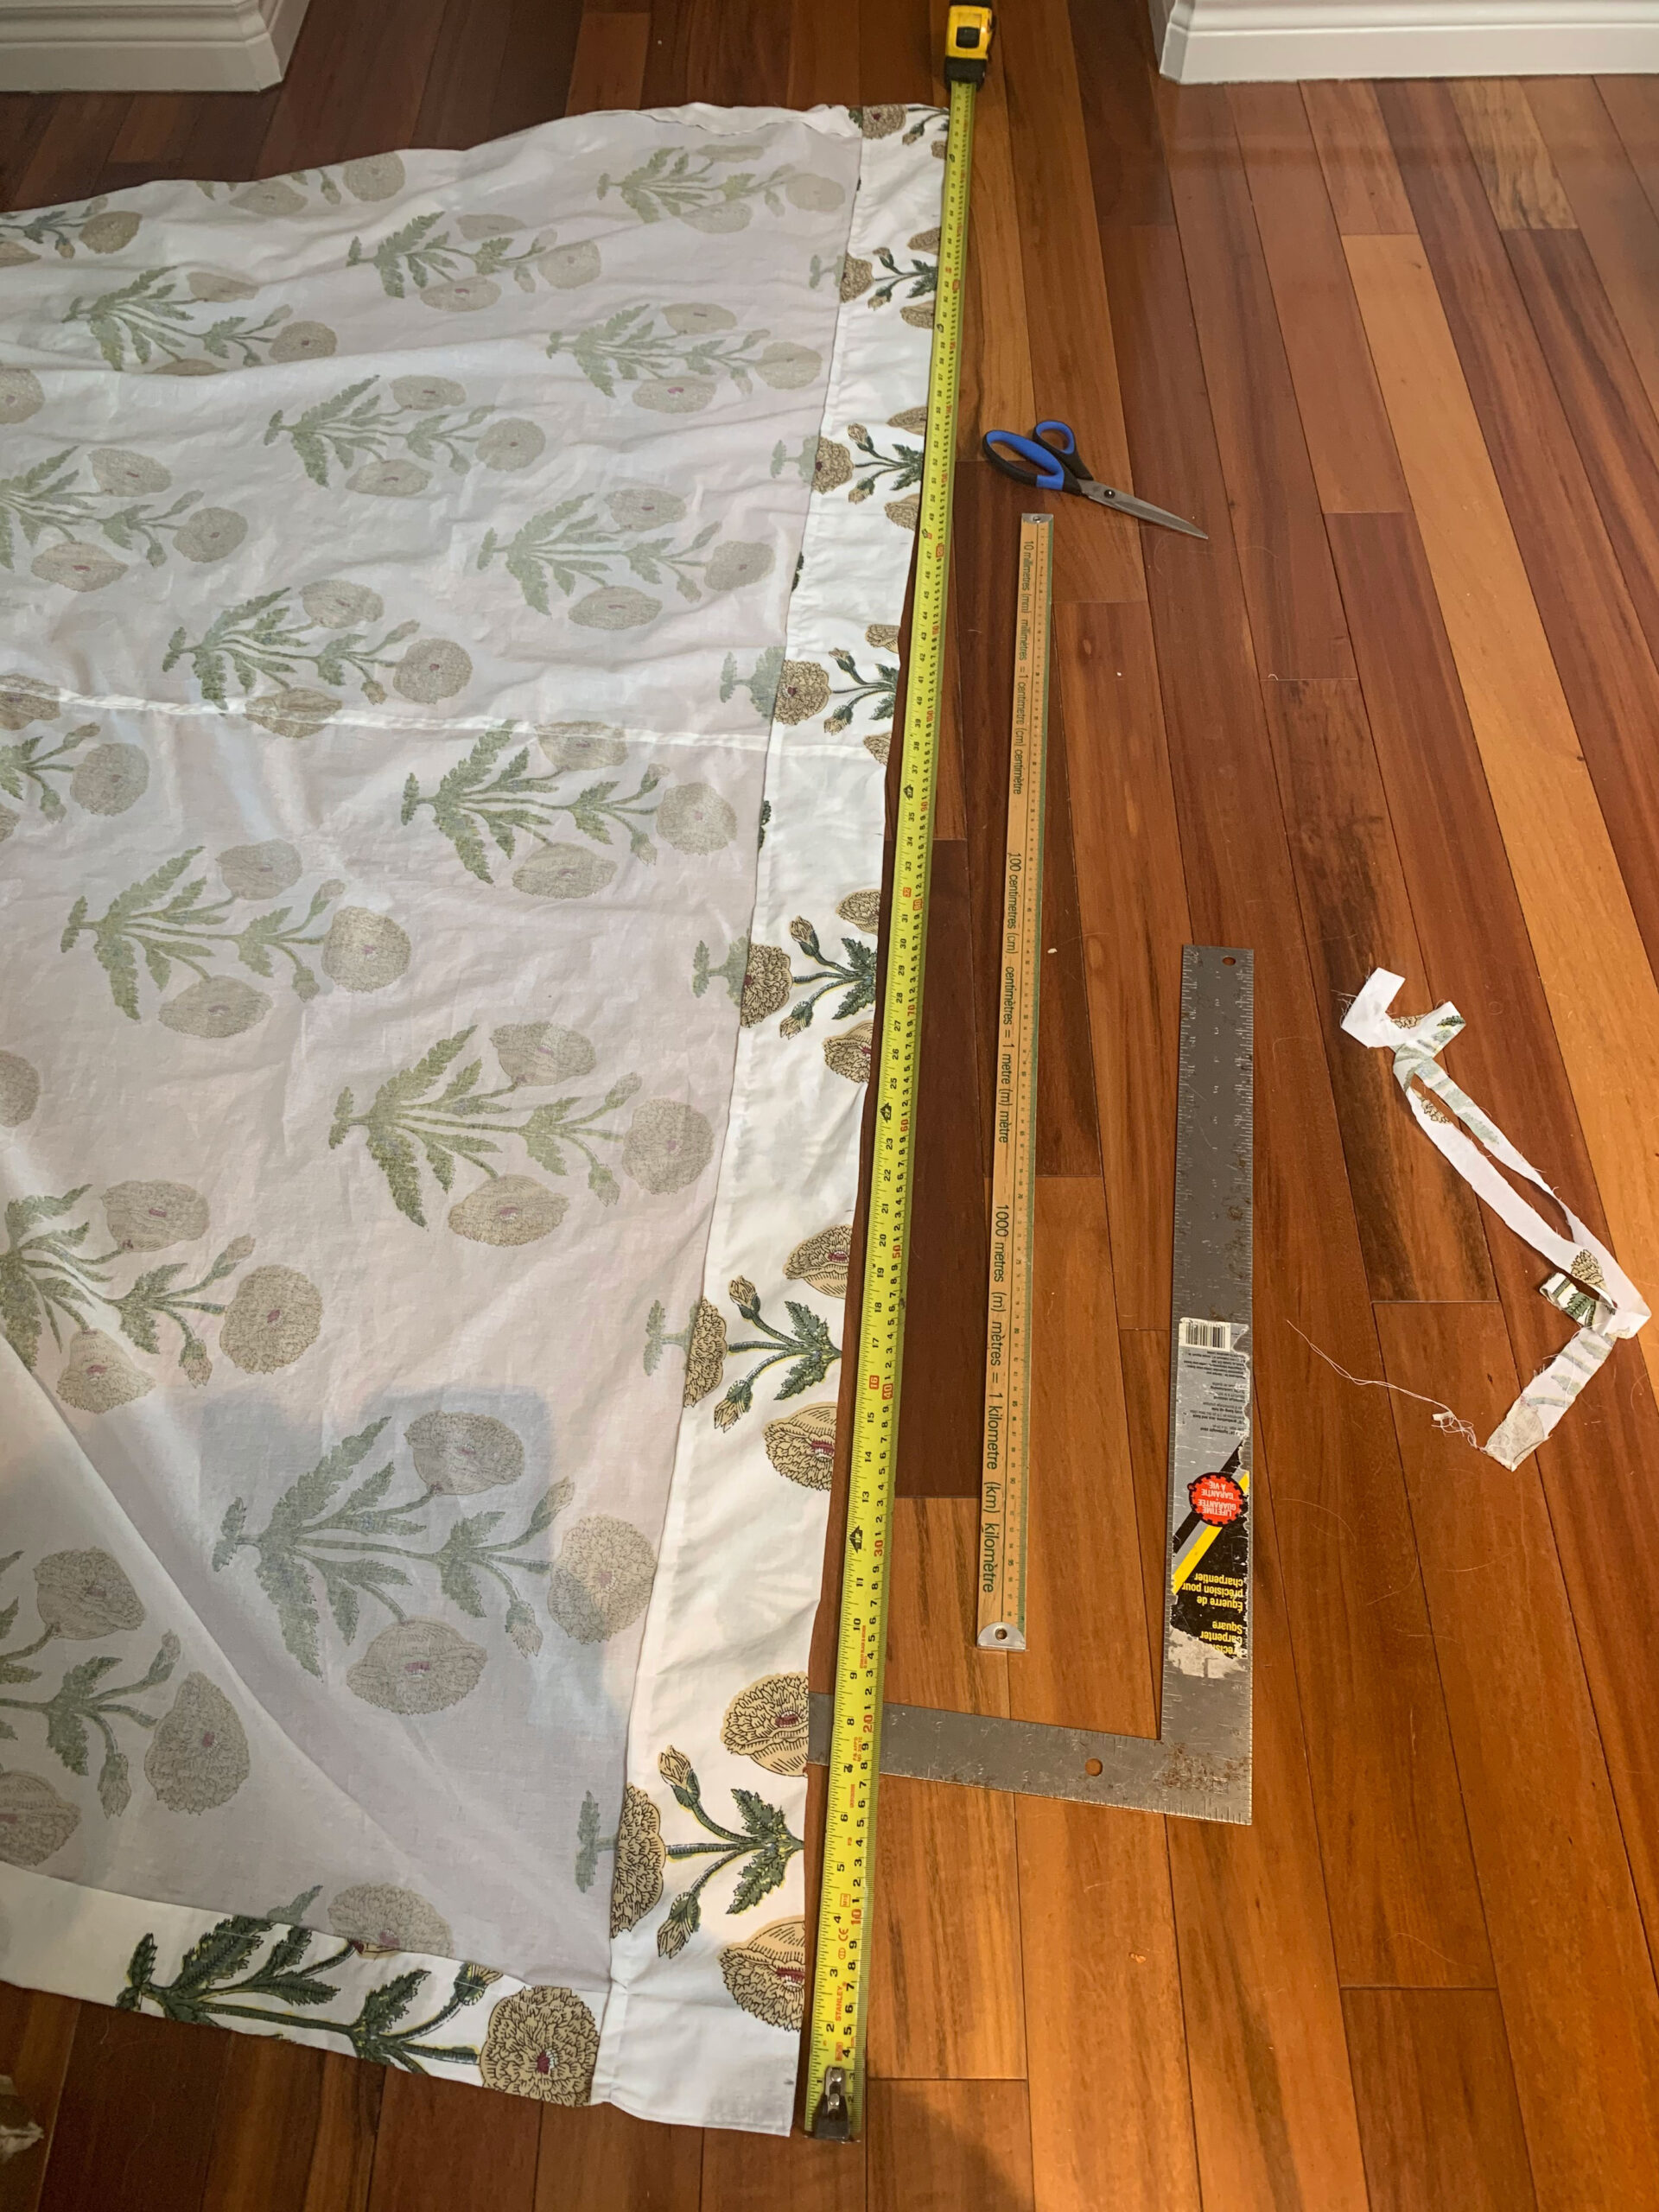
Square the fabric and Cut
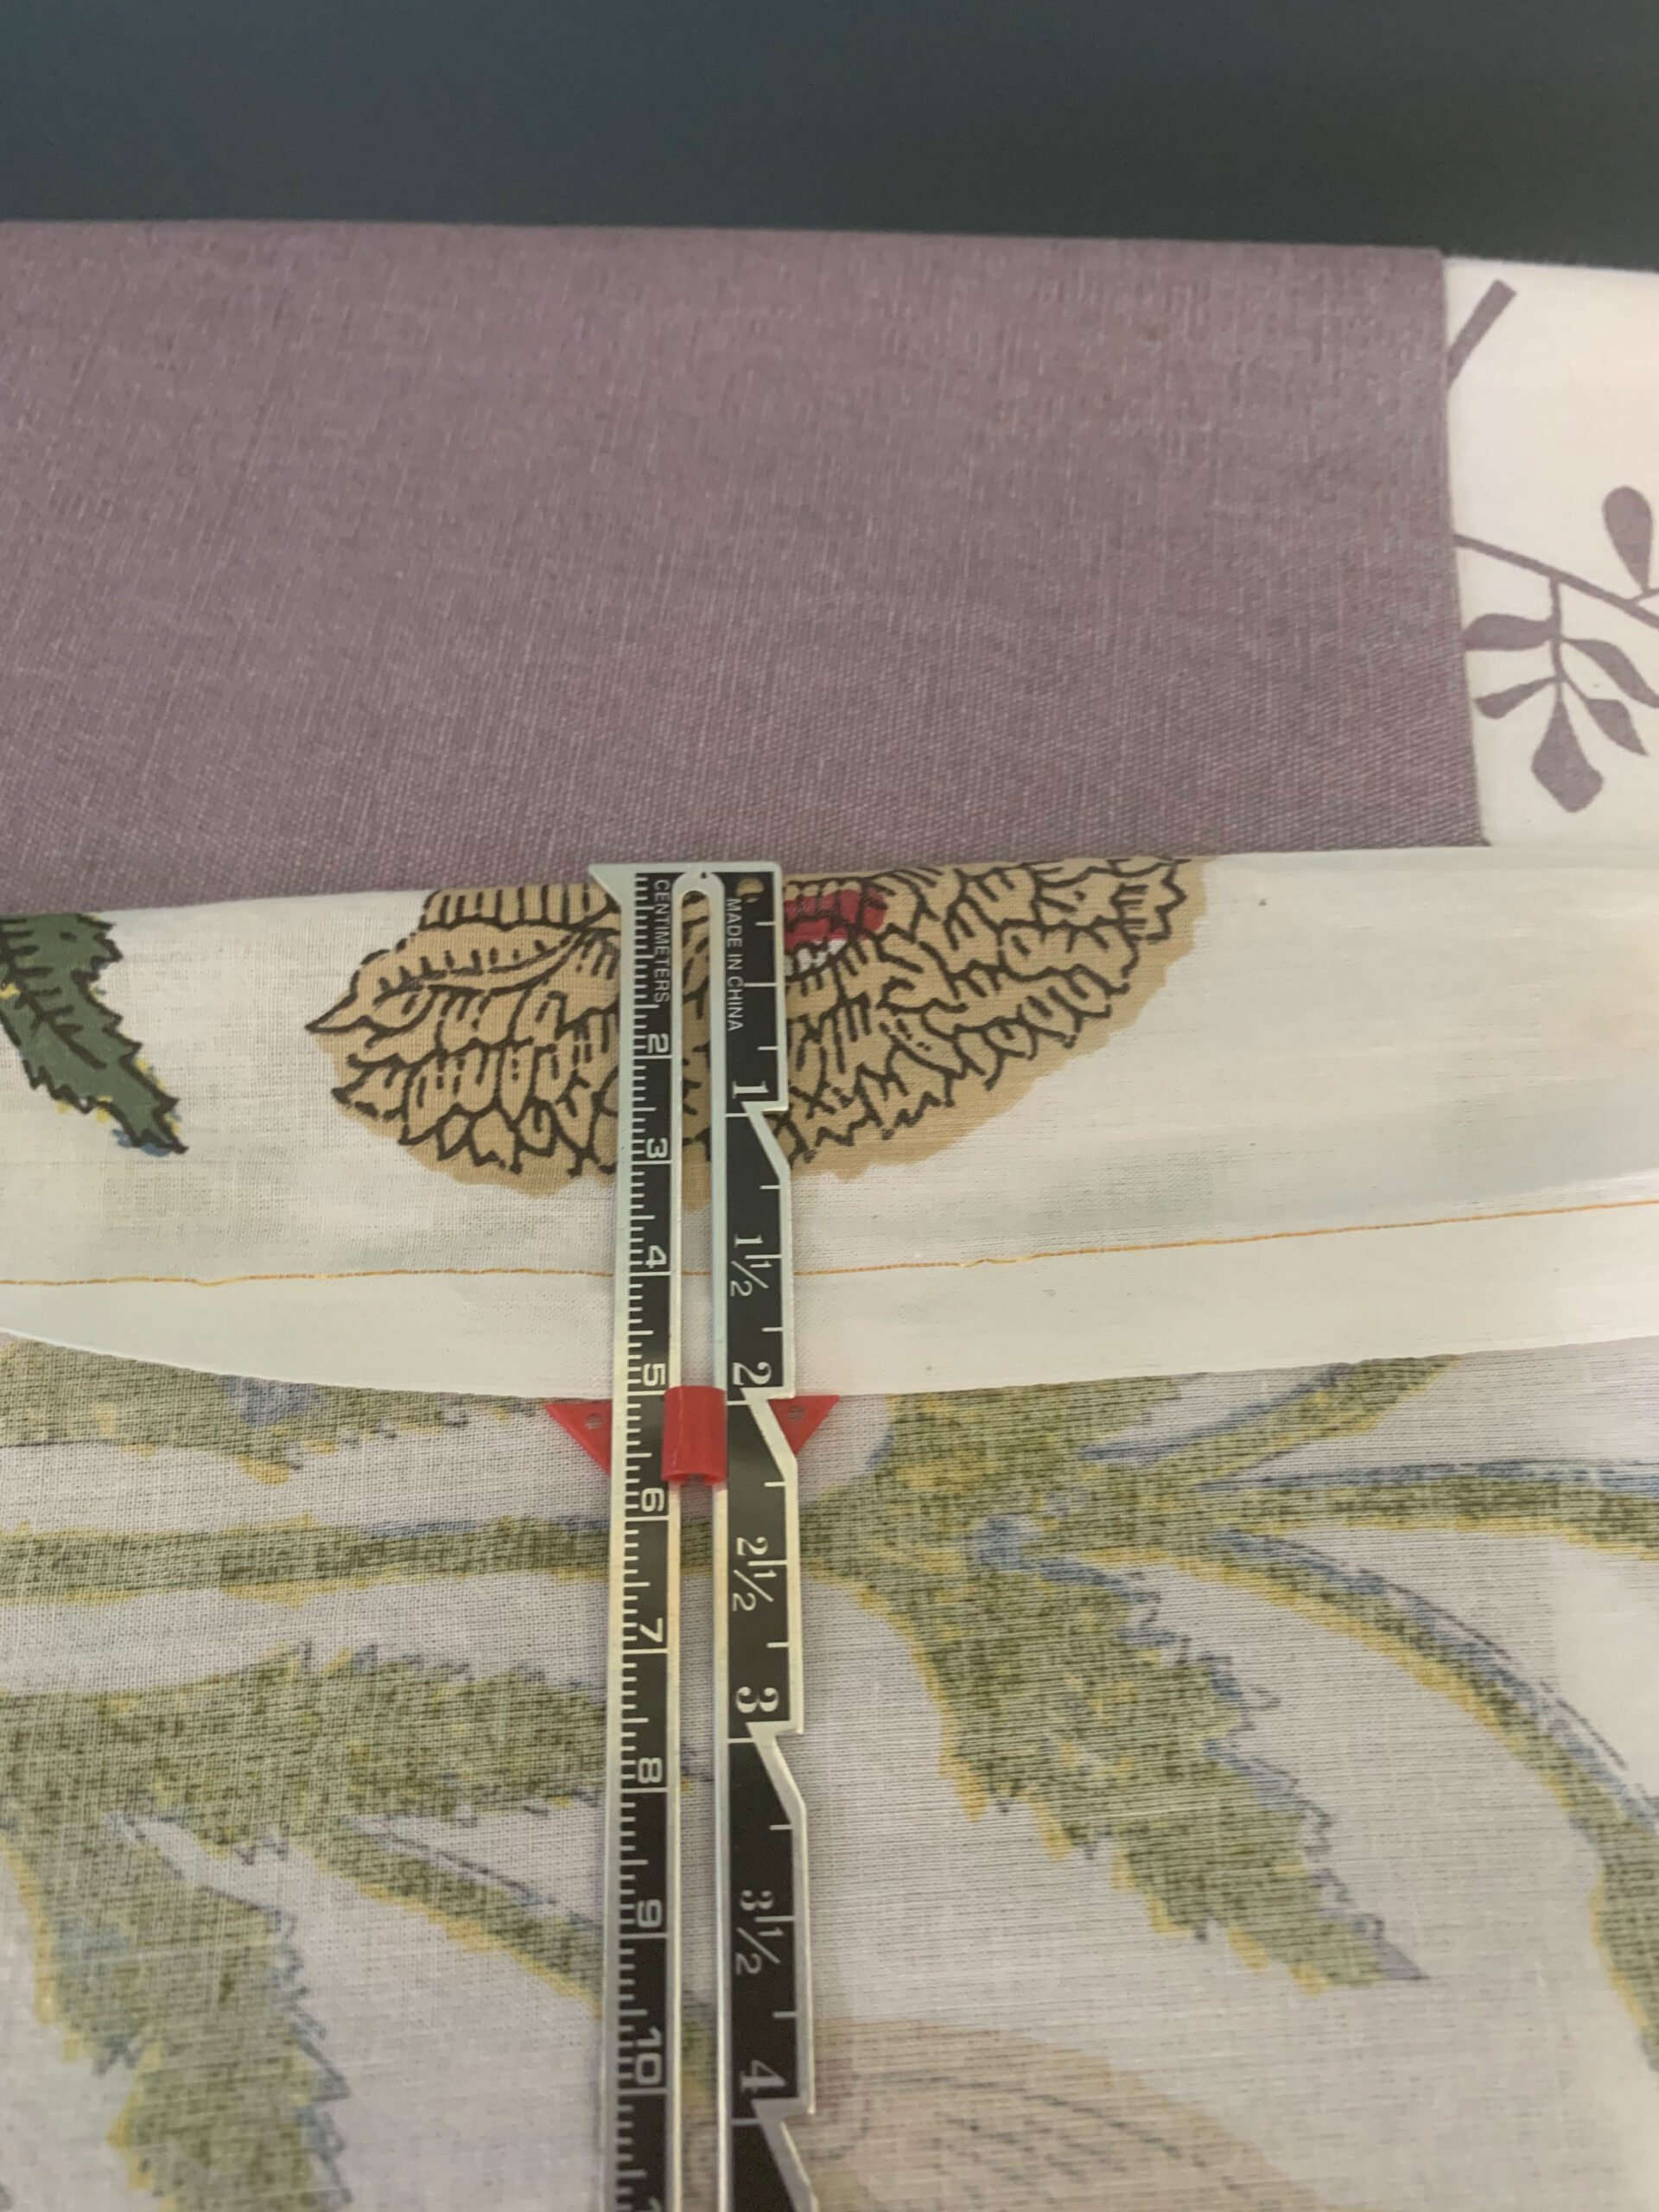
The first thing I did was square the fabric. I use a square from my garage but there are fancy quilty-sewy tools you can use to do this. At any rate, start off with a super straight by squaring off the edge before you start to measure and cut.
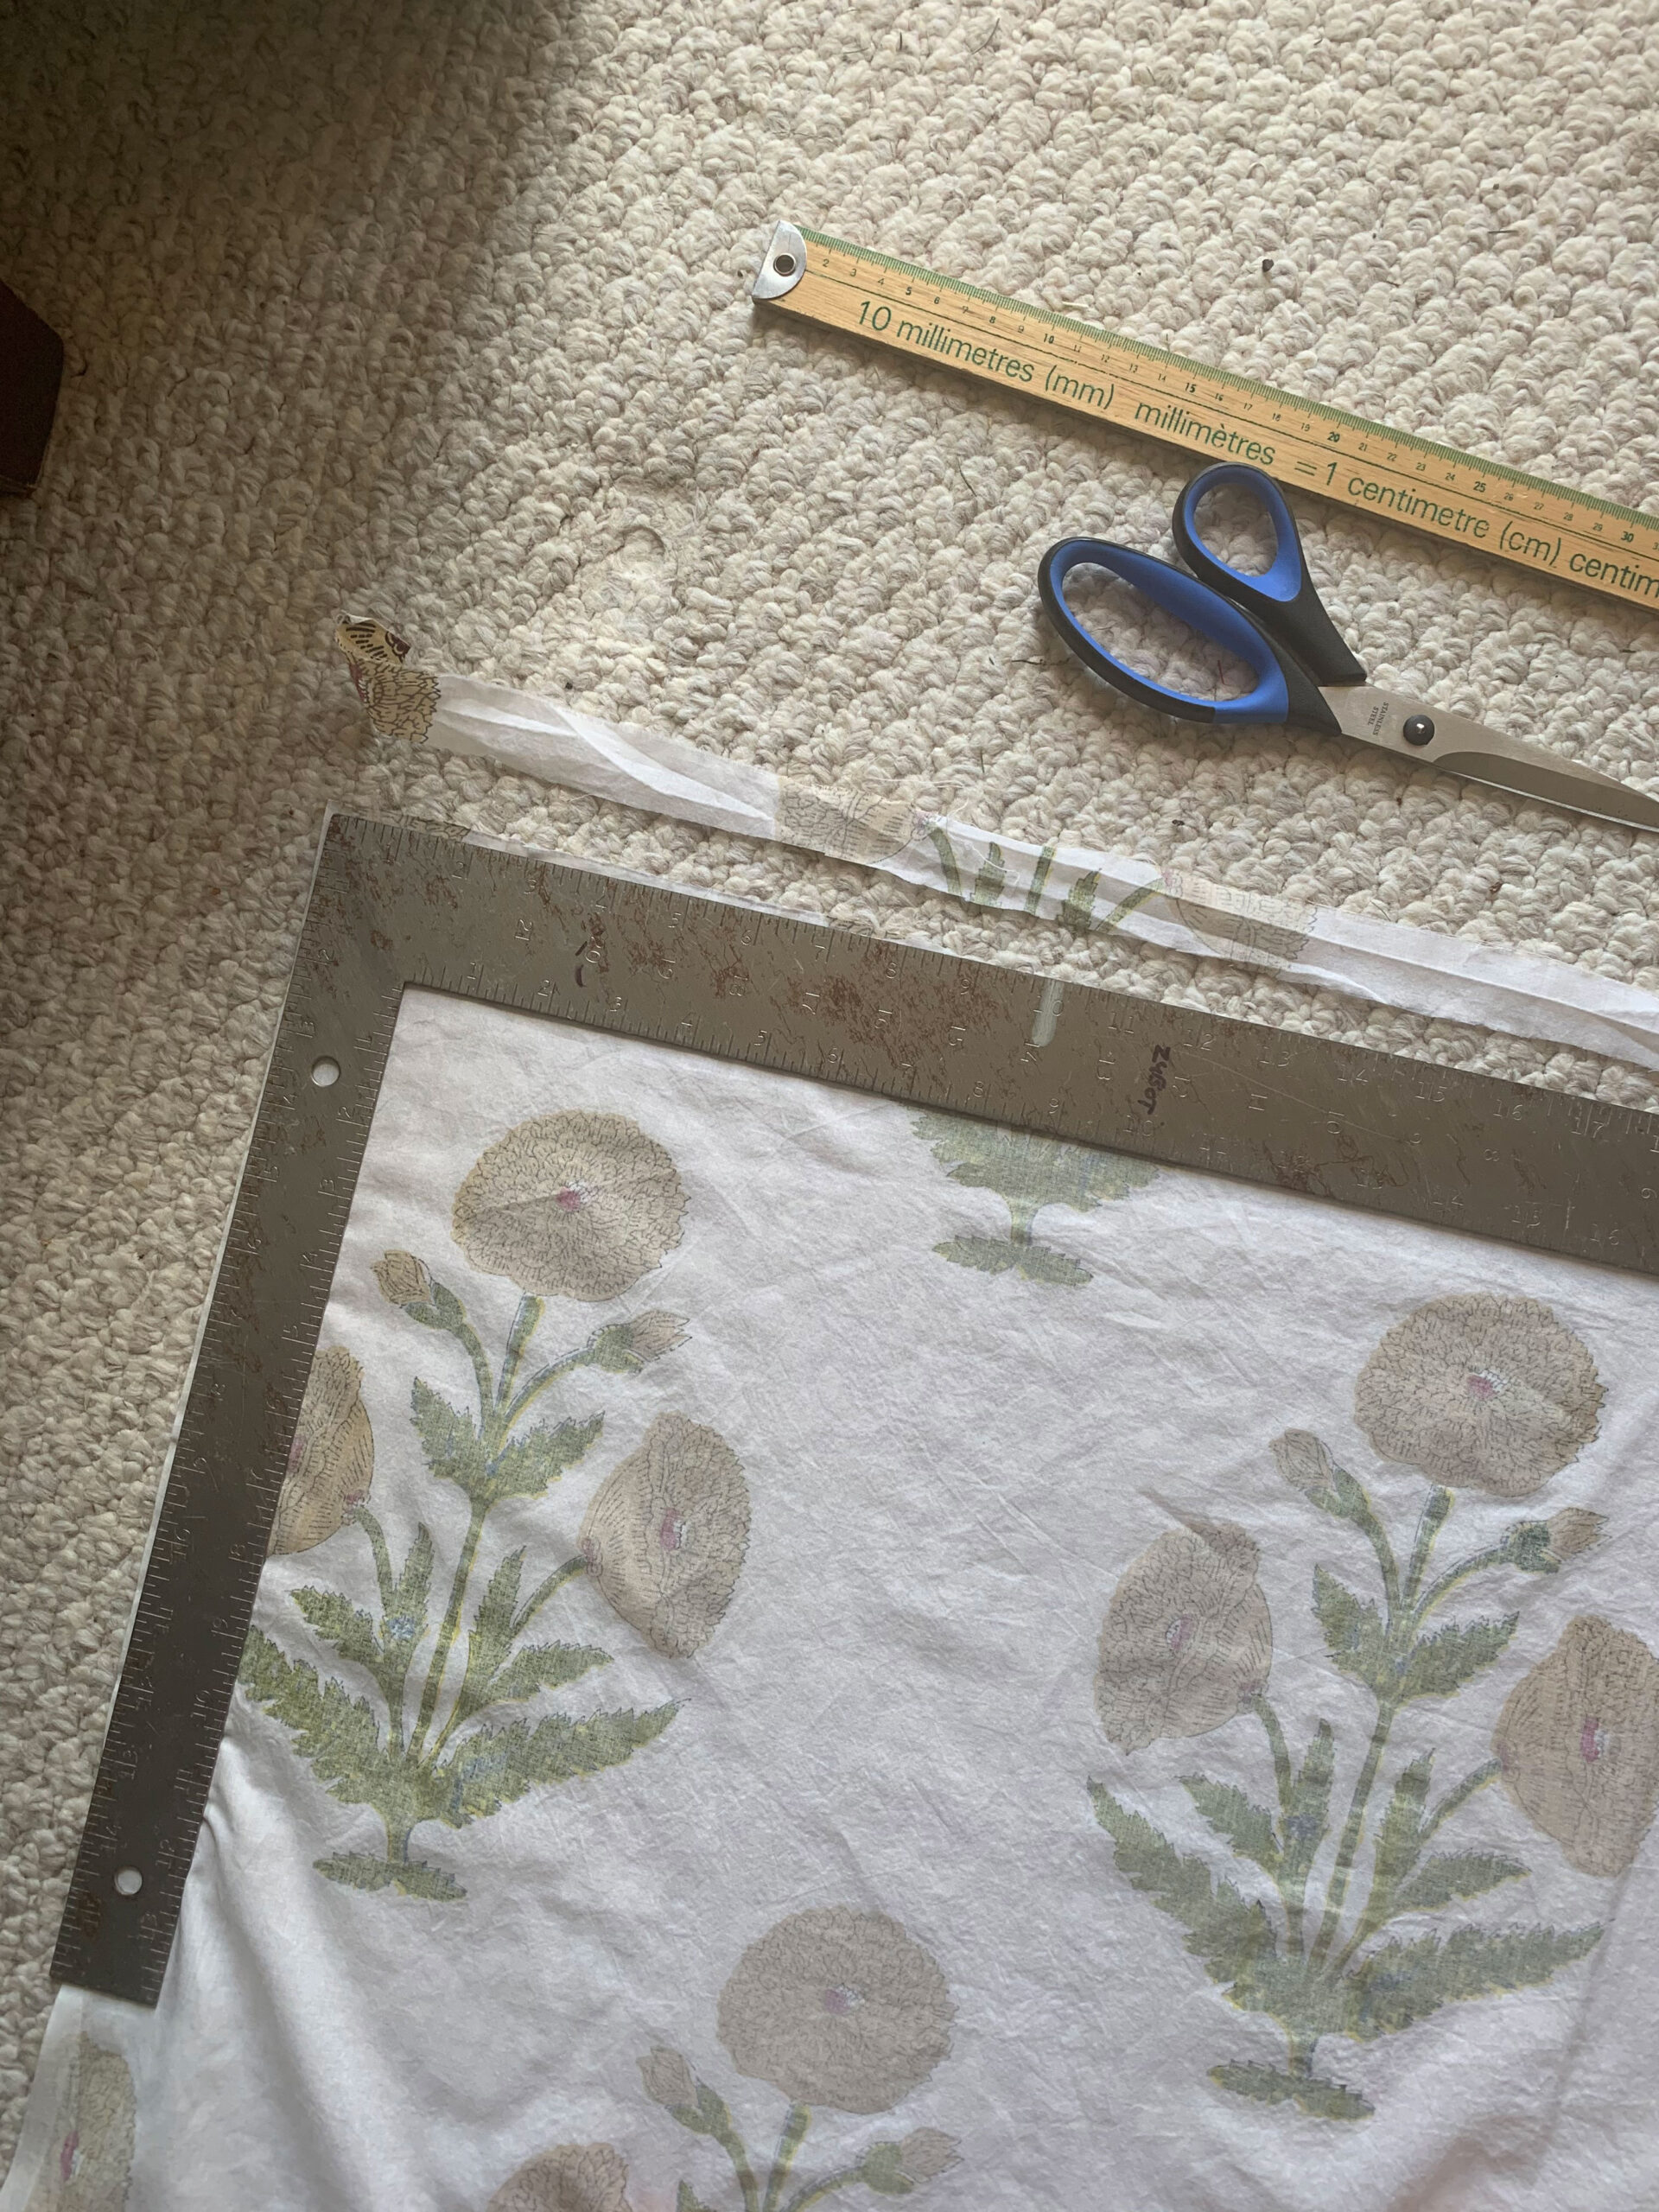
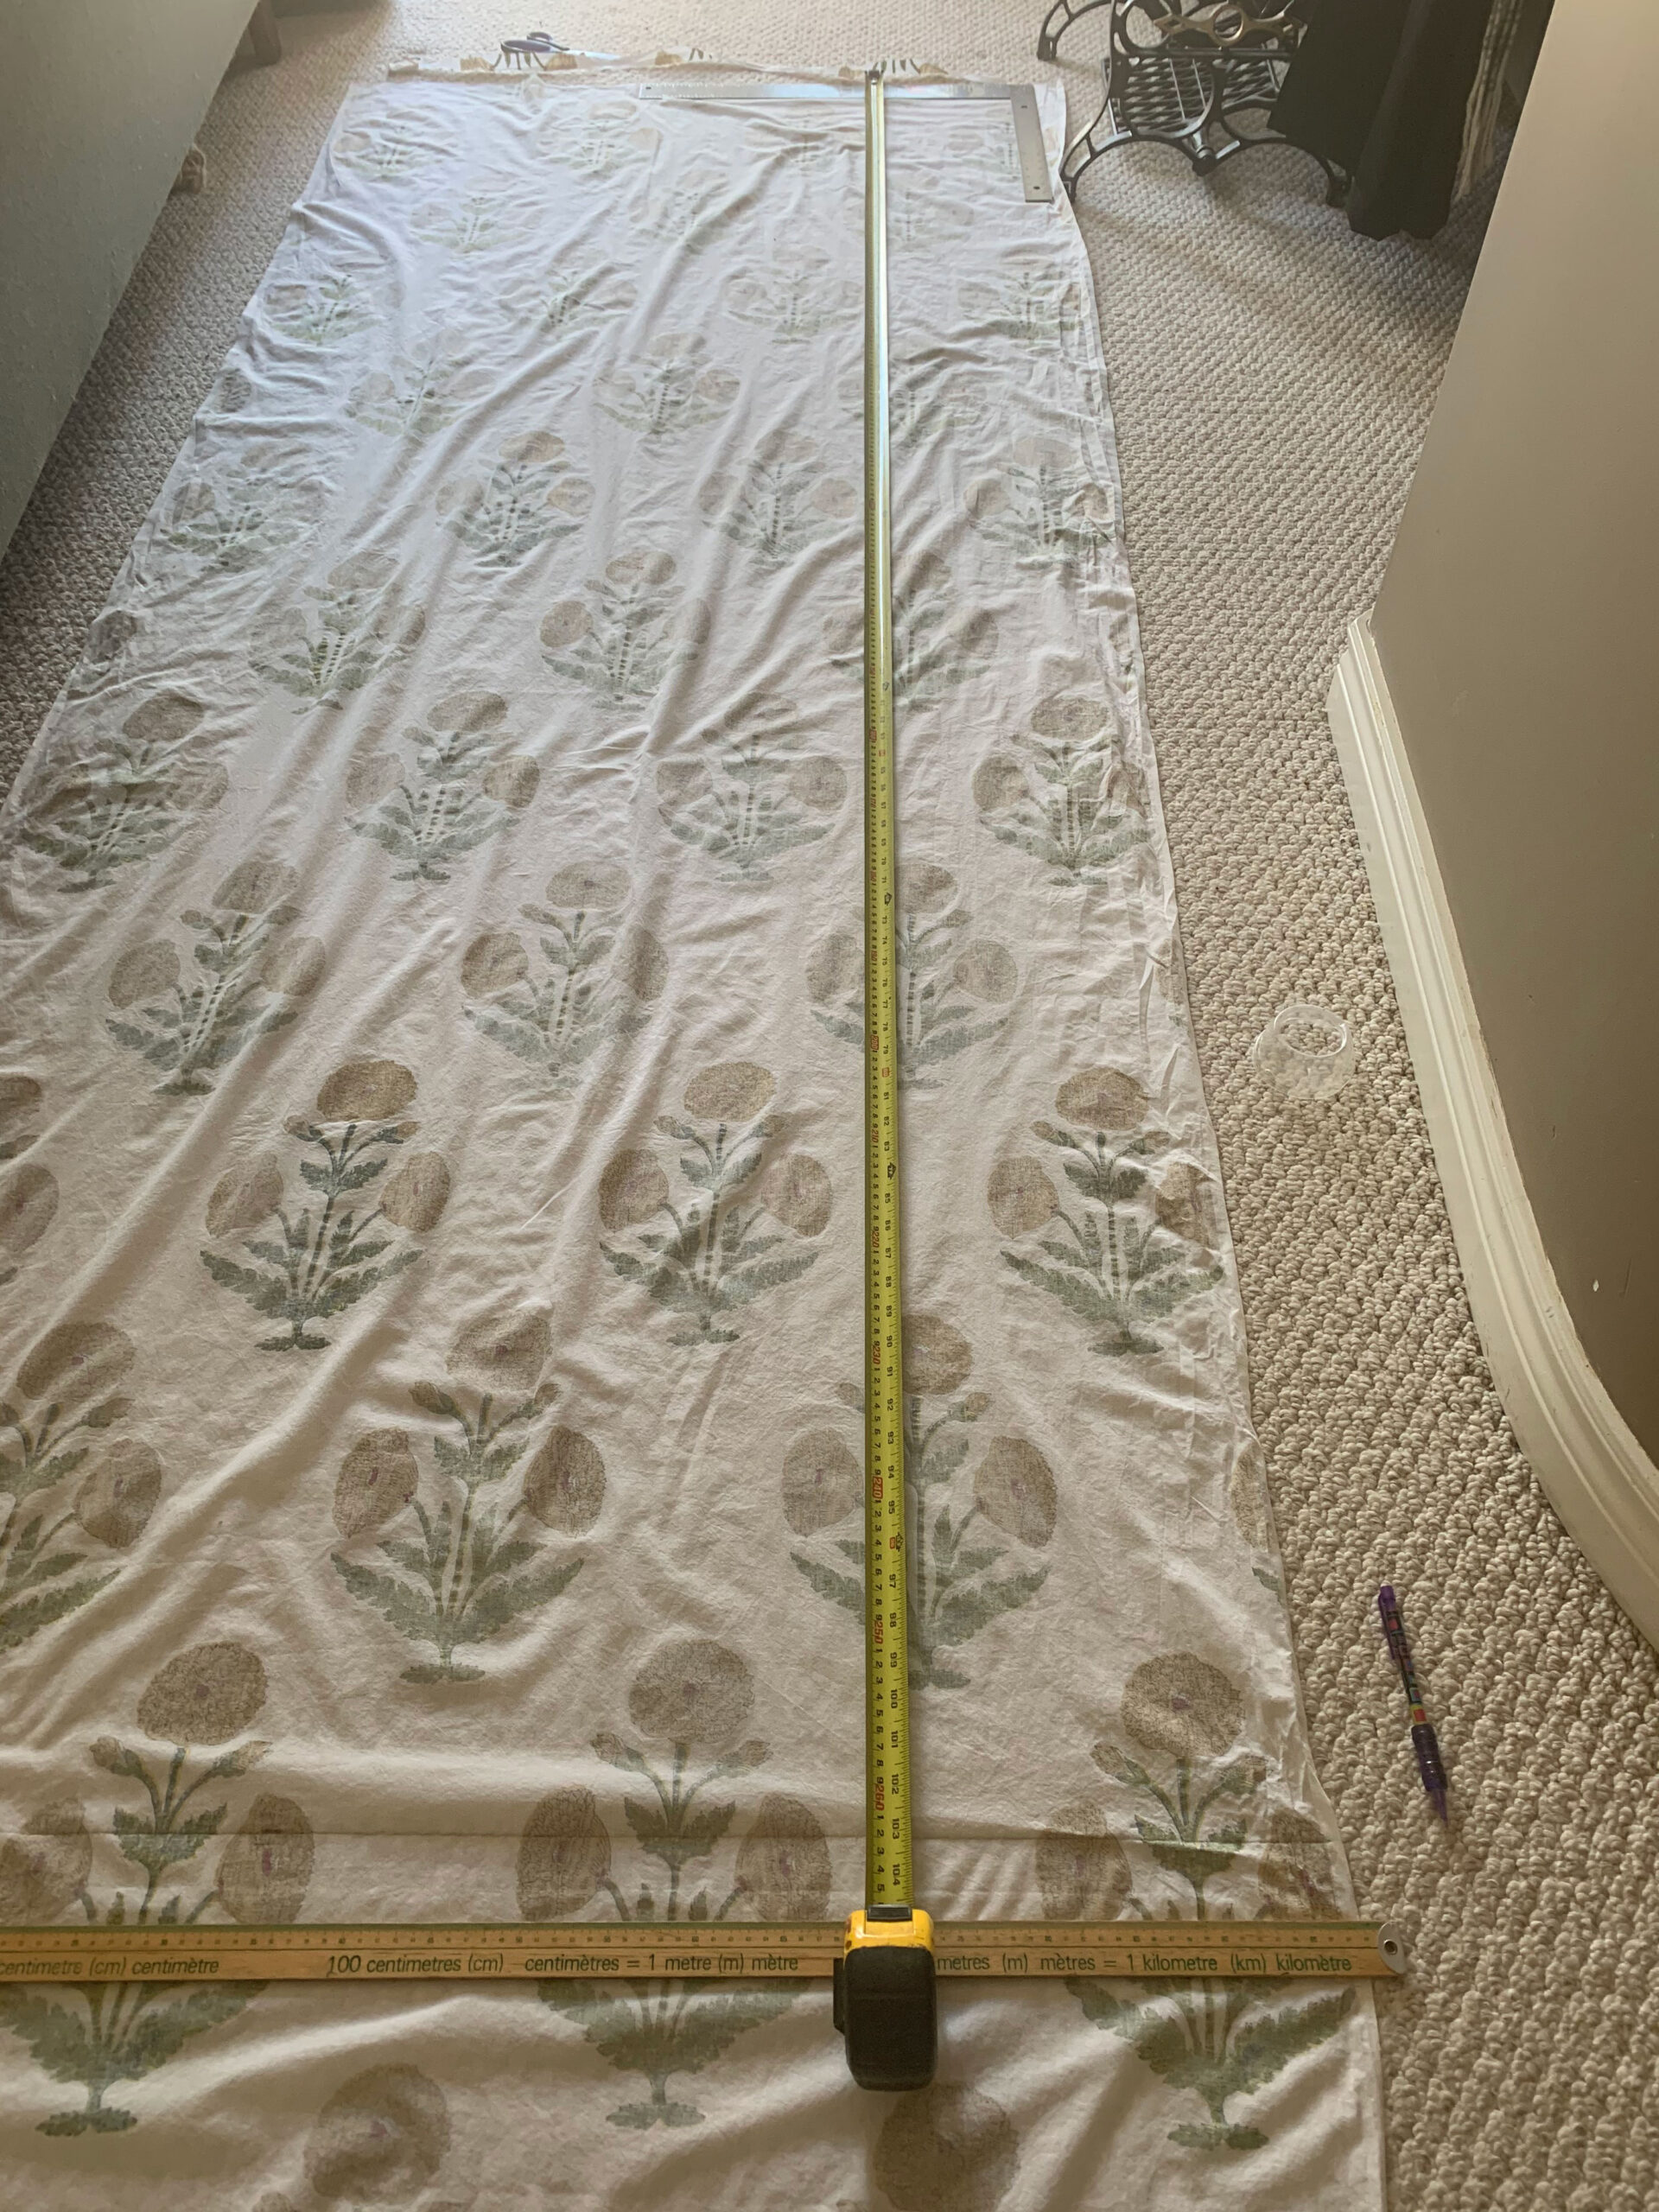
The fabric I bought was only about 42” wide, and most fabric will not be wide enough to make a shower curtain without piecing it together. If your fabric has a pattern like mine did, line up the pattern before you cut the second panel. You will likely have a bit of waste. The easiest way I found was to line up the pattern and cut the top off to match the first piece I did, and then measured and cut the second panel to 102”.
Sew the two pieces of fabric together
Once the two sides are cut, it’s time to piece them together. My fabric was 44” wide, so sewing the two widths together resulted in a curtain just a little wider than the standard 72” width, once all my seams were done. (However, I’ve used full-width 50” curtain panels and they just end up a little fuller, they work just as well, so I wouldn’t bother cutting the width.)
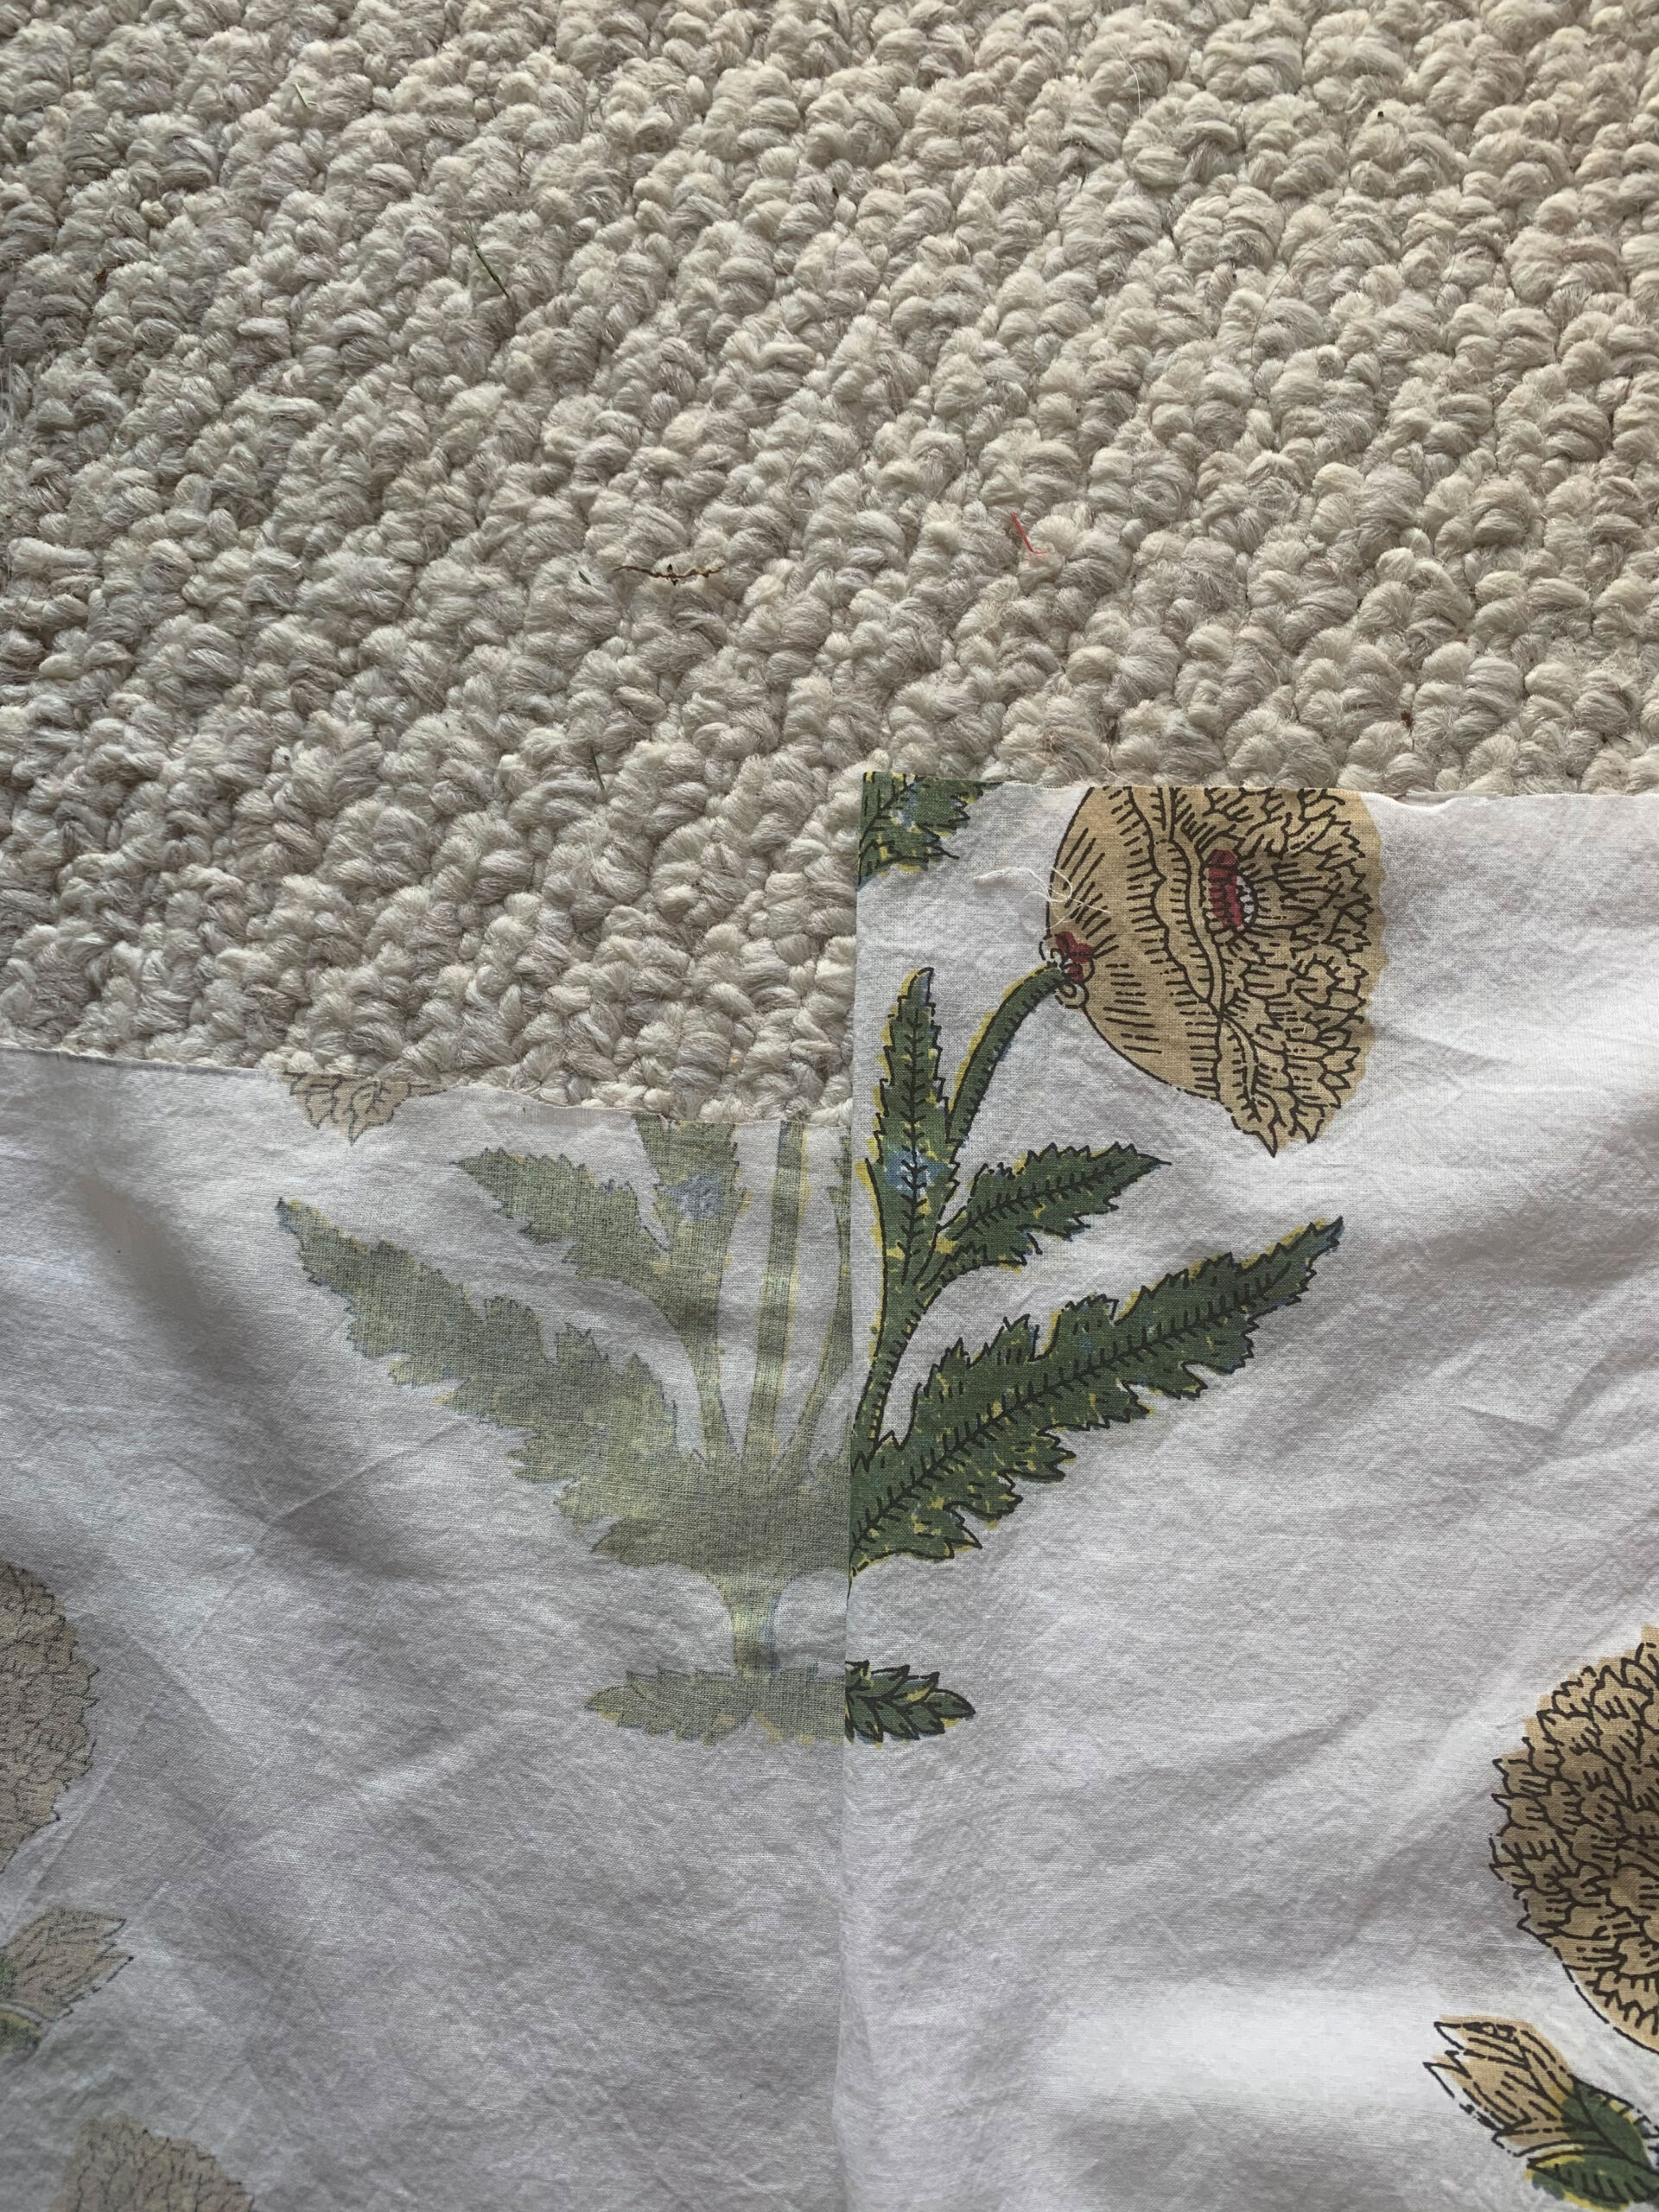
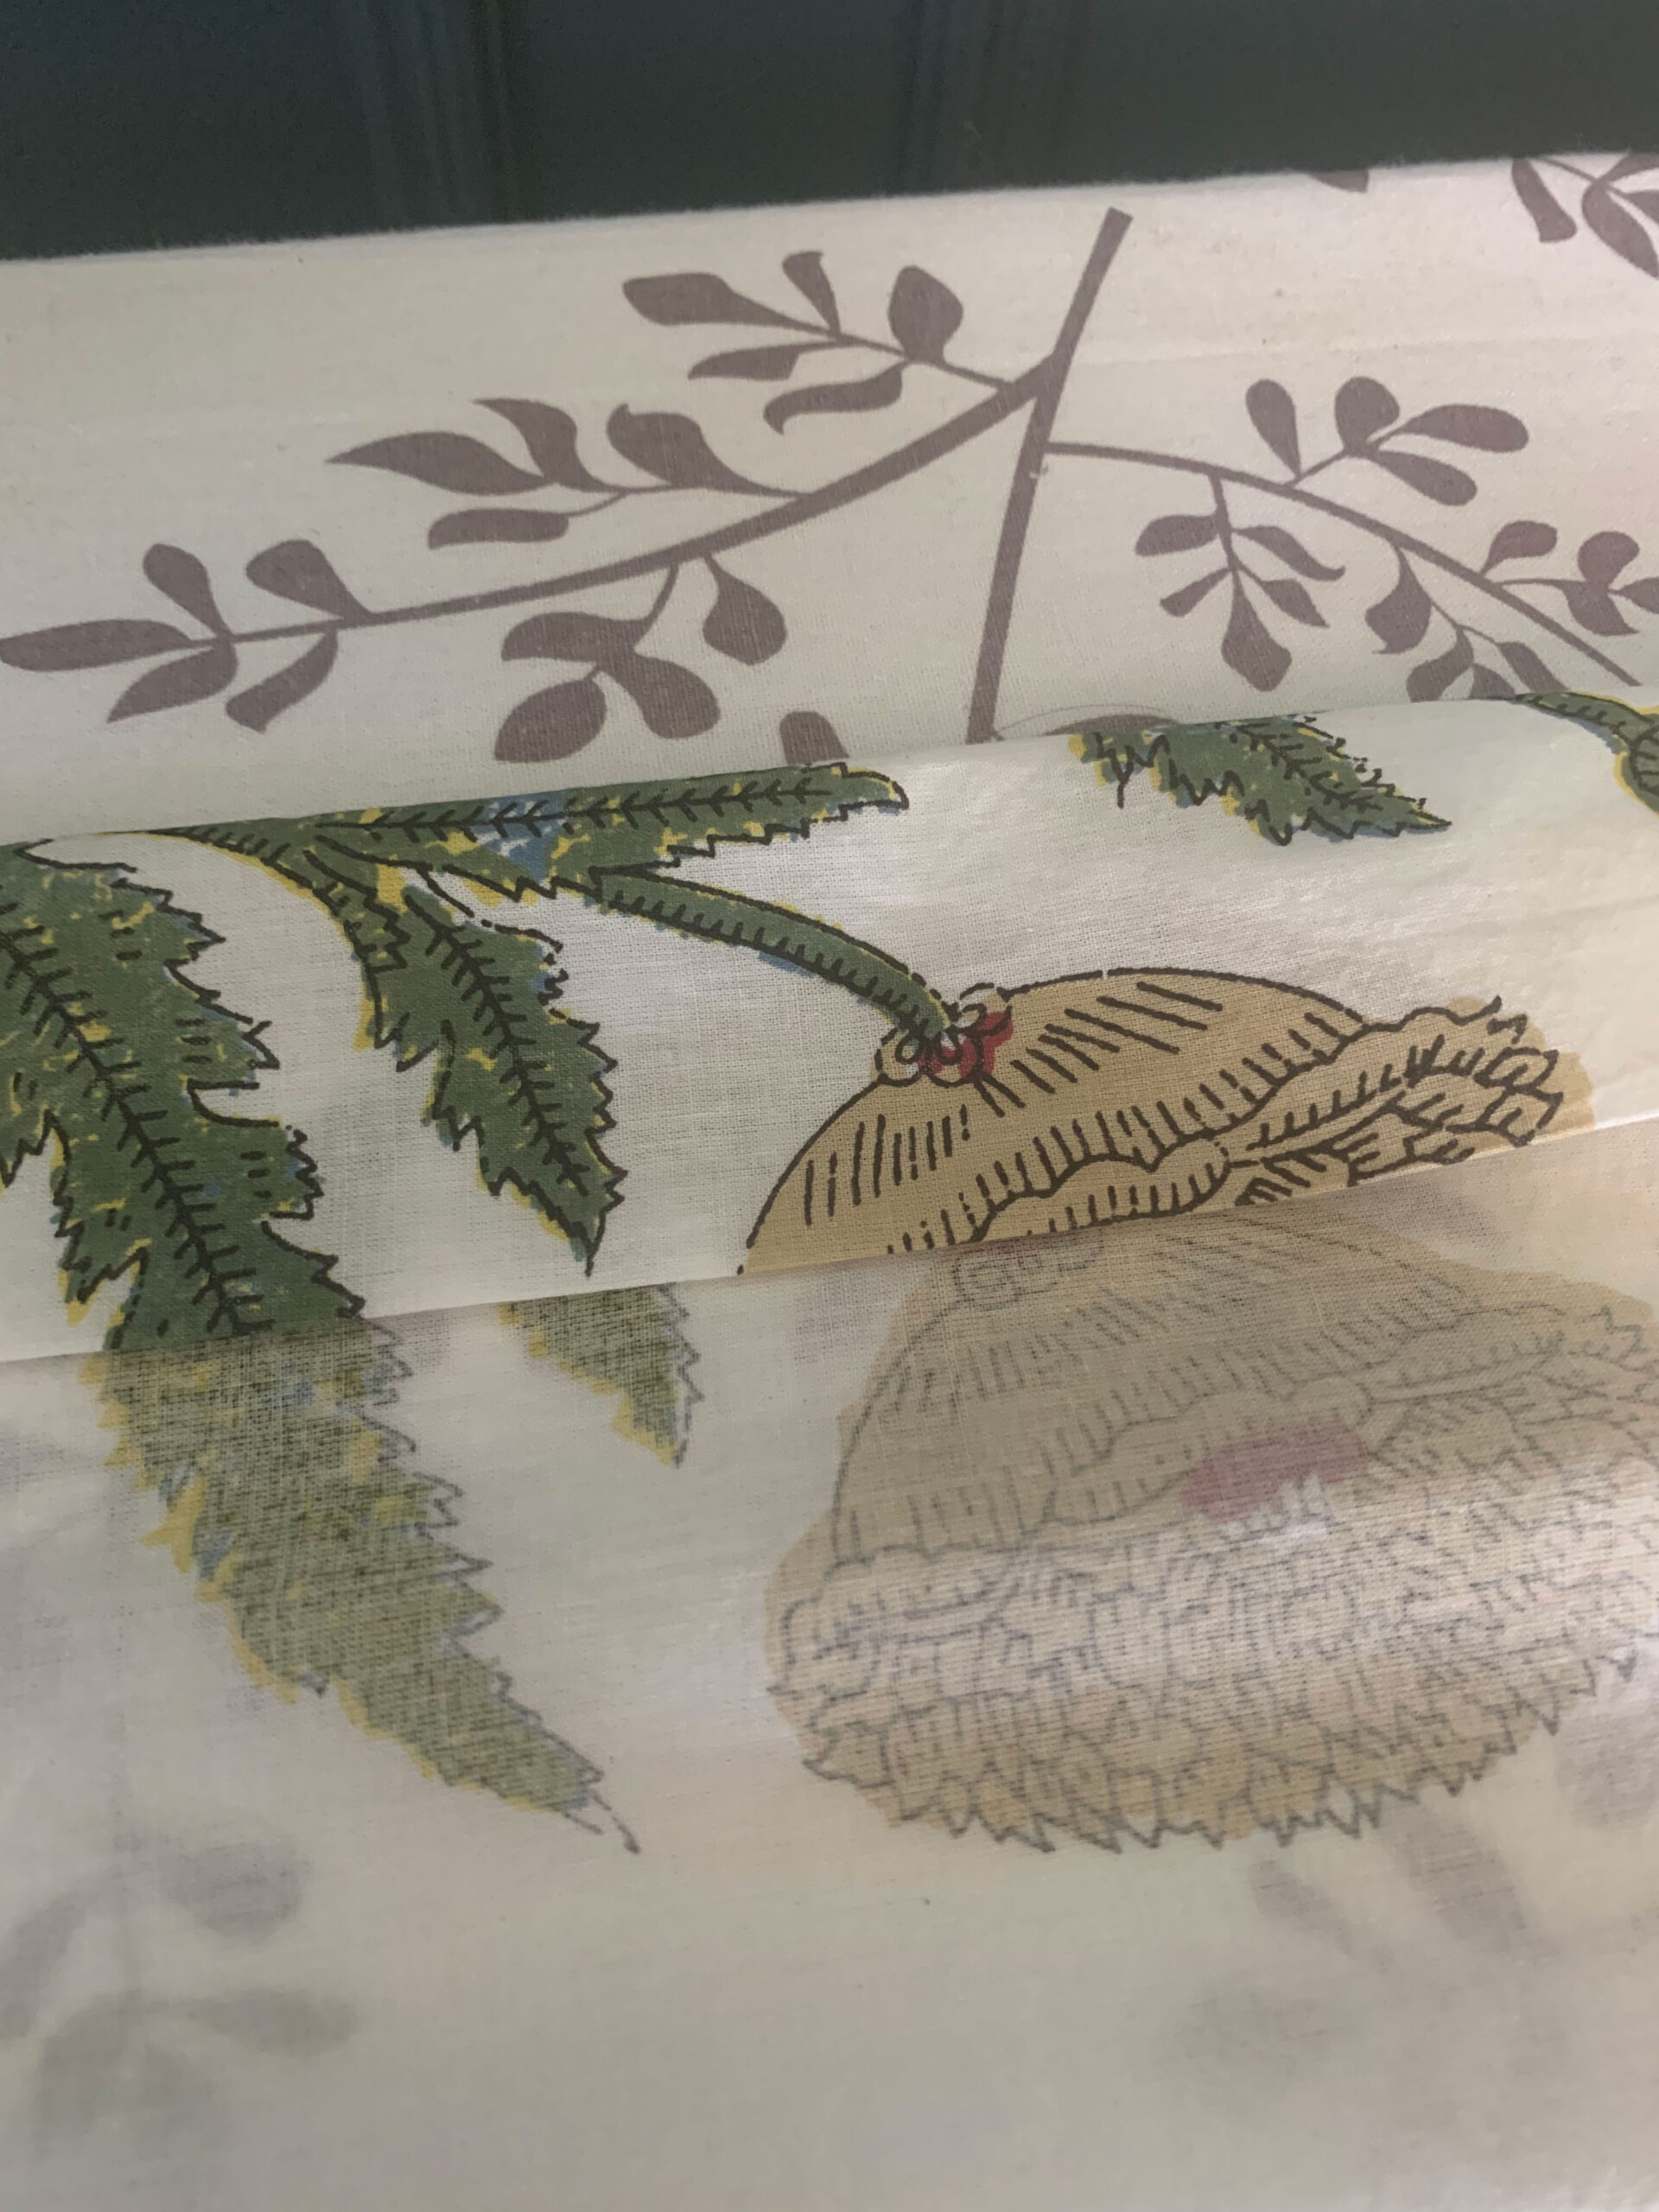
My pattern would have been super obvious had it not lined up, and I have tried to match a pattern in the past with less-than-perfect results, so I made up this next step. Is this the right way to match a pattern? I think not, but I got the results I was looking for so I call it a win. SO…. In the interest of honesty, I’ll tell you what I did and then what I should have done.
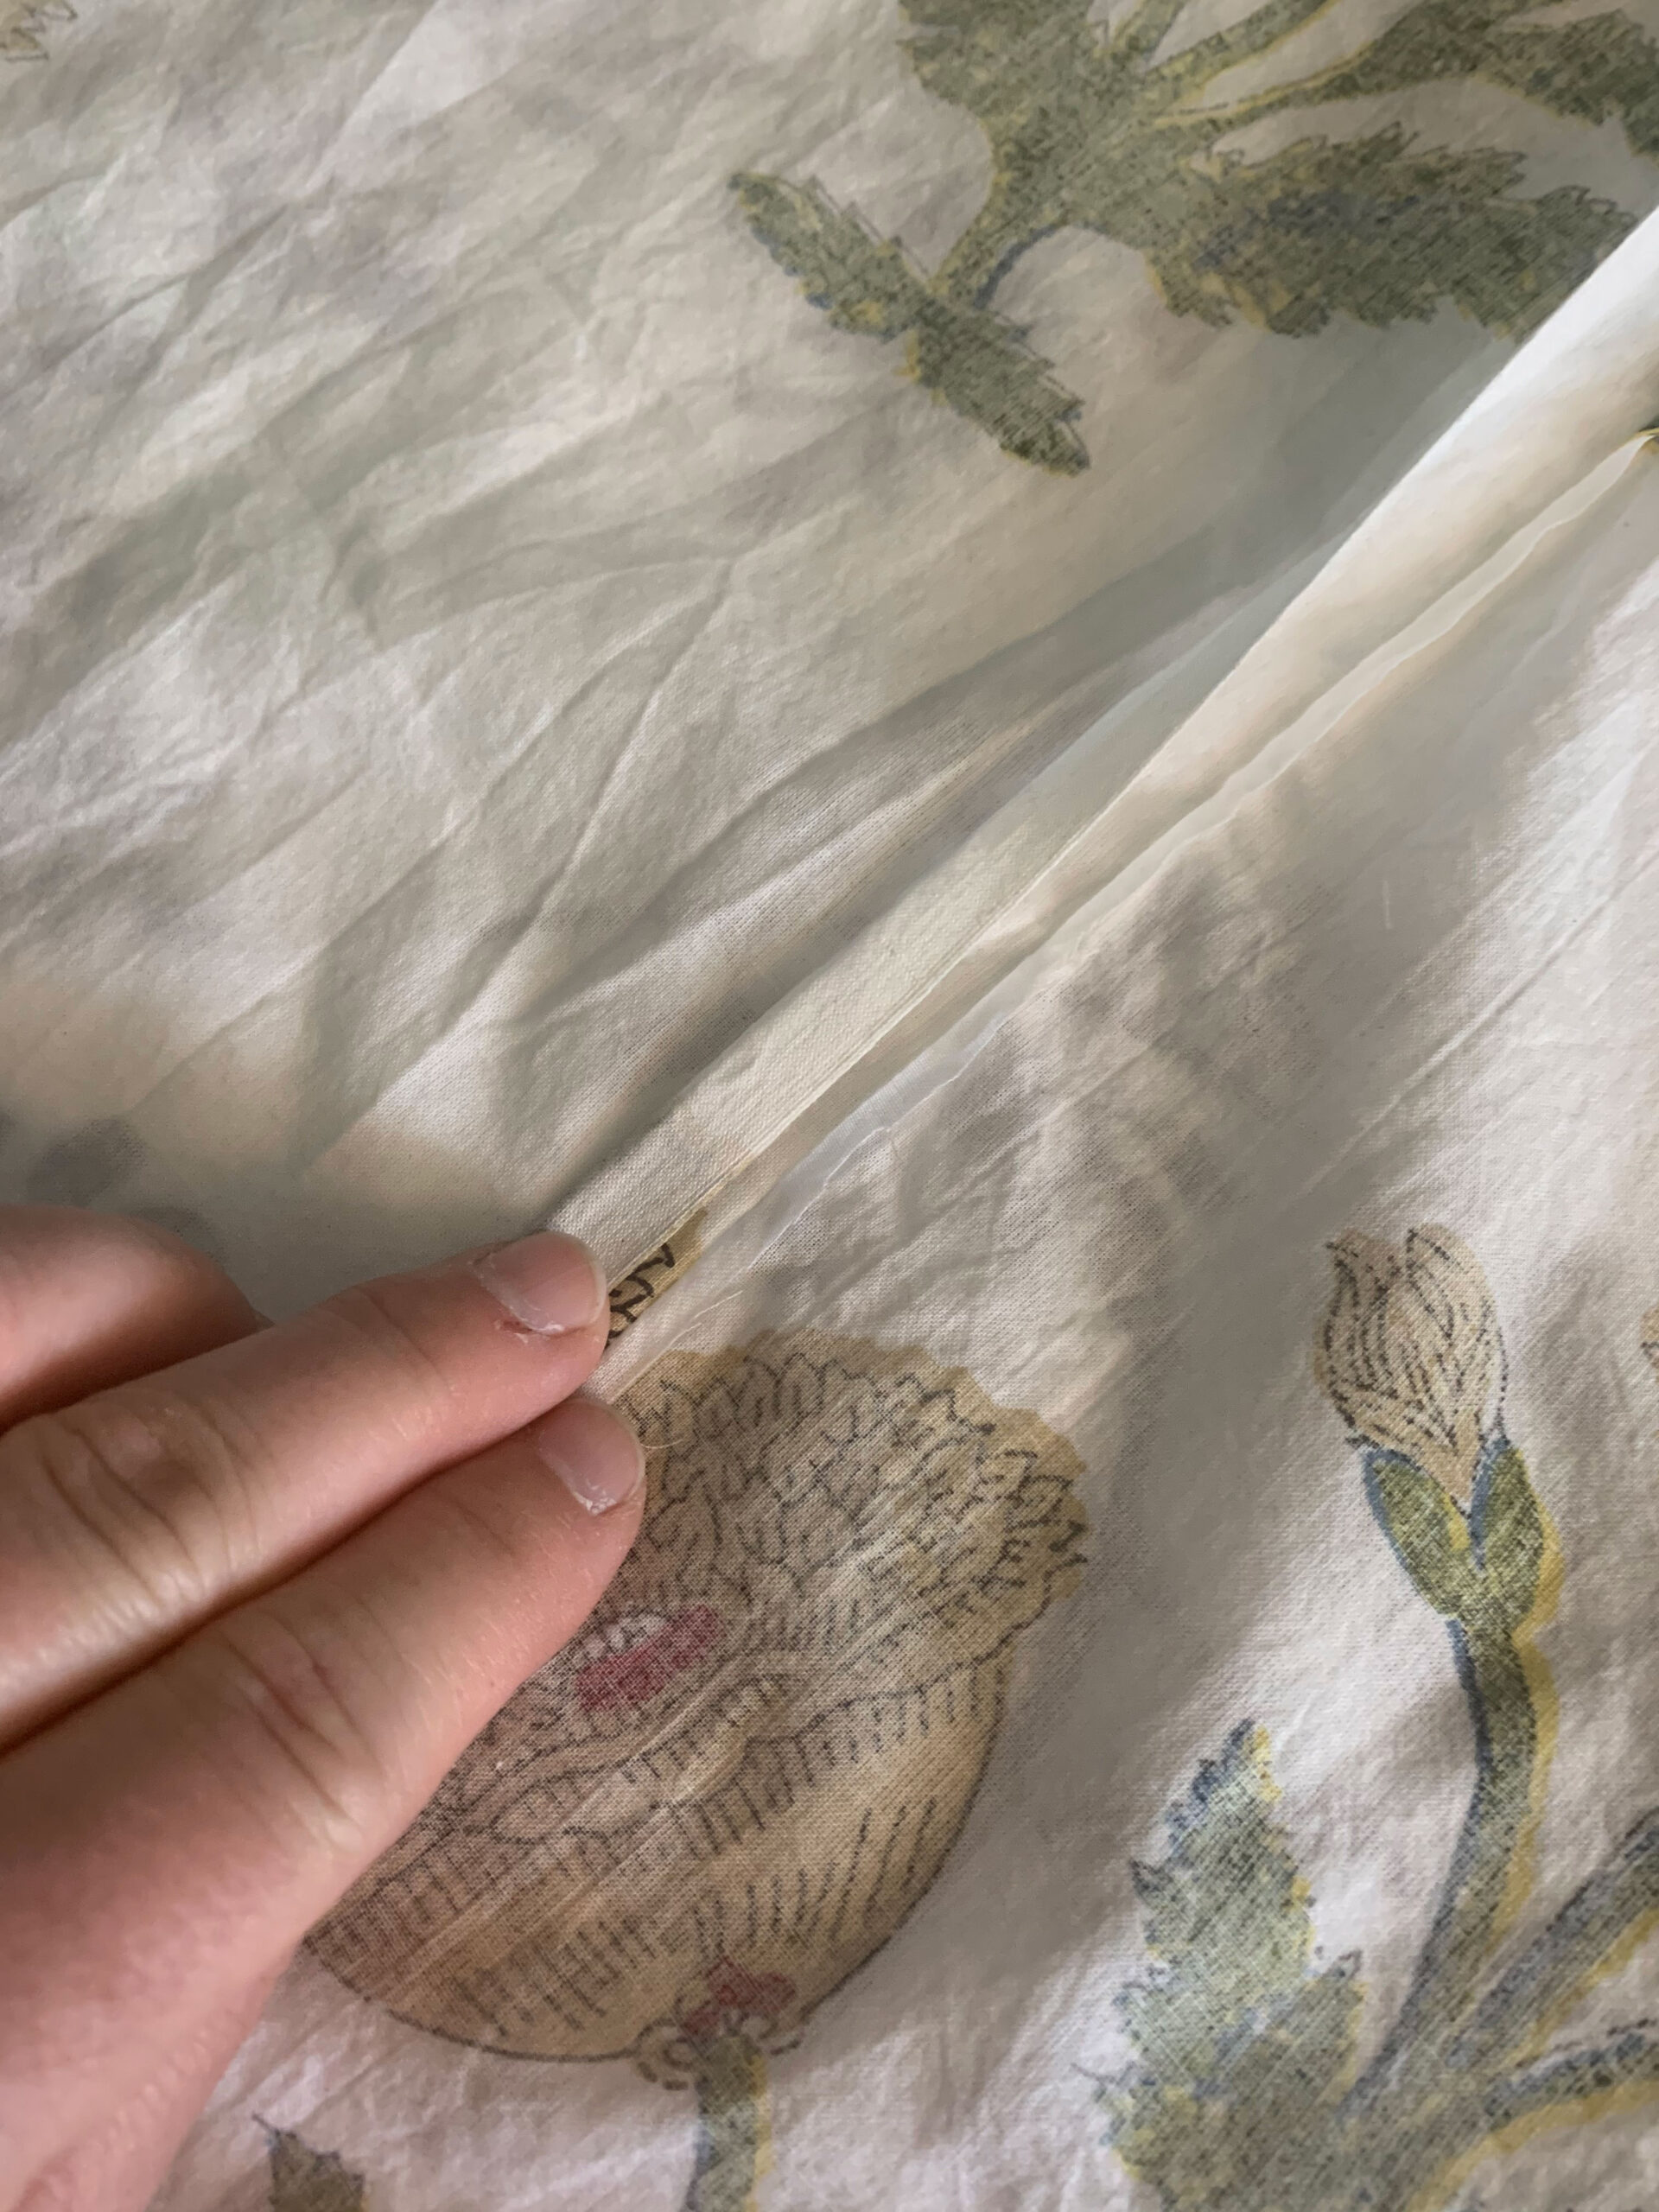
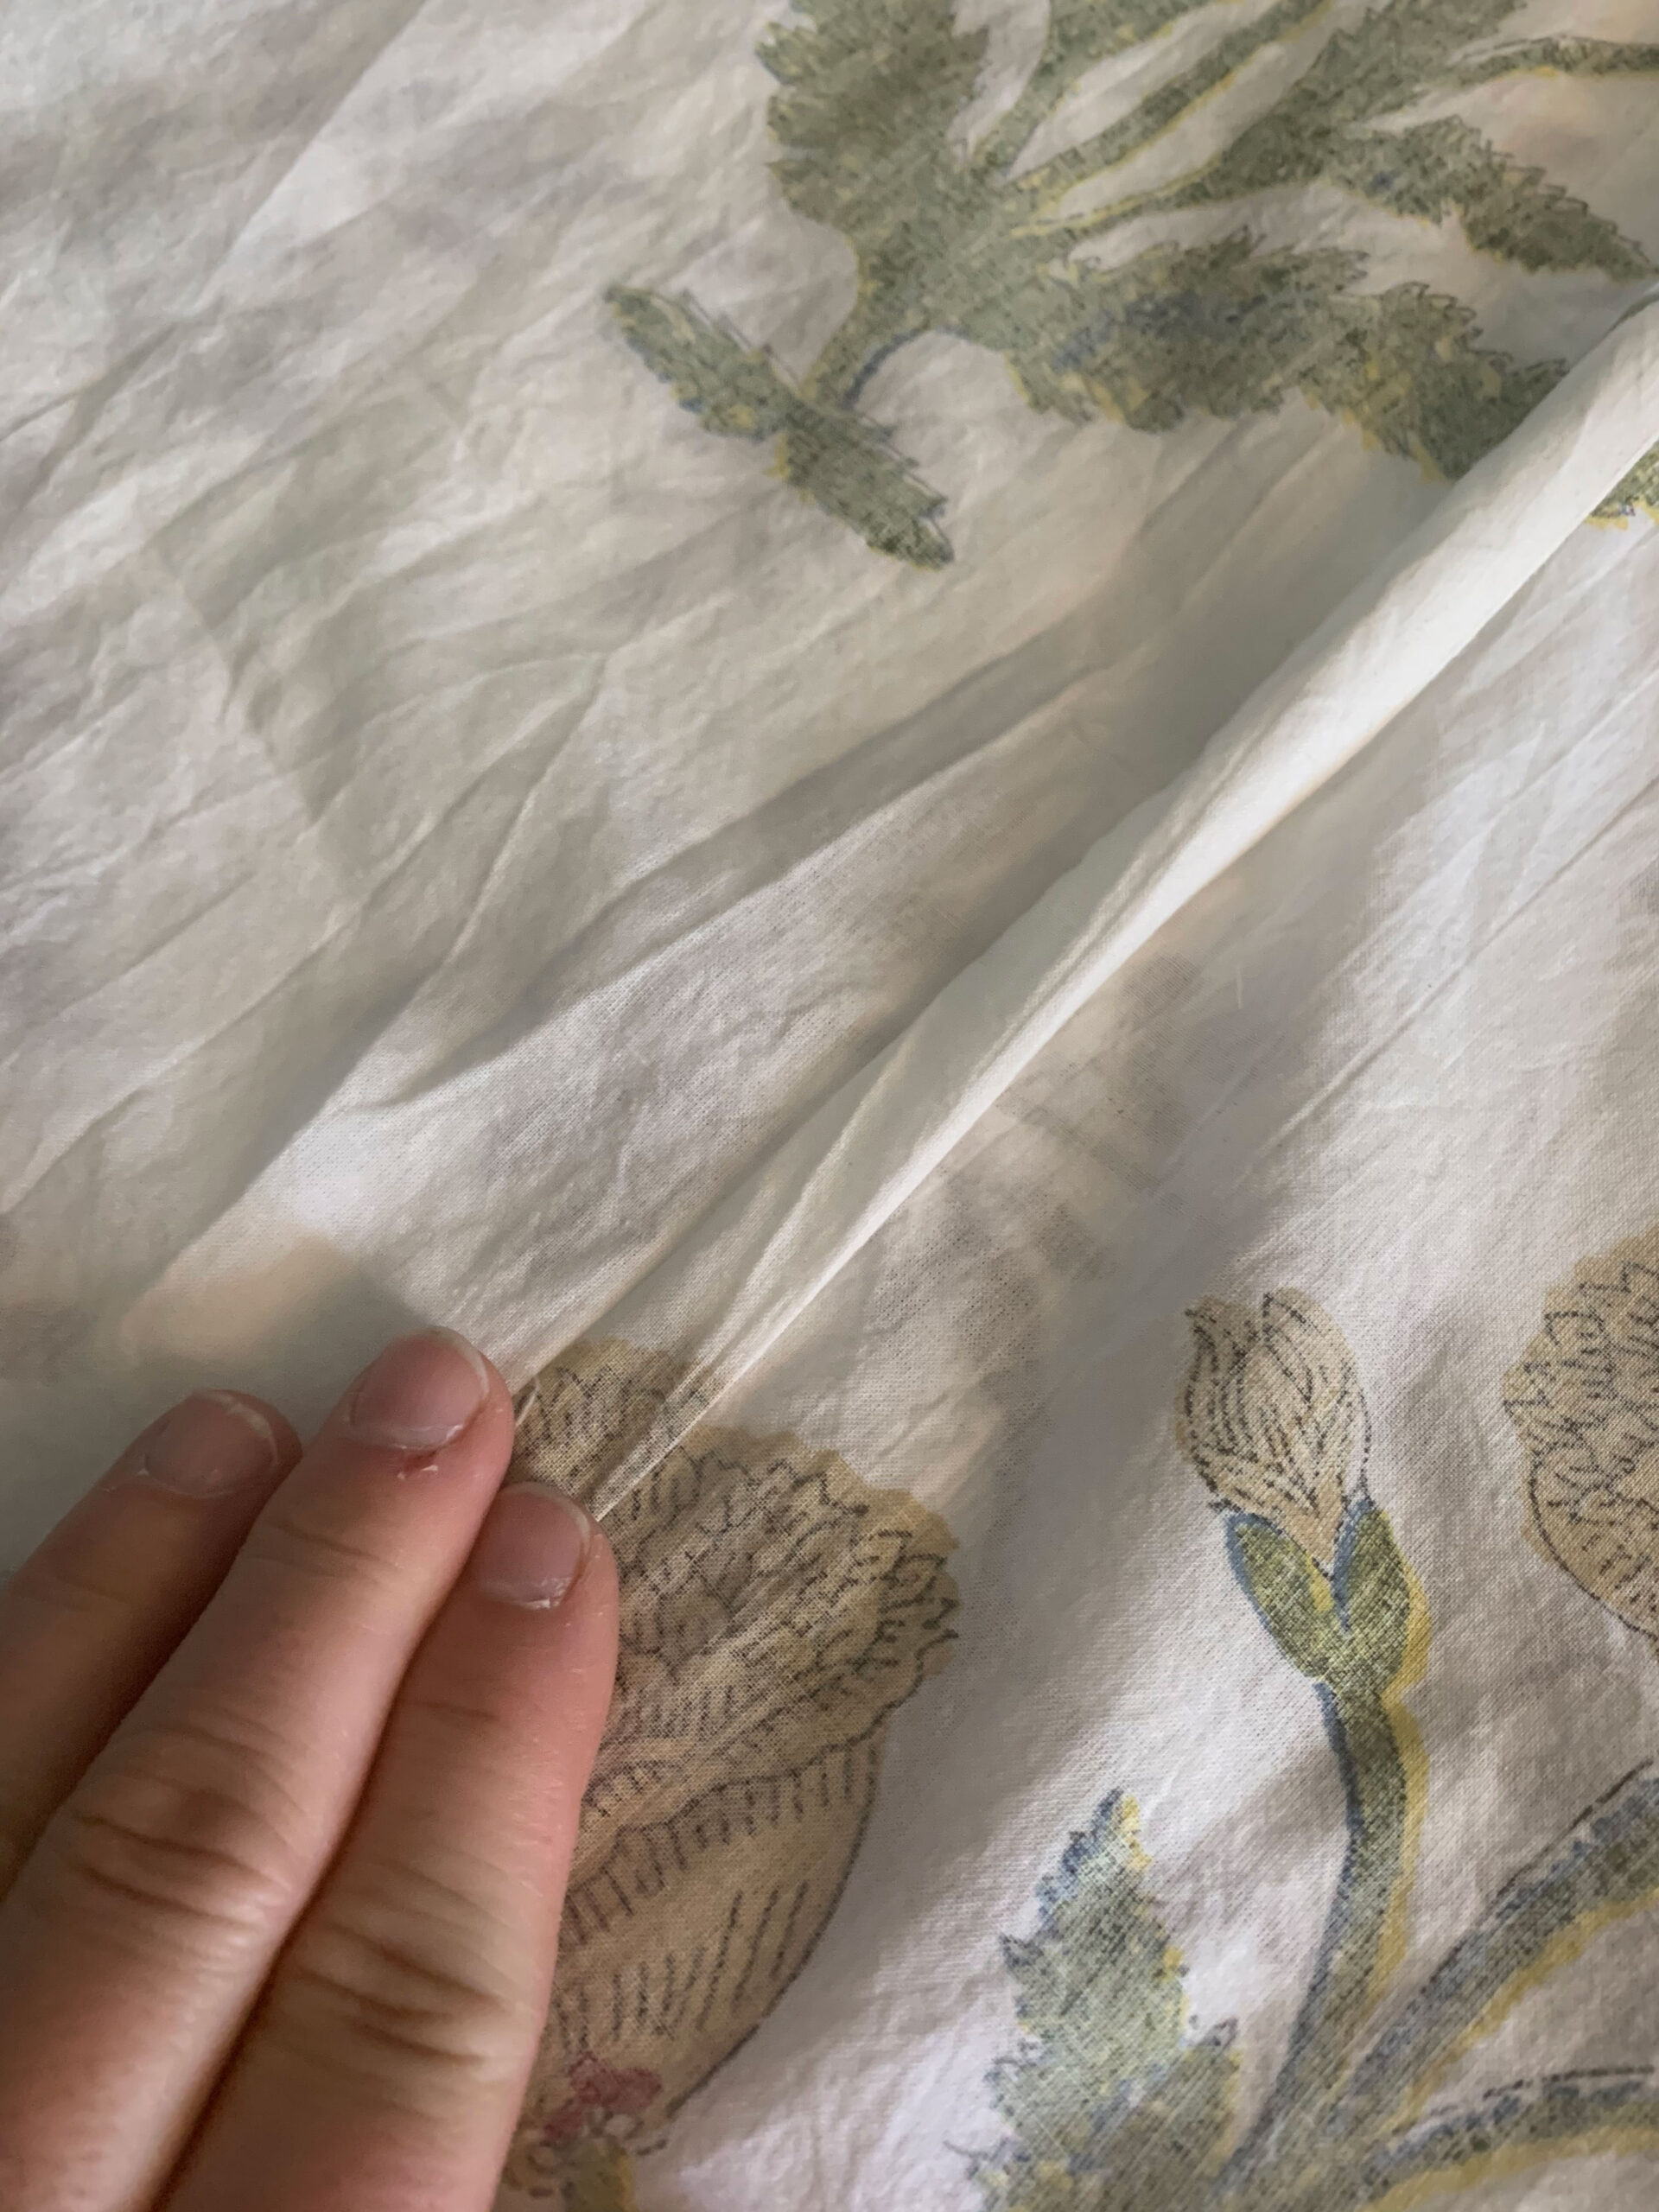
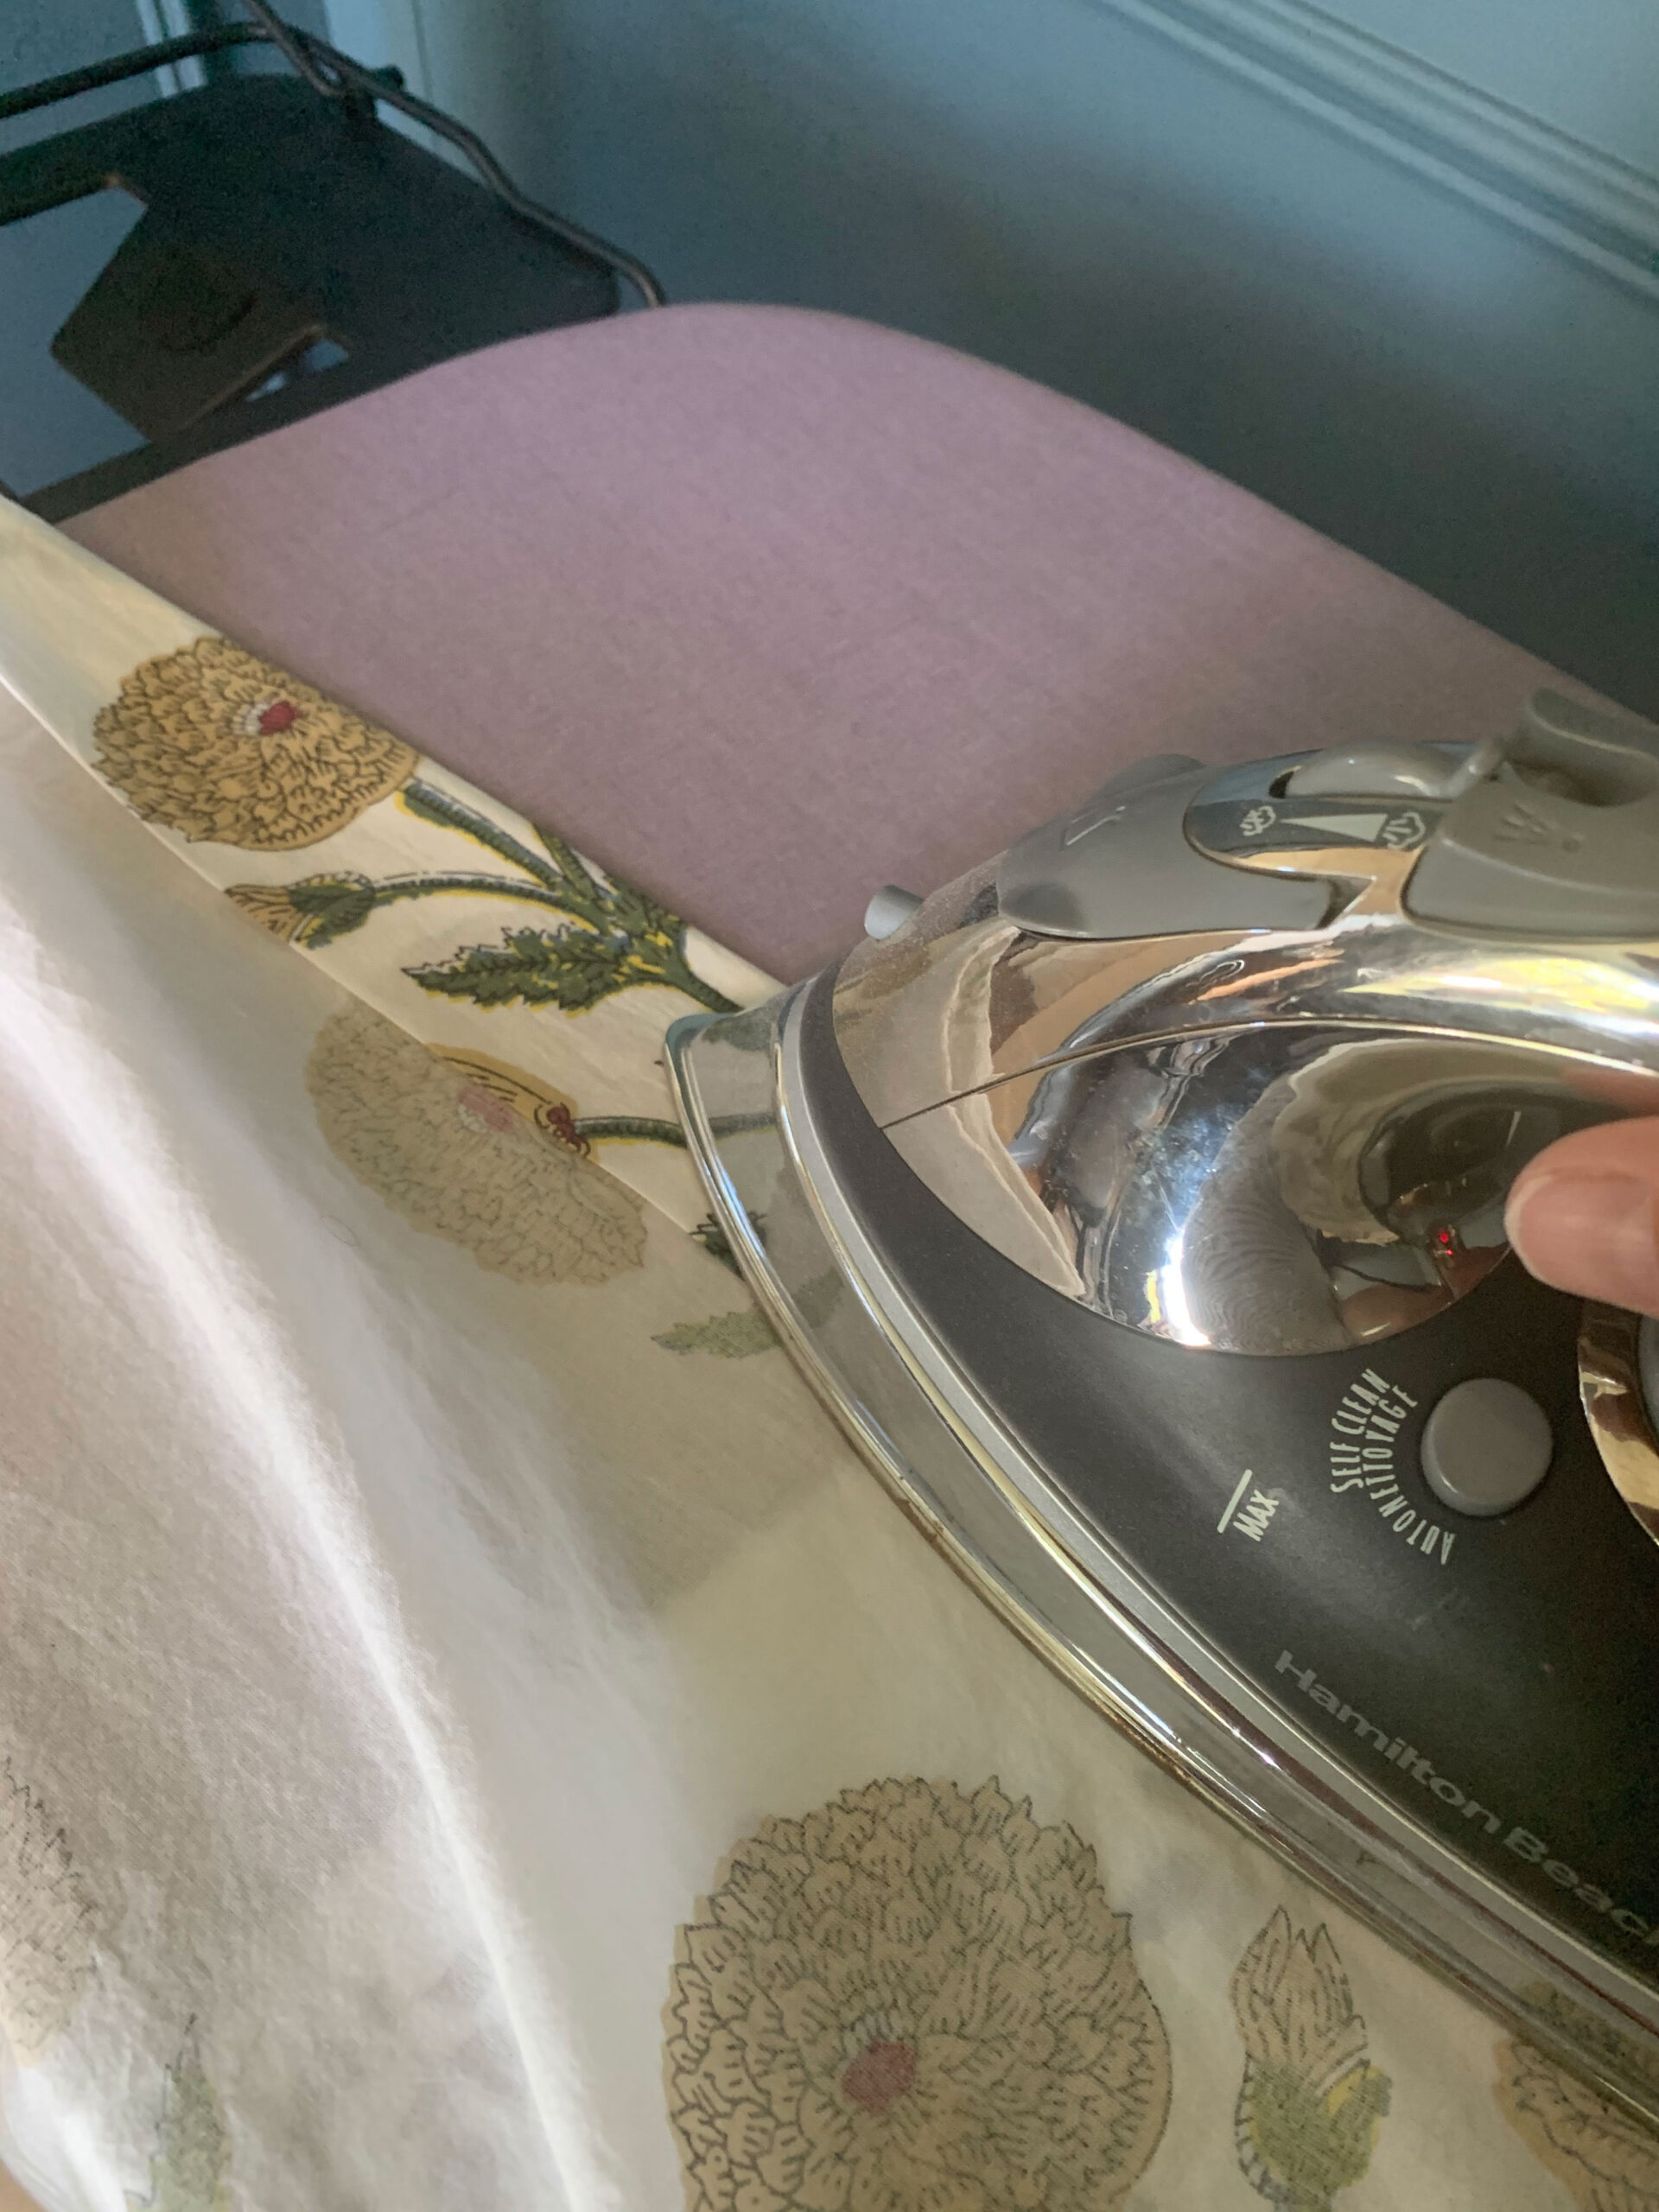
I folded one side of one of the pieces of fabric and lined it up to the pattern on the other piece. I ironed a crisp edge and pinned it in place. Then, I sewed down the top of the crisp fold that I made. this meant that the sewed seam was visible in the finished front and that my pattern was perfectly lined up.
I know this isn’t the right way to do it because that meant that my stitch line was visible. If I had to do this again, I might have tried ironing the other half of the seam in place and then sewing down the ironed crease (I think? Pattern matching is hard).
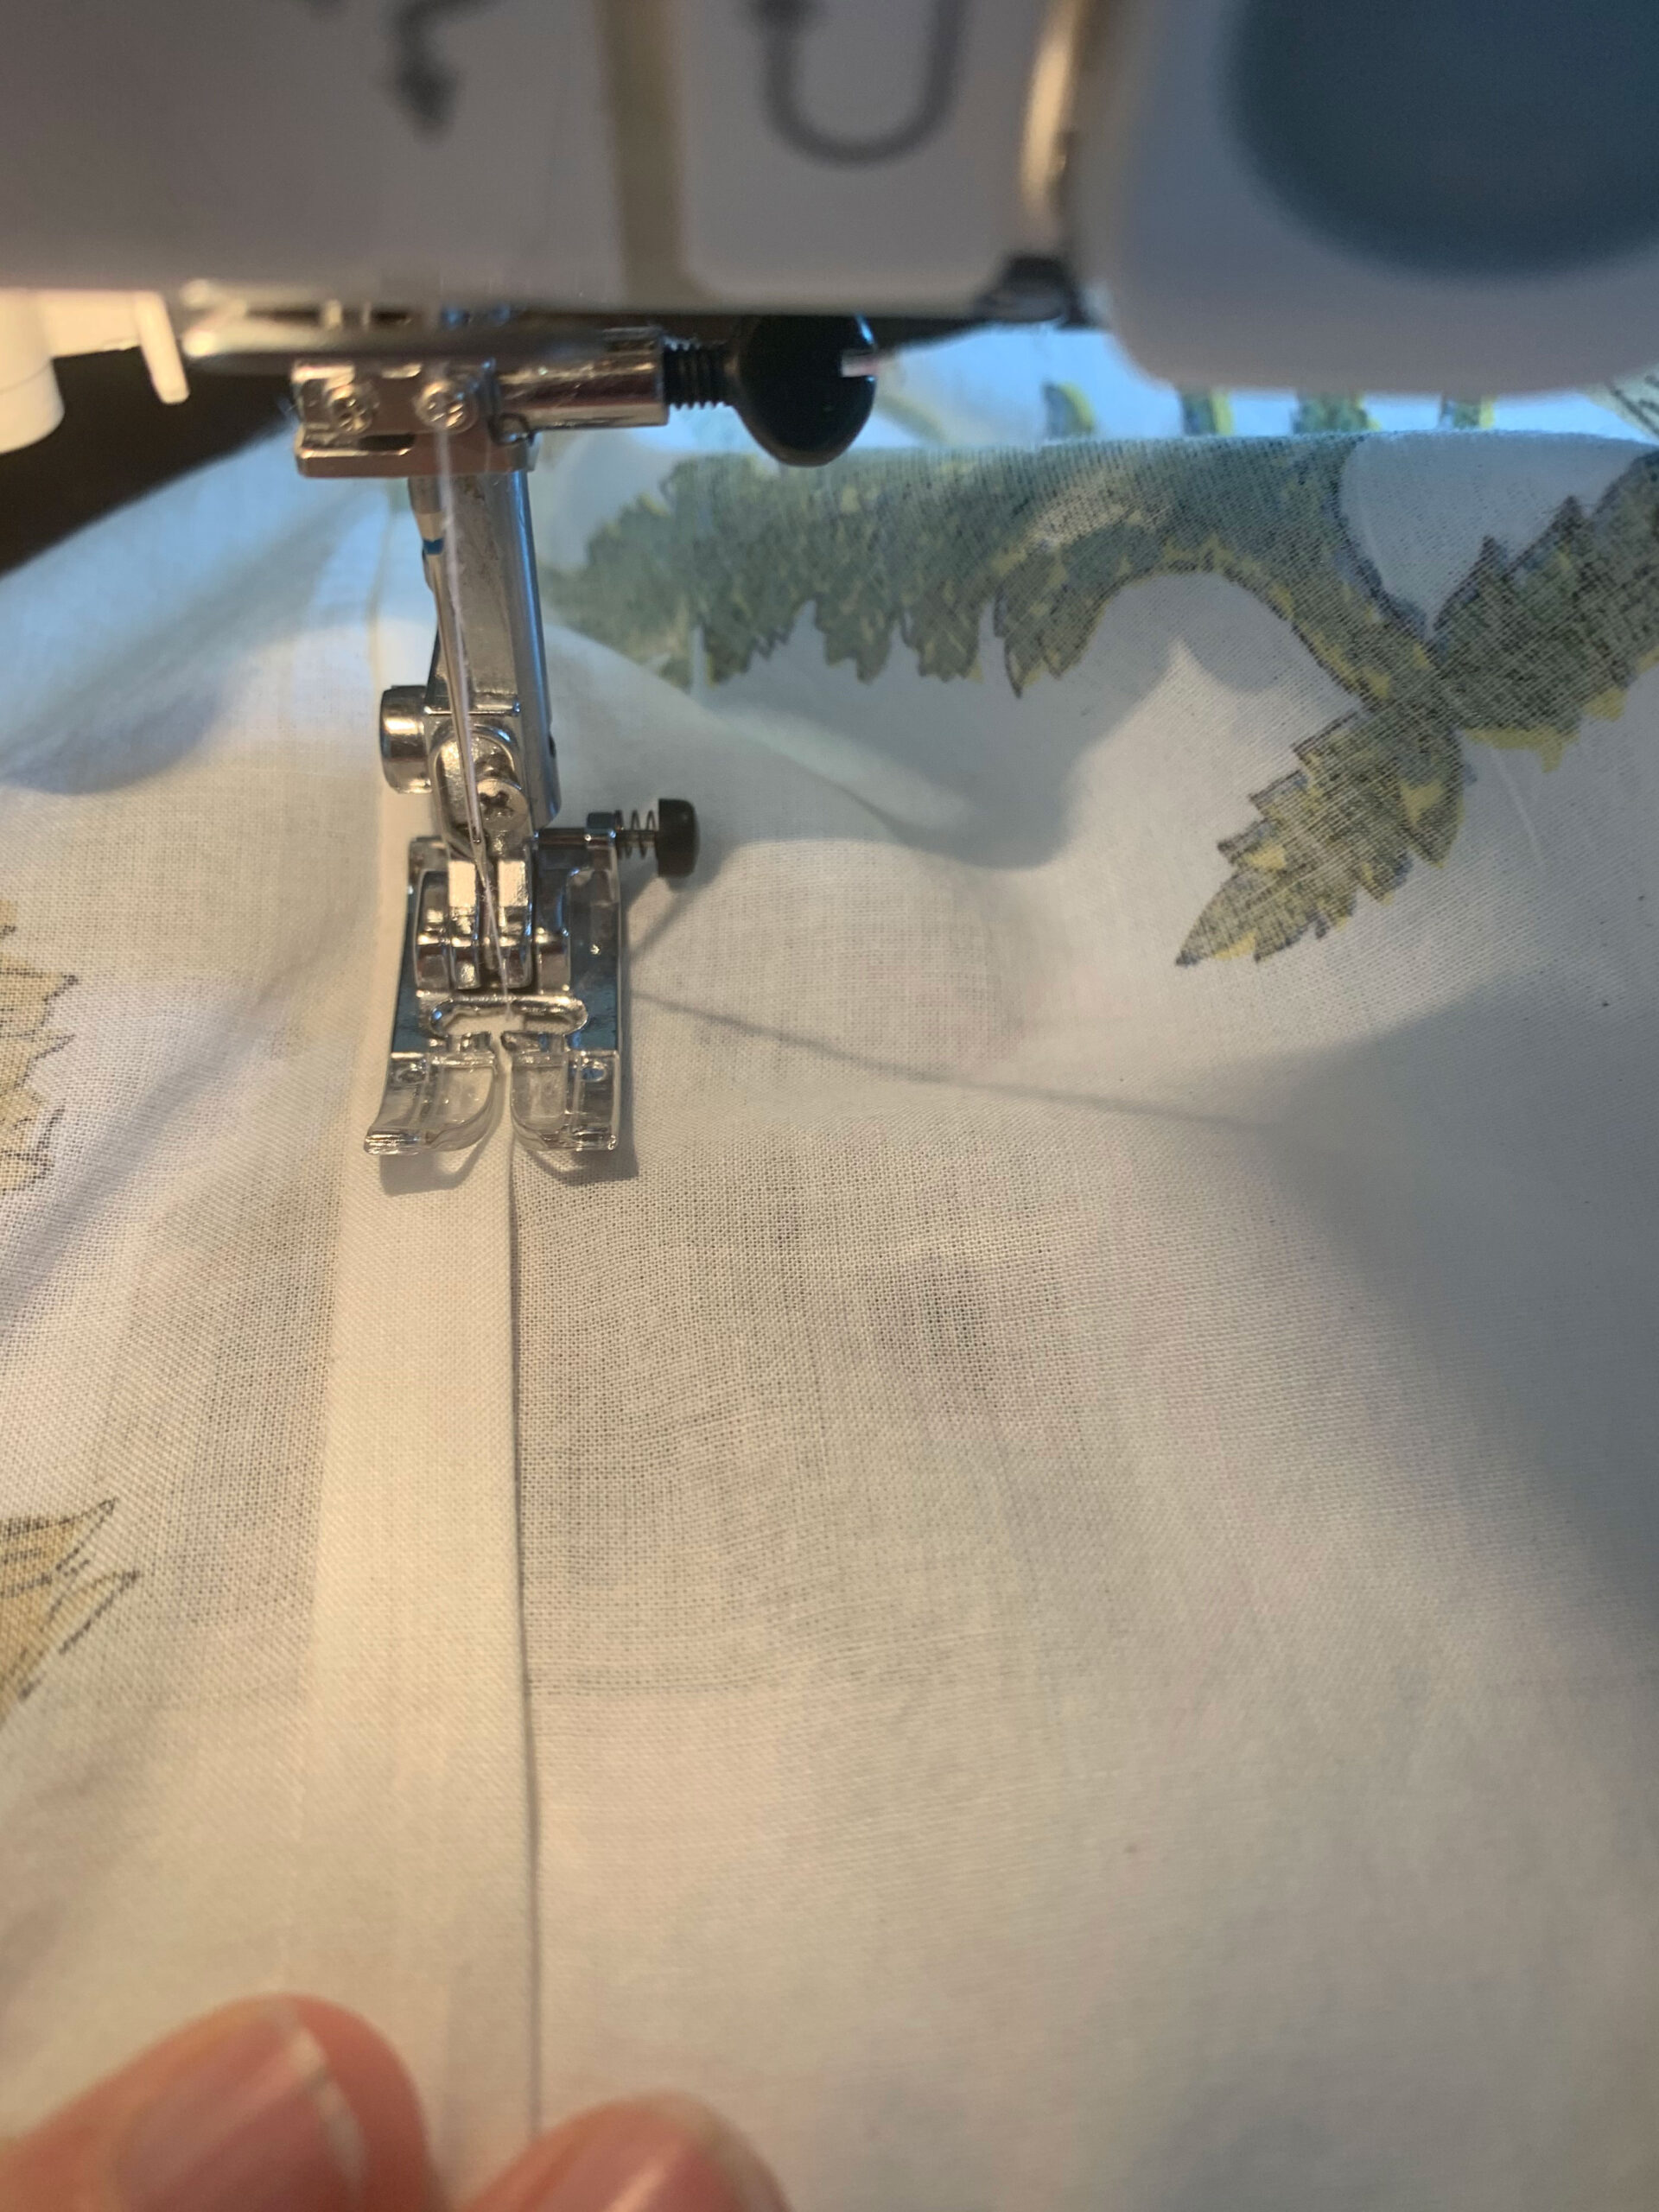
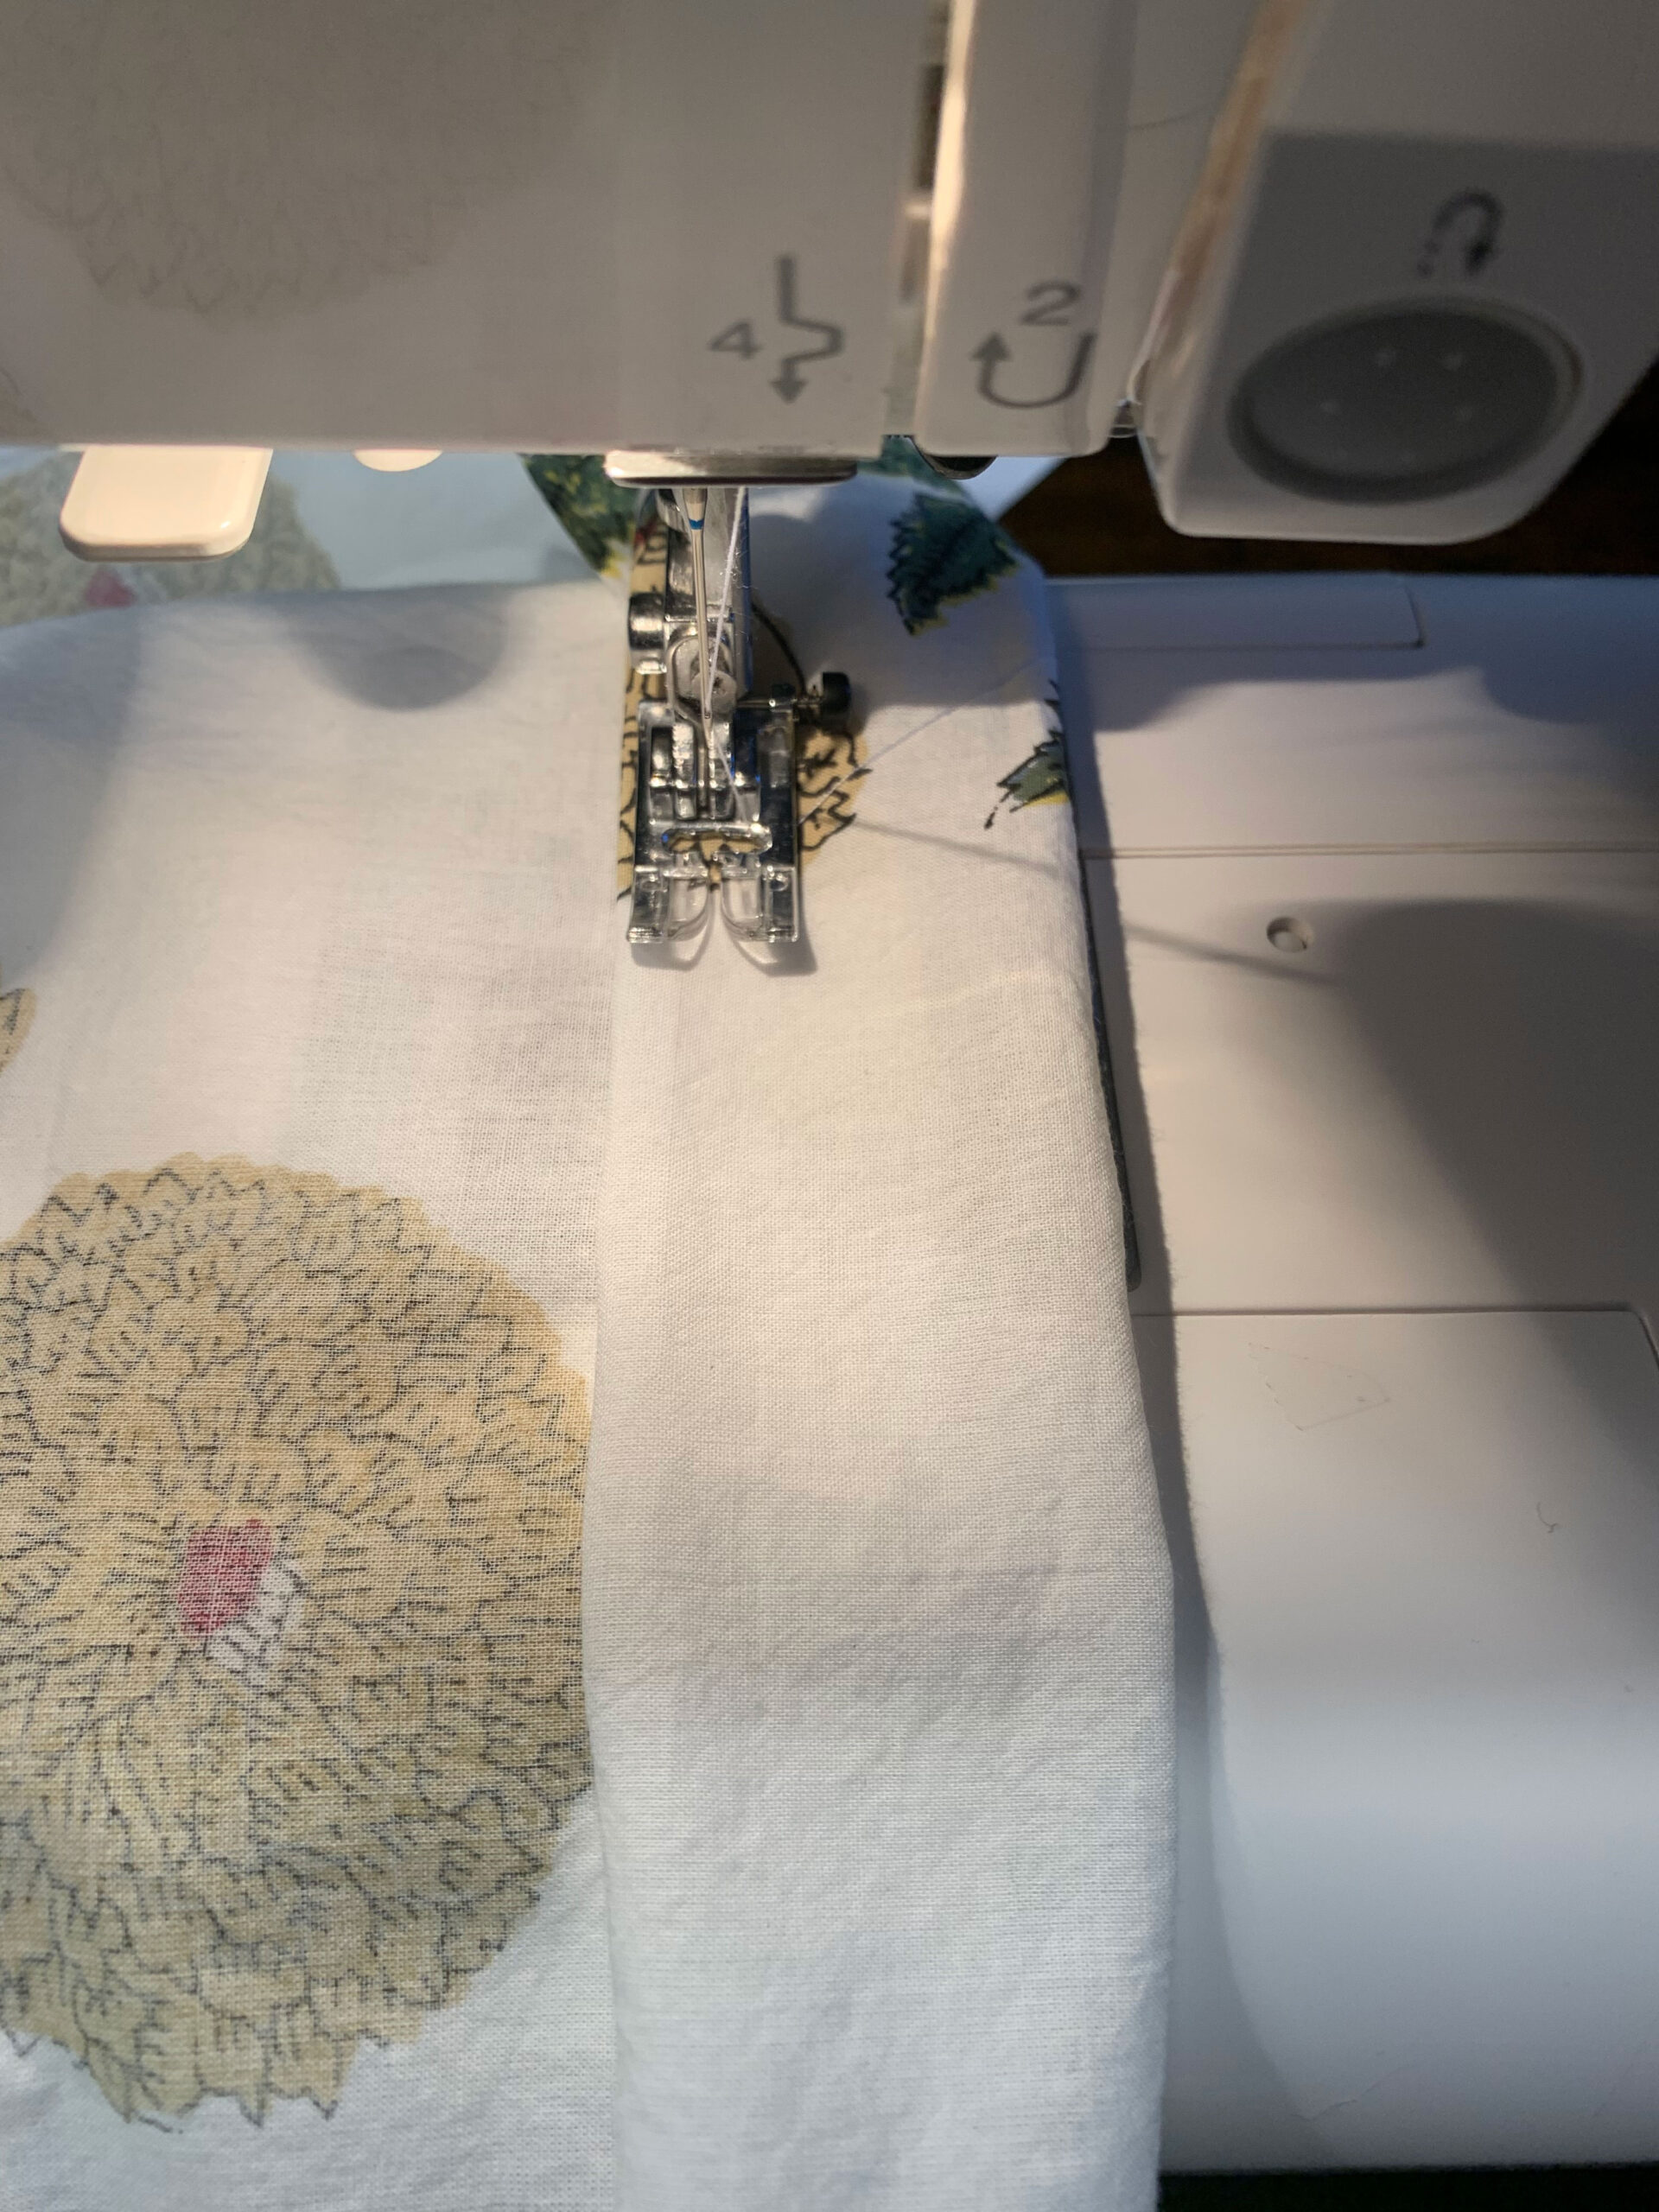
At any rate, if you don’t have a pattern to match, you would just pin the two right sides together and sew on the backside, leaving a generous 5/8” or so seam allowance. (This means, leave at least 5/8” between the sewn seam and the raw fabric edges.)
At this point I used the “phone a friend” option and asked my mom how to finish the back of this seam. She suggested a “Flat Felled Seam” which turned out to be pretty profesh looking. It would have been even more profesh had I sewed the seam the right way in step 5.
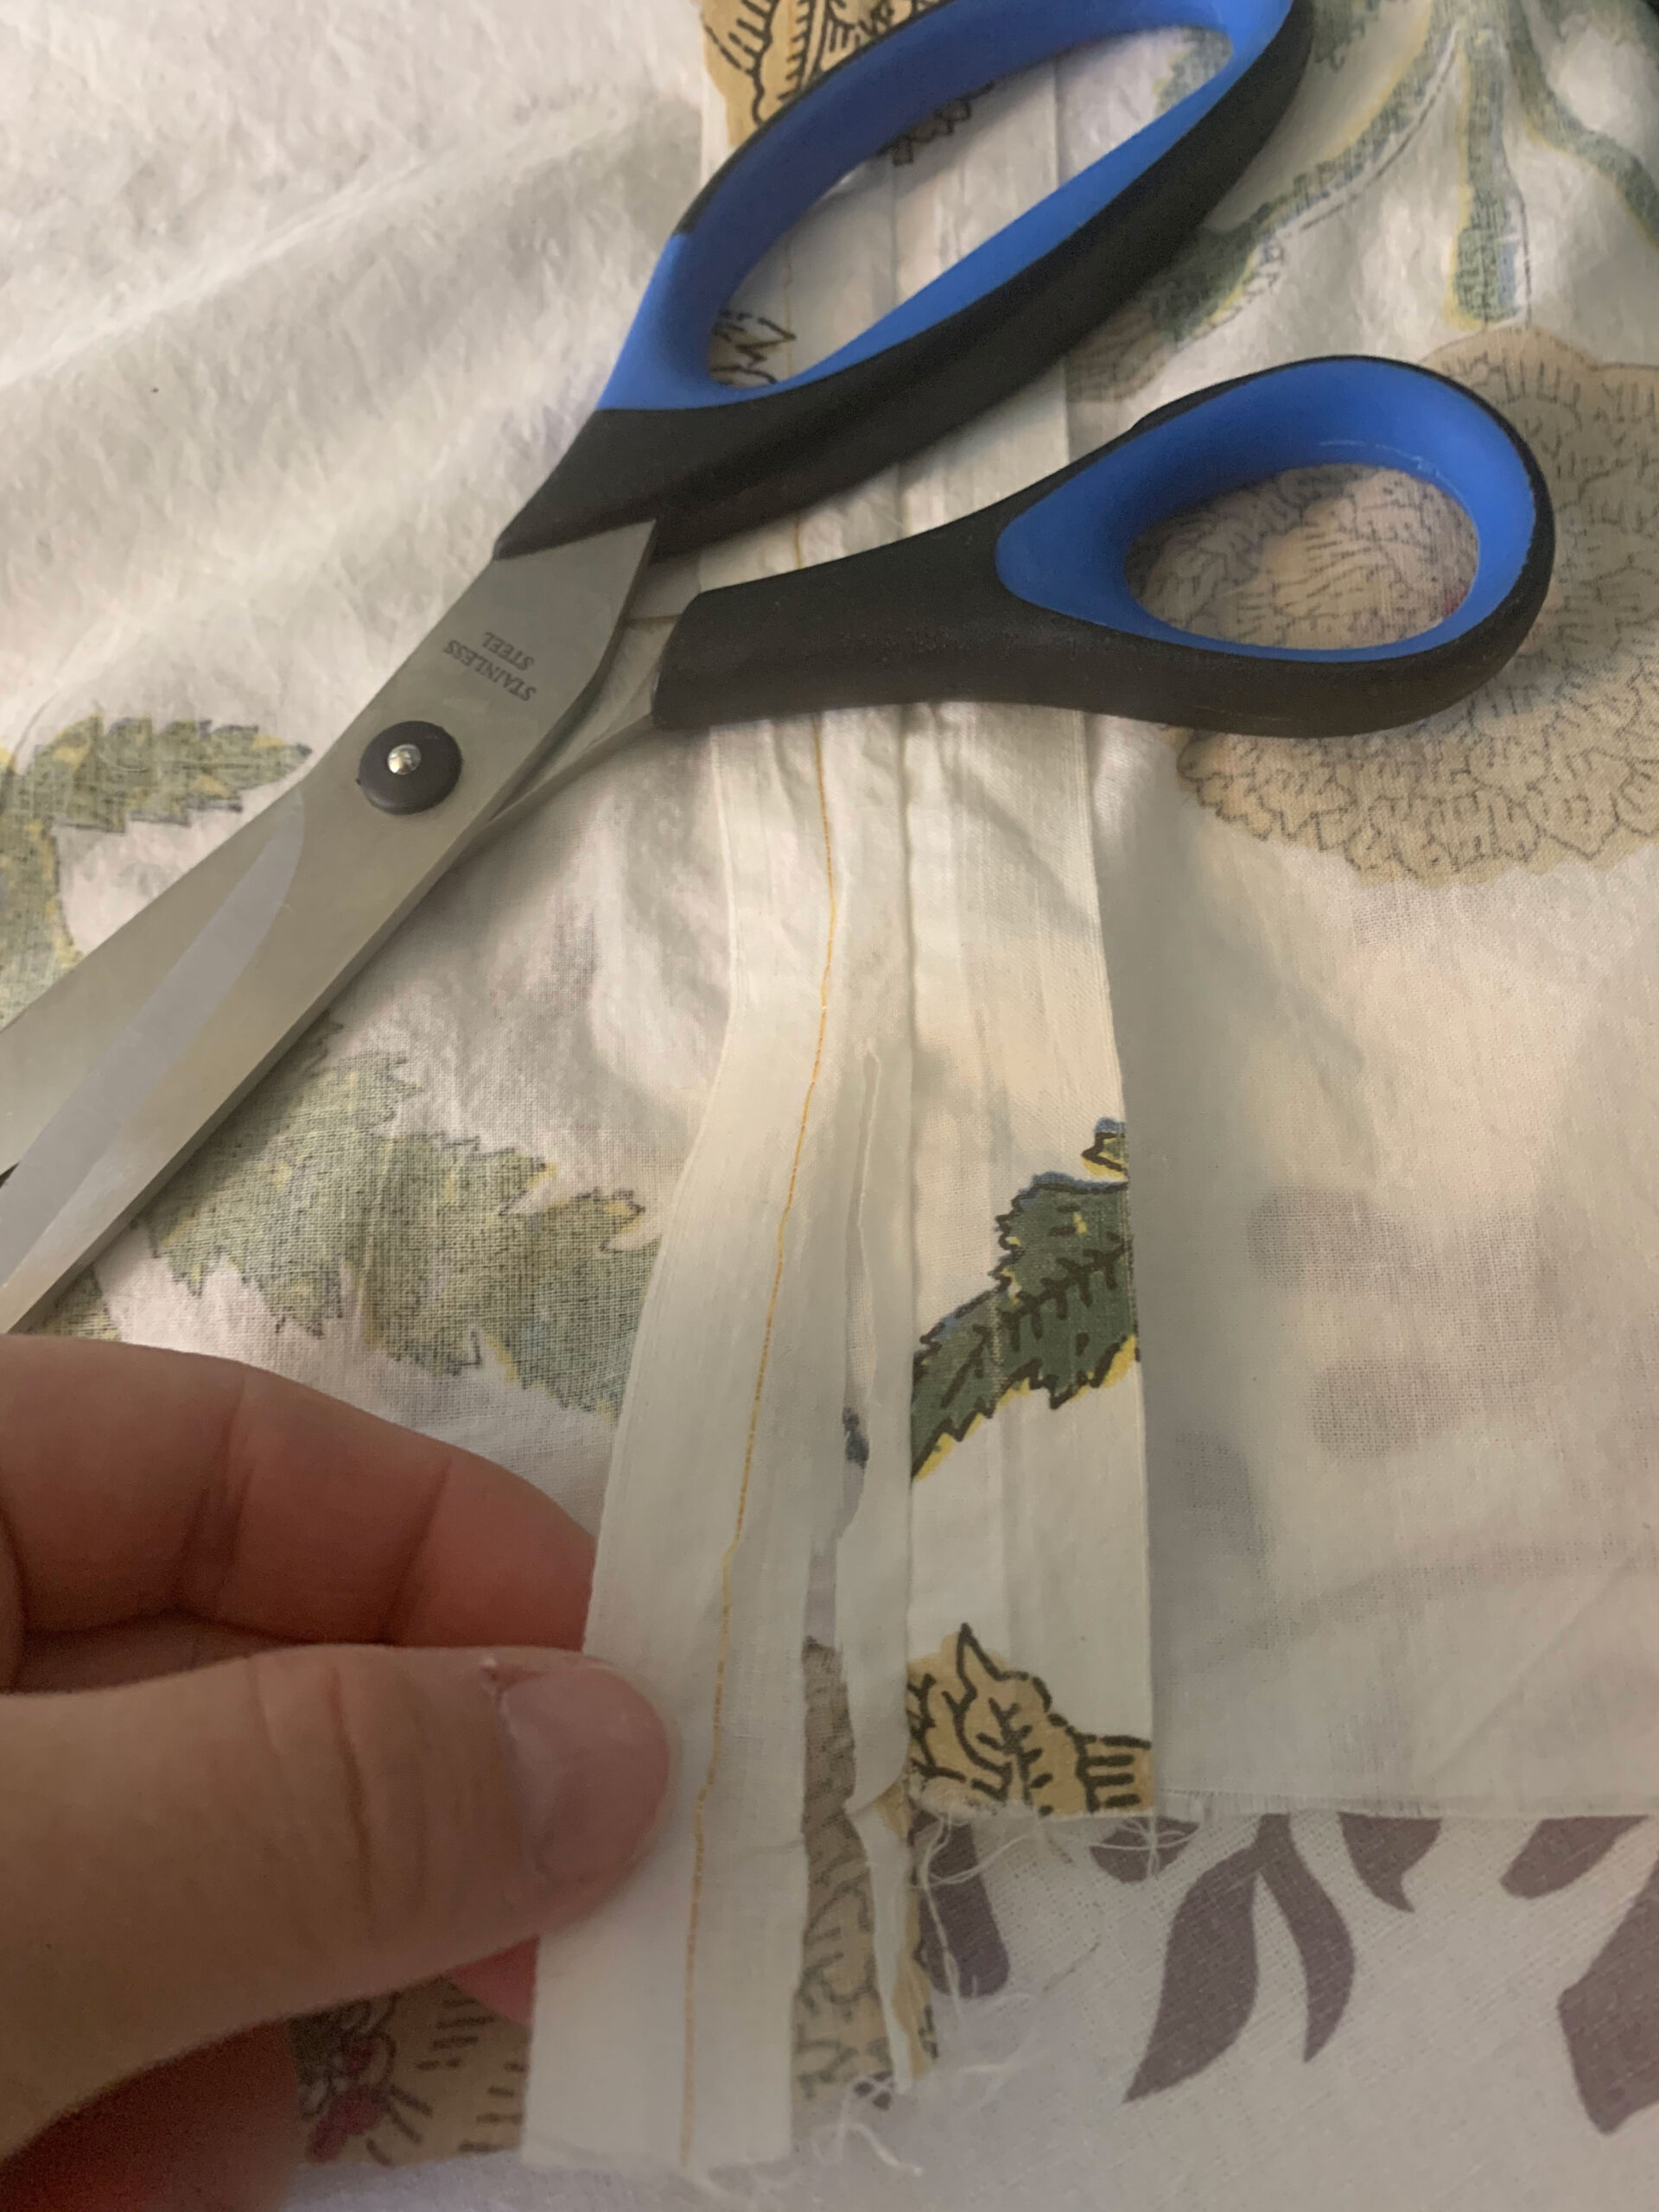
This is how you do a flat felled seam – a term for something that looks complicated and hard but actually is not. First, cut one-half of your generous seam “tail” off, or just trim it down as short as you can. Next, you are going to fold the other tail over once, and then over again, to create a little fold. Iron this in place, and once ironed you sew along the folded edge.
This sort of encases the two cut edges of your joined fabric inside that fold so you don’t have a raw edge or any fraying. That creates another seam on the front, which if you did your first seam properly, will be the only one that shows. On mine, there are two and it looks a little weird but LETS JUST FOCUS ON THAT BRILLIANT PATTERN MATCH OK?
Option B: If you don’t care about the back and you have a good factory edge you could skip the flat felled seam and just sew the two pieces together as in step 5 and iron the seam flat. I almost did that but got guilted into the flat felled seam by my mother. You do you. Who’s going to look at the back of your shower curtain? NO ONE.

This is how the seam looked before I tried to make it fancy. This could be left as is, because both edges were factory edges and shouldn’t fray. This is an easier way to join them and just fine for a shower curtain.
Hem the sides and top
Still with me? Whew, are you wishing you would have hired someone/ asked your mom to do this yet? No, just me? At any rate, stick with me because the rest is easy peasy I promise.
Now that you have your double wide widths of fabric, all you need to do is hem all the edges. If you have done any sewing I’m sure you know how to do this, but if not, it’s just a matter of folding, iron, fold, iron, sew. (Sewing feels like it’s more about ironing than sewing at times!)
I folded the sides over by 2” and ironed the crease. Then fold over another 2” and iron again. Pin, and sew along the edge. I did both sides in this manner.
Next, do the top seam. This one we made a little beefier as this is where the buttonholes will go. (Foreshadowing! Buttonholes are coming!) Fold over 4”, iron. Fold over another 4”, iron and pin. Then, sew along the folded edge. (I didn’t take any photos of this step as it’s the exact same as the previous step, but with a 4” hem instead of a 2”.)
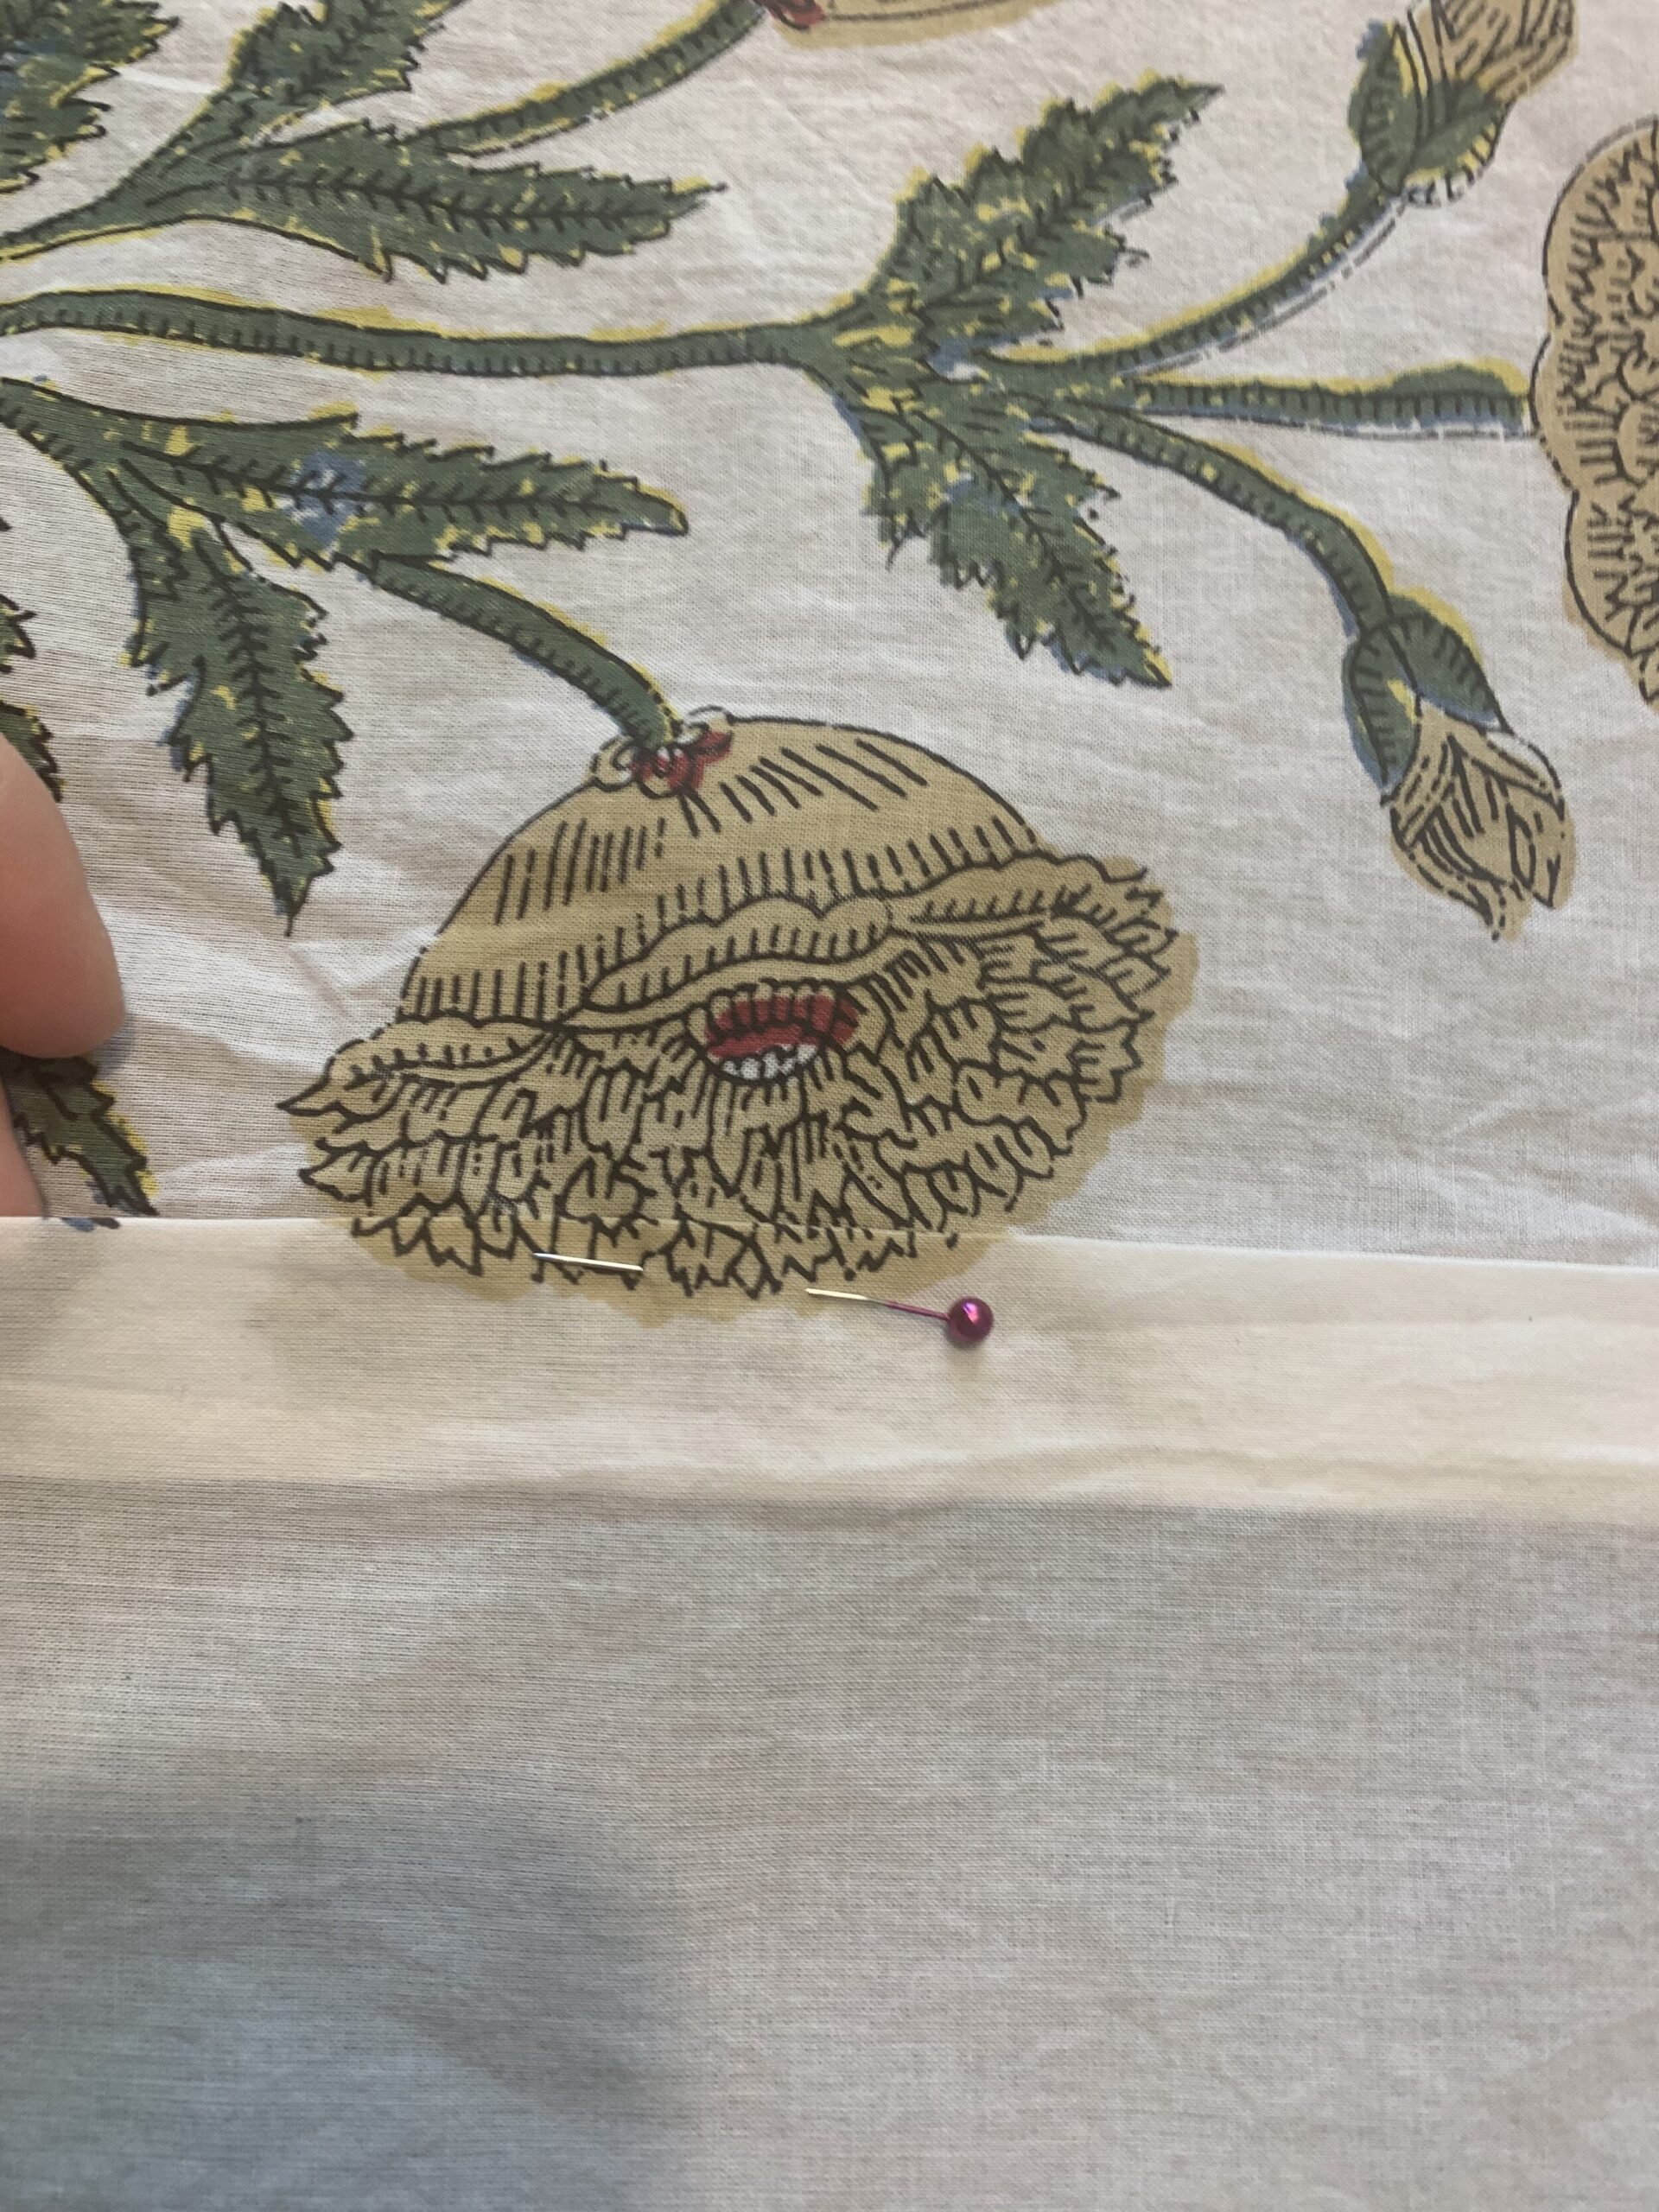
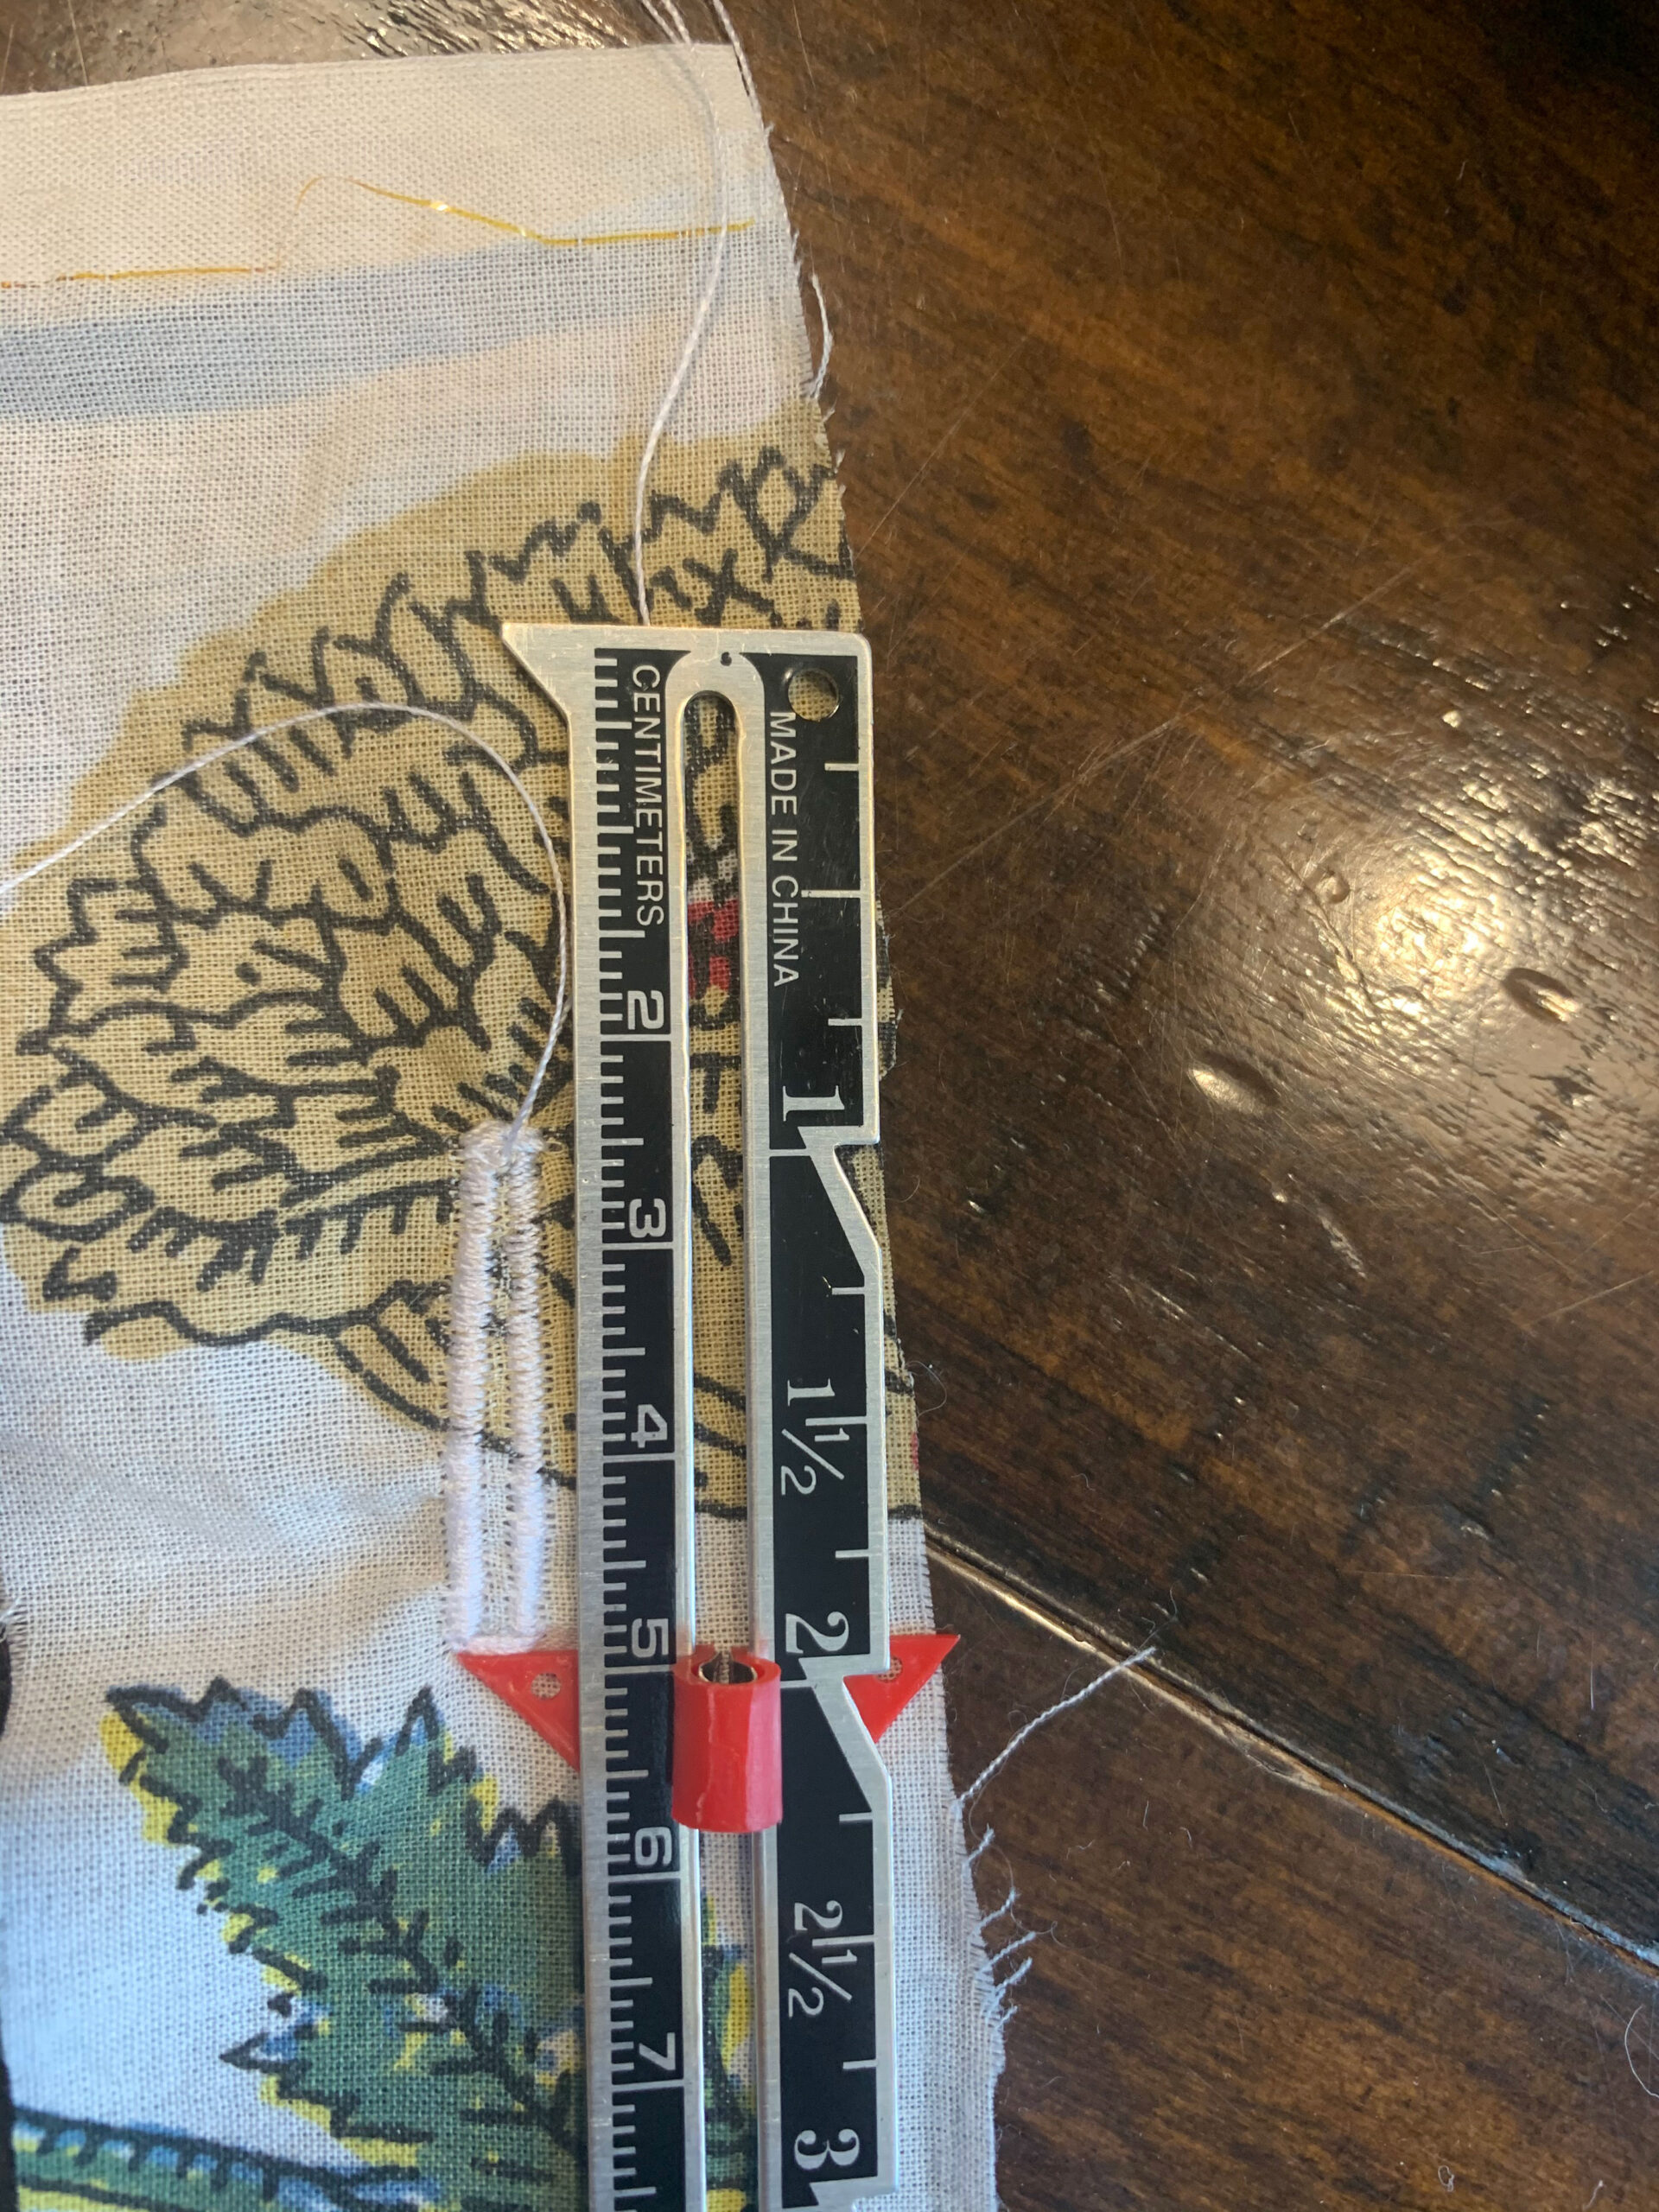
Add the Buttonholes
Before I hemmed the bottom I decided to do the buttonholes so I could hang the curtain up and measure the hem in place, as I don’t trust myself with measuring and accurate seams and all that jazz. You totally could hem the bottom and then do the buttons, I mean you can always move the shower curtain rod up or down a smidge if your final curtain length is off a bit, right? But if you are type A like me you are going to want to buttonhole next.
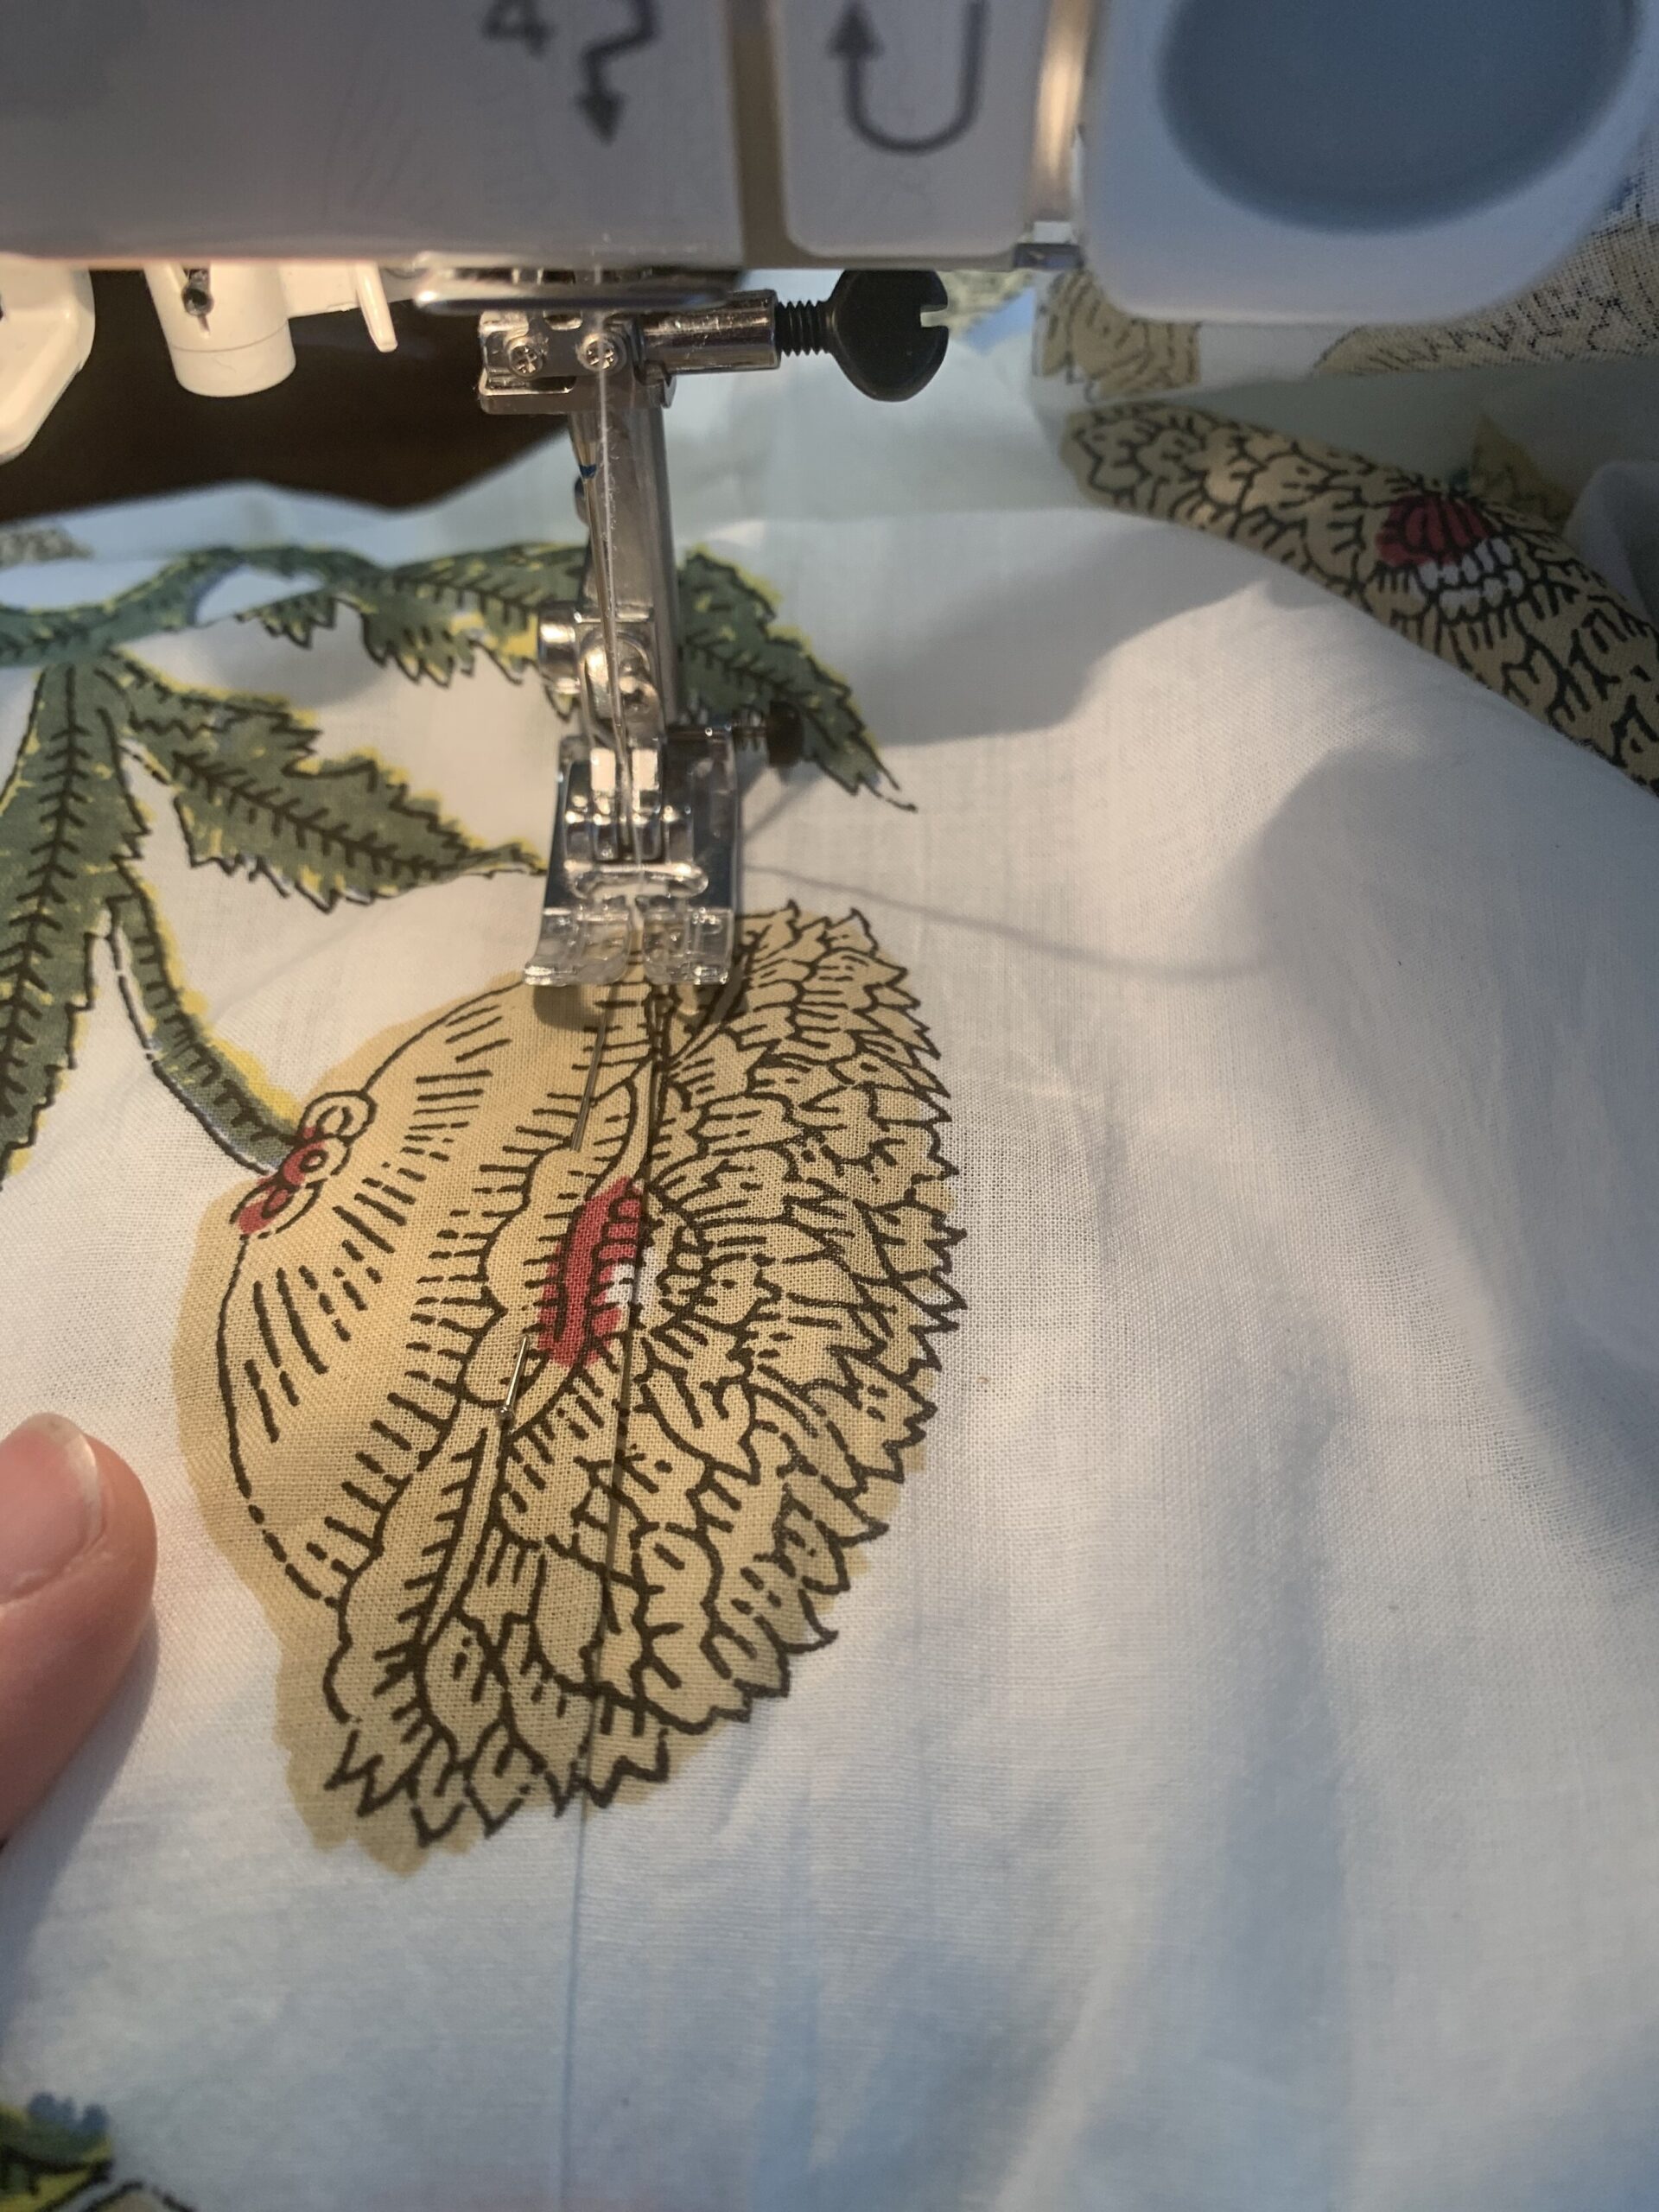
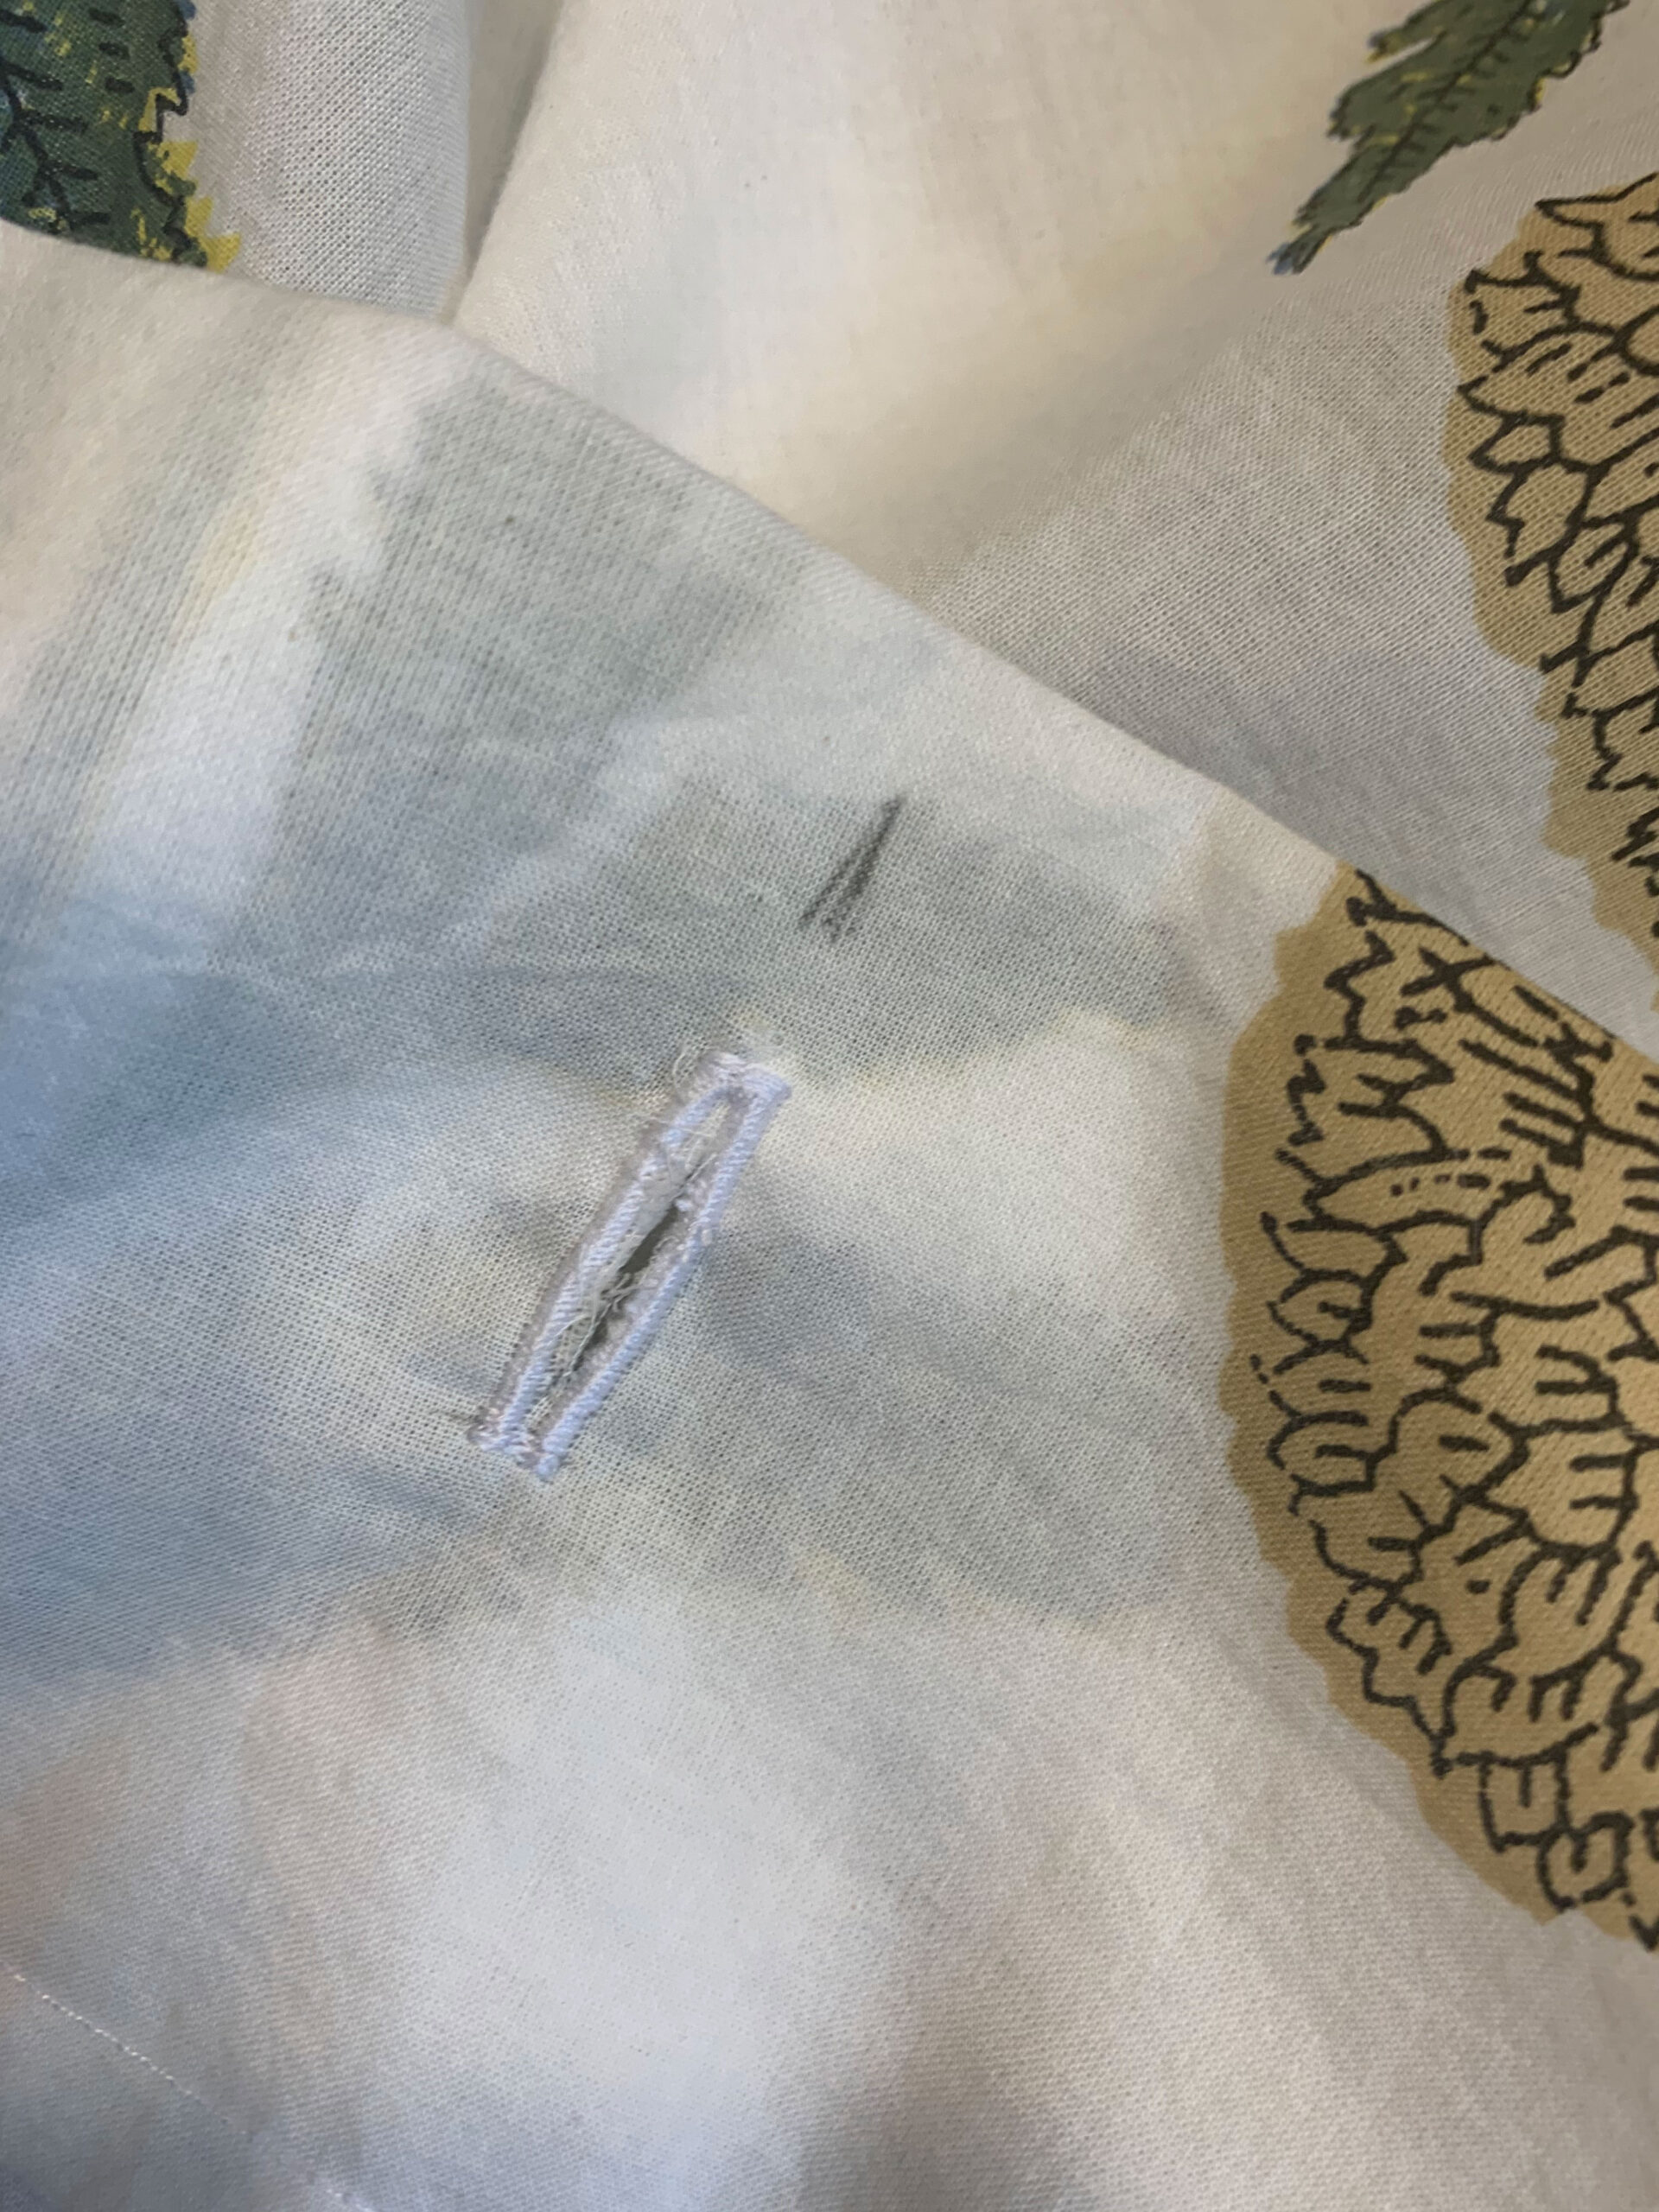
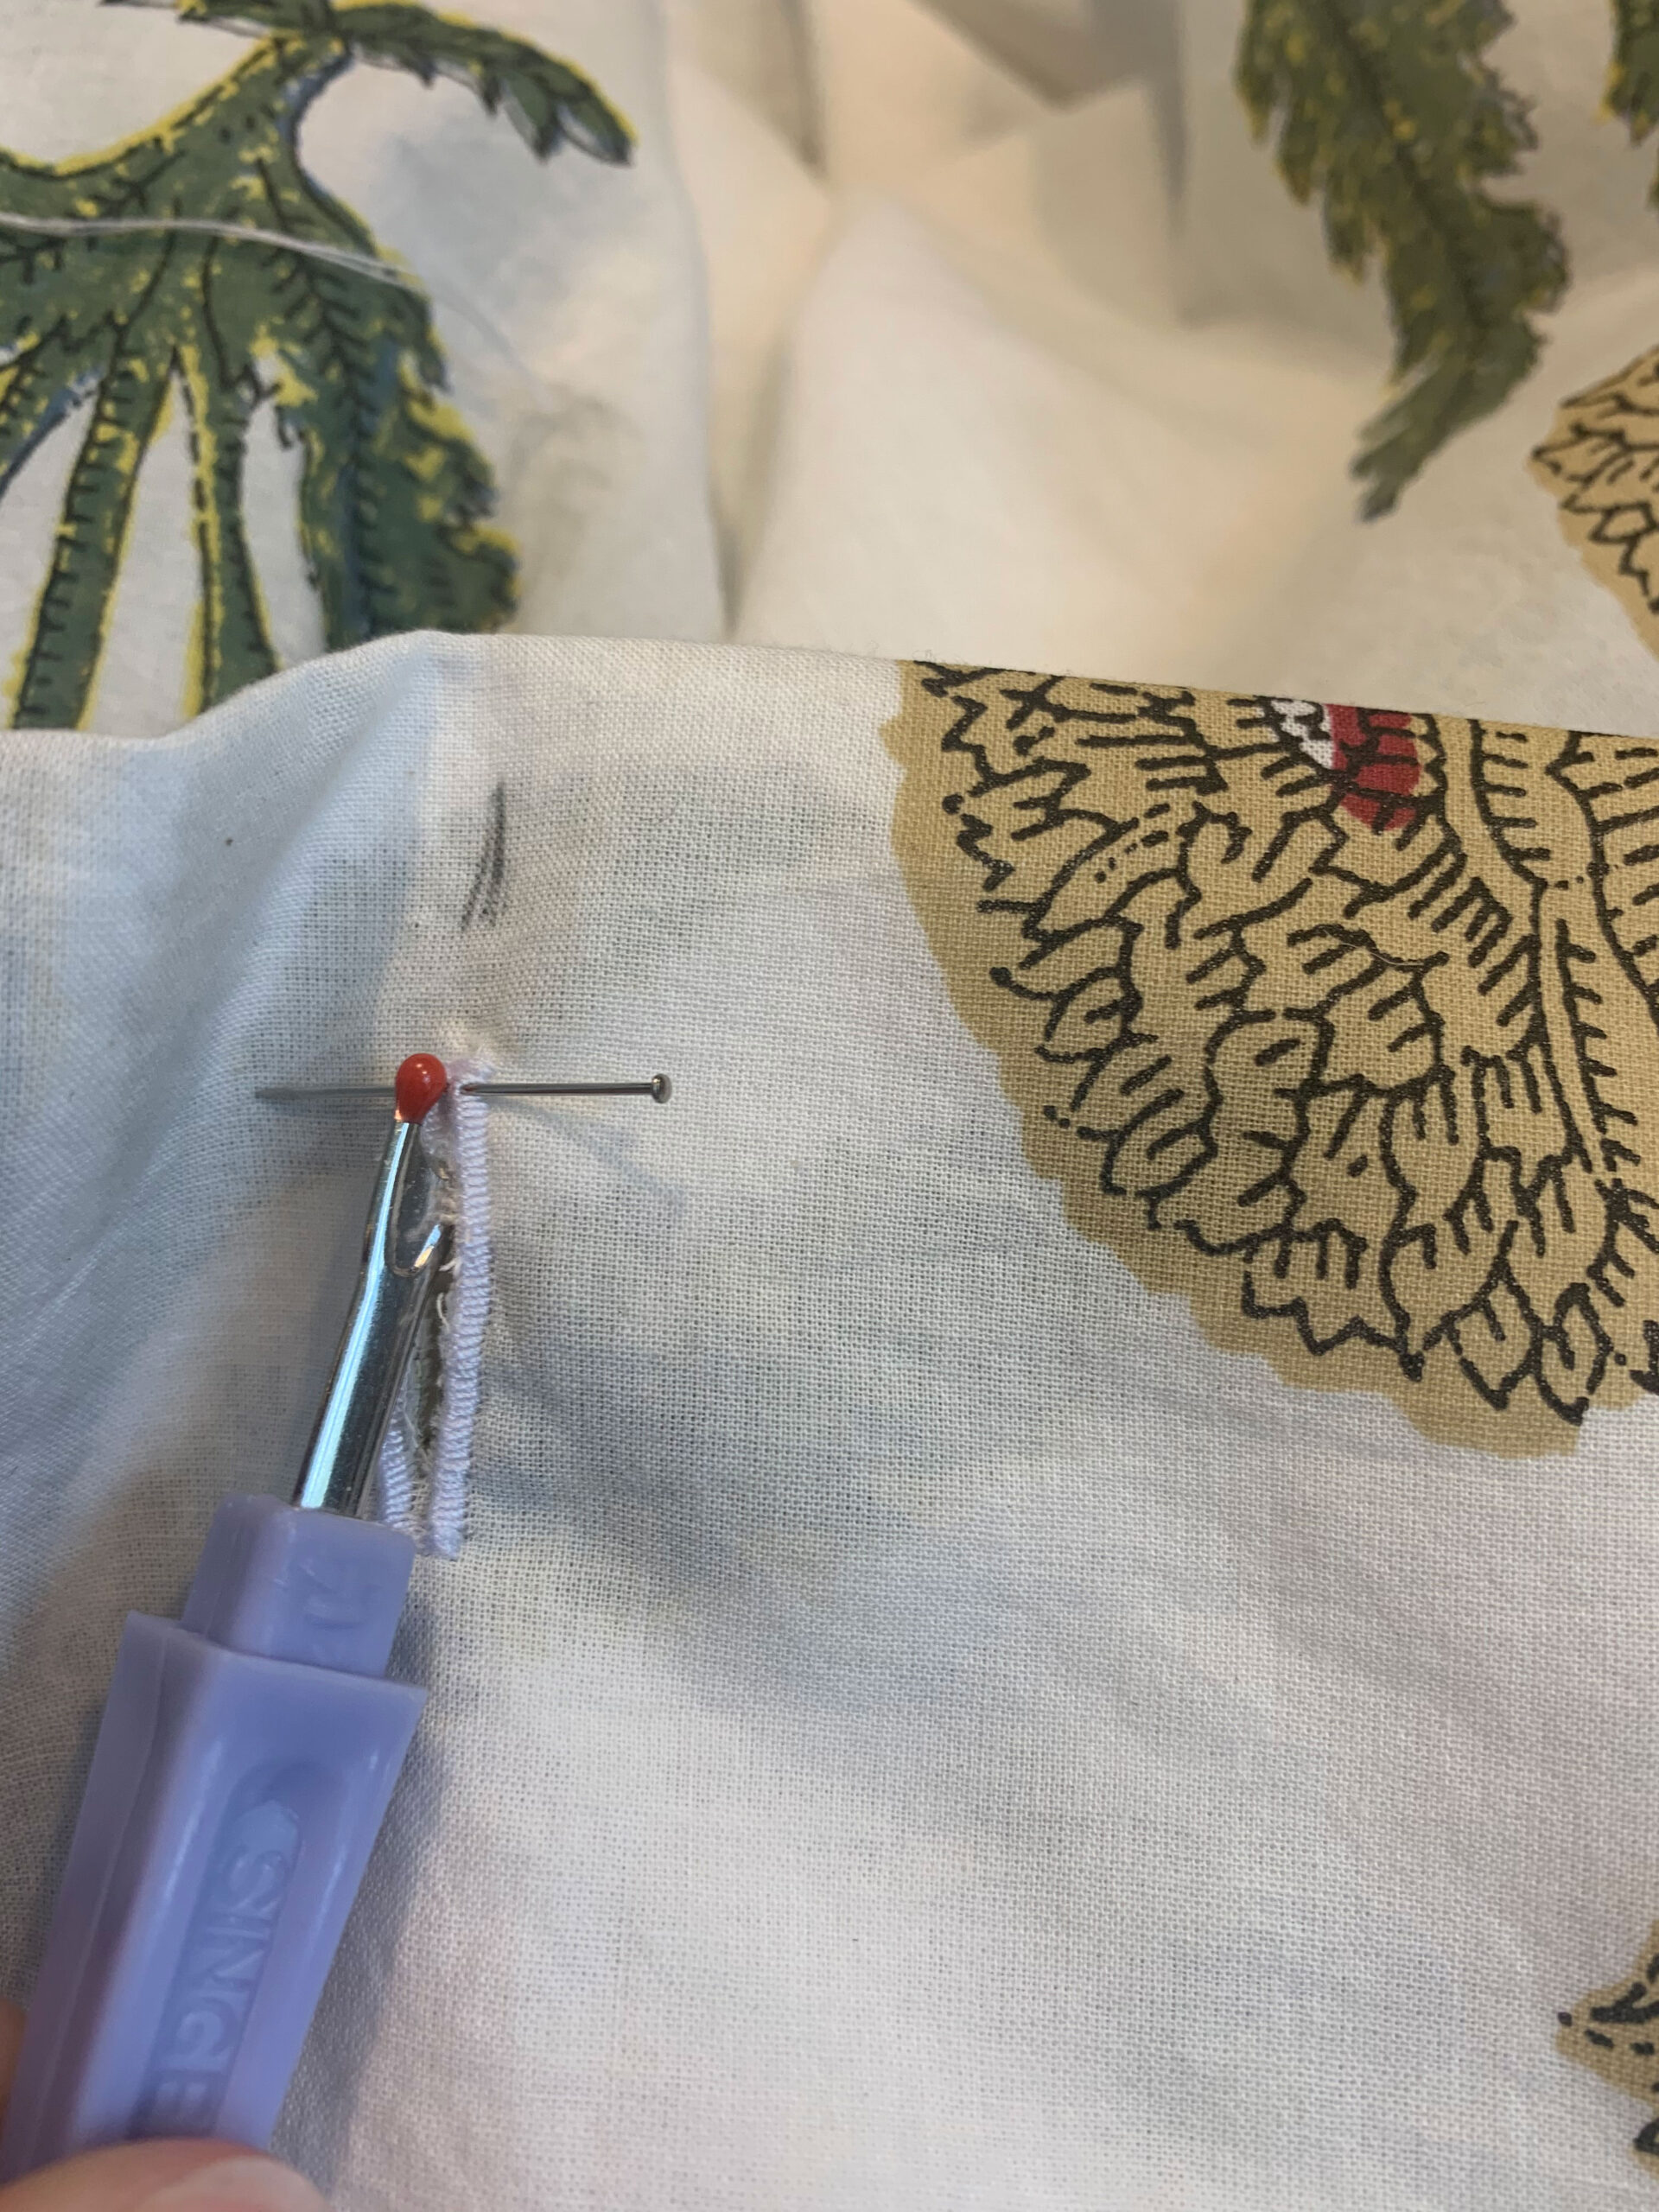
Disclaimer…. I’ve never done a buttonhole in my life, this is another thing that seems intimidating but is totally easy, or at least it is on my machine. I busted out the manual, found something called a “buttonhole foot” in my bag of parts that came with the machine, and changed the setting on the machine to “buttonhole”. I followed the directions for my machine (and of course I watched a YouTube video on it) but basically, it consisted of lining up the fabric, pushing the pedal to the metal and watching my machine magically make a buttonhole.
Once the sewing part is done, I inserted a pin into the top of the hole (to make sure I didn’t cut too far) and used a seam ripper to rip the fabric inside the buttonhole. I mean… how easy was that. WHAT ELSE NEEDS A BUTTON? I’m an expert now.
To figure out where to put the buttons, I marked where I wanted the two edge holes and measured the distance between them, and divided that by 11 (there are 12 rings on most shower curtains which means there are 11 spaces between them… remember that 5th-grade math?). I marked my fabric at these even intervals and added the buttonholes.
Once the buttonholes were all done I hung the curtain up and marked how long I wanted the bottom seam to be. It was very close to the 4” seam allowance that I had originally planned, so I could have just went for it, oh well. Fold up, iron, fold again to the final length, and iron and pin, and sew along the fold.
THAT’S IT!! I did this in a few hours on a Sunday afternoon. I think it’s way cuter than any (too short) cotton shower curtains I could find online! If I ever get tired of the block print I can just whip up new decorative curtains! I may have to refer to this here tutorial so I’m pretty glad I’m documenting it, I think next time it would go even faster.
Pin it for later:
FAQ’s
Where do you find an extra long shower curtain liner for the inside?
I have not had any luck finding long plastic shower curtains locally but a good place to find them is on Amazon. This is the one I bought.
Does the tall shower curtain block natural light?
Having the extra long curtain go all the way up definitely blocks the light from the bathroom so if you are planning this project, make sure you have a light source inside the shower such as a window or a light.
How high to mount curtain rods?
I put my tension rod right at the ceiling and make sure I have the curtain rings in place before I measure how long I need the shower curtain to be. Alternatively, you can use a curtain track which honestly is a game-changer for shower curtains! I go over how to do that in this post. But basically, however you are planning to mount your bathroom shower curtain, make sure you have that in place before you start making your DIY decorative shower curtains so you can measure properly.
Where do I find fabric for a shower curtain?
Your local fabric store, Etsy, or online designer fabric stores are all good options. You can make a shower curtain out of literally anything that is wide and long enough, so think outside the box! A tablecloth? A flat sheet? It all works.
Coming Up:
So next week is the reveal!! Will my fixtures make it in time? That is still TBD but fingers and toes are all crossed.
Be sure to go back to the One Room Challenge website and check out what the other participants are up to! We will see you next week!

CLICK ON THE IMAGE ABOVE TO BE RE-DIRECTED TO THE ORC WEBSITE!
I also wanted to give a shout-out to the brands that are partnering with me on this project by generously providing products, I can’t wait to show you the goodies they are sending over!
You might also like:
- DIY Pinch Pleat Curtains
- How to Make Lined, Pleated Curtains
- One Room Challenge Spring 2022 Week 7 – The Finishing Details
- DIY Dowel Curtain Rod with Gold Brackets and End Caps
- Best Budget Curtains for a High-End Look
- Bathroom Remodel Checklist and Guide!
- How to Make an Easy DIY Upholstered Headboard

I definitely am digging a full length curtain…it gives a more designer look too the room. Thanks for the step by step instructions.. great job
So very beautifully done! I am sure your kids will appreciate it for many years to come.
Weird question, the pattern on your fabric is going the opposite of the typical way, did you know that when you bought the fabric? Ie your pattern is set up for the length of the fabric not the width. This works out perfectly for your curtain but it’s not the norm right? Or is that the way most Indian block print fabrics are?
My experience is that most fabric runs the long way just like this, but you are right its important to consider the direction of the pattern.
Great directions – thanks! Question though……….if you use 50″+ wide fabric, seam it lengthwise and leave the extra width, and the curtain is extra long – how do you find a liner that works with this?
If you check the FAQ section I linked a long shower liner, I have found all of mine on Amazon!
Beautiful! I have never had a full length shower curtain before, and I love how it looks! I have a related question…where did you buy your curtain rod? I’ve purchased at different locations and they don’t last long (the tension doesn’t last). Thanks!
I originally had a tension rod but it got all rusty, so I replaced it with a ceiling mounted curtain track! I love it so much, its so much smoother.