How to Remove Lacquer from Brass (and Age it using Vinegar! )
One Room Challenge Spring 2021 -Week 6
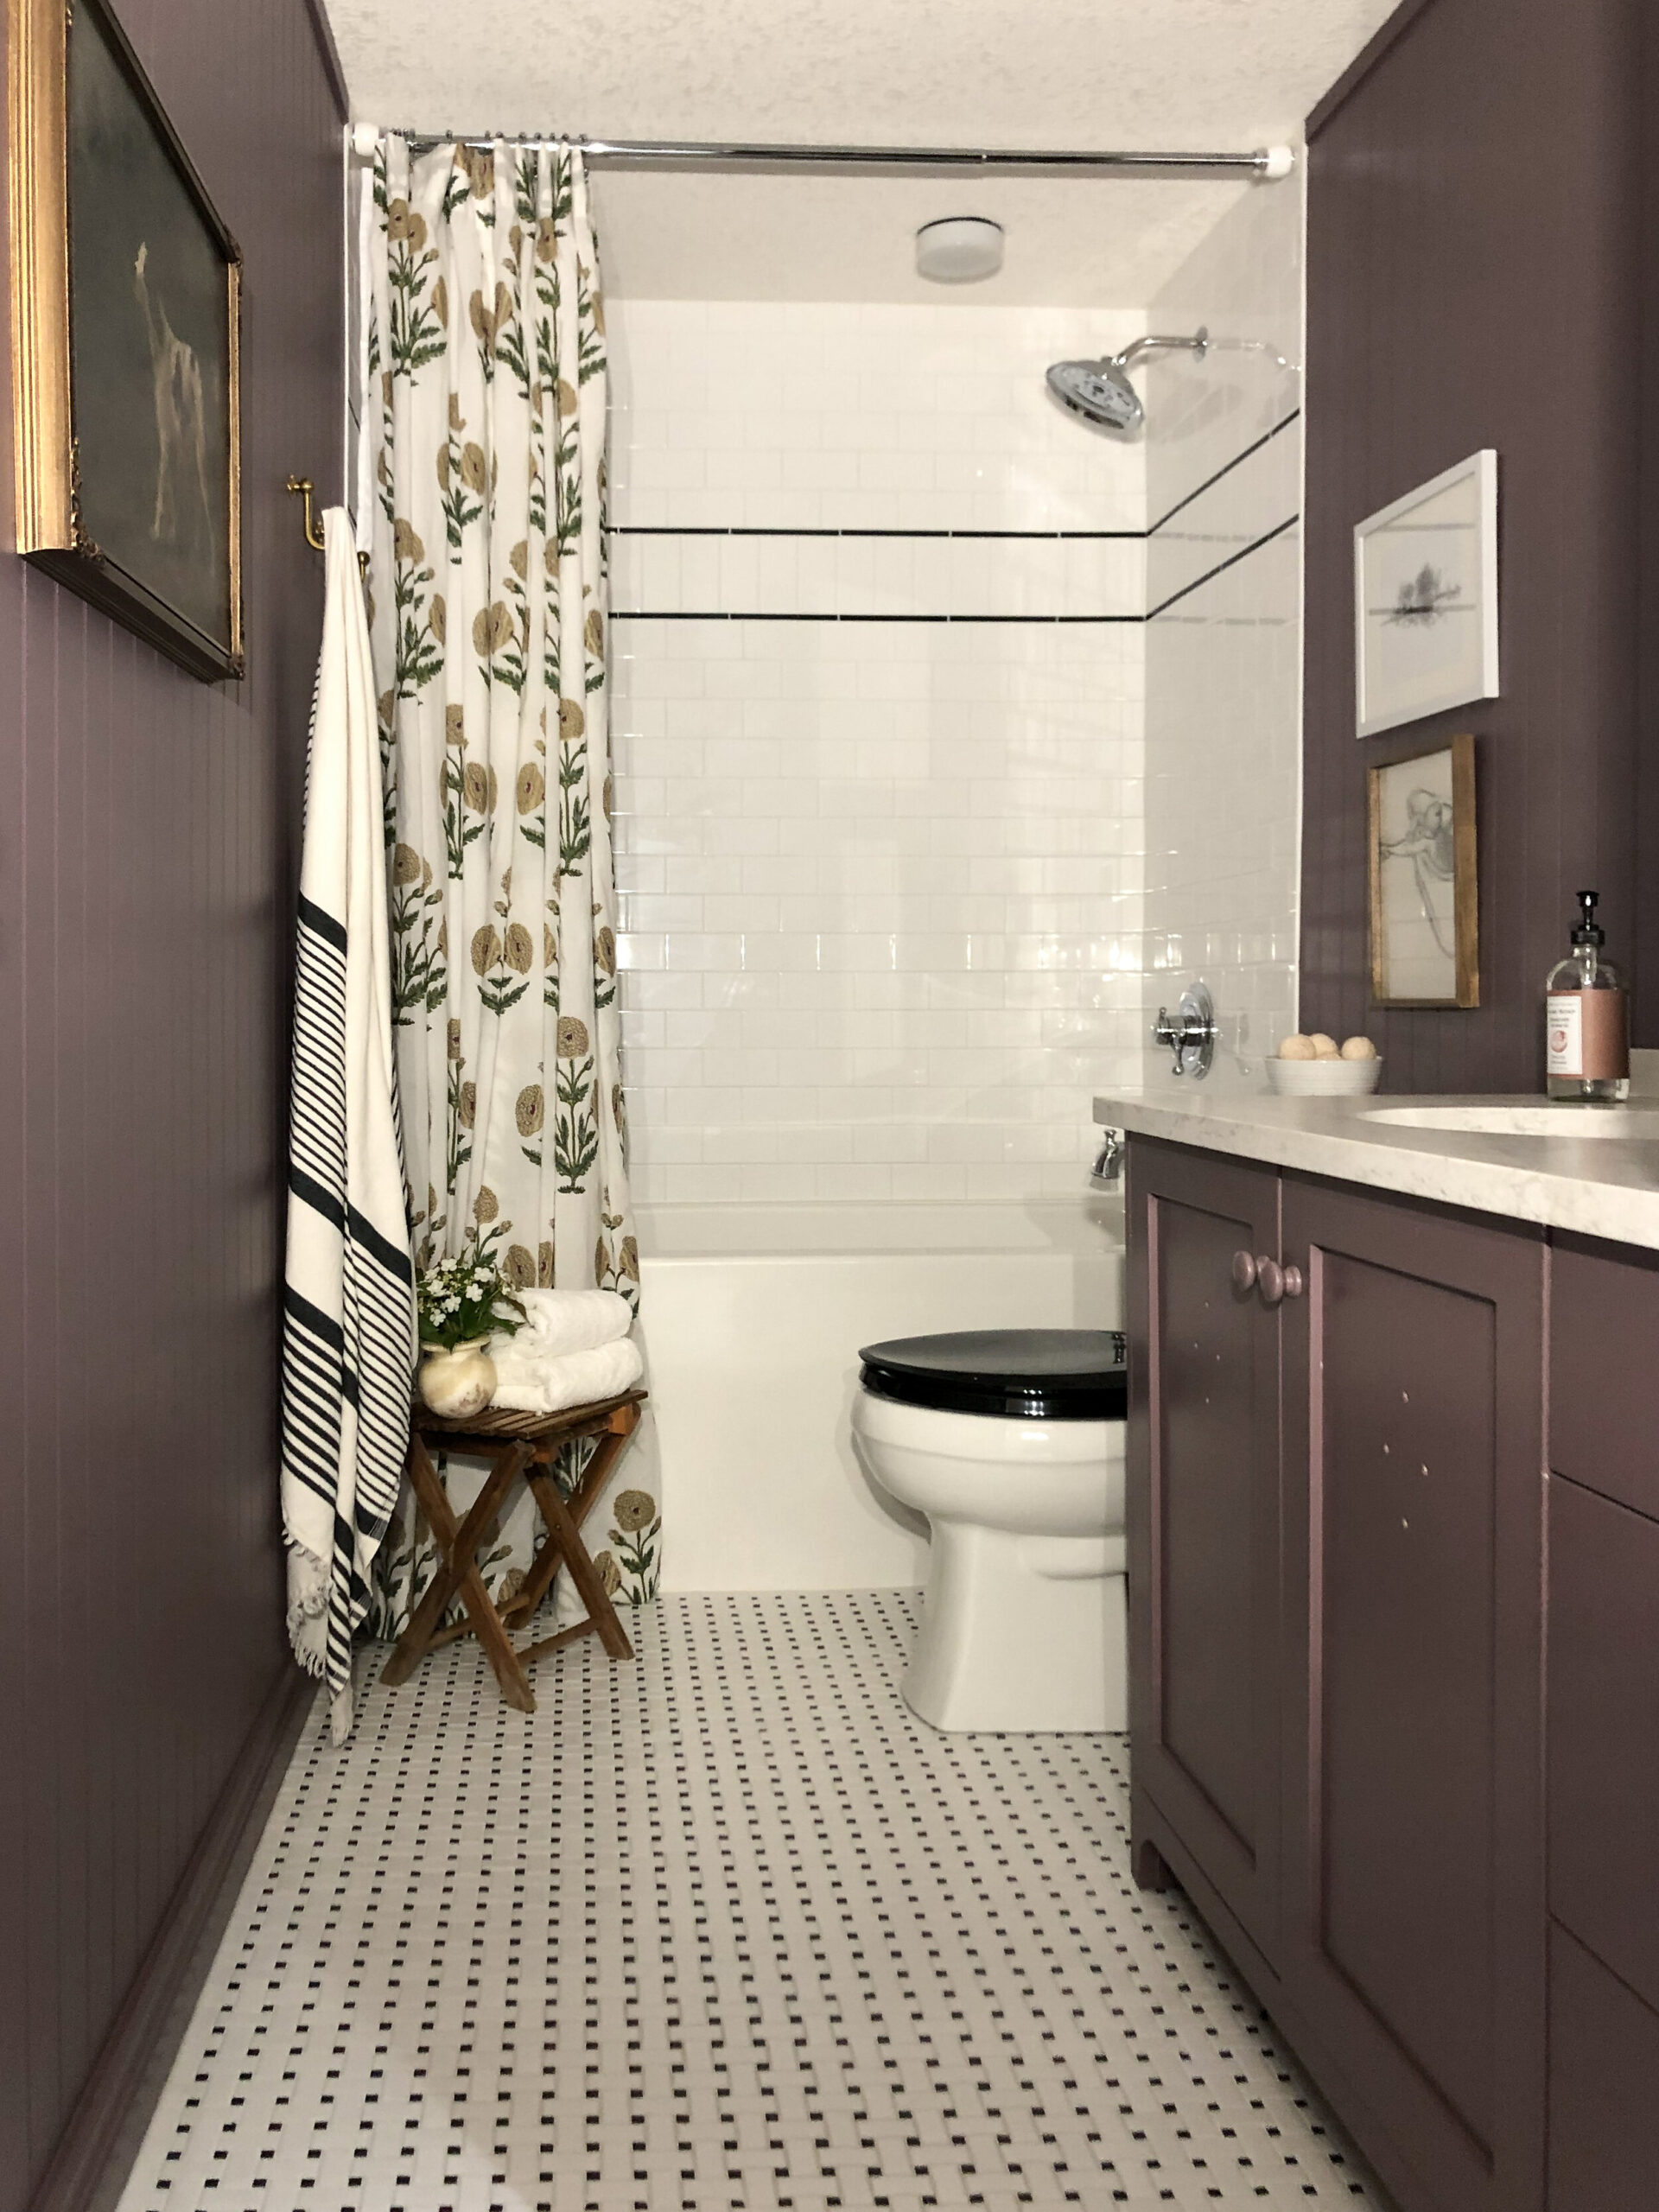
This week, I’m going to show you how to remove lacquer from brass and age it using vinegar! I’m also going to give you a One Room Challenge update. If you’ve hopped over from the One Room Challenge website, welcome! We are deep into the renovation of our kid’s bathroom, nearing the finish line for sure! You can read all about our progress here:
Week 1/ Week 2/ Week 3/ Week 4/ Week 5
This post may contain affiliate links. That means if you purchase anything from these links I earn a small commission, at no extra cost to you! This helps support my blog, so thank you!
Table of Contents
- One Room Challenge Spring 2021 -Week 6
- One Room Challenge Update
- How to Remove Lacquer from Brass and Age (Using Vinegar!)
One Room Challenge Update
Paint
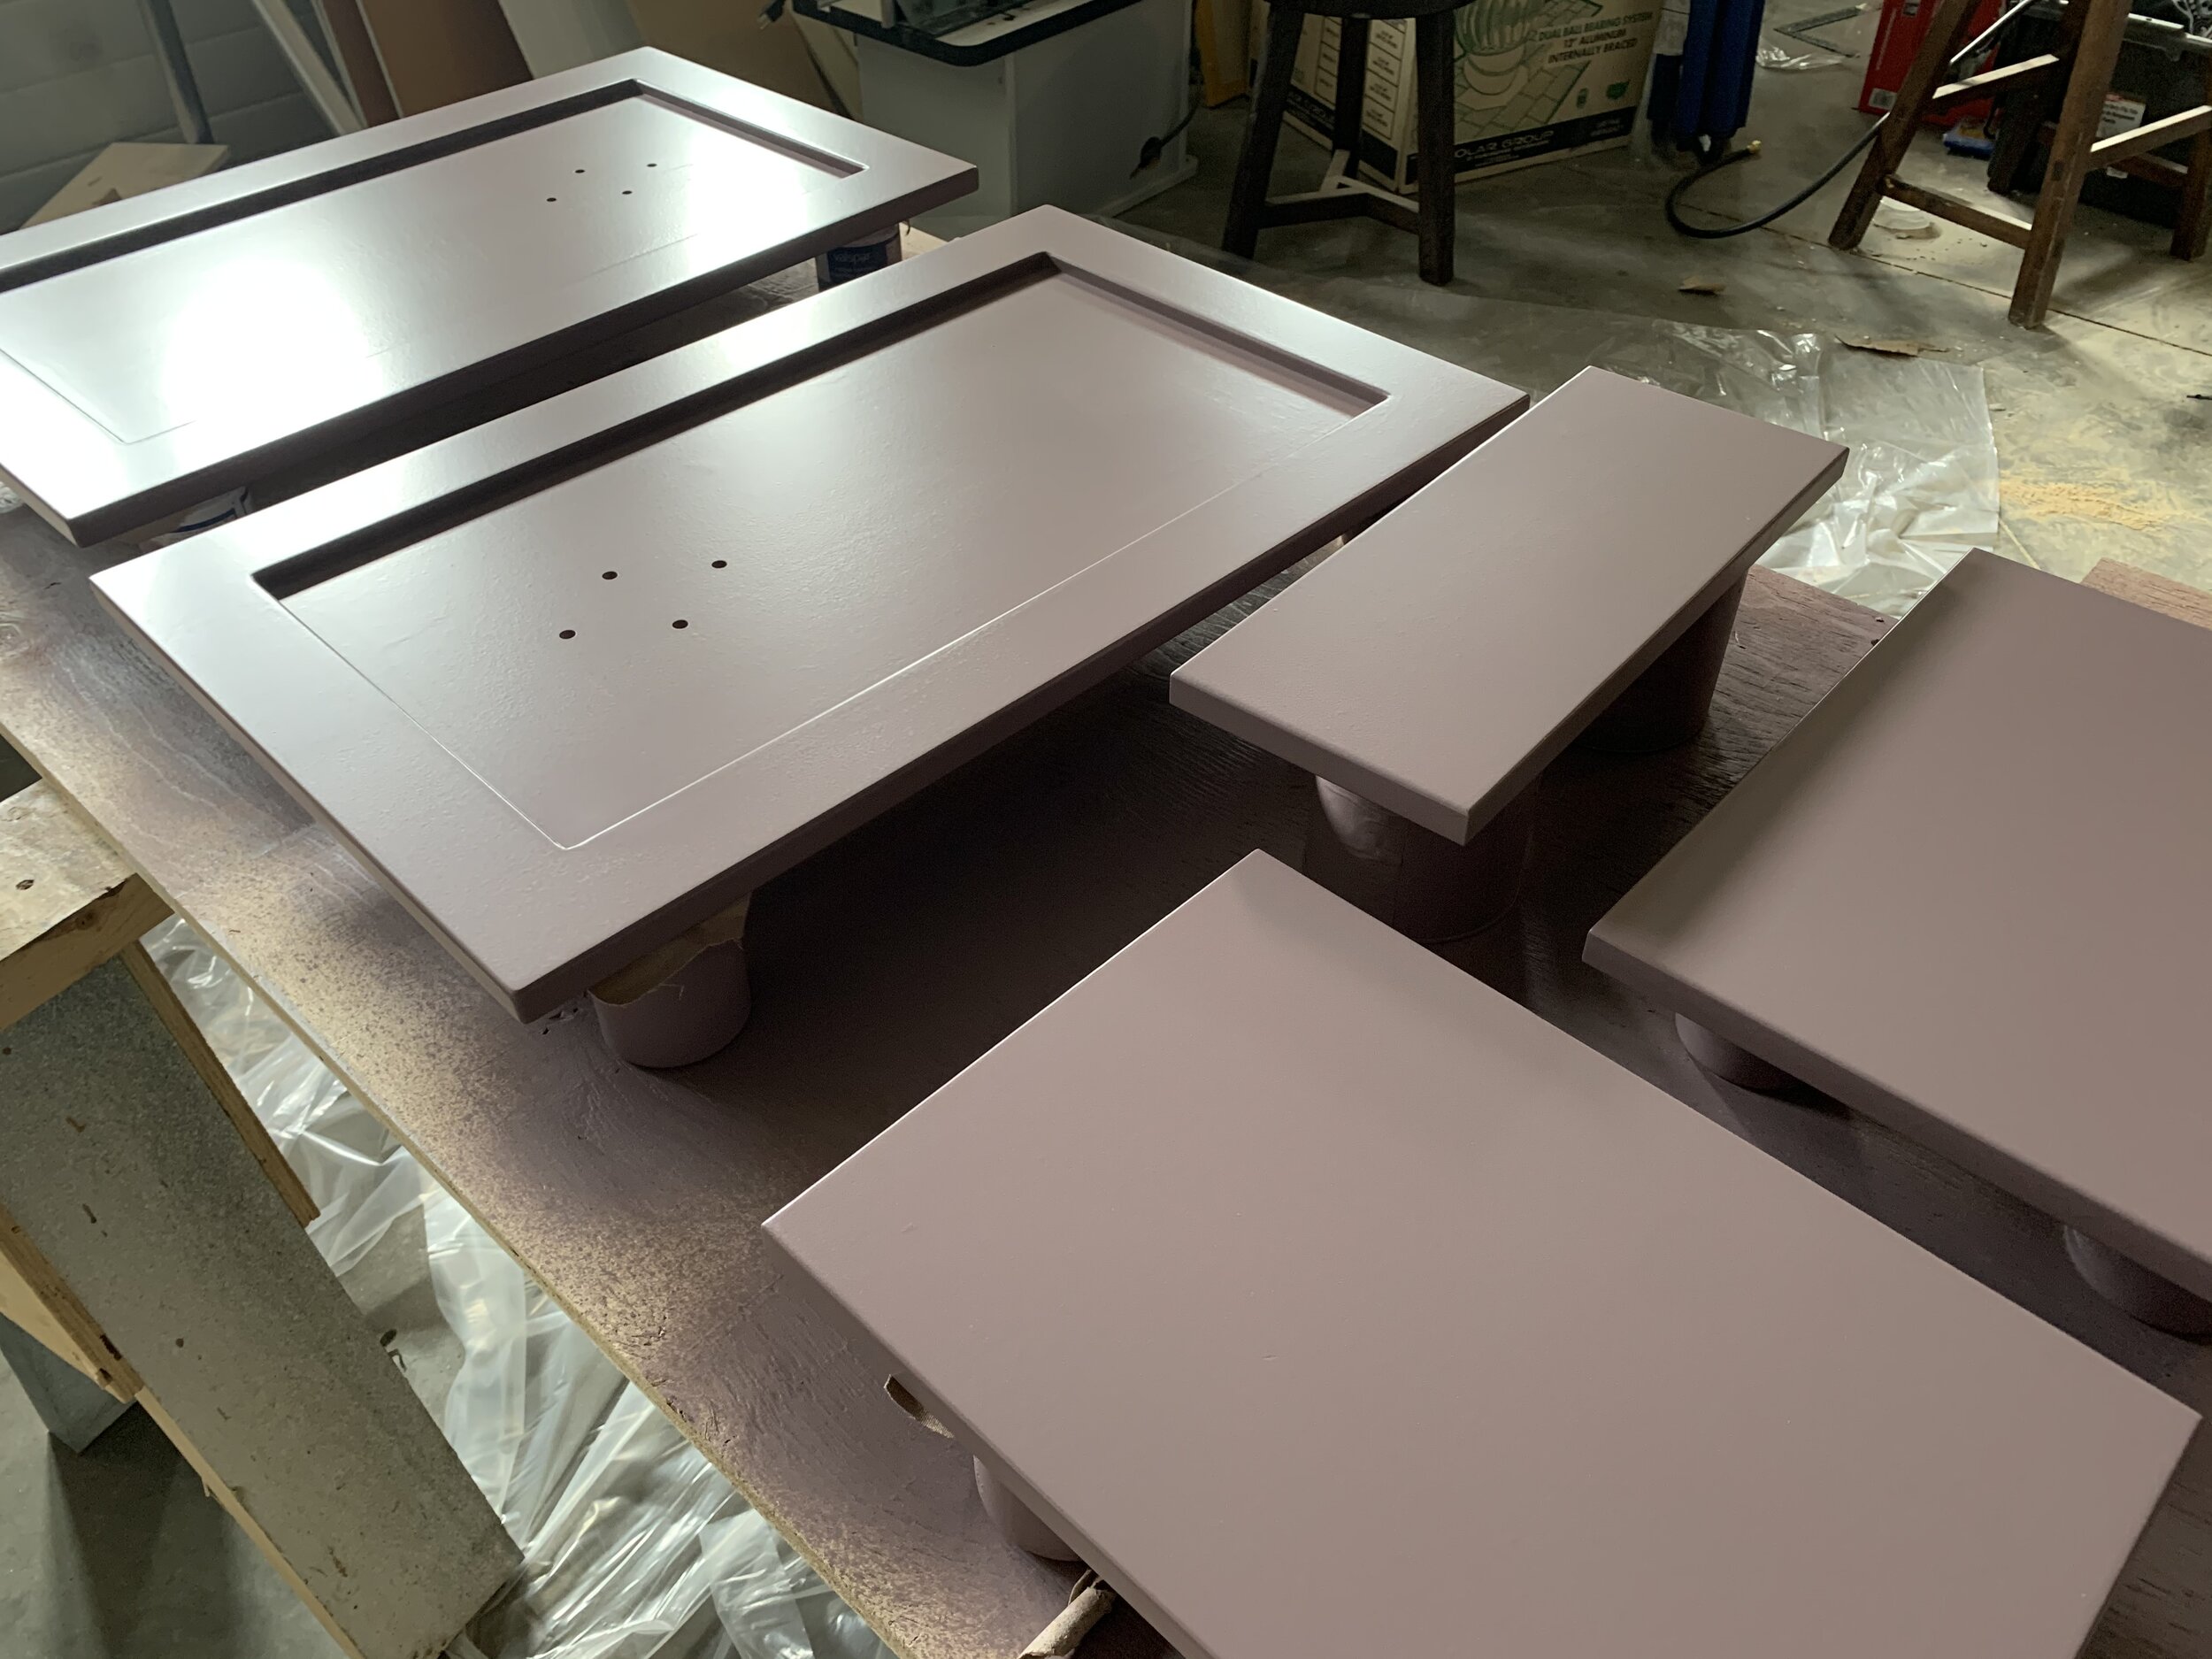
This week the major milestone was paint! Last week, I brought a paint sample to Benjamin Moore that I created by mixing two paint samples I had and they got to work trying to figure out the formula. Four(!!) hours later, they called me to pick it up, and they had written “Mink Violet” on the can. Turns out, the colour I custom made must have been a dead ringer for “Mink Violet” and I wasted 4 hours of their time mixing a custom colour that wasn’t custom at all. (I’m quite sure I’m on the Benjamin Moore blacklist now.) However, Mink Violet turned out to be the exact purple hue I’d been craving. I will say, it looks great in the room where there is no natural light but I sure didn’t love it when I painted it on my cabinets in the garage! It goes to show that you really need to test the paint in the room it will be in because lighting really does change everything.
I painted the cabinet doors, end panels, feet and wood knobs using my favourite primer and Cabinet paint (Benjamin Moore Advance) but I won’t go into the details as I already wrote a post about painting cabinets HERE and I followed all of those same steps. Tried and true! I used Advance in Pearl on the trim and cabinets and regular BM paint (Regal line) in Eggshell on the beadboard walls.
(Now if you came here looking for a big paint reveal… you are going to be a little disappointed! You will see snippets here and there but I really want the colour to be a big part of the reveal, and I really think that the accessories will bring it all together, so I’m not going to show the room in its entirety again until the end.)
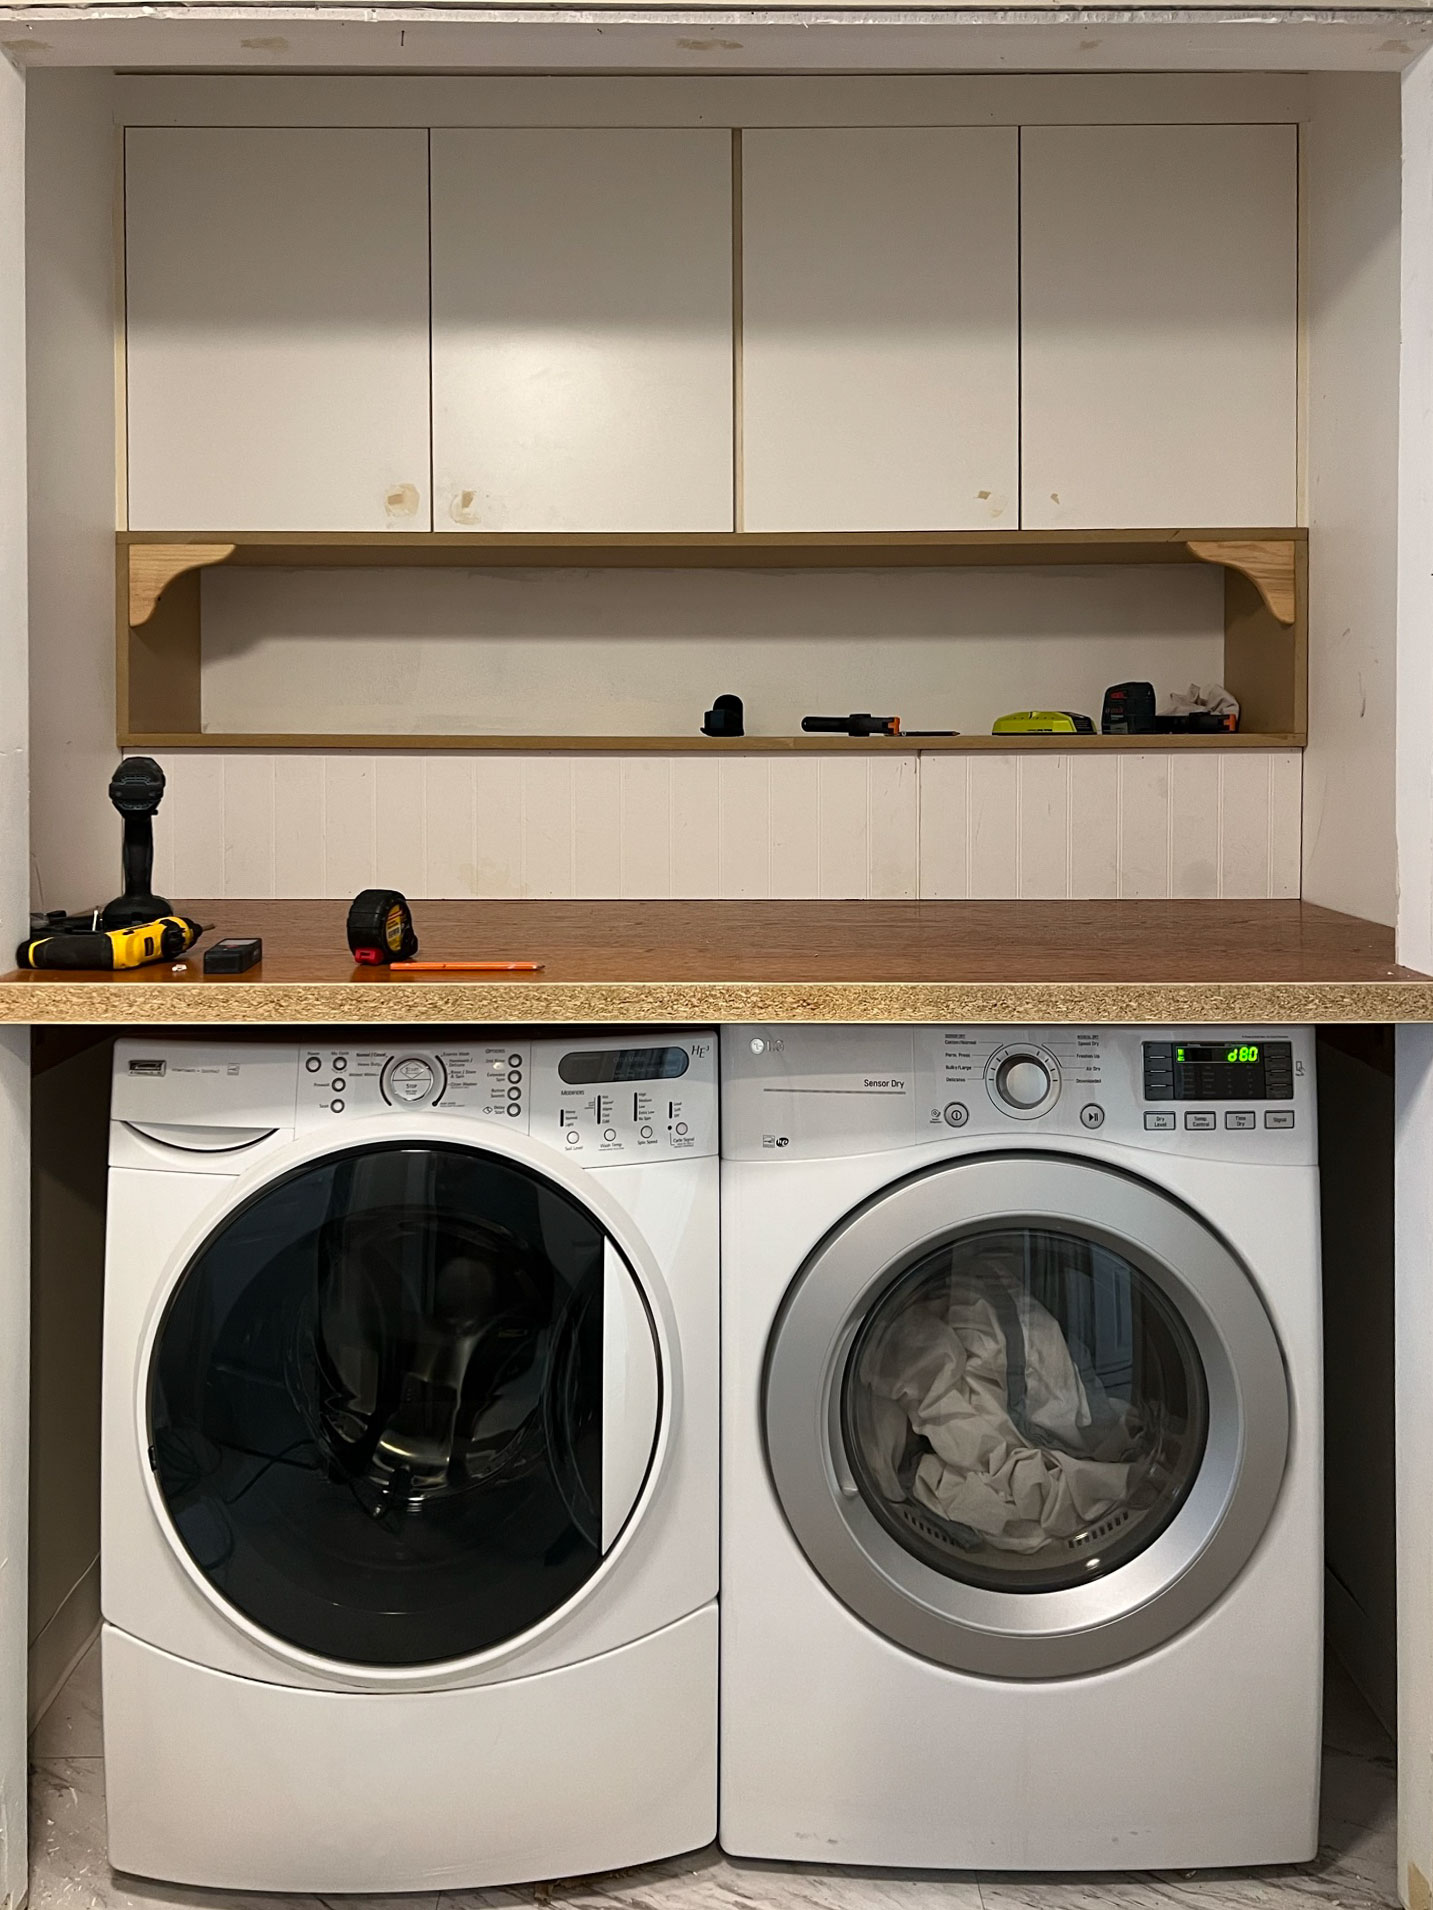
Countertops
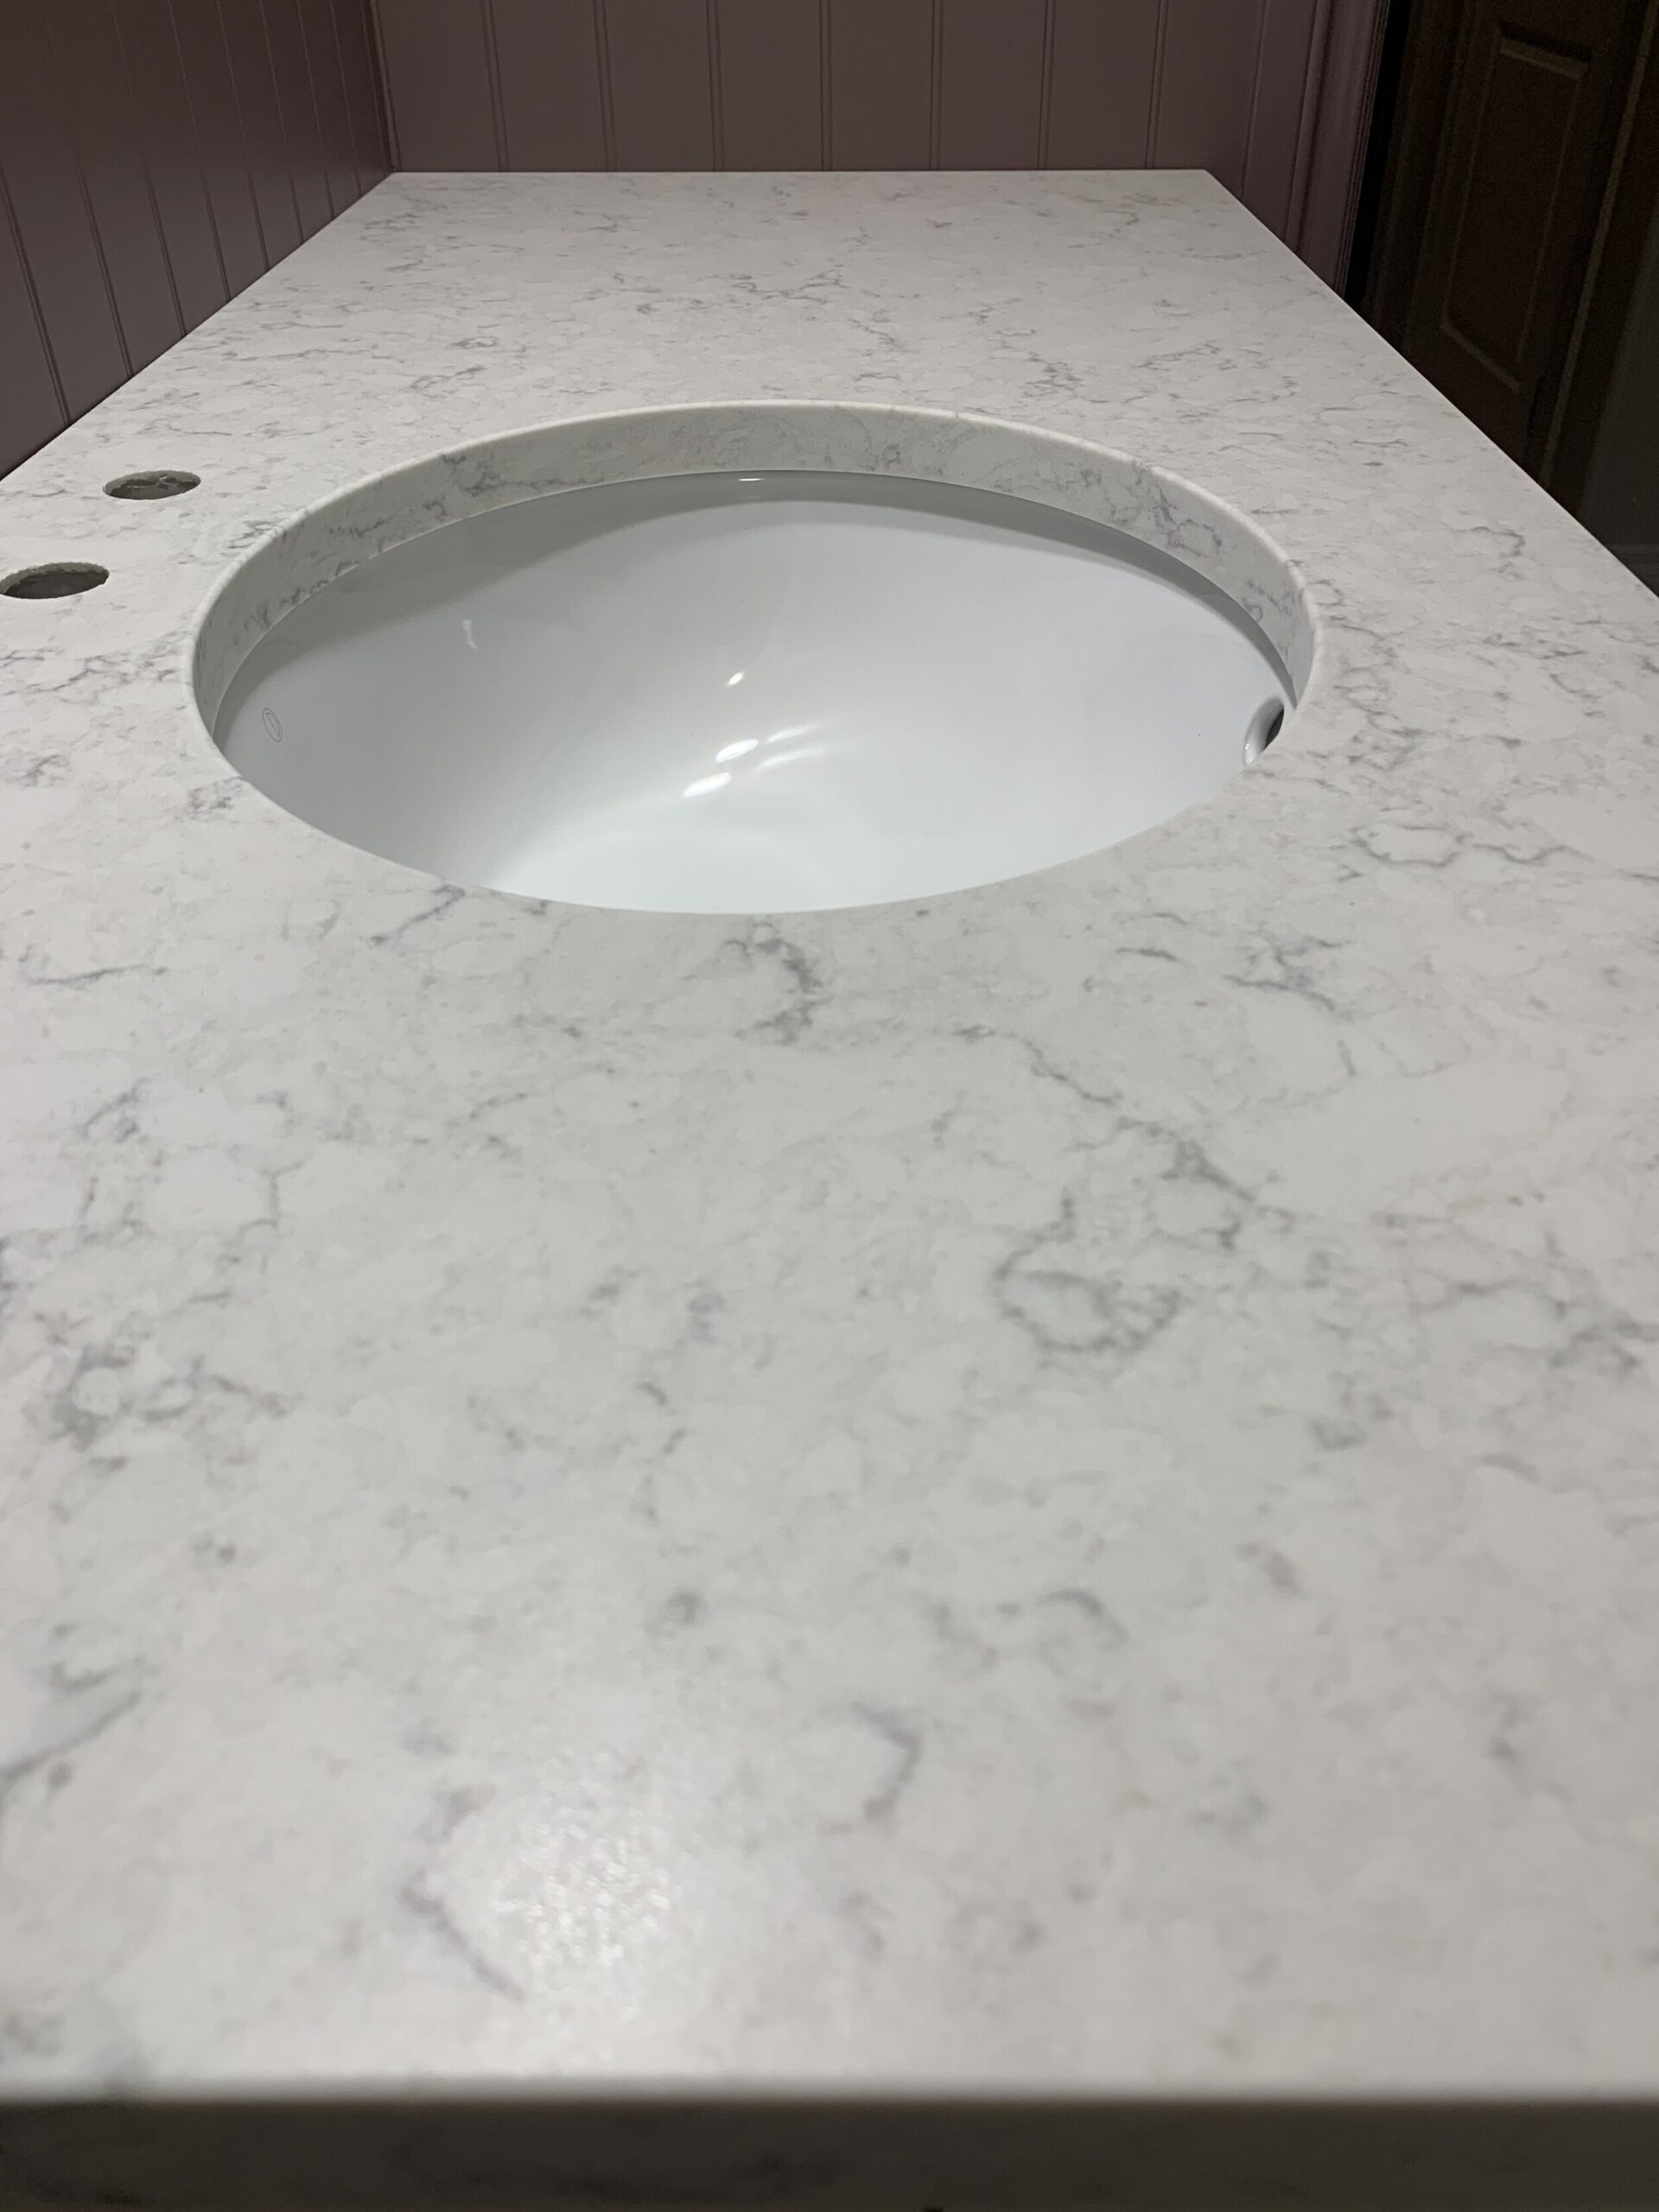
Once the painting was done, the big parts of the construction are really over with. We brought in the countertop I talked about last week, and thank goodness they actually fit! It’s such a pretty leathered finish Quartz and should mask toothpaste quite nicely. We have a bit of a delay on our fixtures so we will work on getting the rest of the finishing touches together in the last few weeks.
How to Remove Lacquer from Brass and Age (Using Vinegar!)
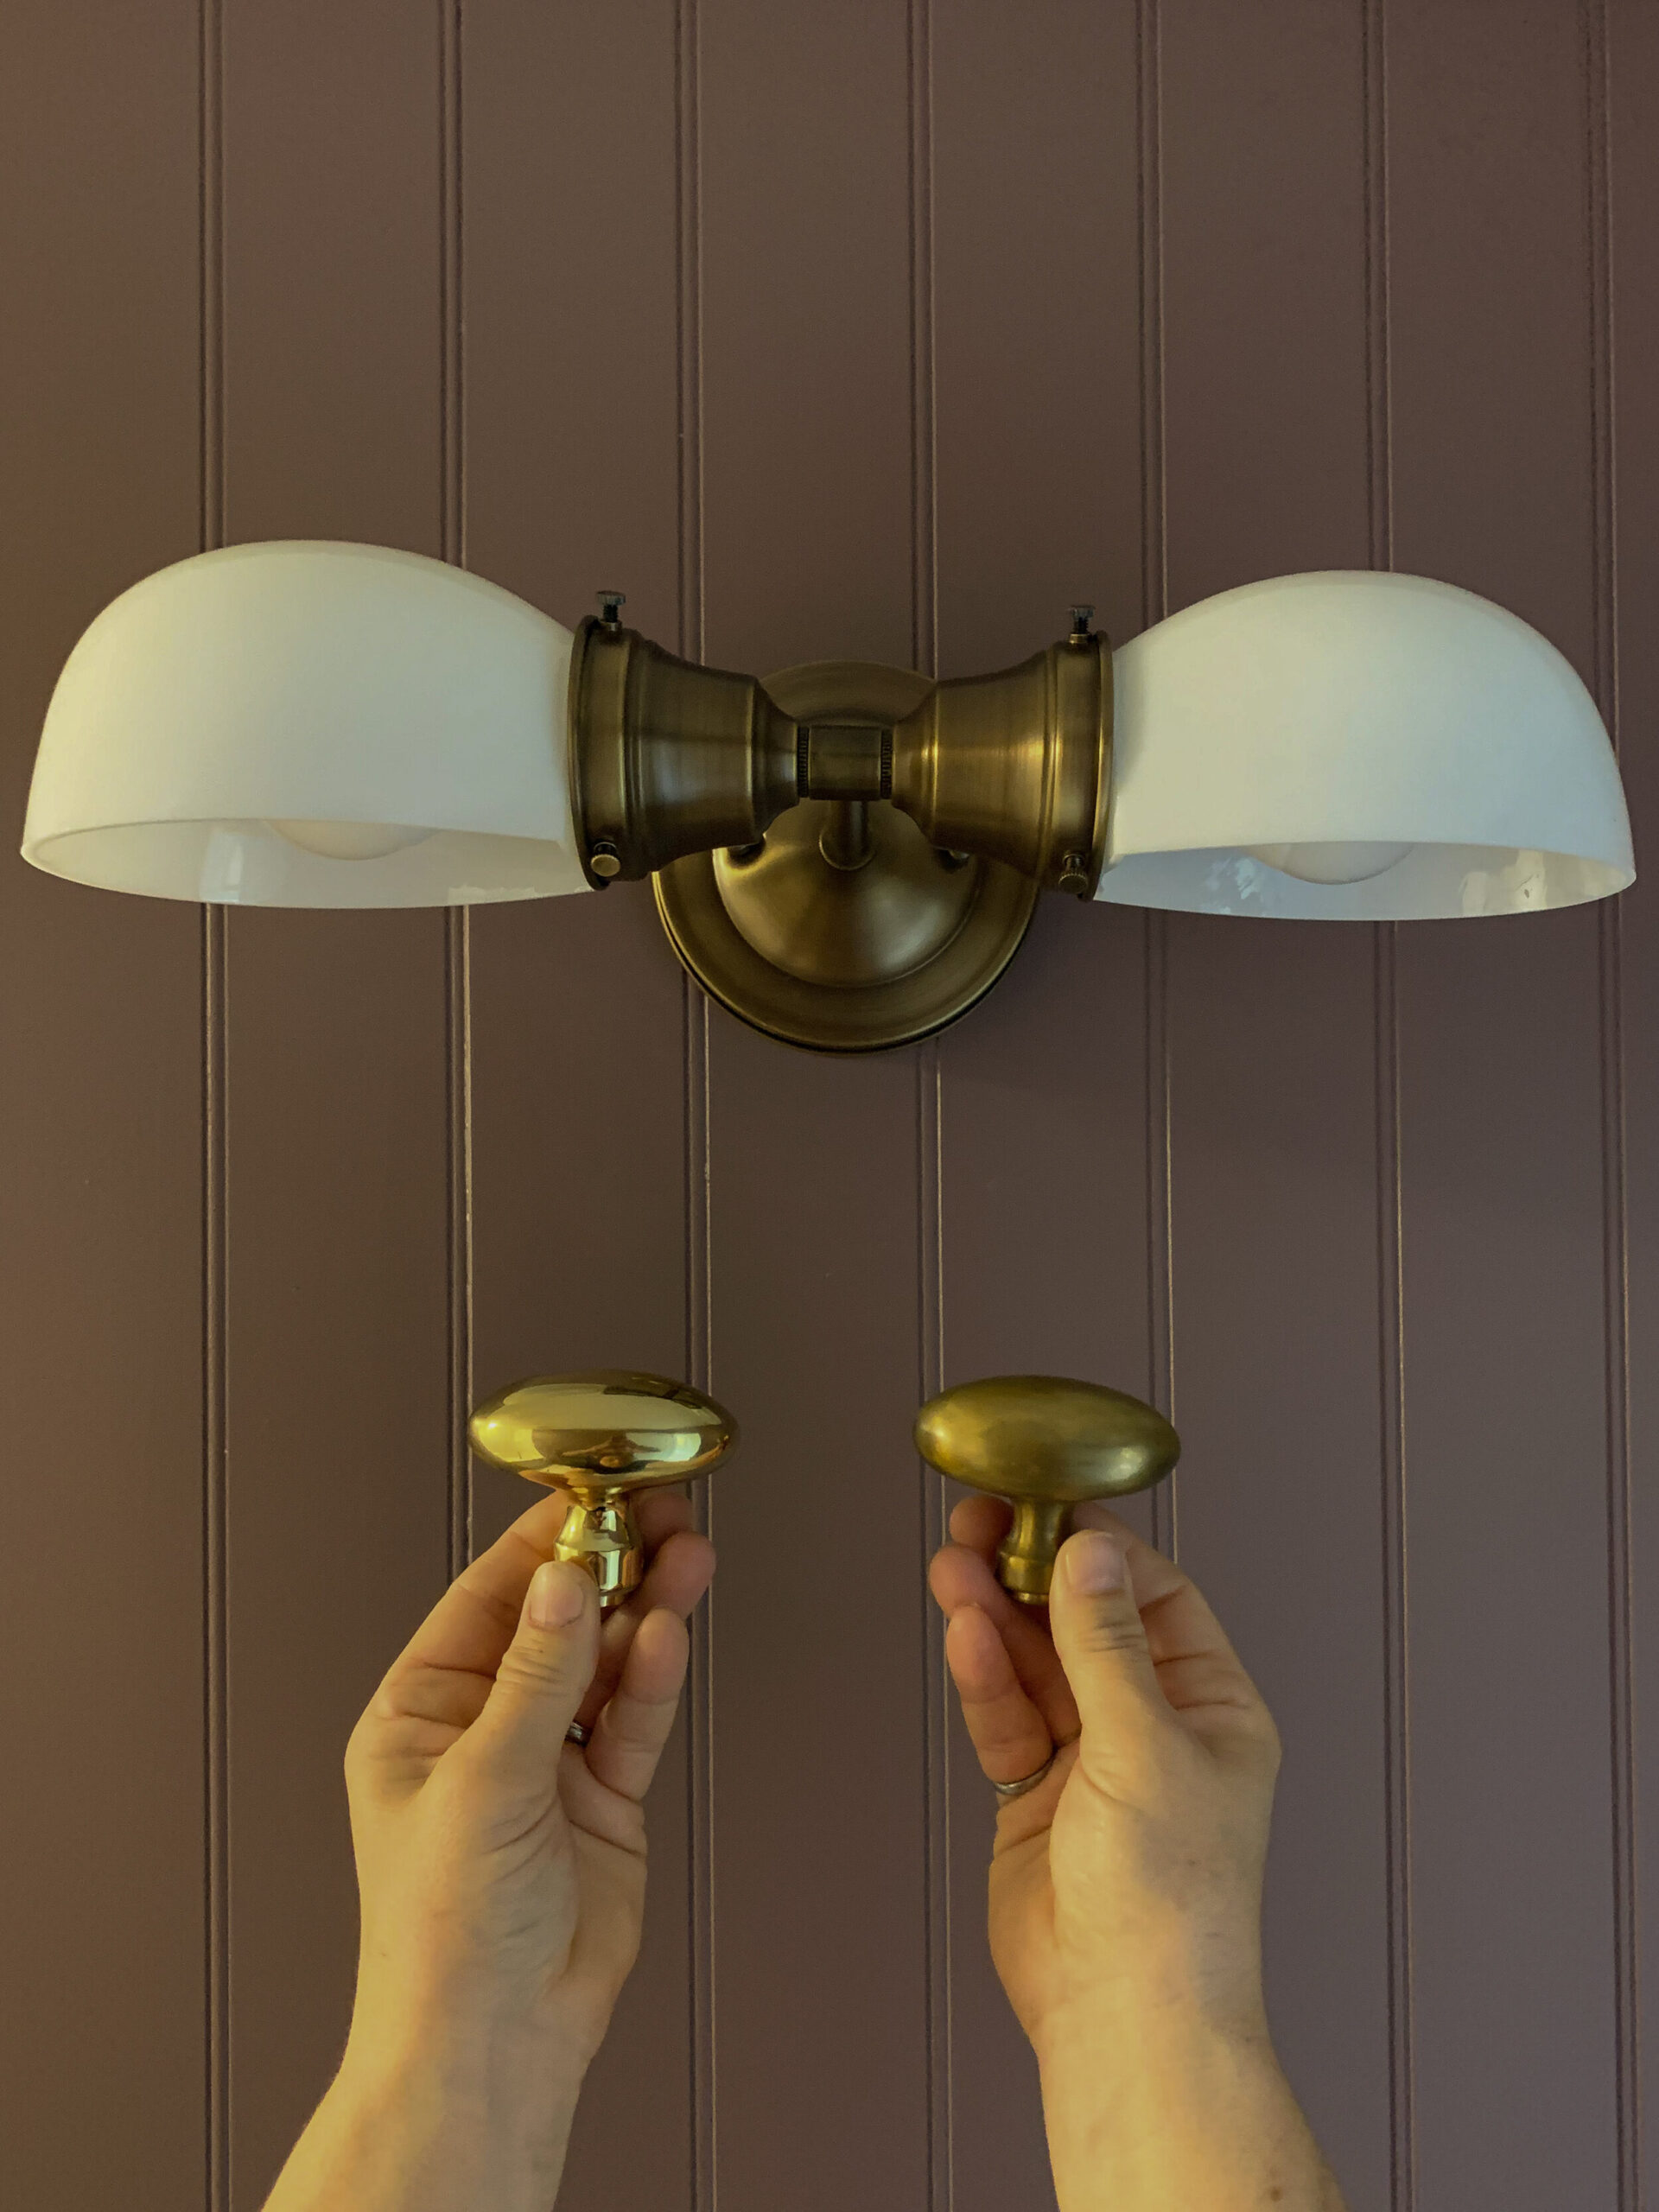
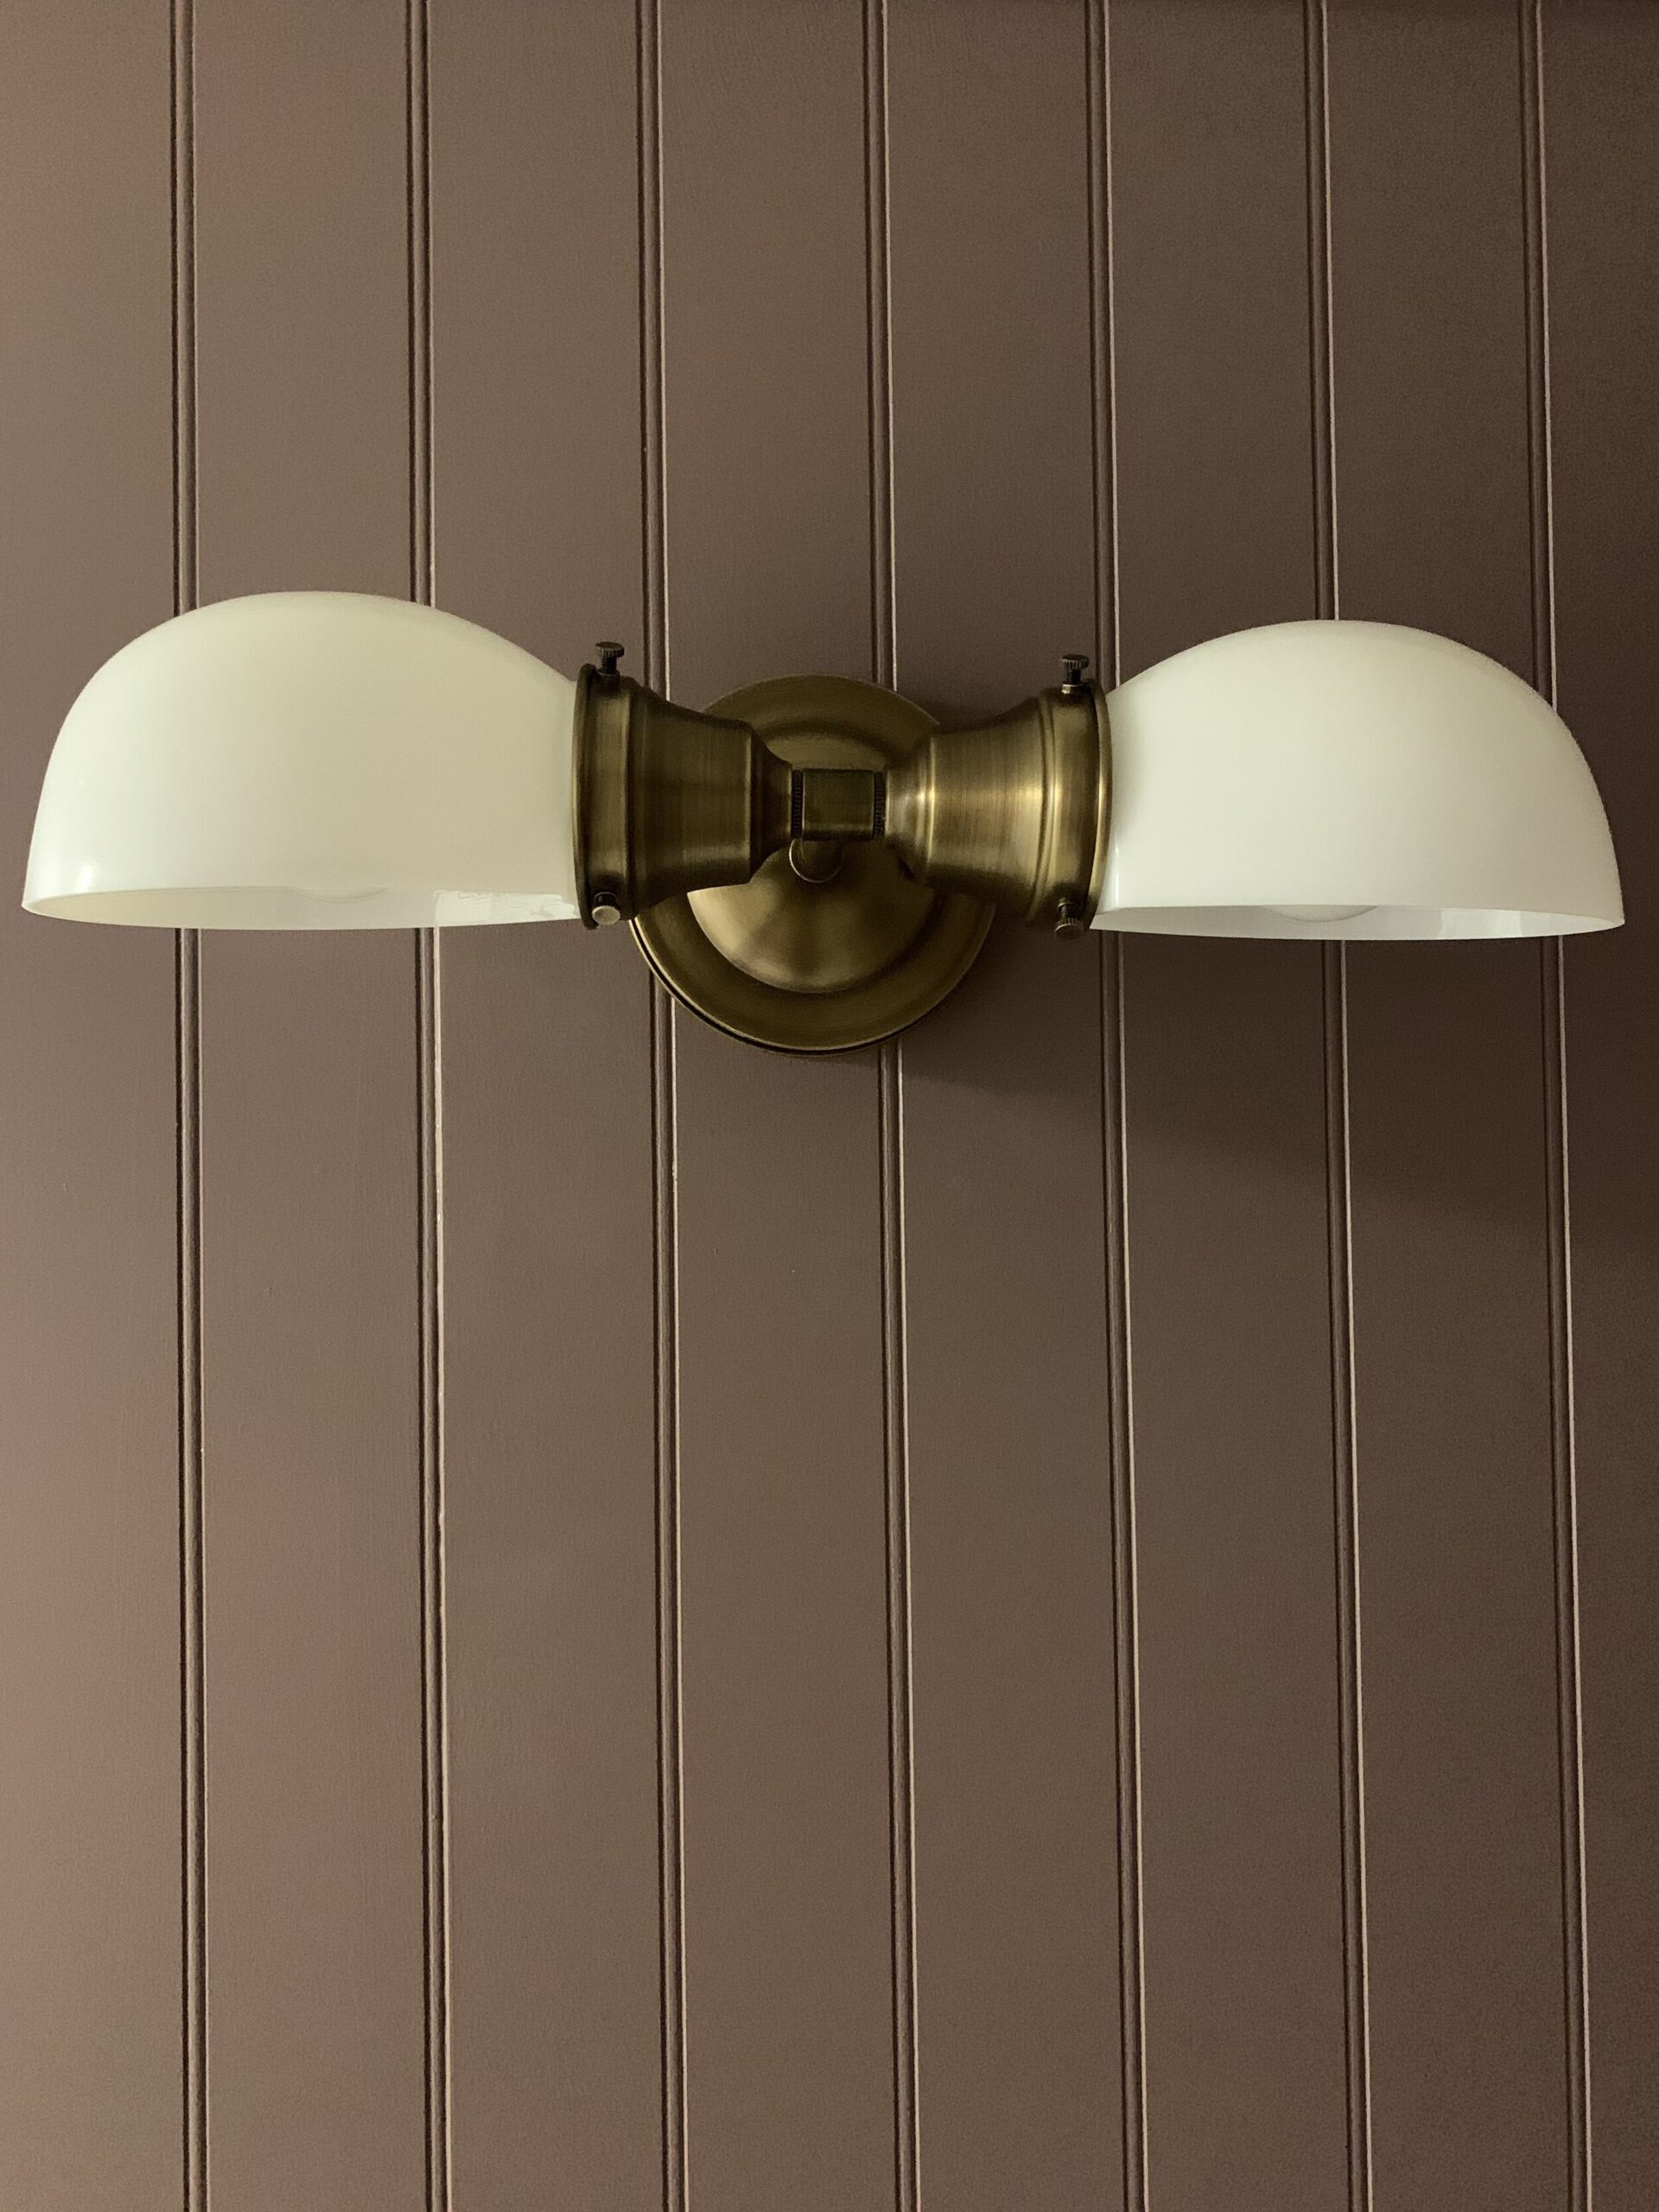
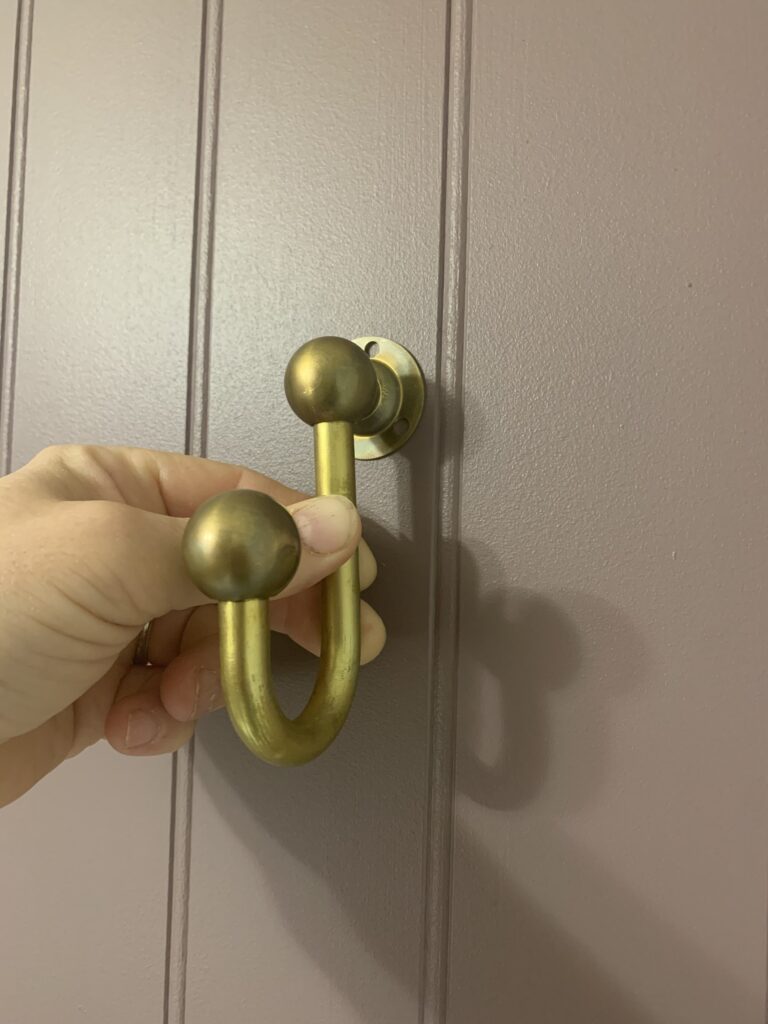
Speaking of finishing touches, one element I really wanted in this bathroom was brass. I chose a lovely antique brass light from an Etsy shop called Olde Brick Lighting Company, and I’m so happy with the quality and finish. I also snagged a few unlacquered brass hooks and toilet paper holder off Etsy. And lastly, a few weeks ago I totally scored a whole lot of lacquered brass doorknobs from Facebook Marketplace, enough to replace all the doorknobs in my whole basement – for $50!
The problem was, all of these brass elements, while all solid brass, had different brass finishes (aged brass, lacquered and unlacquered brass) and looked quite different, and I wanted to unify them. I didn’t need them to look identical, but I did want them all to look like they are in the aged brass FAMILY. Enter today’s tutorial… how to remove lacquer from brass and age using vinegar!
How to Tell if your Brass Piece real Brass and if it is Lacquered or Unlacquered
Before I tell you how to remove lacquer from brass and age it, you should first check if your brass item is actually brass and if it has a coating on it or not.
The pieces I bought from Etsy indicated in the listing that it was untreated brass and would naturally age, so I knew those were not lacquered, and they were not super shiny.
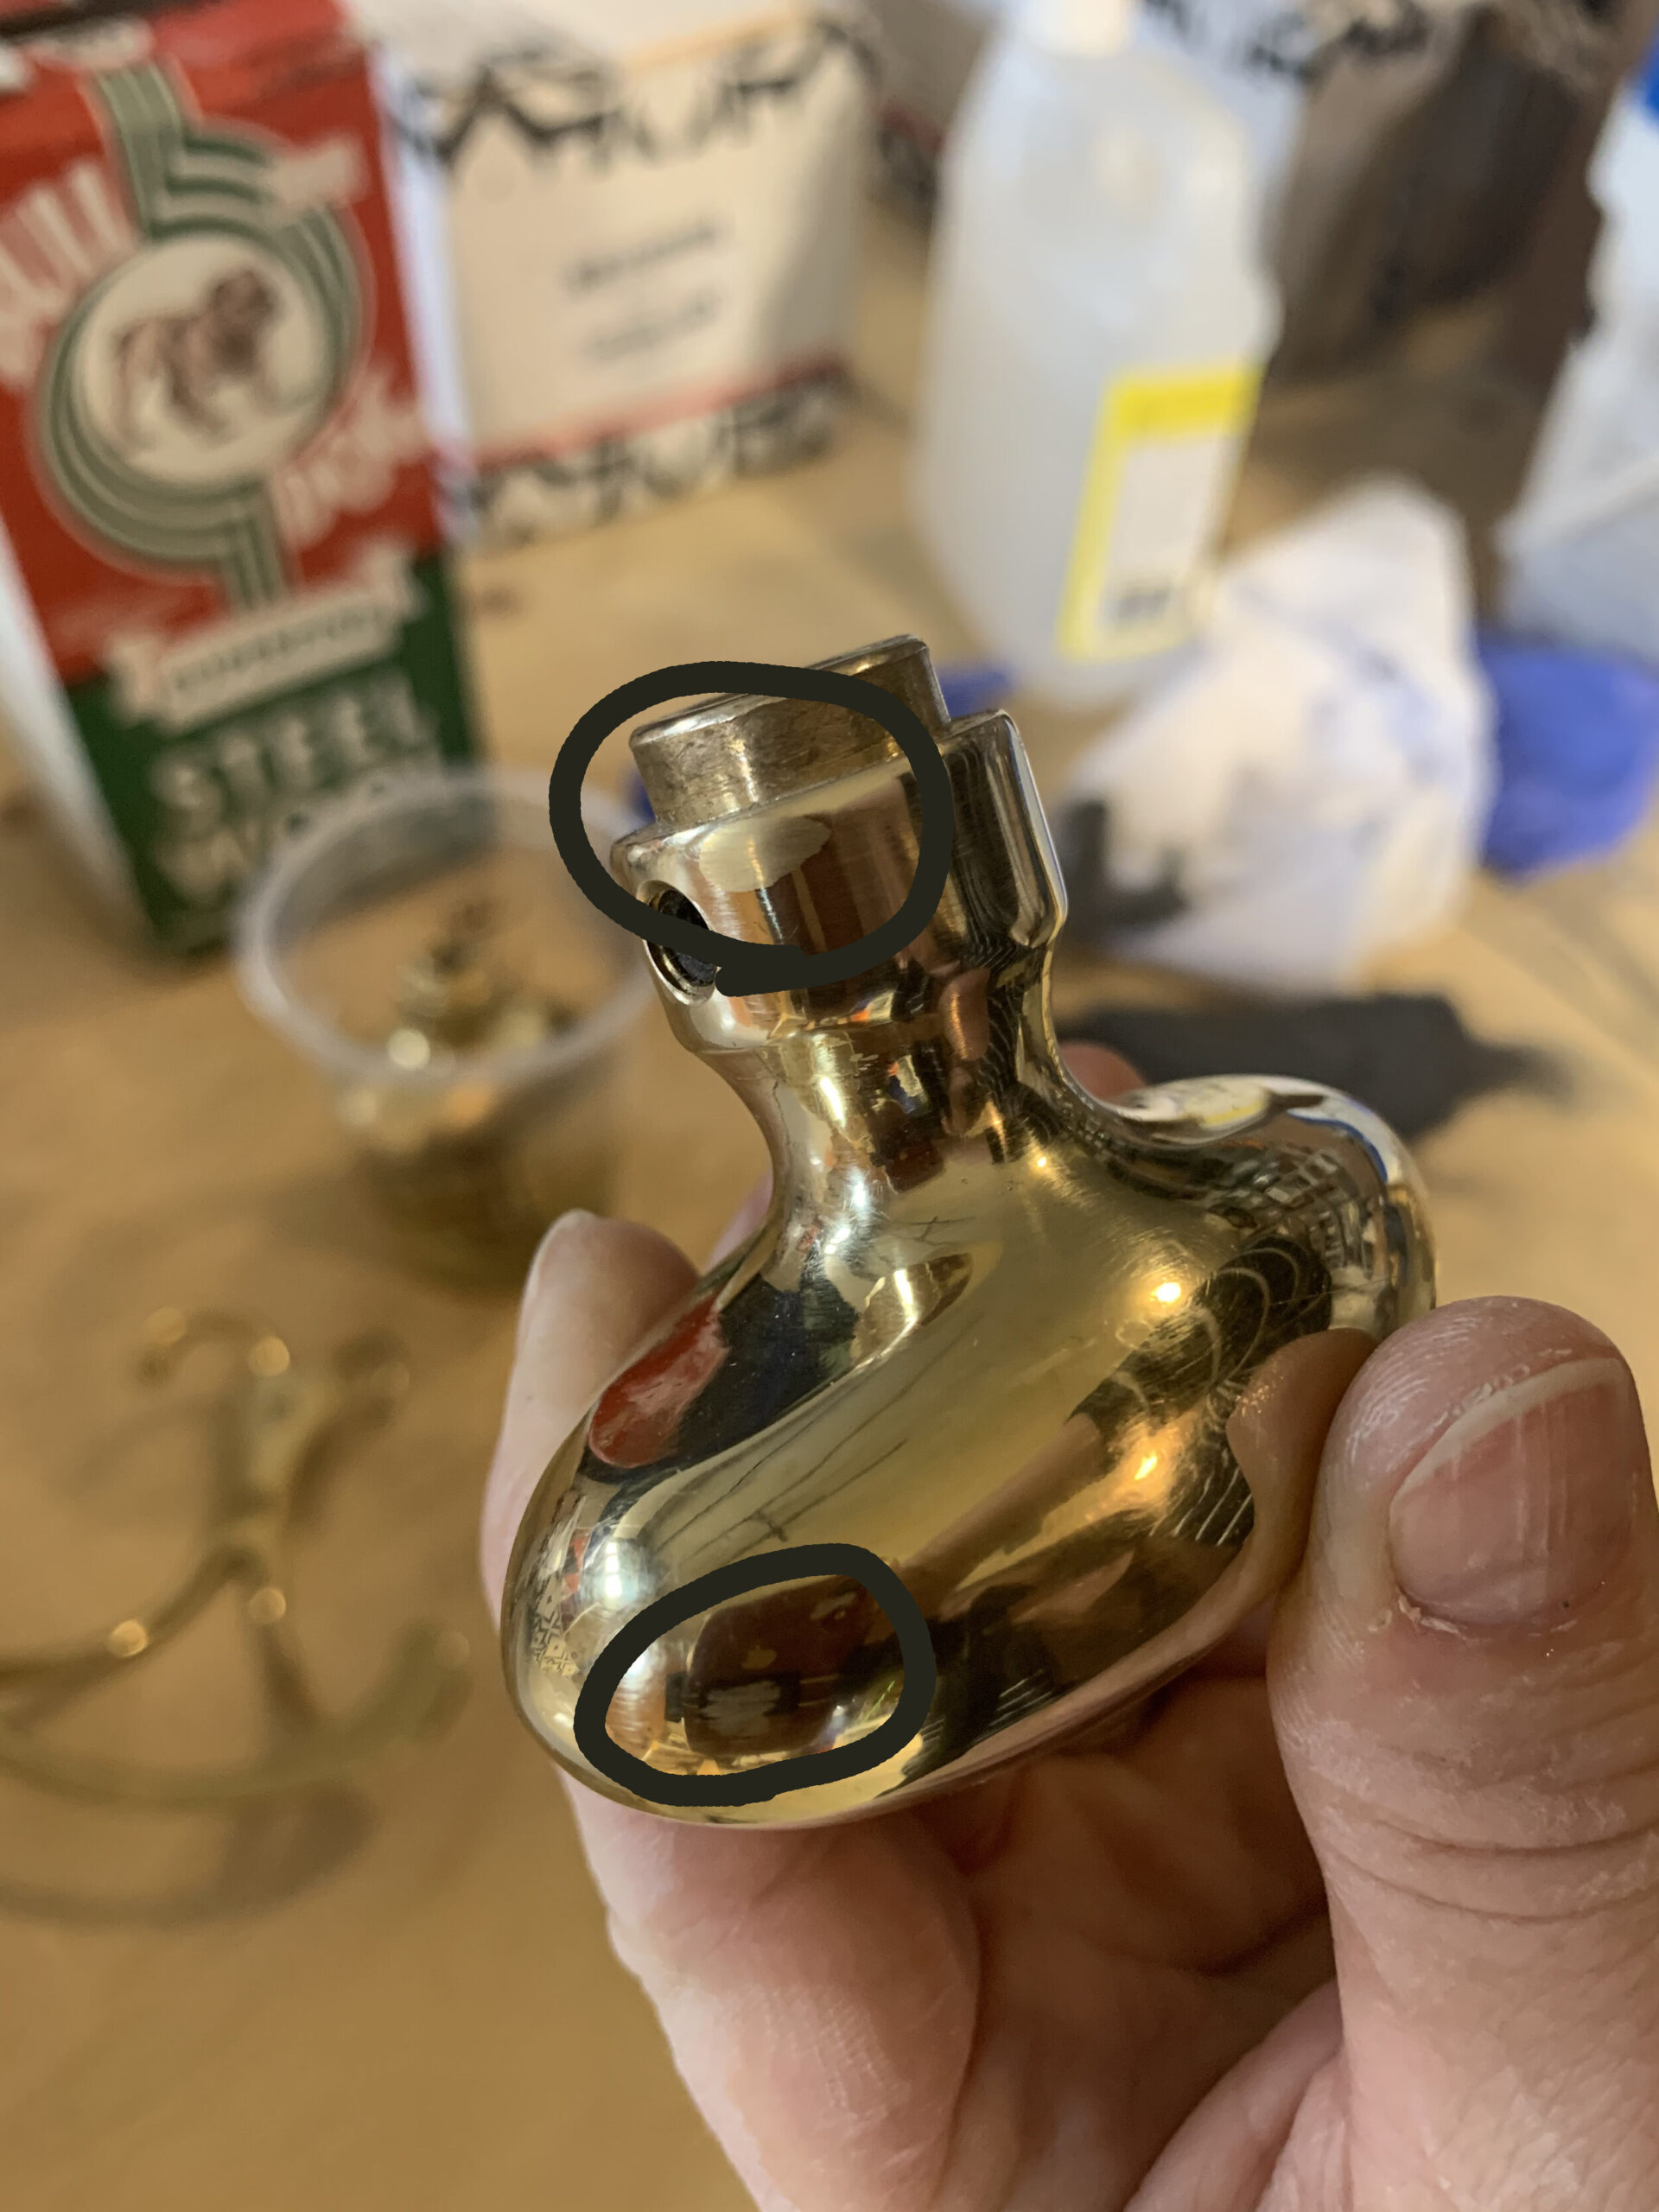
The knobs I bought off Facebook Marketplace, on the other hand, were very shiny and I knew they came out of a house, and so had they been unlacquered I’m assuming they would have already had some age to them. They also appeared to have some “chips” here and there, if I looked closely, which would indicate to me that the protective coating had chipped because the brass certainly would not have.
I also double-checked that all my pieces were indeed solid brass and not brass coated steel by completing a simple test on them with a magnet – magnets don’t stick to brass! That is the best way to check if you have a brass peice or a brass coated piece.
If you arent’ sure if your piece is lacquered or not, I would suggest trying a little acetone on a small area on it to see if it becomes cloudy.
Before we begin, let me tell you that the hardest part of this whole process is definitely removing the lacquer. I do think that depending on the piece, the type of lacquer that they may have used at the time, and the age, that would all factor into how easy it might be to remove. I read that you could boil the brass with some baking soda but the results of that seemed patchy, and the talk of toxic fumes made me really not want to try this method. Enter ACETONE.
*2022 Update: I tried removing the lacquer by placing it in some boiling water with a little baking soda in my next batch of doorknobs and the results were not awesome. The lacquer did seem to soften a bit but I still ended up scrubbing with Acetone to fully remove it. It did, however, shorten the amount of time I needed to scrub. Based on my experience so far, I think the method I show below on how to remove laquer from brass is what I would recommend.
How to Remove Lacquer from Brass (Prior to Aging)
I watched a video of Martha Stewart easily removing lacquer from a brass switch plate in the middle of some upstate resort with birds chirping and horses galloping in the background and thought, wow, that looks easy!! I’m here to tell you that Martha makes a lot of things look easy, but she’s Martha. For the rest of us…. this is what it might look like. I didn’t hear any birds chirping, by the way, there was too much swearing going on.
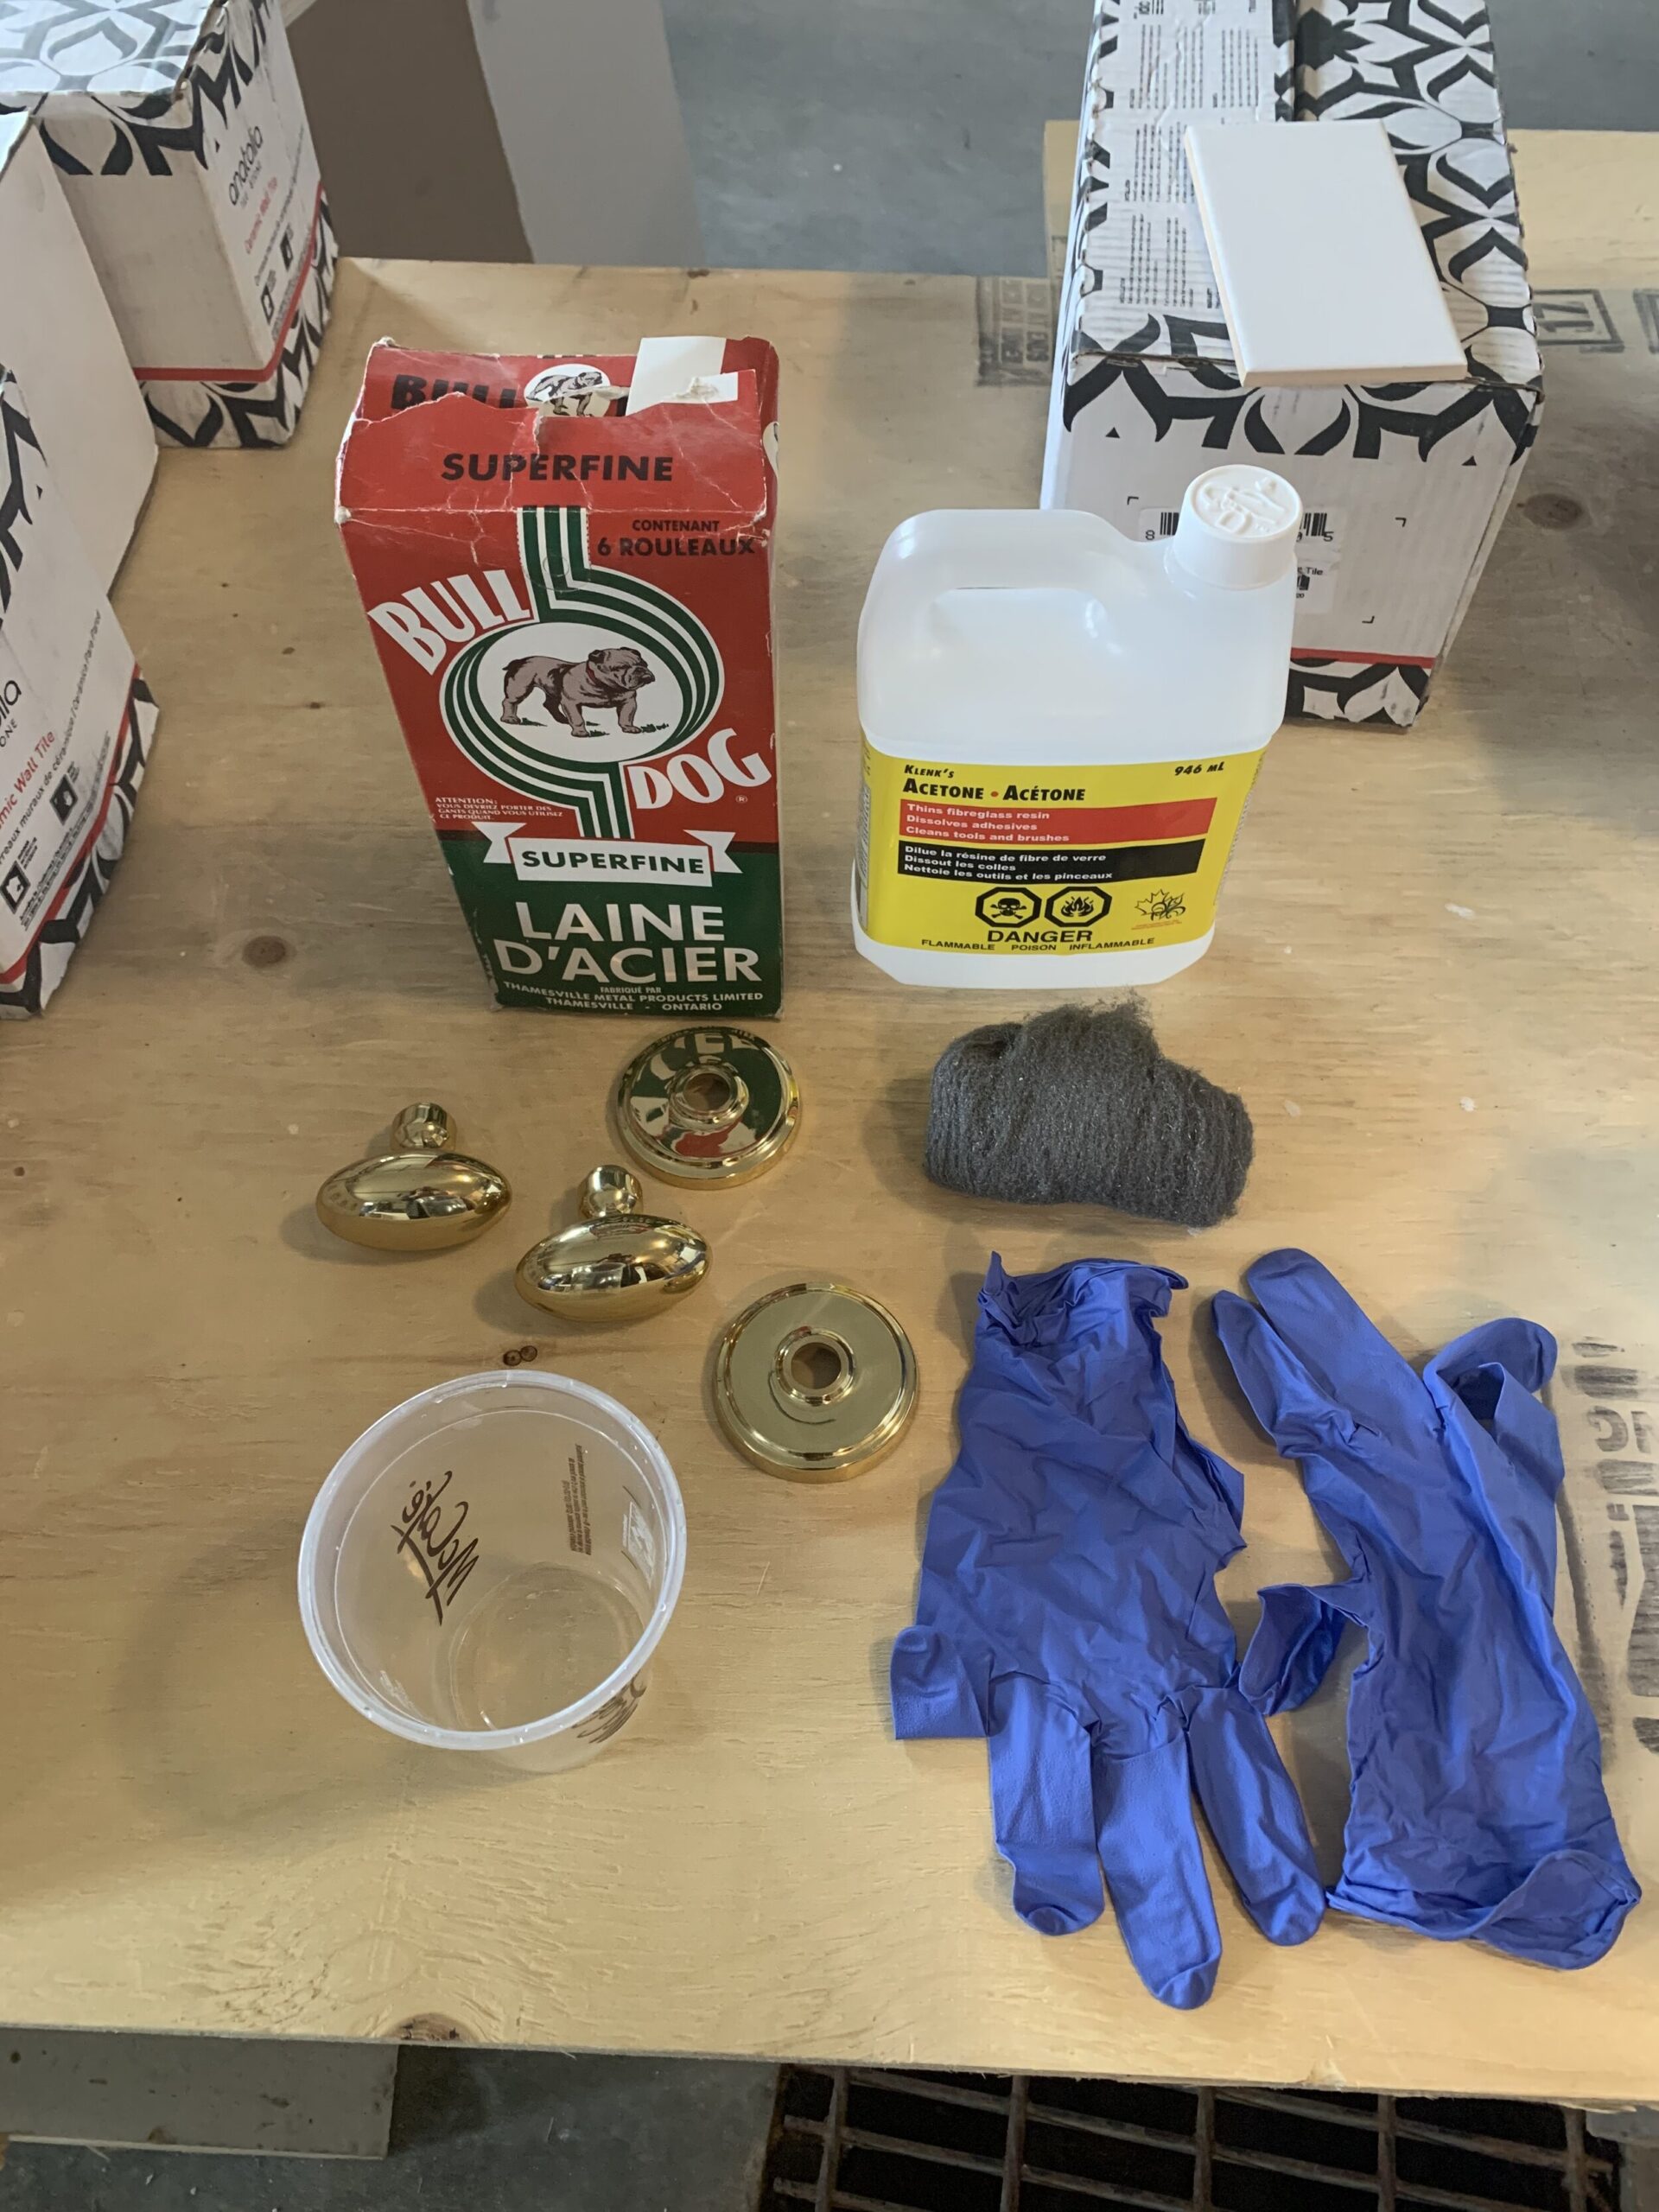
- I soaked each item in a cup of acetone (acetone is available at any hardware store) for 5 or more minutes hoping it would soften the lacquer a little.
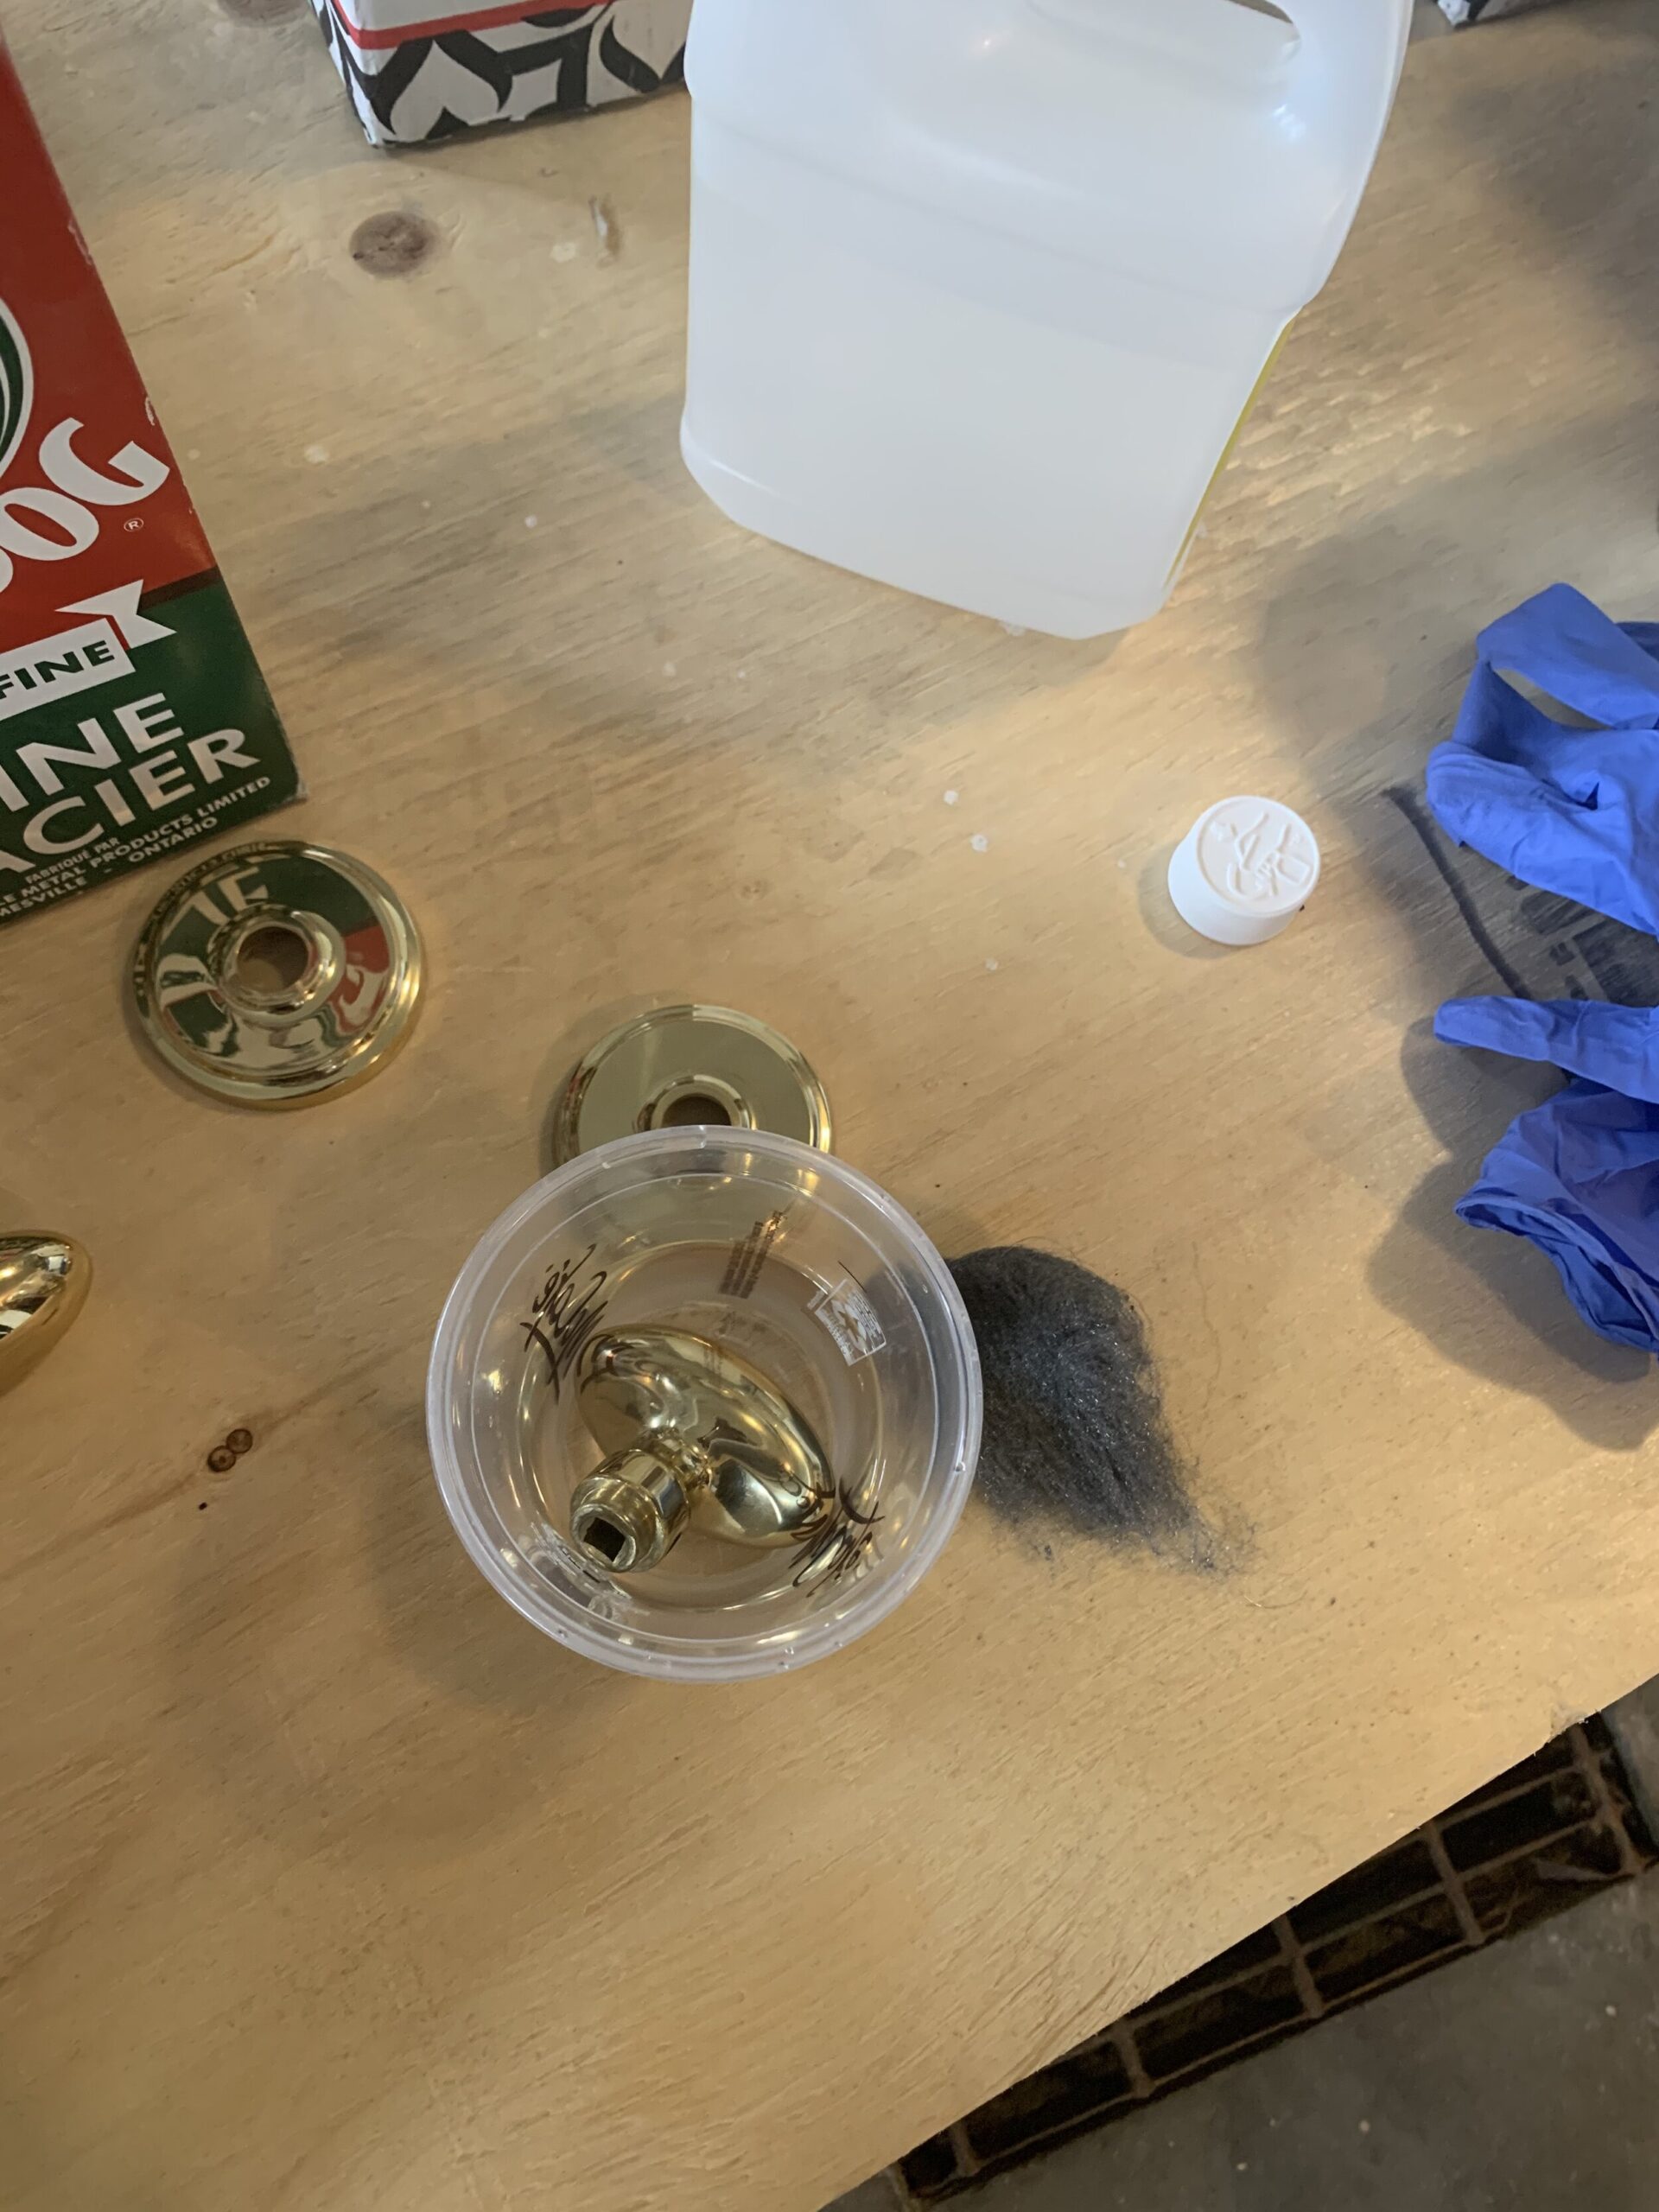
I removed each piece of the doorknob one at a time (leaving the other pieces in the lacquer while I worked) and scrubbed it with an acetone-soaked piece of steel wool. I started out wearing gloves but quickly abandoned them as Acetone isn’t corrosive (it’s nail polish remover, after all, and that’s exactly what it smelled like.). At first, it didn’t seem like anything was happening, but after a while, a bit of a white haze formed. The haze is the lacquer coating.

Once I had a good white haze over everything, I kept scrubbing using a combination of a soft cloth, scouring pad, and fine steel wool, until the white haze was removed. (And now this may only seem like a few simple steps… to put this in perspective, it took me 1 – 2 hours of scrubbing to remove all the lacquer from all the parts of ONLY ONE doorknob!)
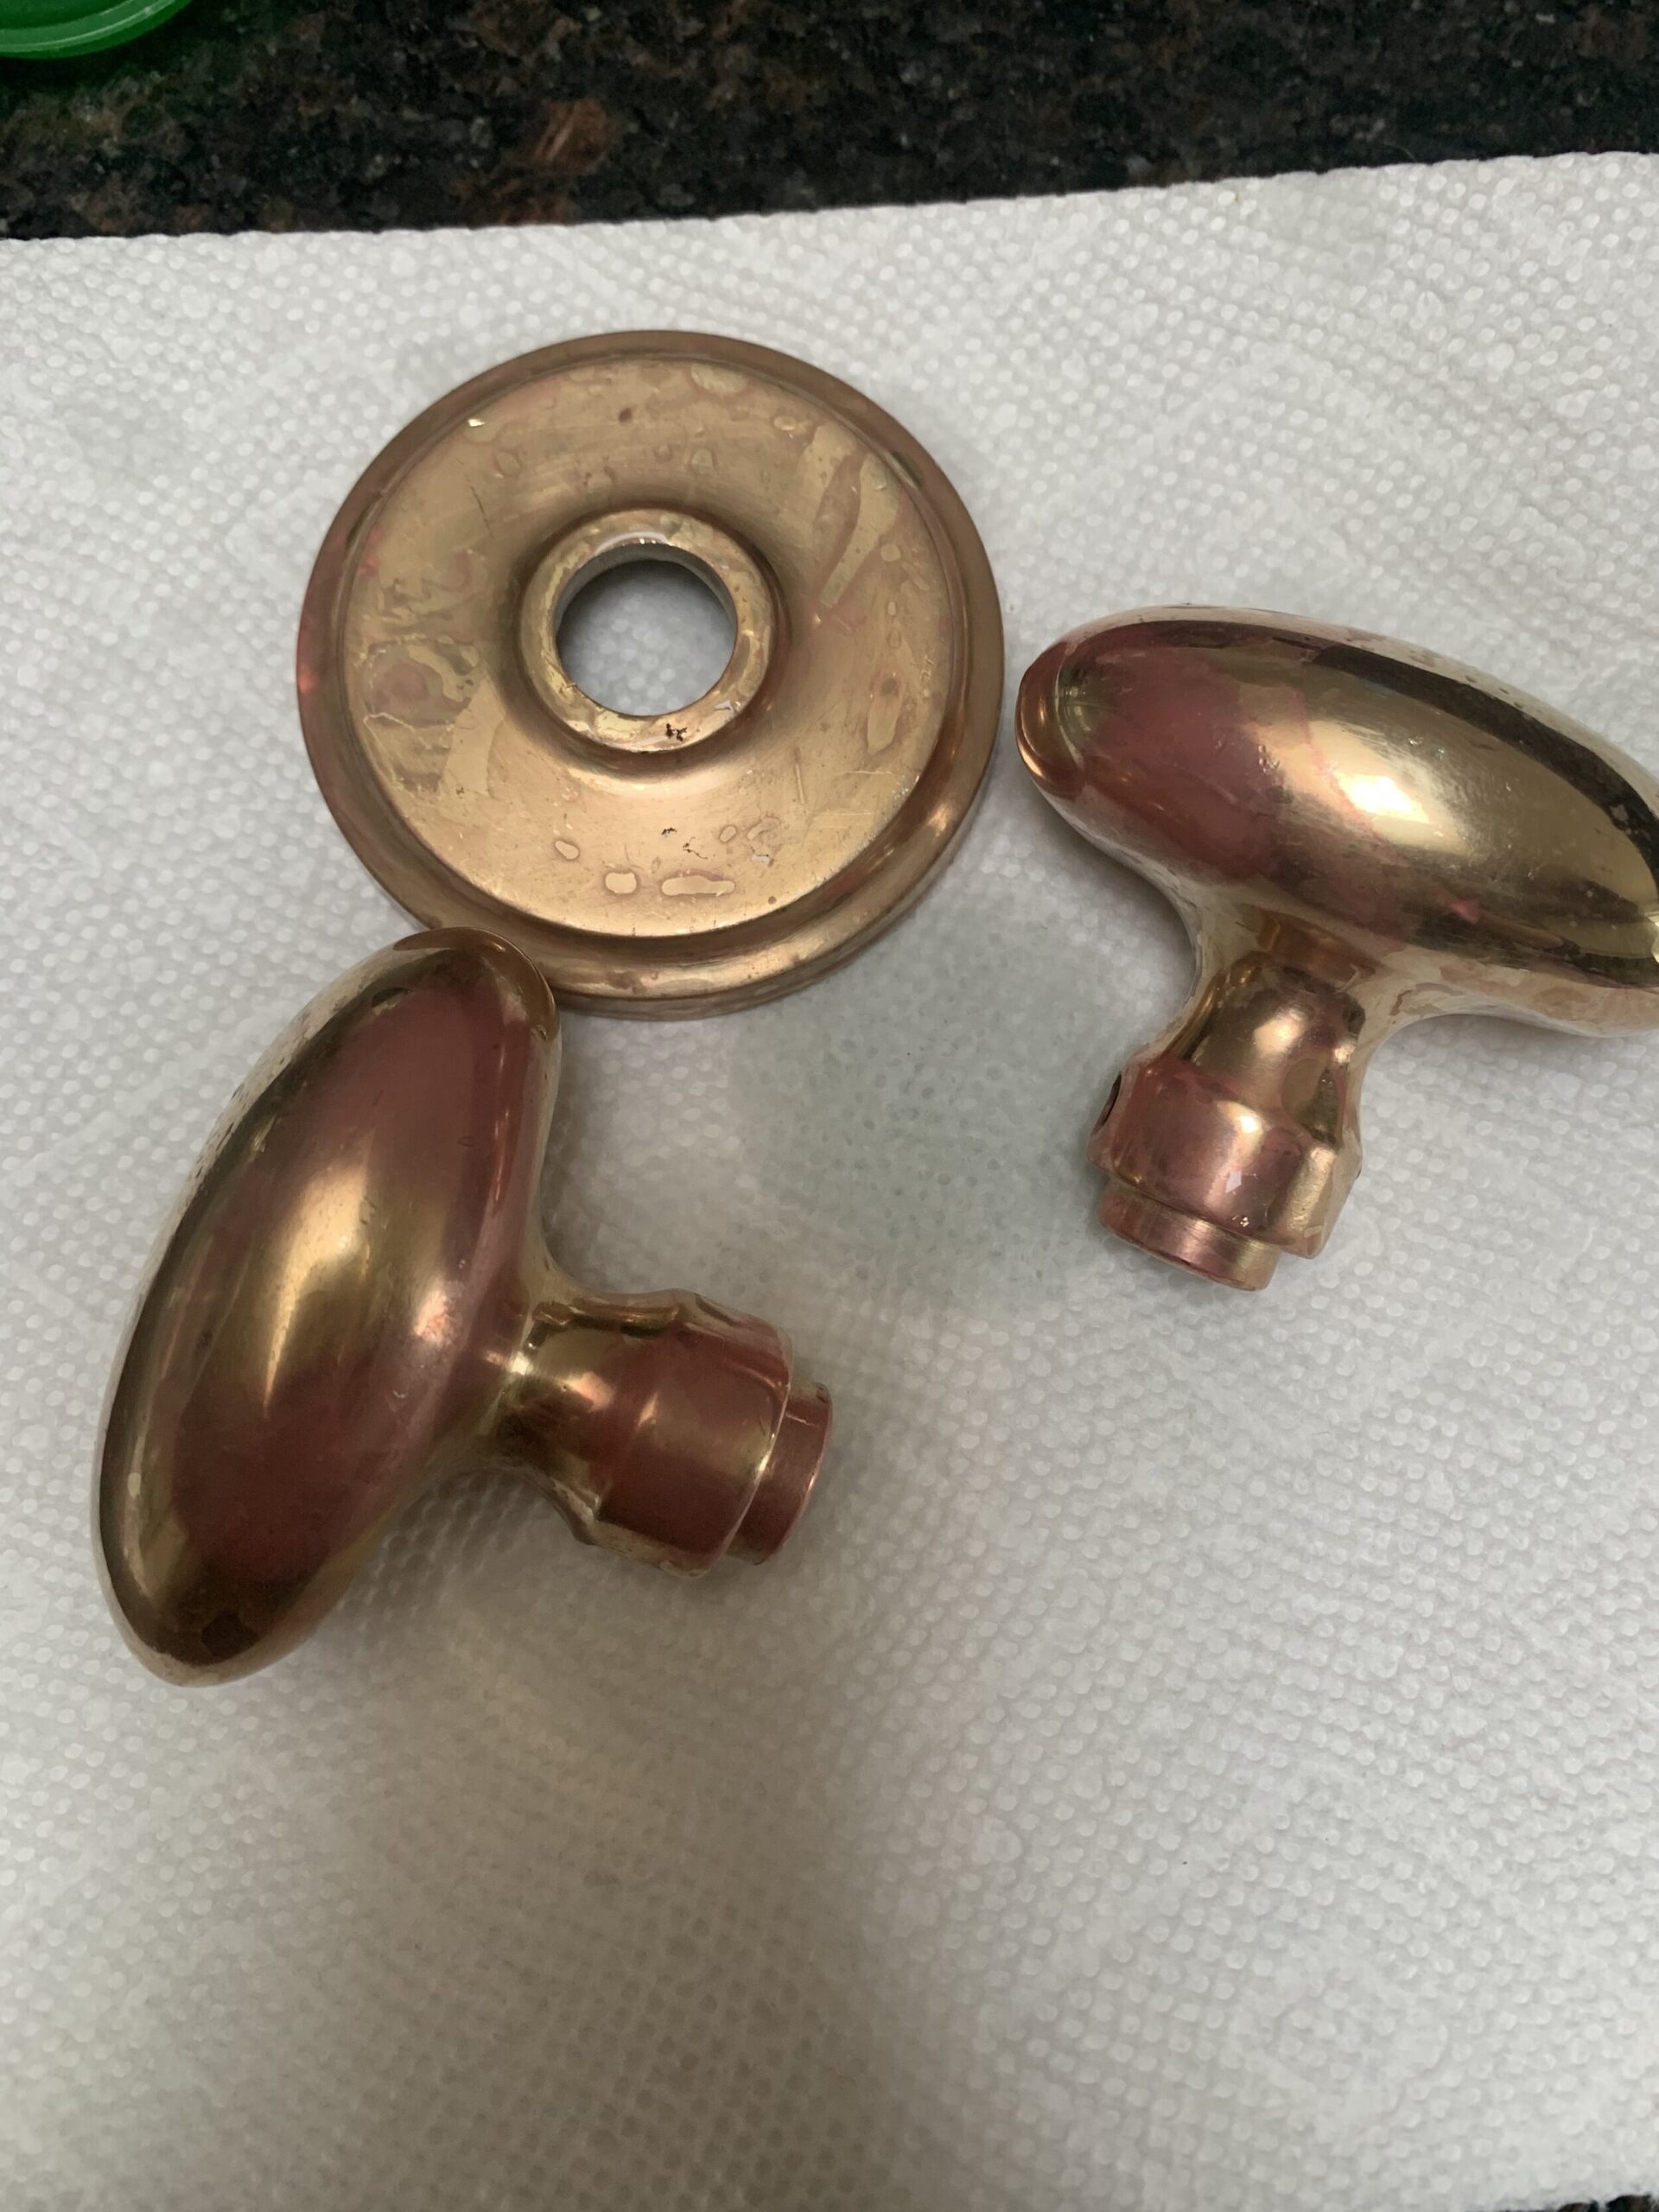
- After I removed all the haze and what I thought was all the old lacquer, I compared it to one of the original knobs and it did definitely look different. It was much duller so I thought maybe I was down to raw brass. I also think that my scrubbing with the steel wool dulled the finish down a bit.
Since I really didn’t know what I was doing, I started this experiment on a dummy knob that was an extra that I didn’t need in the lot of doorknobs that I acquired, just in case I ruined it in the process. After spending so much time on it I WISH I had used one of the ones I actually am going to use because the thought of going through this process again 6 or 7 more times for the rest of the doorknobs in my basement….. let’s not talk about that right now.
Now That You Know How to Remove Lacquer from Brass, Aging the Brass is The Easy Part!
- Now there are brass agers that you can get and simply dip and rinse your piece and it is instantly aged, but I couldn’t find it easily in Canada. The ones I could get had mixed reviews, were expensive, or had very long shipping lead times, so I started to research natural products.
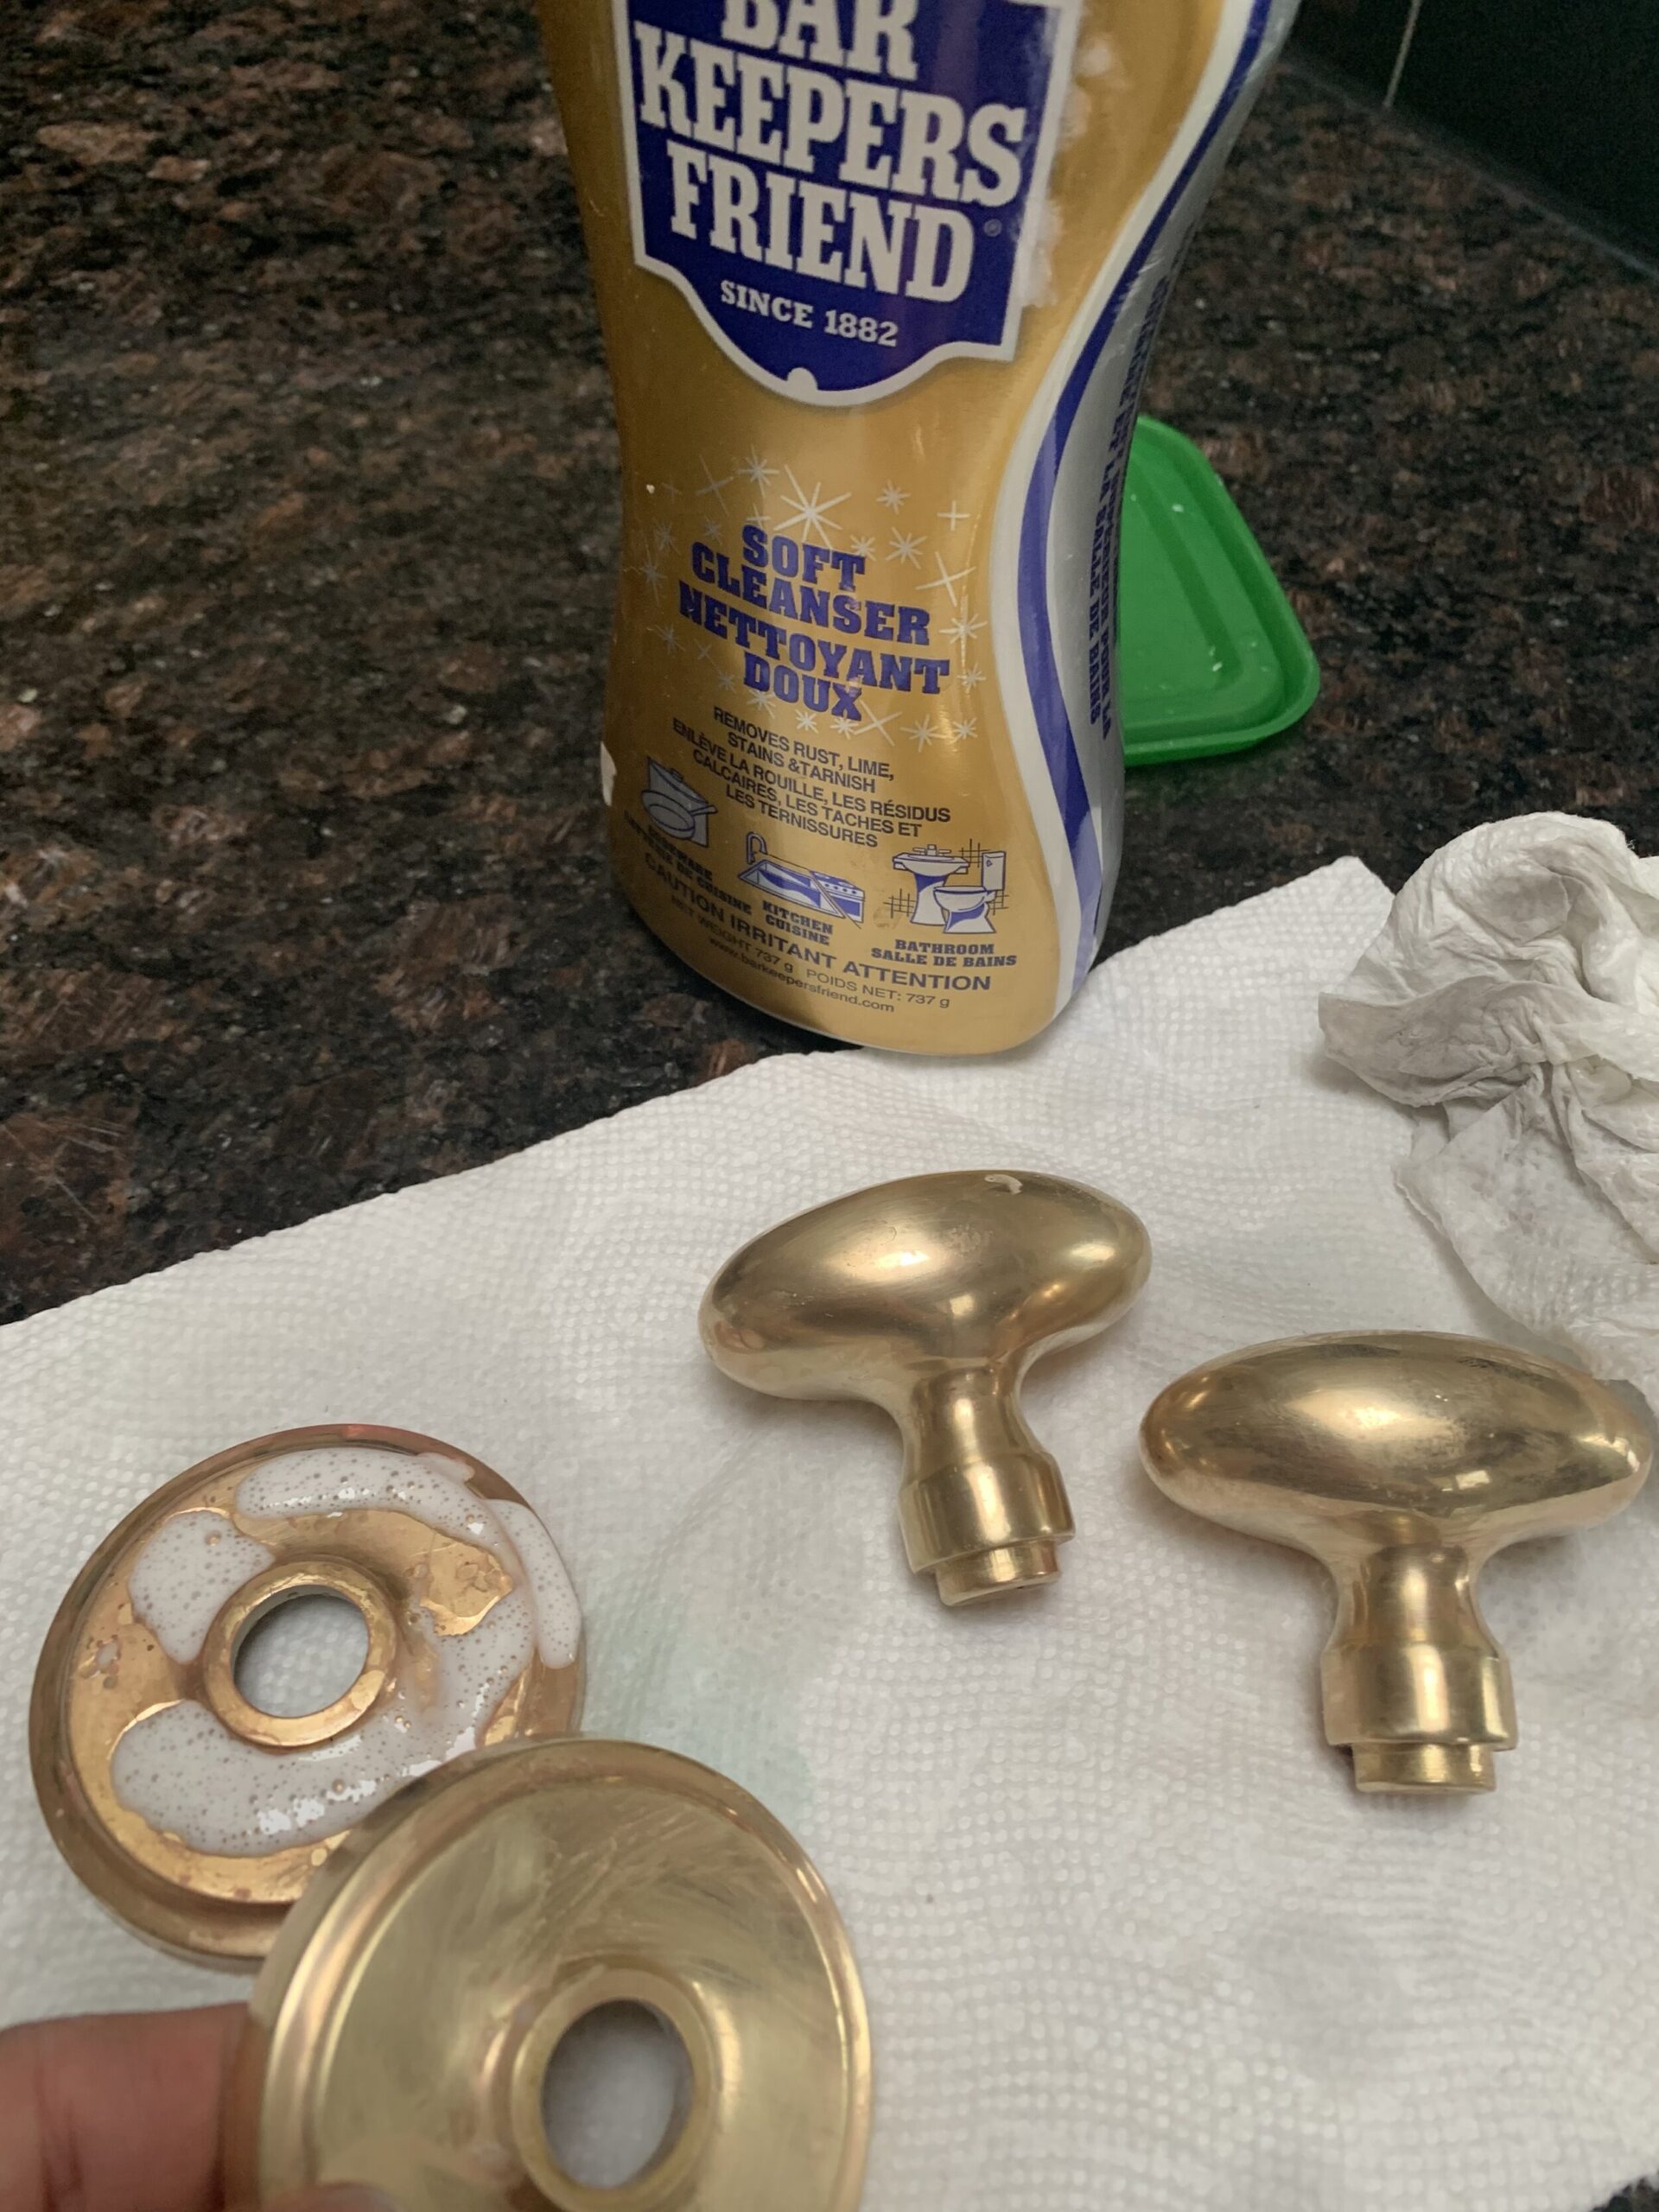
I found a few people talk about ageing using vinegar, or vinegar and salt, or just vinegar fumes and so I tried a few different things to see what I liked. On the first try, I put my stripped knob in a container with a small amount of vinegar and salt and put the lid on. This worked, but it was too aggressive and uneven. It turned the knobs very pink and there were green spots here and there and especially in the spots that were sitting in the vinegar and salt mixture. I removed the knob, polished it up with a clean cloth some Barkeeper’s Friend (a great way to polish brass, if you don’t have any brass polish) and tried again. (The great thing about ageing brass… if you take it too far, you can always polish it back up!)

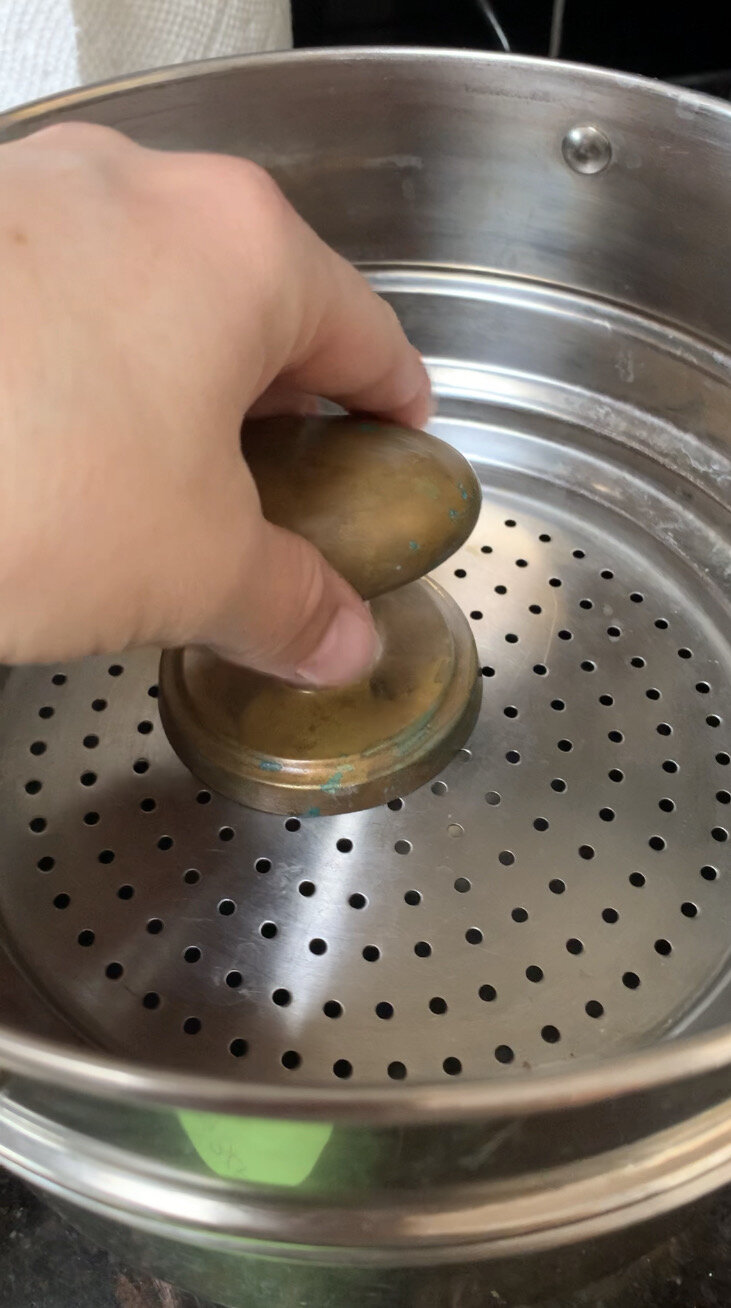
- This time, I got a double boiler and put a bit of vinegar into the bottom part of the pot (just a bit, like about 1 cm in depth) and then put my knob in the top part of the double boiler, so that the knob wasn’t sitting in the vinegar but would be exposed to the fumes, and I put the lid on.
The knobs did turn out fairly blotchy, and I was able to polish them back up with a little Brasso. That gave the knob part a more uniform, polished look (where I imagined a hand touching it constantly would keep it more polished) but left the edges and crevices with their age.
I decided that 3 hours with the vinegar was plenty, especially if I cleaned them up a little with brasso after which basically made any aging beyond that point not useful. I realize that the knob would continue to age naturally and that this was just giving the whole thing a little head start. Now that I knew the process, I tried the same thing on the unlacquered brass hooks and toilet paper holder I got on Etsy, with similar results.
One thing I did find was that oil from my hand, leftover soap or acetone or even water drops did affect how evenly the piece aged. For best results, I washed the piece with warm soapy water after finishing with the acetone and then let it dry completely (I even hit it with the blowdryer because I’m that impatient) and then handled it with a gloved hand or paper towel after that for the most even finish. Then, once the piece was done, I touched it up with a little Brasso on the knob or any parts that looked a little patchy until I liked how it was looking. I did this on the second knob I did and it turned out much less blotchy, I didn’t really even need to use the brasso.
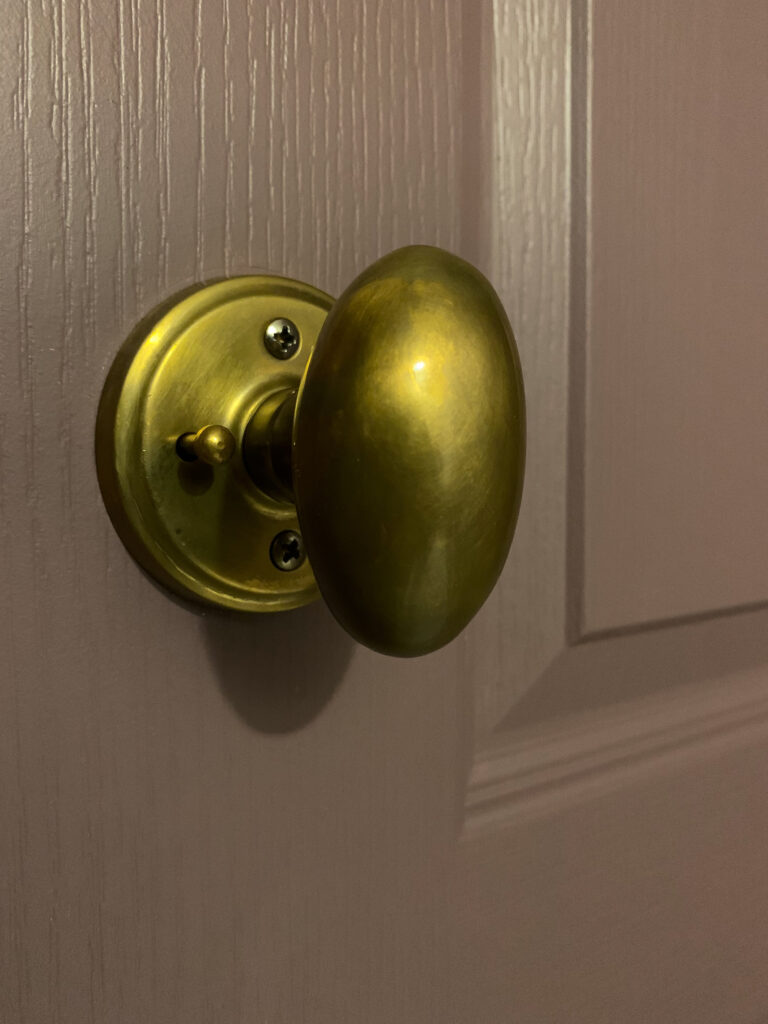
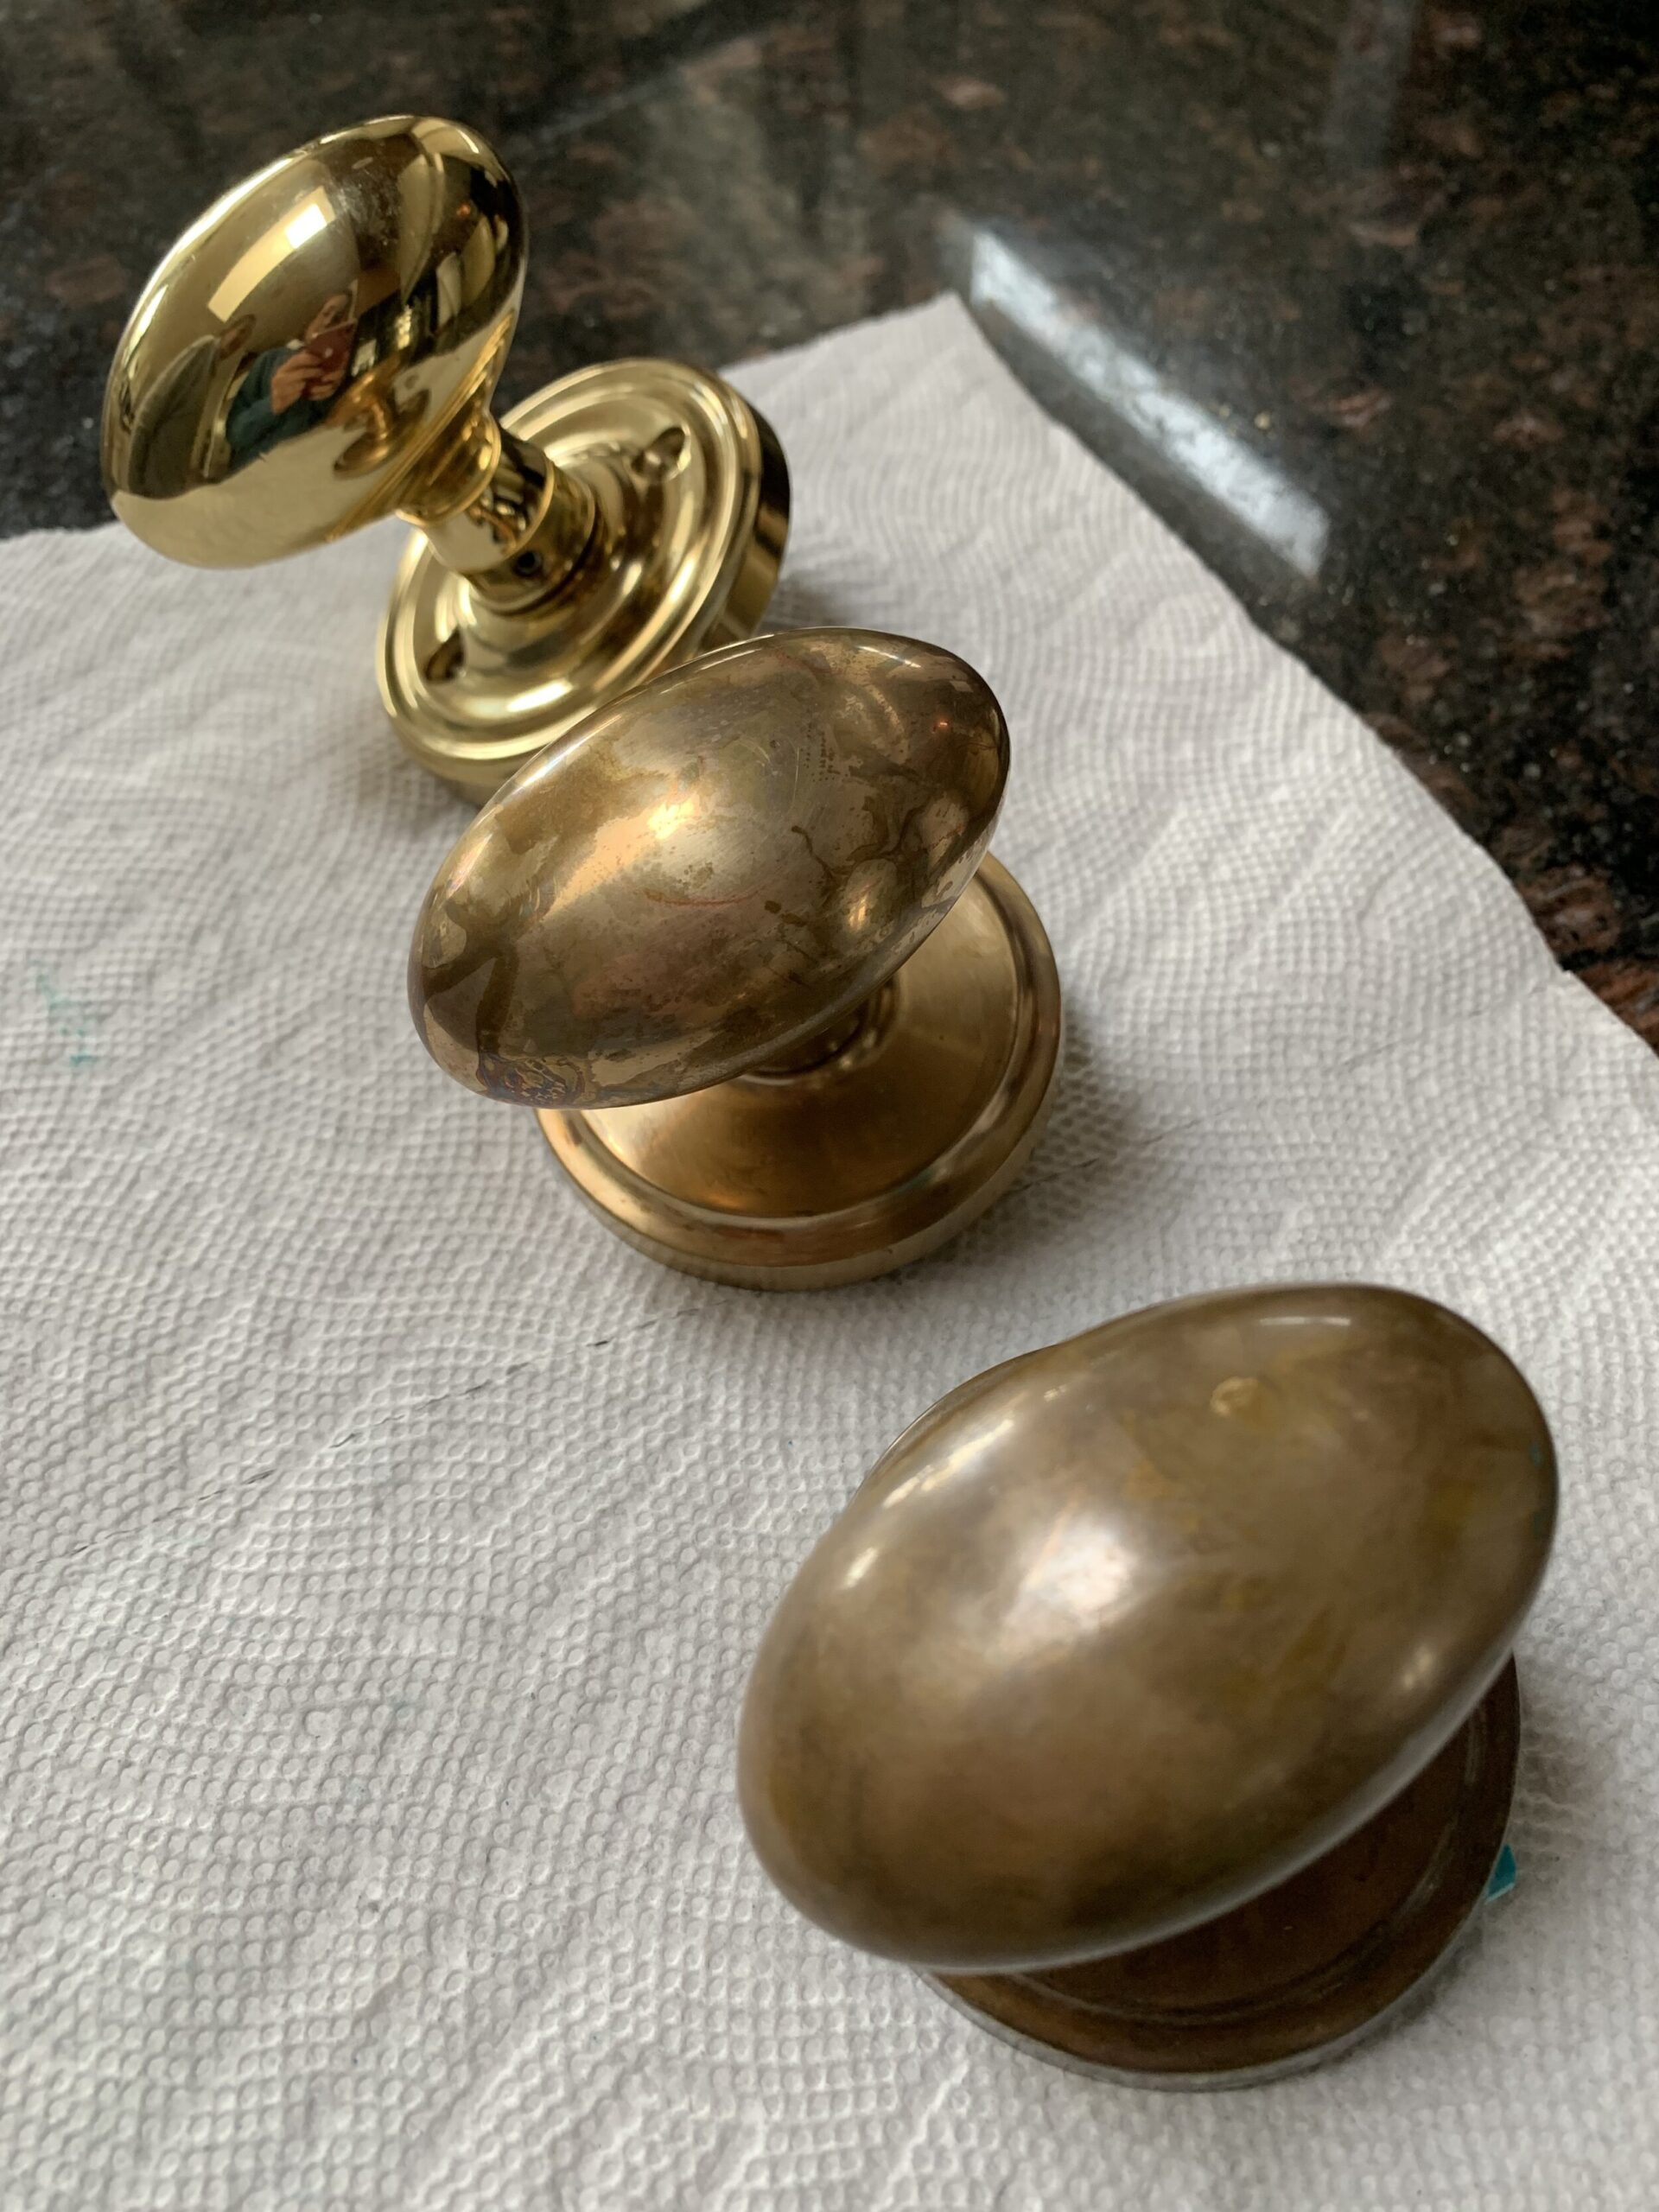
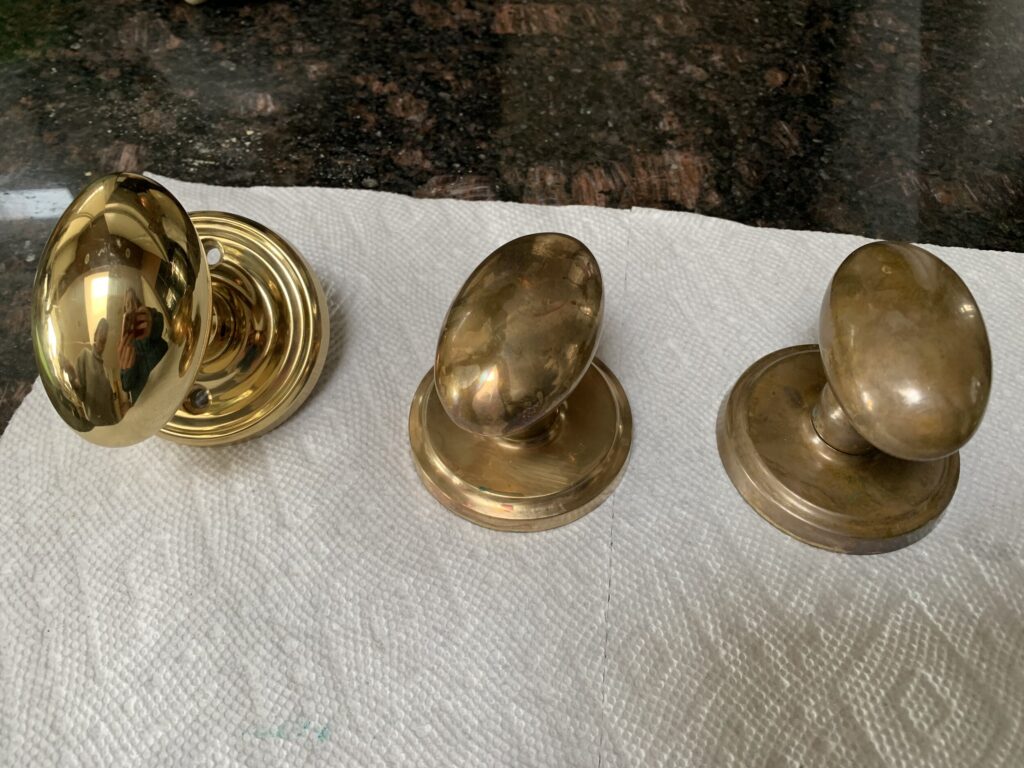
Now all my brass bits, while not exactly the same, all have a very similar finish and work together so much better. I’m so pleased that if I ever have anything brass that is a little too shiny for my liking, I can put in a little elbow grease and get that loved-on, lived with look with some simple household supplies.

Next week I hope to be finishing up a few DIY’s to finish off the space, (hopefully) installing some plumbing fixtures and getting this bathroom back to working! Be sure to go back to the One Room Challenge website and check out what the other participants are up to! It’s a great season and there are some really creative projects happening out there. We will see you next week!
CLICK ON THE IMAGE ABOVE TO BE RE-DIRECTED TO THE ORC WEBSITE!
Shop the Post (affiliate links):

You might also like:
Love how you’re just willing to go for it and experiment! The aged finish adds so much more character. What a deal for all those knobs!
Ohhh this turned out so good. It’s making my wheels spin a bit for my kitchen hardware.
I found this tutorial very useful in removing the lacquer from a nice solid brass mid-century modern candelabra. I adapted the method slightly because the piece was much too large to try and soak in acetone. I found that a quick wipe with the acetone followed immediately by a vigorous rub with brasso wadding began to shift lacquer and polish the brass. Repeating the acetone/ brasso procedure quite a few times shifted all the lacquer and left a very nice classic polished brass finish.
Oh that’s so nice to hear, I am glad it worked for you! I think some lacquer is easier than others to remove, depending on the piece. Sounds like you came up with a great system!
Aircraft paint remover works well. Wipe with lacquer thinner.
This was by far the best thing that I tried.
Thank you for putting all your DIY´s out here. I know how much work goes into documenting all this. Very inspiring and even if you don’t reach mio of people you make a difference for the ones who truly love your DIY content. Thank you so much!
Well thank you!
I just found your blog by researching brass and lacquer. I think I was confused by your wording because you might be Canadian and I am from US. I use the term door knob differently: I call a door knob the one palm size knob that opens and closes a full size door, not cabinet. I call the small ones door or drawer pulls. Thanks for the info you shared!