
One Room Challenge Fall 2020 – Week 5 – Paint Changes Everything.
If you have clicked over from the One Room Challenge Website, welcome! I’m glad you are here! I am an interior designer and serial DIY’er based in Red Deer, Alberta, Canada! You can catch up on my One Room Challenge project in the last week’s posts here:
Week 1/ Week 2/ Week 3/ Week 4
Be sure to follow along on Instagram for more behind the scenes, and subscribe to the blog at the bottom of this post so you don’t miss the weekly updates!
This post may contain affiliate links. That means if you purchase anything from these links I earn a small commission, at no extra cost to you! This helps support my blog, so thank you!
What Did We Do Last Week?
It is already week 5 and we are in the home stretch! I pulled some long nights and took an extra day off work to get this project buttoned up and I’m happy to say that the actual work on the room is DONE. No more drywall dust, no more paint trays in my kitchen sink, so more ladders and scaffolding. Although I am super excited for what’s next (furniture! Art! Curtains! Styling!) I have to say that having the room actually physically done is such a relief!
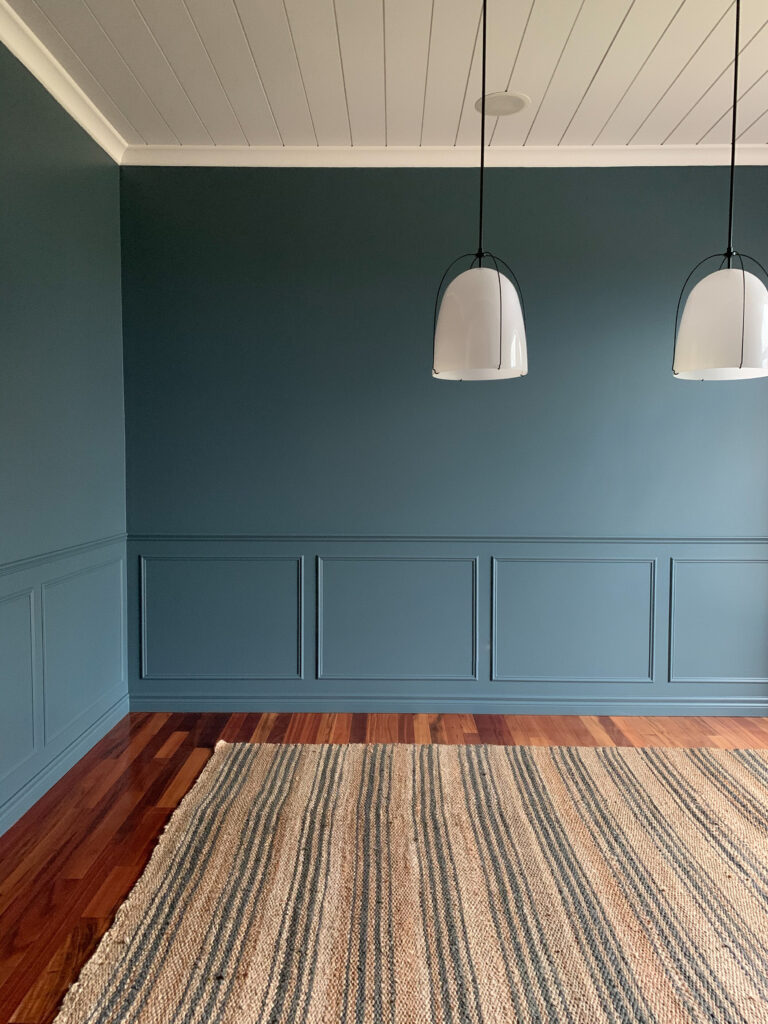
So what did I work so hard on last week? First of all, I added box trim moulding along the lower half of the wall. This is actually a fairly easy DIY as far as moulding goes as you don’t have to make corrections, generally, for things like crooked walls and corners that are not square. You can just cut all your corners at 45 degrees and things work out just fine. Here’s how I did it:
First, I decided on the box-sizing. To decide how many boxes I wanted I started on the largest wall and used some tape to visualize the box size. Then I checked the second largest wall to see if I could get a similar box size on that wall, while still ending up with full-sized boxes. For me, the largest wall had box sizes around 39” and the next largest wall was around 36”. The eye can not tell the difference, and it would be impossible to lay out the boxes exactly the same on every wall. On small walls, I just did a single box the size of the wall (with 3” spacing from the corners).
To lay these out, I drew a level line all the way around the room 3” below my chair rail. (The chair rail I placed last week at about ⅓ of my ceiling height).
I then drew a level line all the way around the room at 3” above my baseboard.
Knowing the box sizes I calculated in the first step, I marked the left and right vertical sides of the boxes all the way around the room.
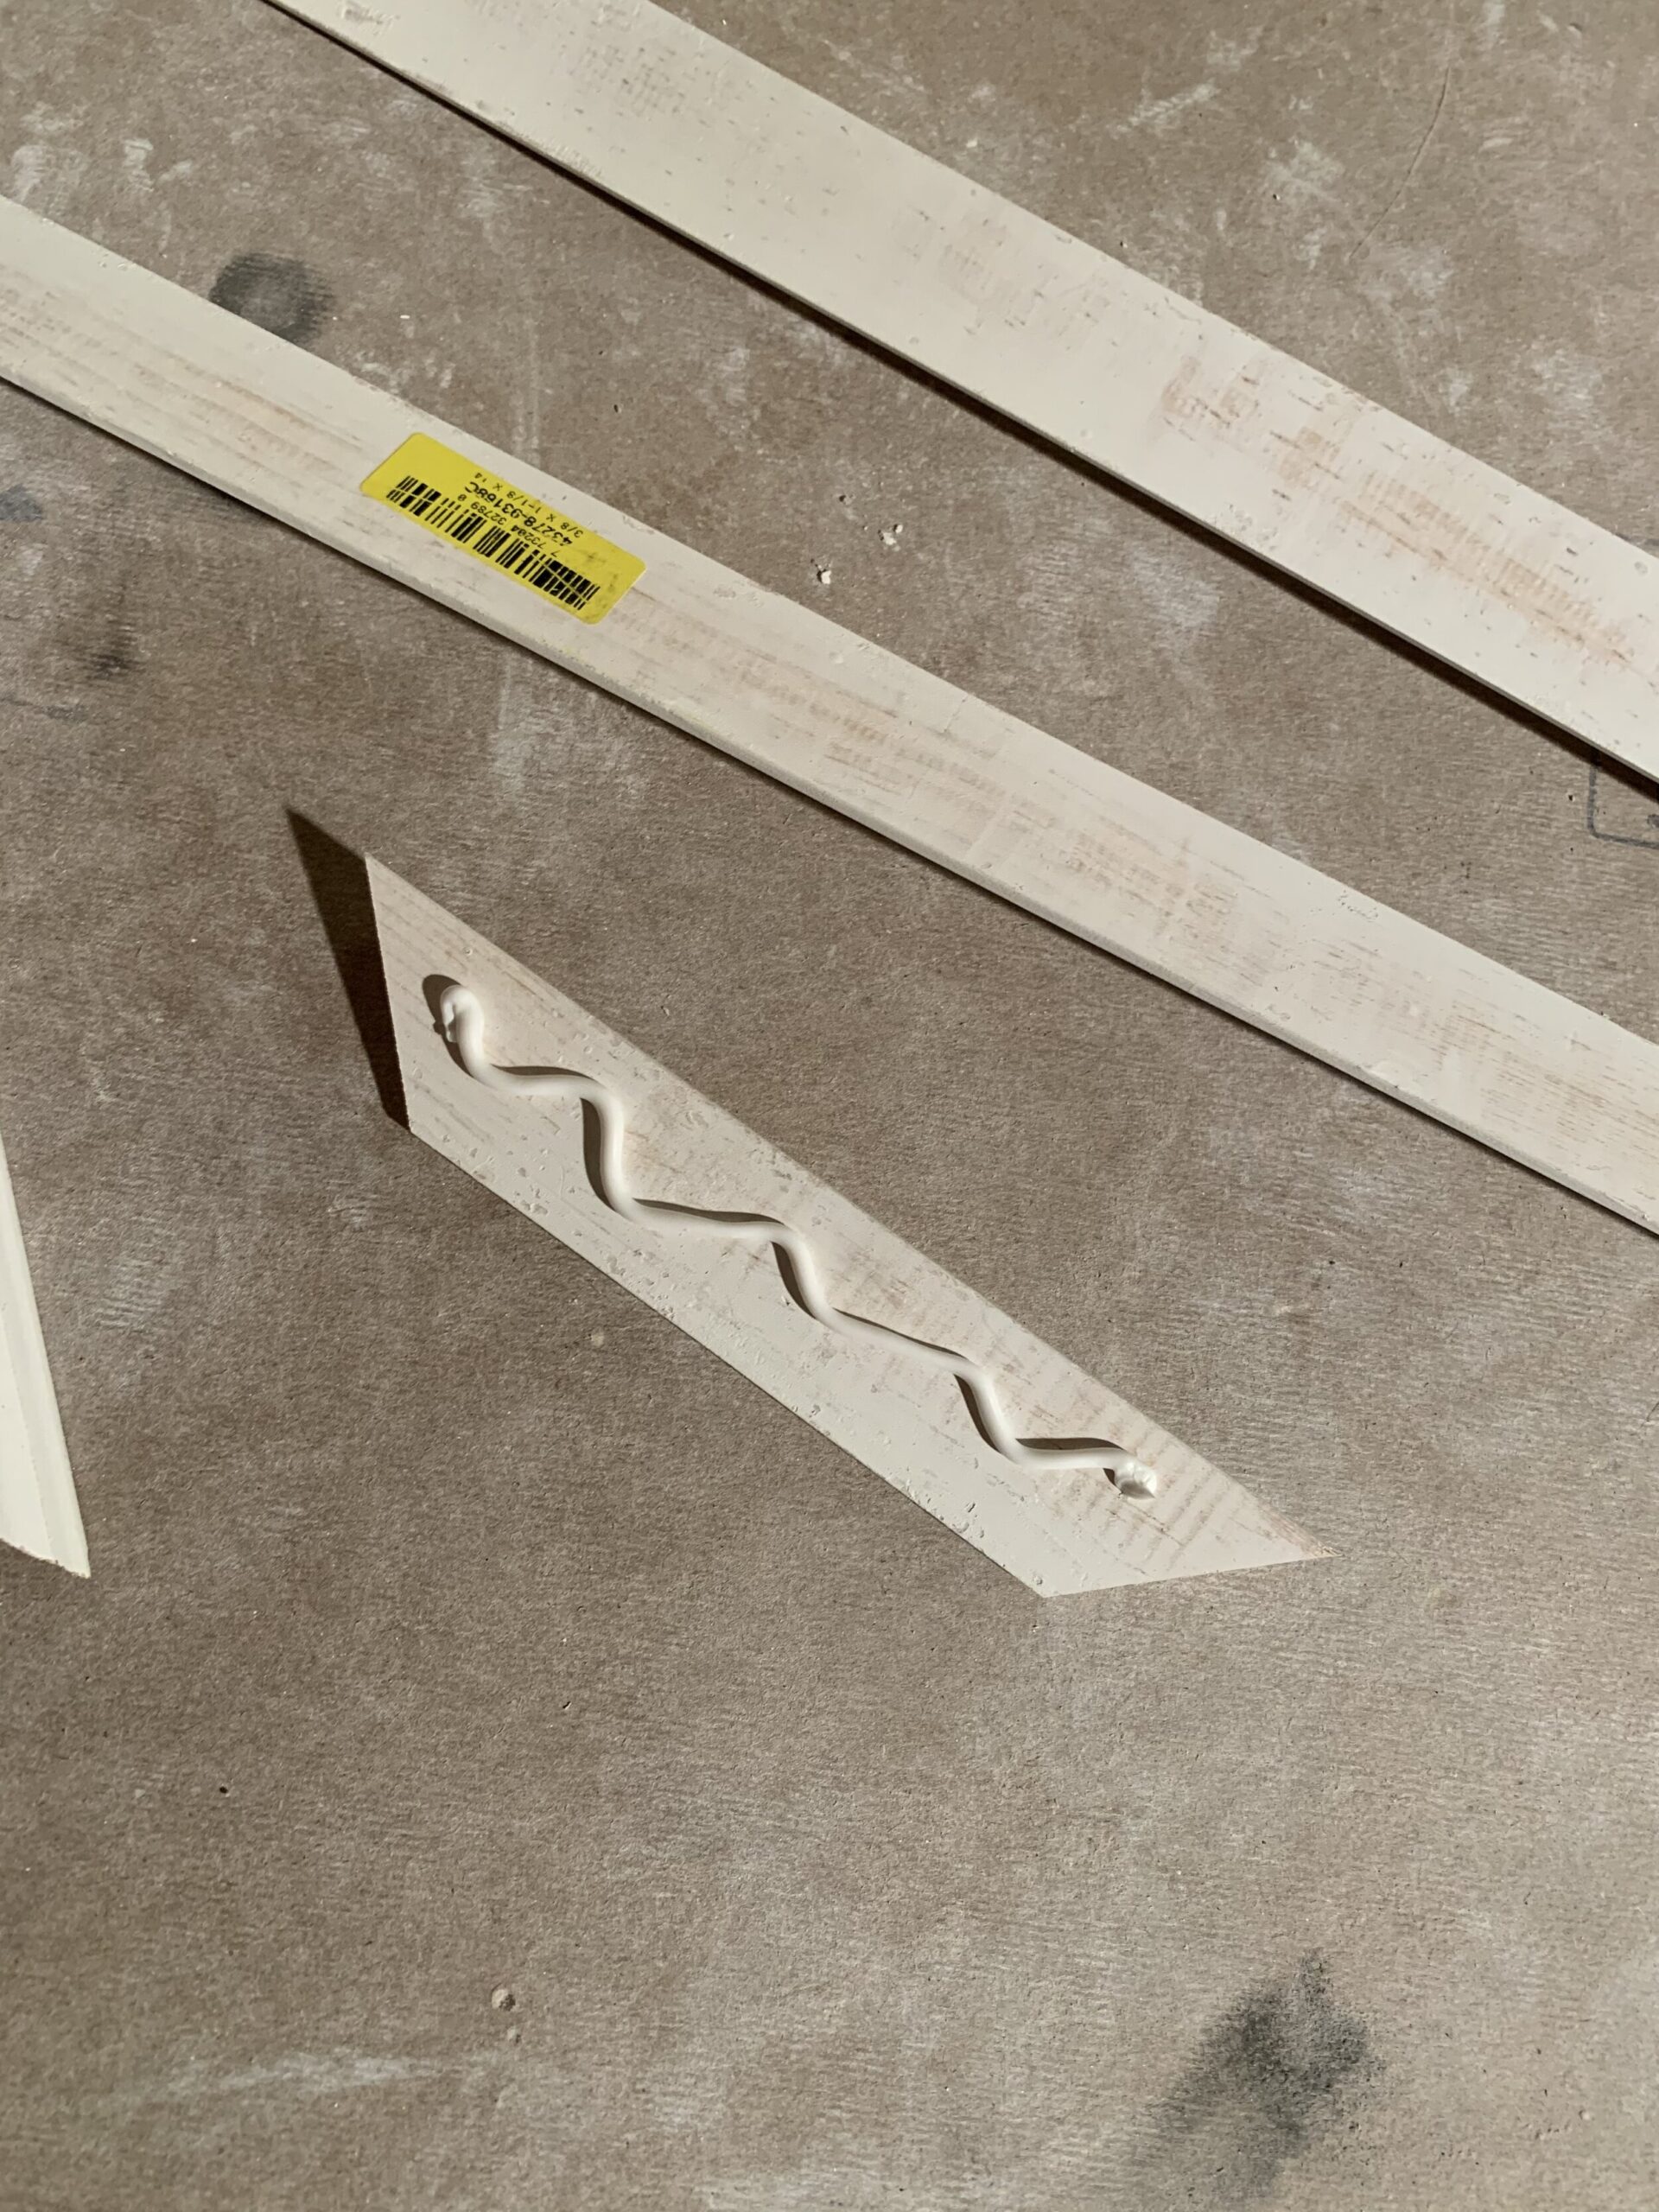
Then, I started cutting, measuring along the lines that I made and using those as a guide for the outside edge of my trim, cutting the corners at 45 degrees. I made sure I had all four sizes ready for each box before I started attaching them.
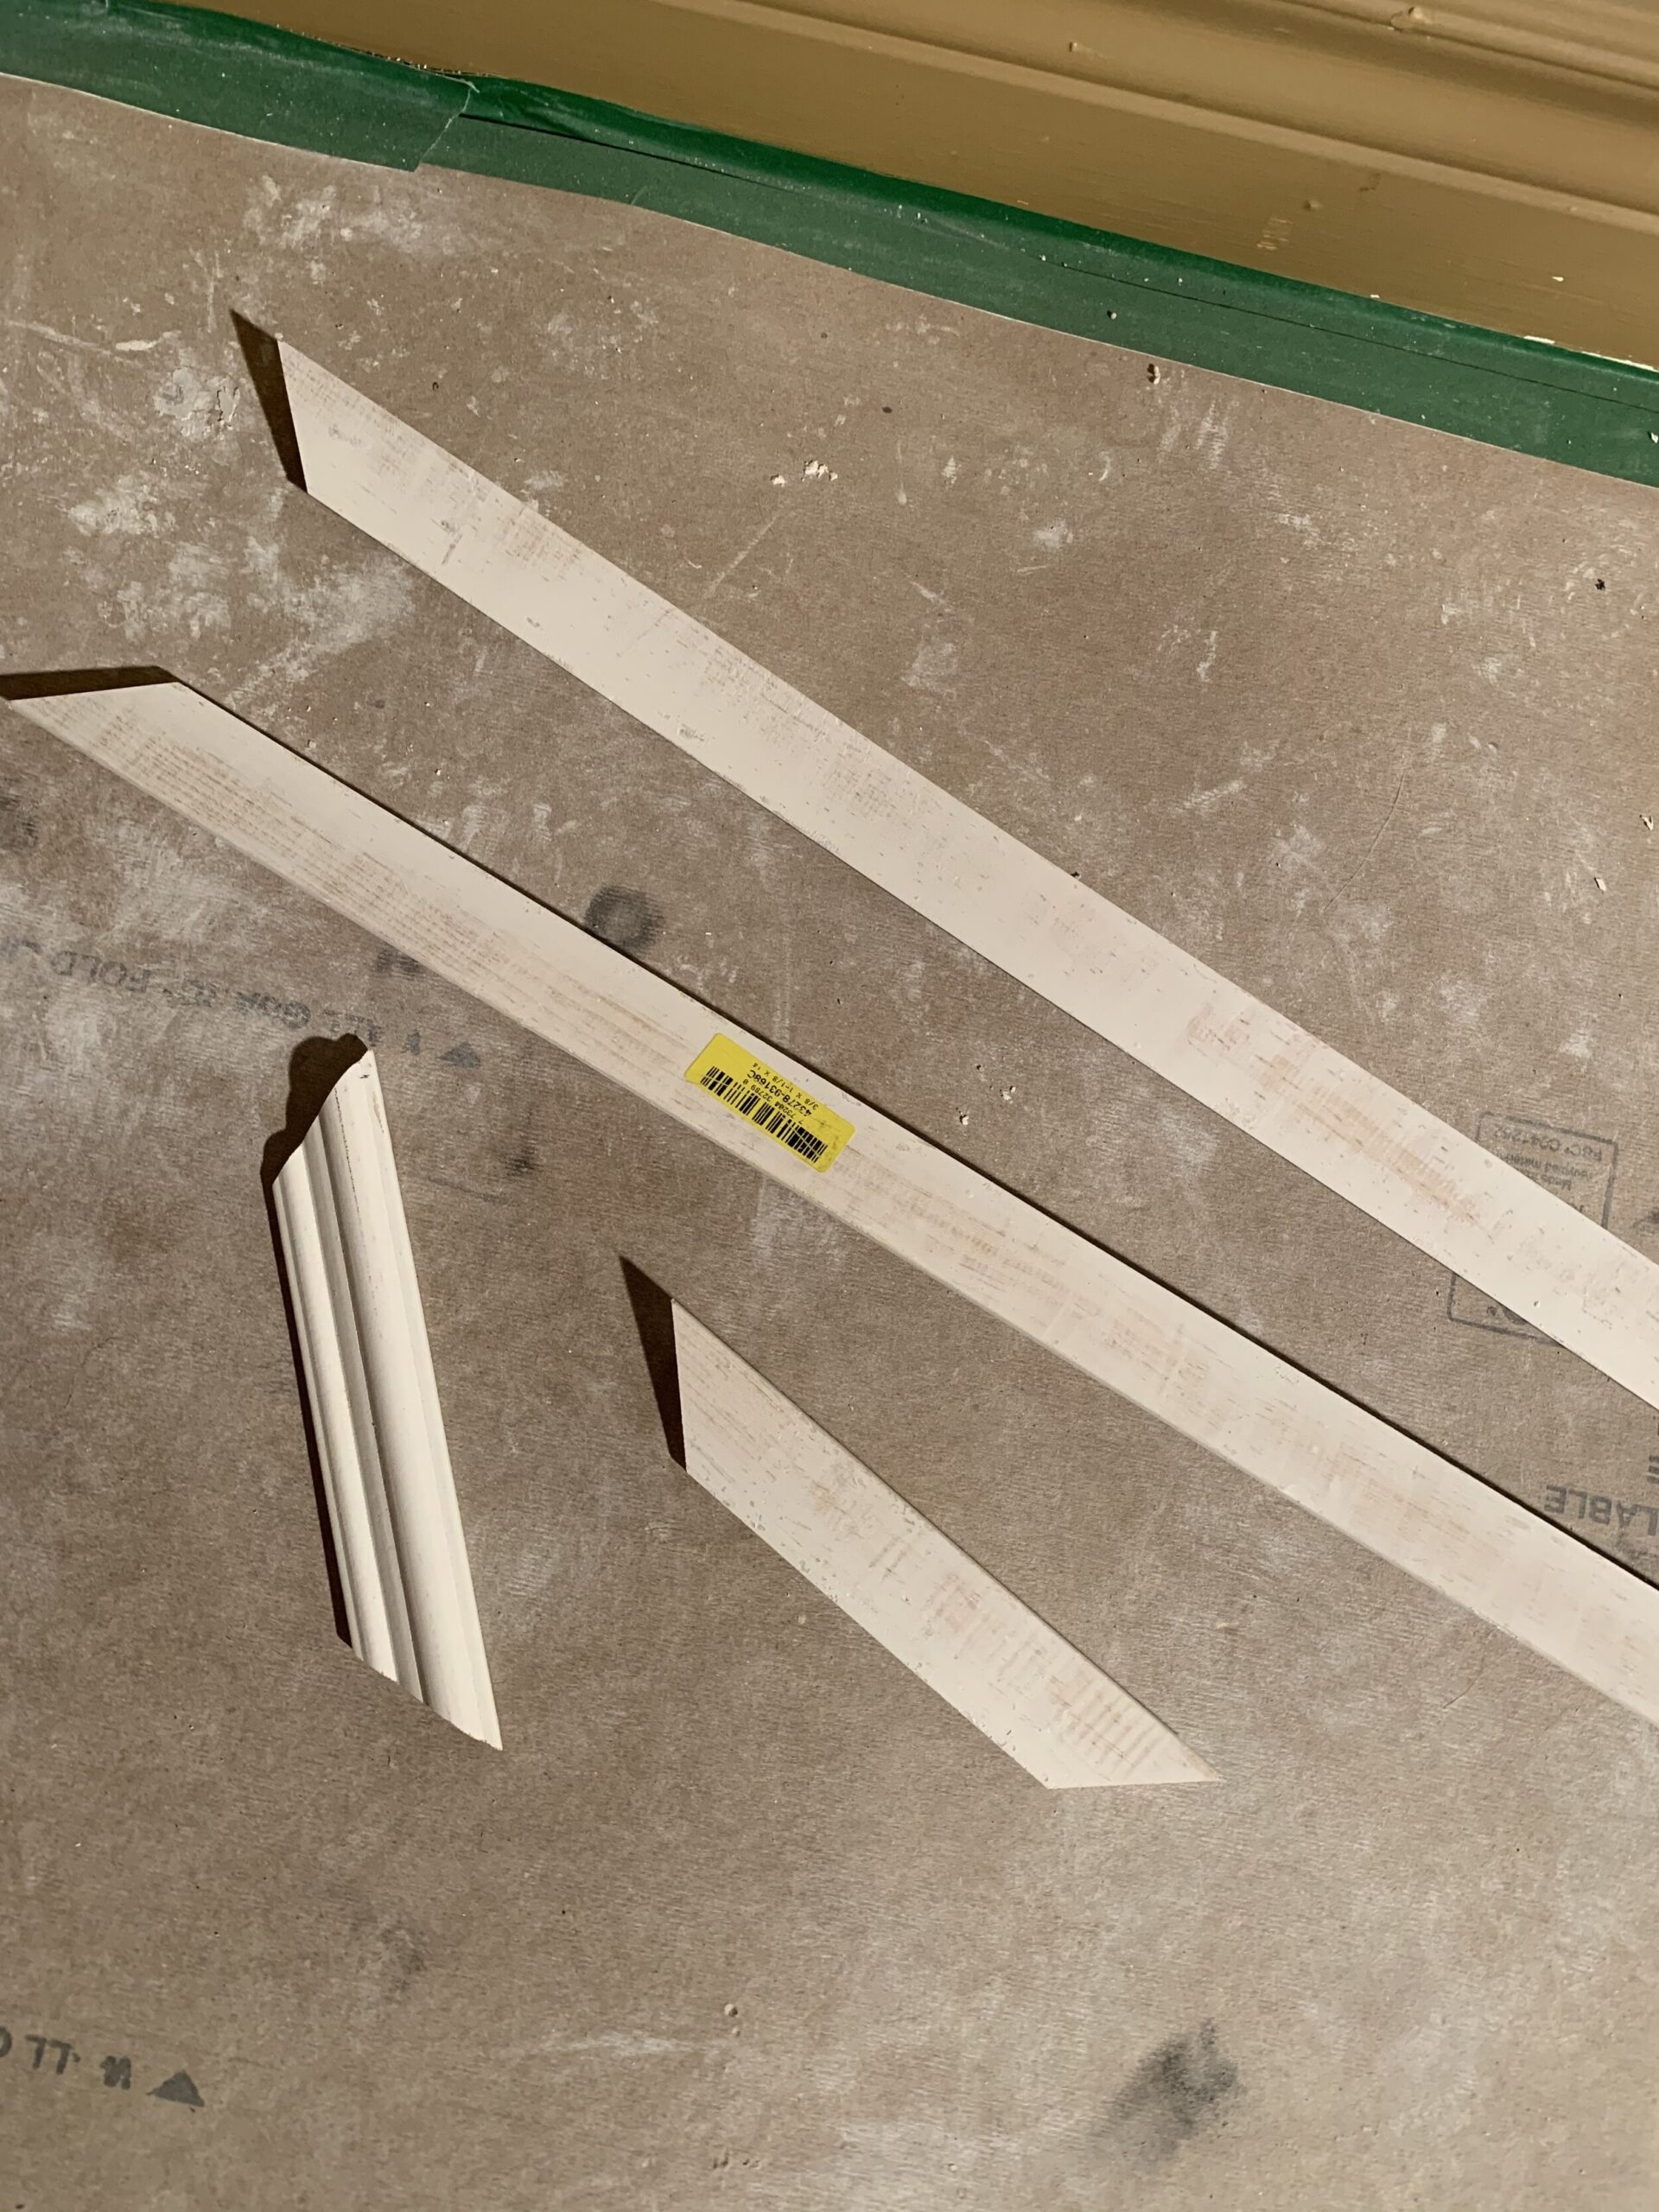
Since my trim was really small, I used my old friend, “No More Nails” (a construction adhesive) to attach the trim. I added a finish nail here or there if there was a spot where the wall was a bit crooked and the trim wouldn’t sit flat, but for the most part, I only used the adhesive. I like “No More Nails” because it has a quick grab but it’s repositionable for 5 minutes or so. Once I stuck all 4 sides on I maneuvered the trim around a little to make sure my corners were nice and tight.

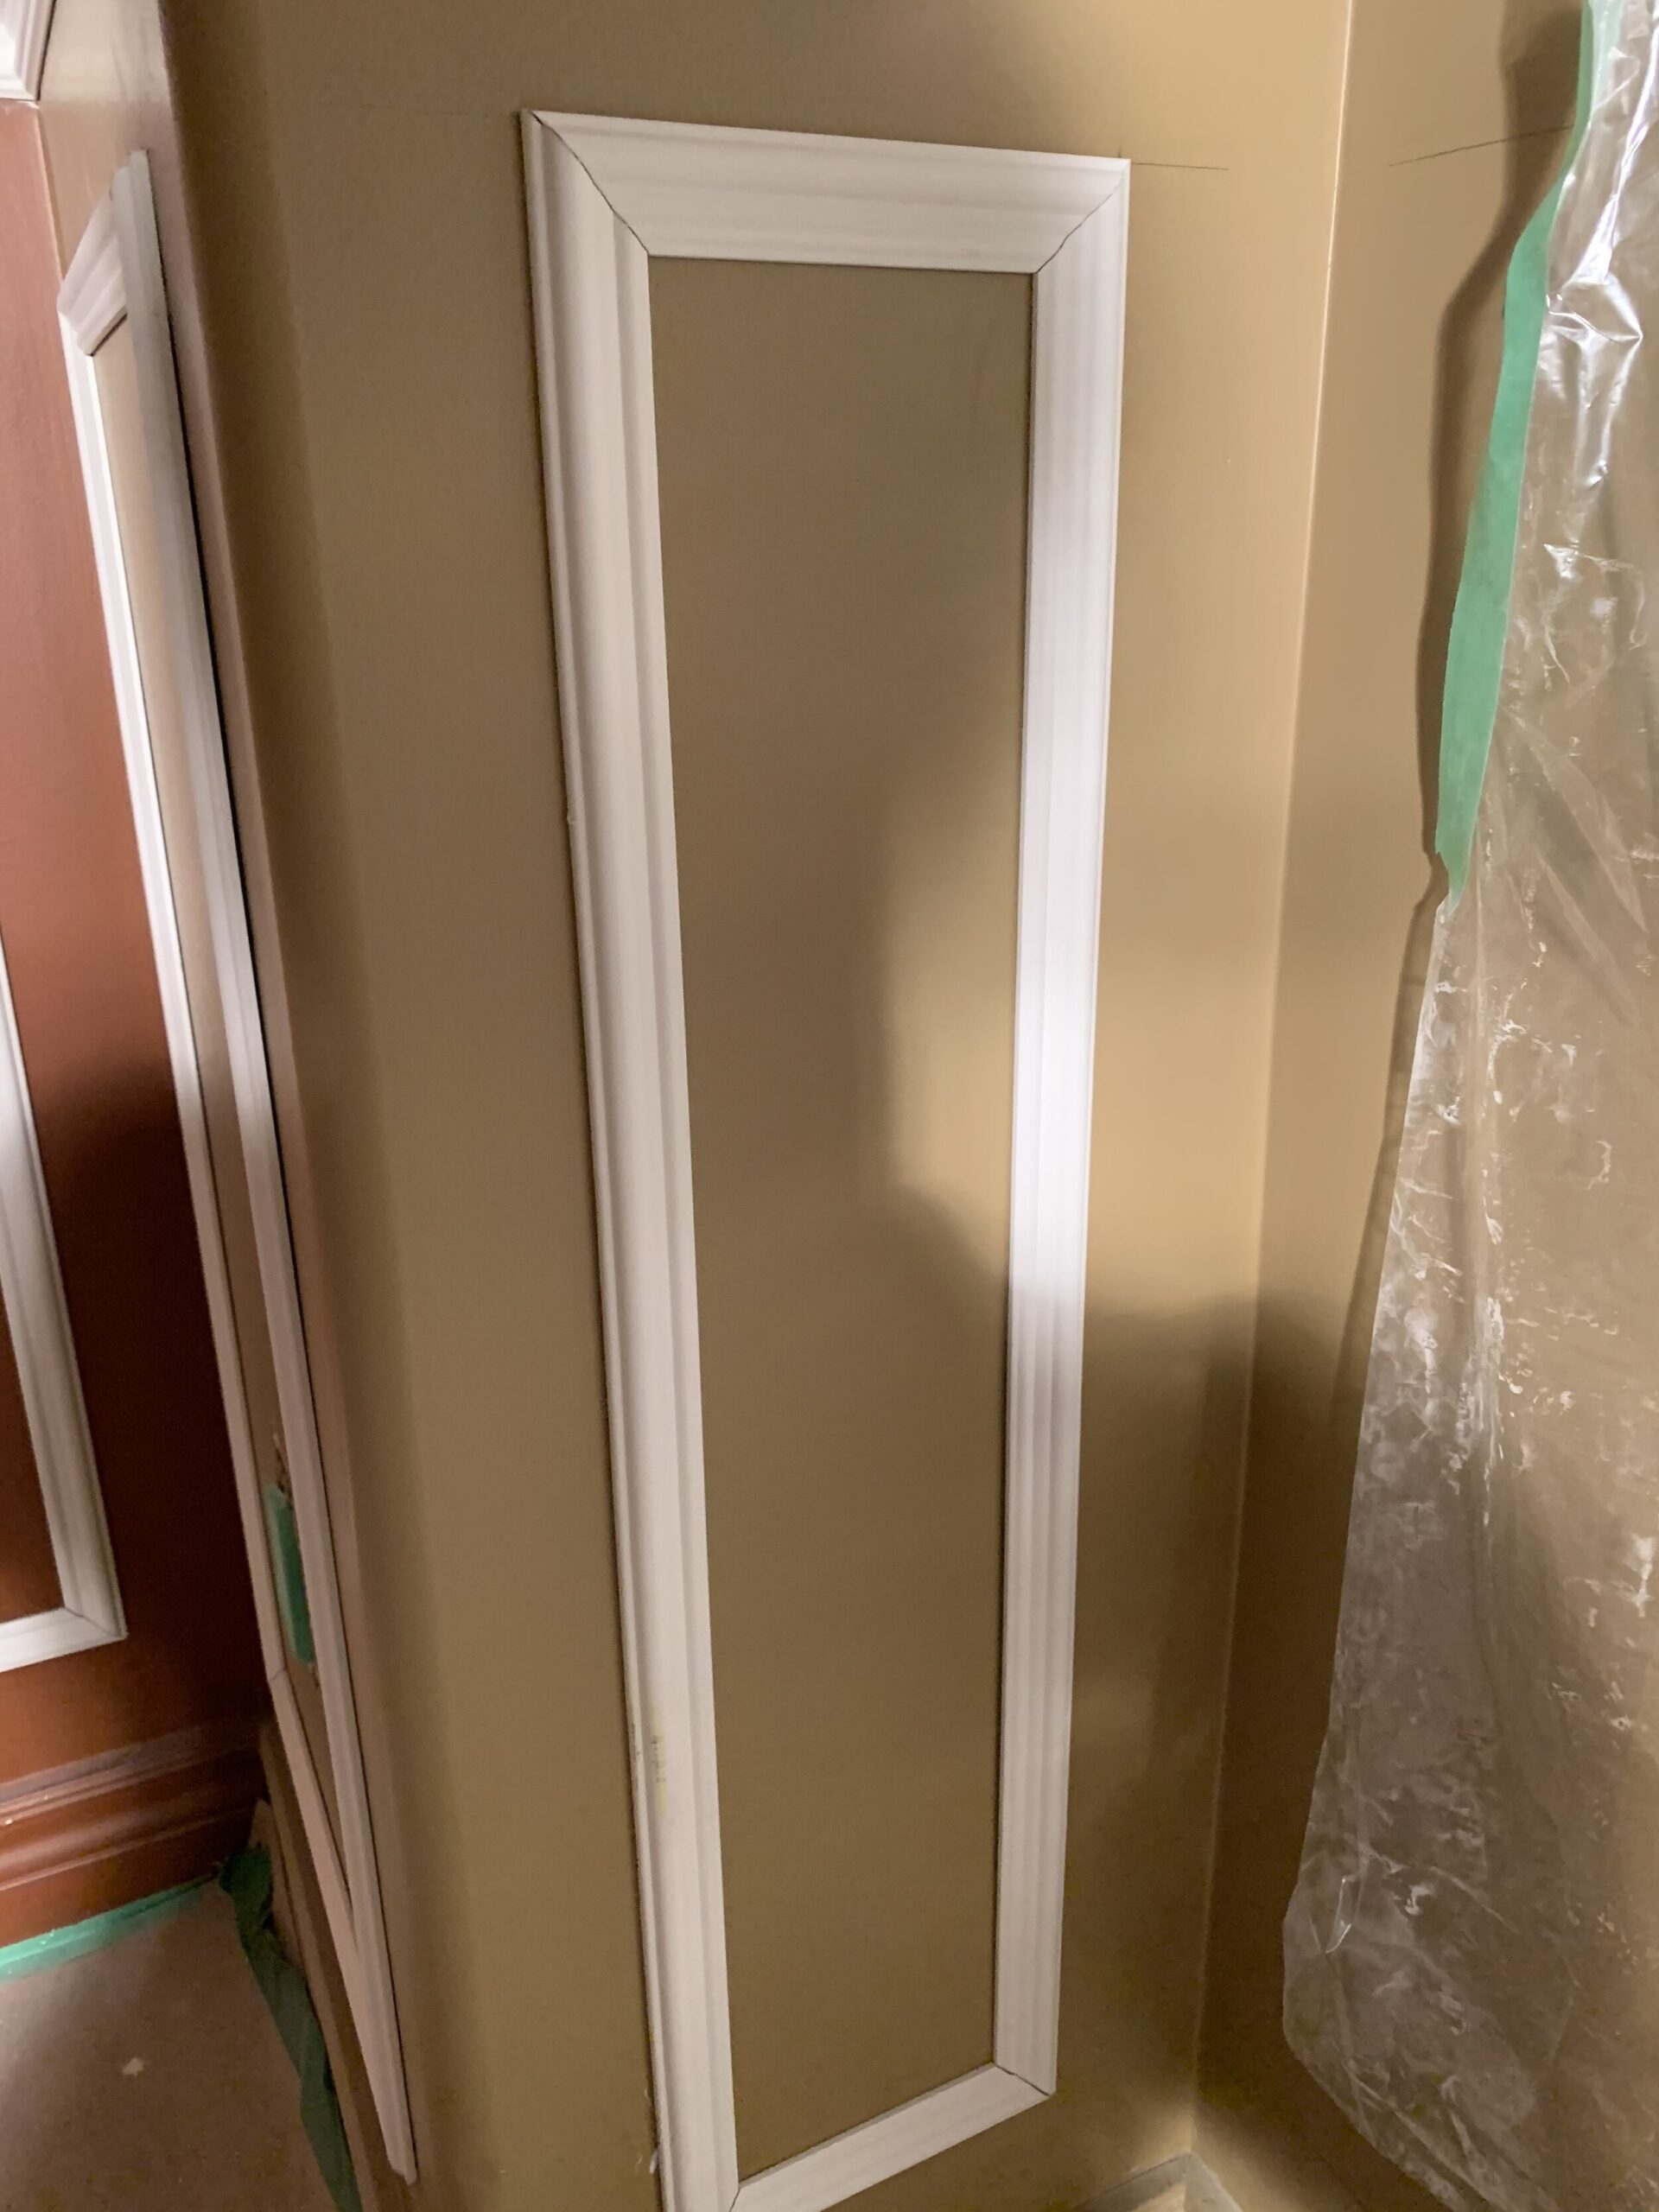
That’s it! Once the trim was up and the adhesive was dry, I caulked all the seams where the trim met the wall and the corners, and any little nail holes. I think the caulking actually took longer than the installation to be honest! Super tedious. Super important. Don’t skip it!
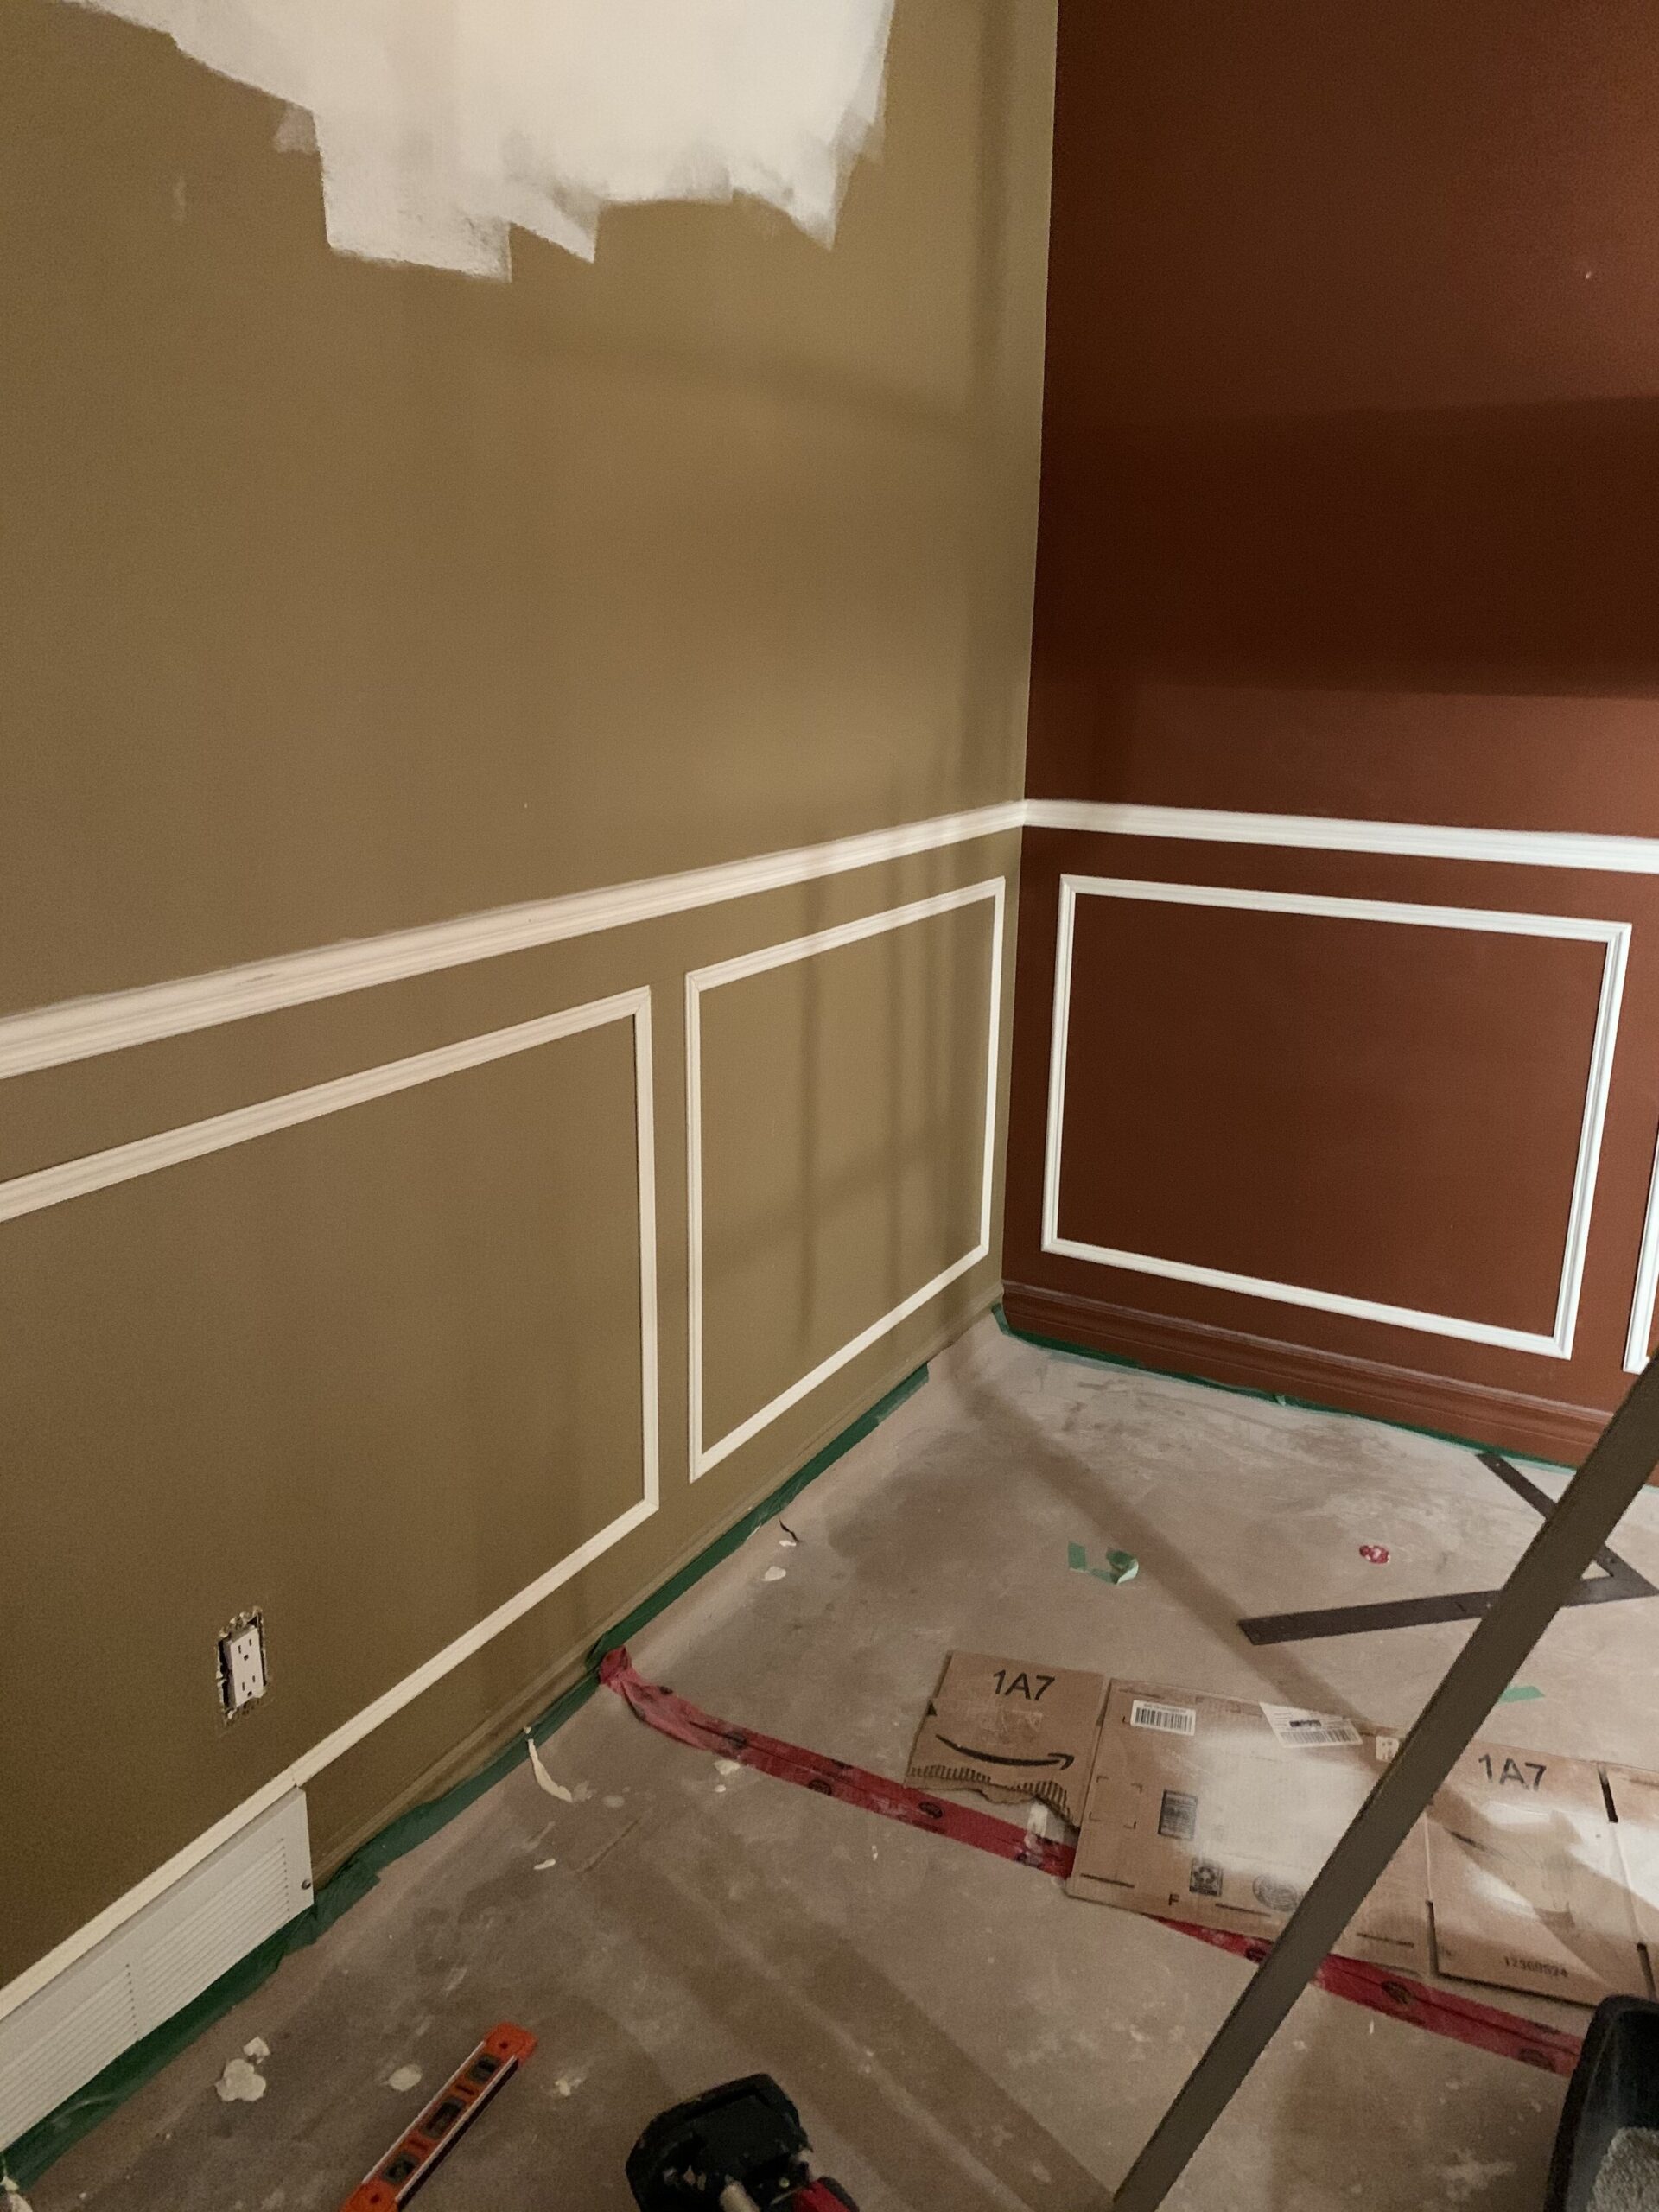
Once that was done it was time for paint! I decided to spray the bottom half of the walls because cutting in around the baseboard, chair rail and box trim would have taken me for-EVA and I already had the floors protected. Prepping for spraying is also no joke and there was a lot of plastic and taping off involved (and some nervousness about maybe getting paint on my newly painted ceiling!) but once the spraying started it took literally minutes and the finish is sooooooo good. I decided to try a satin finish on the bottom half of the walls and the door and window trim and eggshell on the top half of the walls, but I’m sad to say that the difference in sheen is barely perceptible. I wish I had gone for a semi-gloss instead of satin or a matte instead of eggshell for more of a contrast, but live and learn! So the top half of the walls I rolled on so that I could cut in at the ceiling with a brush without trying to tape off my whole ceiling. In general, I only use my sprayer when there is a lot of detail that needs to be brushed around (like the wainscotting, or furniture, for example) or if I am using a high shine finish where brush strokes are going to be super noticeable.
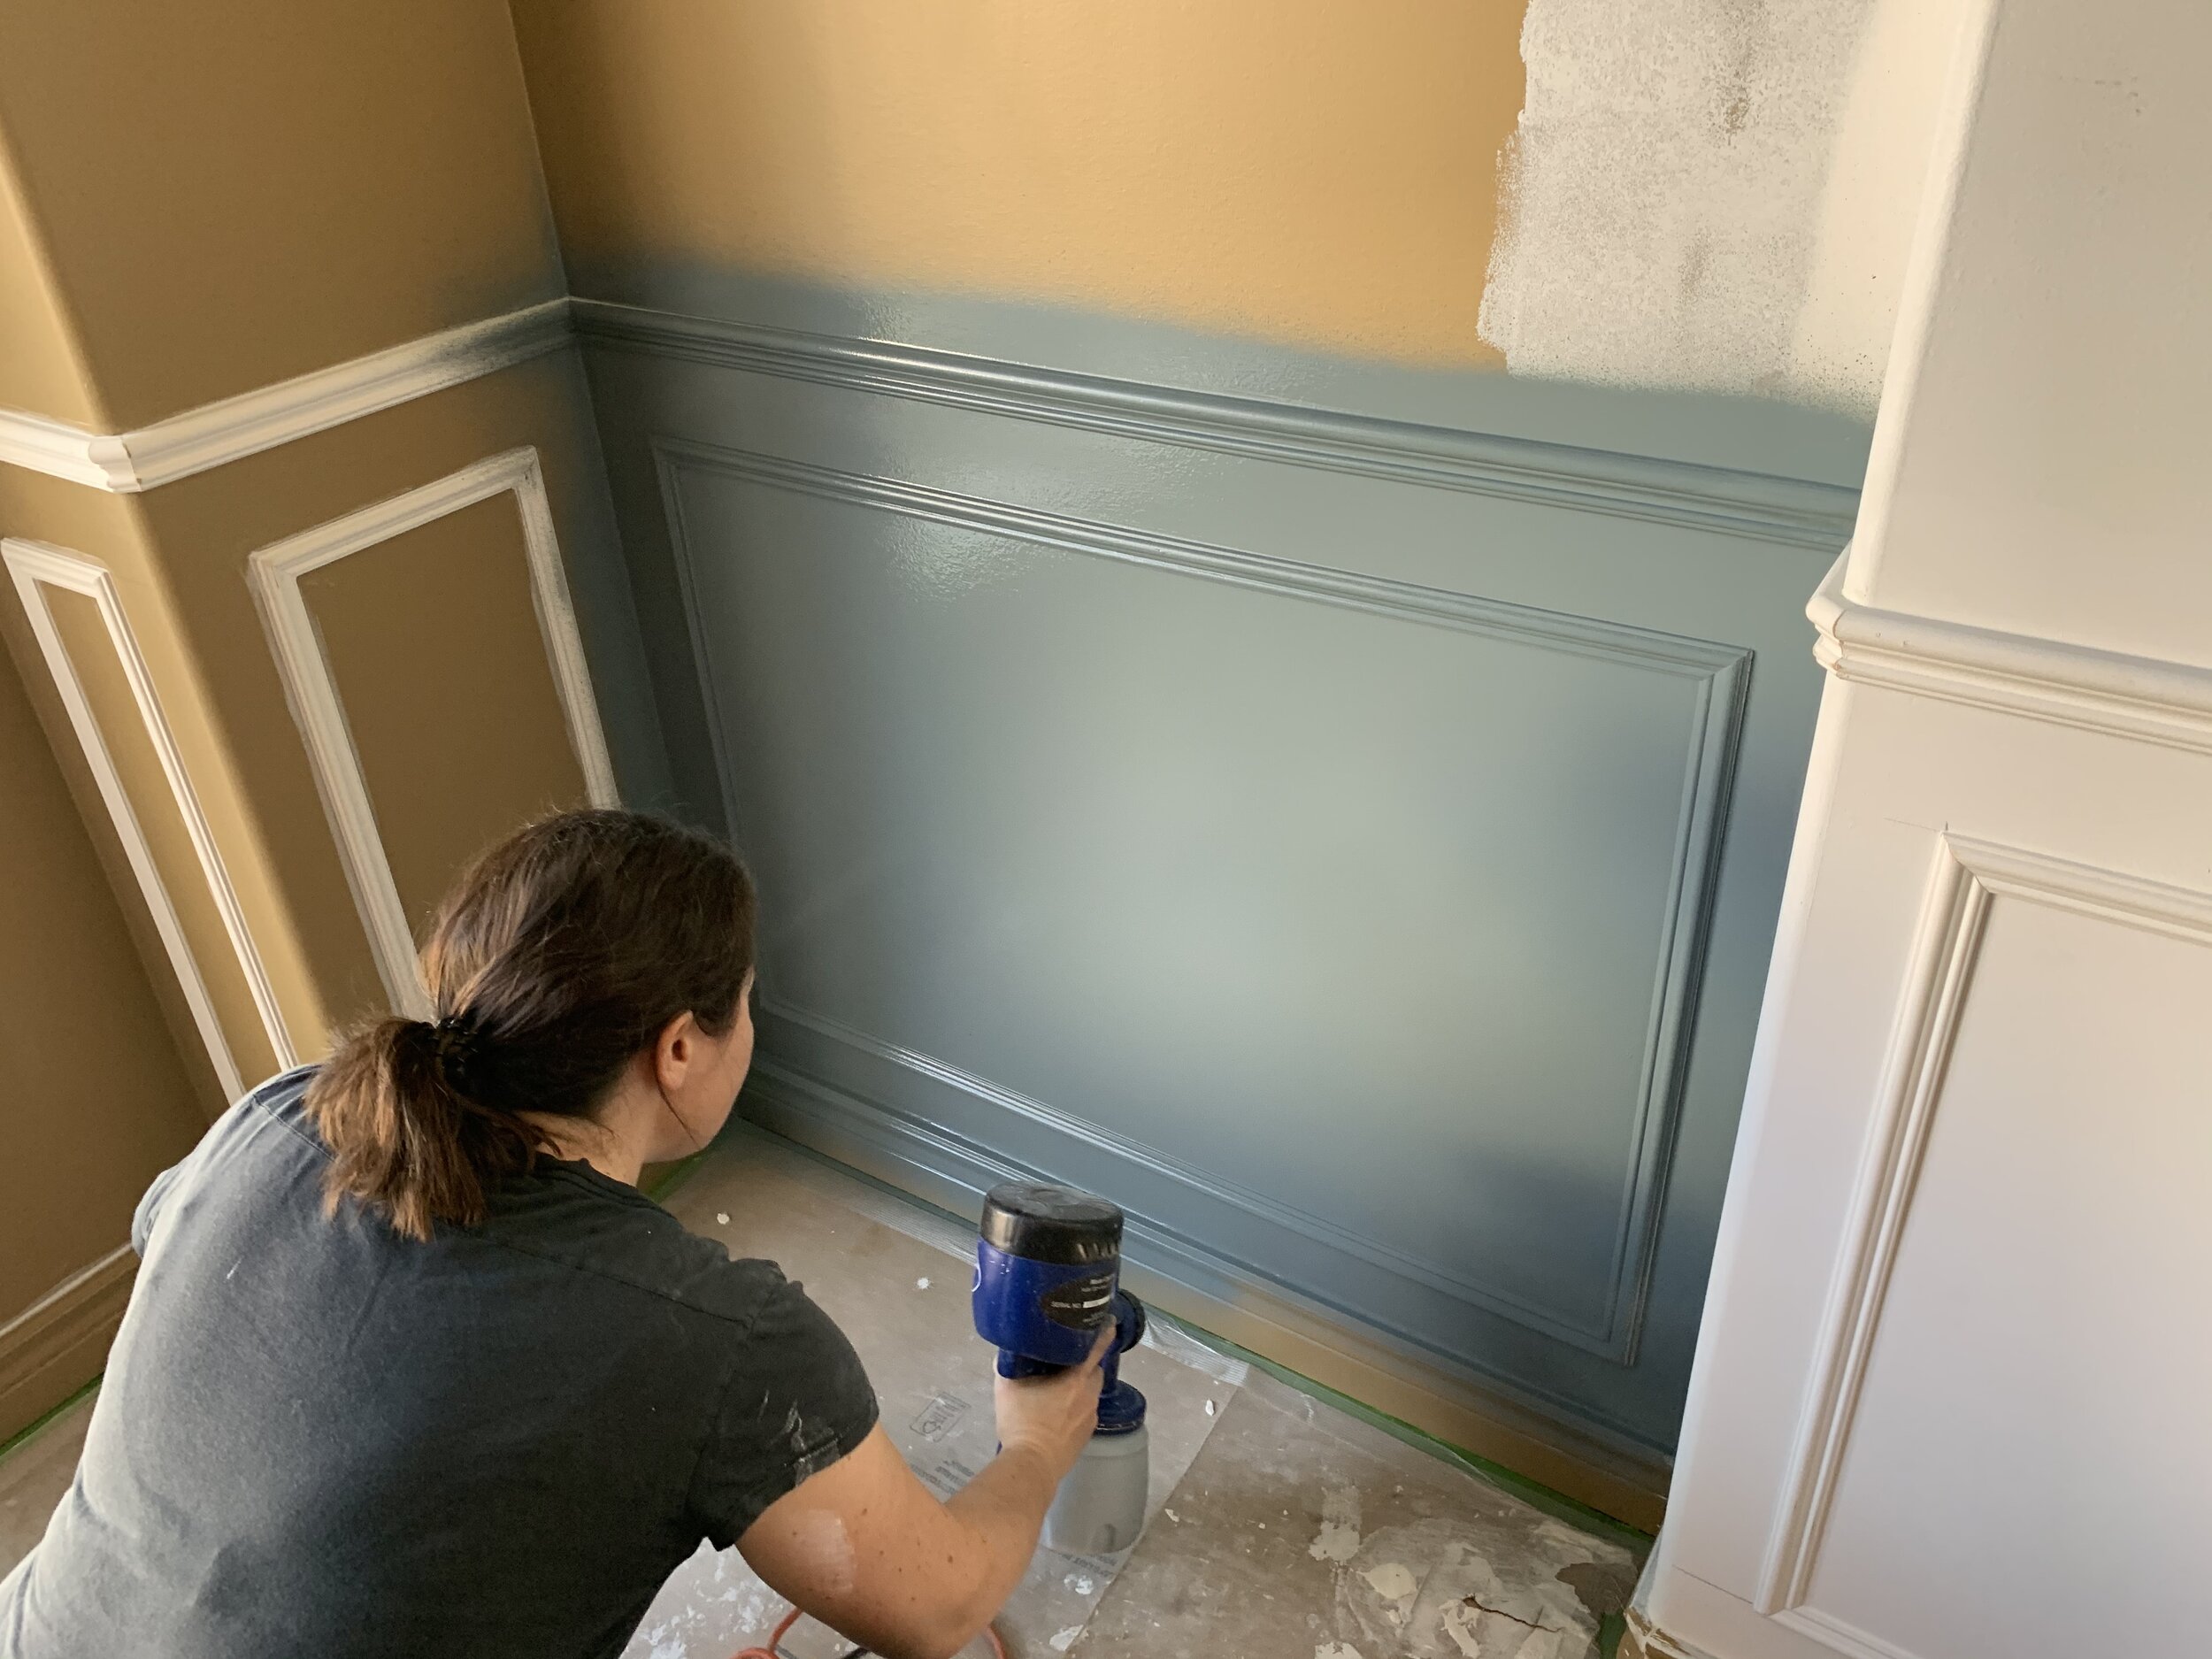
Ok enough blabbing along I bet you are ready to see the finished paint job right? I was going for a muted blue-green tone but this colour ended up being mostly just blue, but it’s a happy accident because I’m in love with how it turned out. The colour is Valspar’s Relaxed Navy:
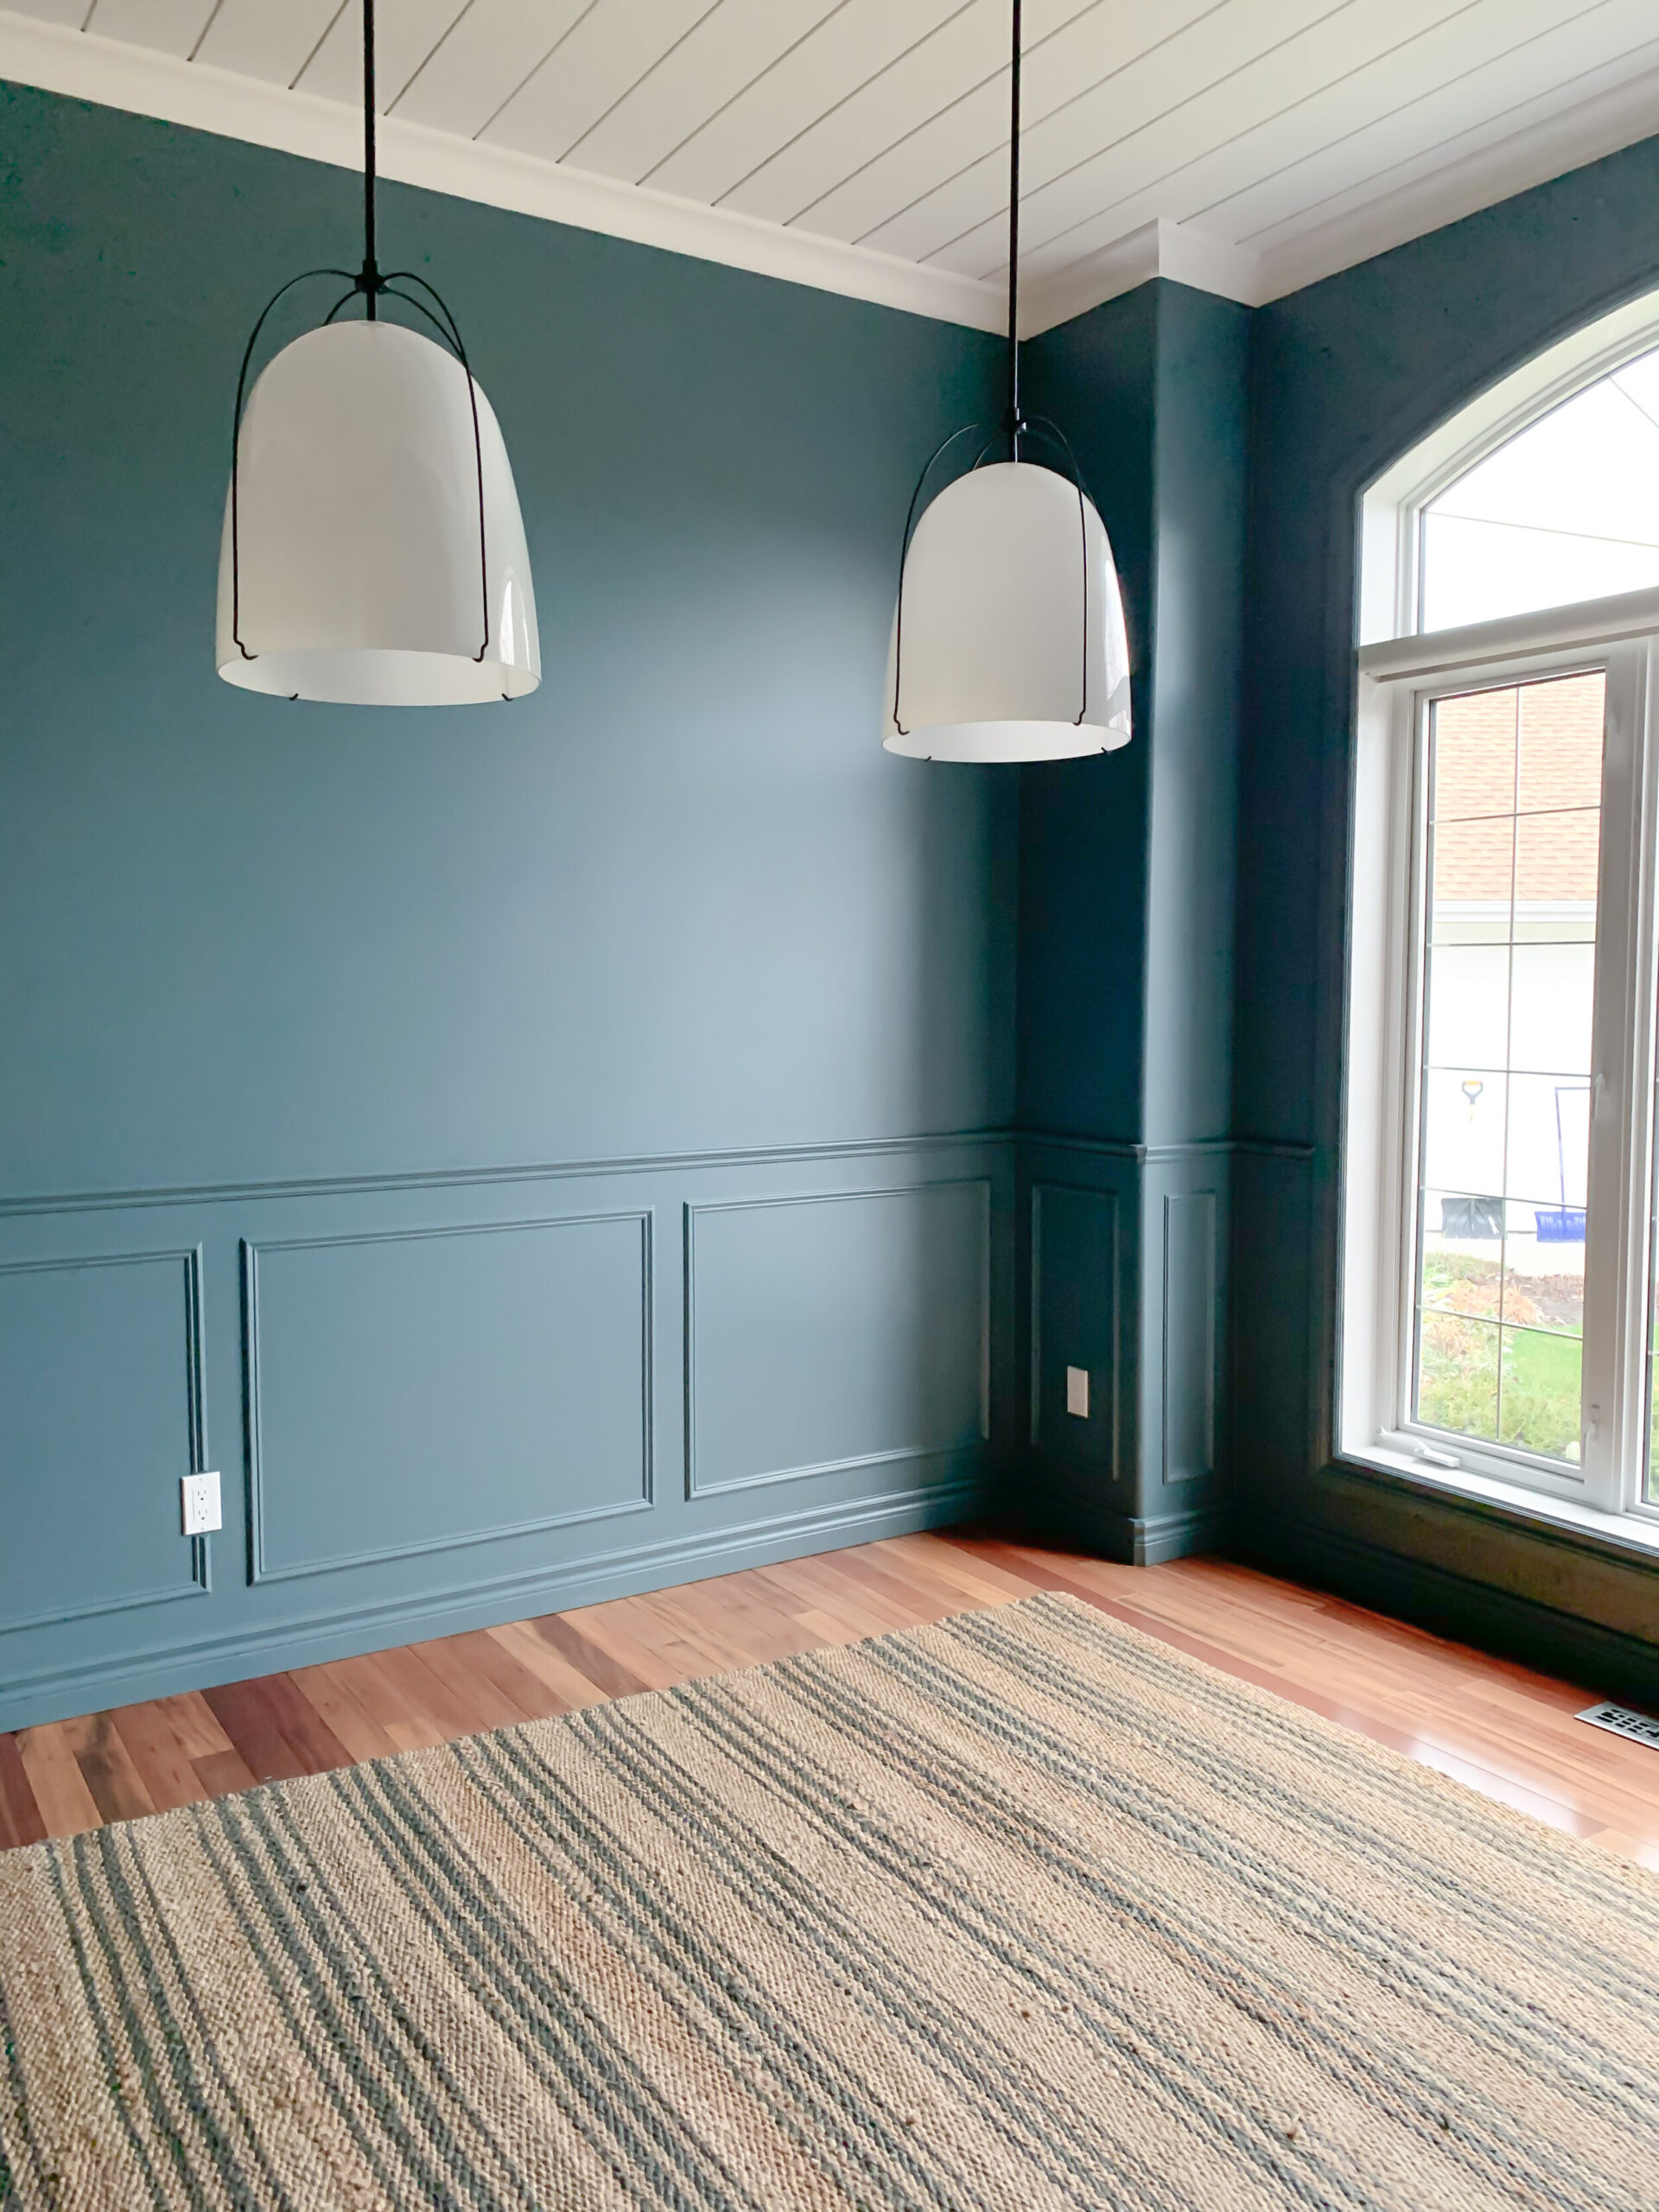
Once the room was painted we were ready to install the lights! I agonized about the decision for the lights in this room and I searched far and wide for a chandelier that I loved, but nothing was hitting the right note for me. I found quite a few pendants that I was more into but the scale was just not right for over a dining table, but then it hit me… why not install two pendants? I mean, my ceiling was a mess so I could pretty much put the lightboxes wherever I wanted. Once I decided to do that, it took me all of 8 seconds to choose THESE pendants from Rejuvenation. I loved that I was able to totally customize them with clear, opaque or dipped (so cute!) glass, choose the metal finish and the exact drop I needed. I chose white glass with black metal, because I loved the contrast of them and I thought they would just pop against my dark wall colour. I have tones of white and black in the room as well so they would tie in perfectly. And I am happy to say that they are every bit as beautiful as I hoped they would be! I had some convincing to do with my husband as these were a bit of a splurge for us, but I knew they would be a statement maker and we decided to go for it, I’m so happy we did! (And hubby loves them too!)
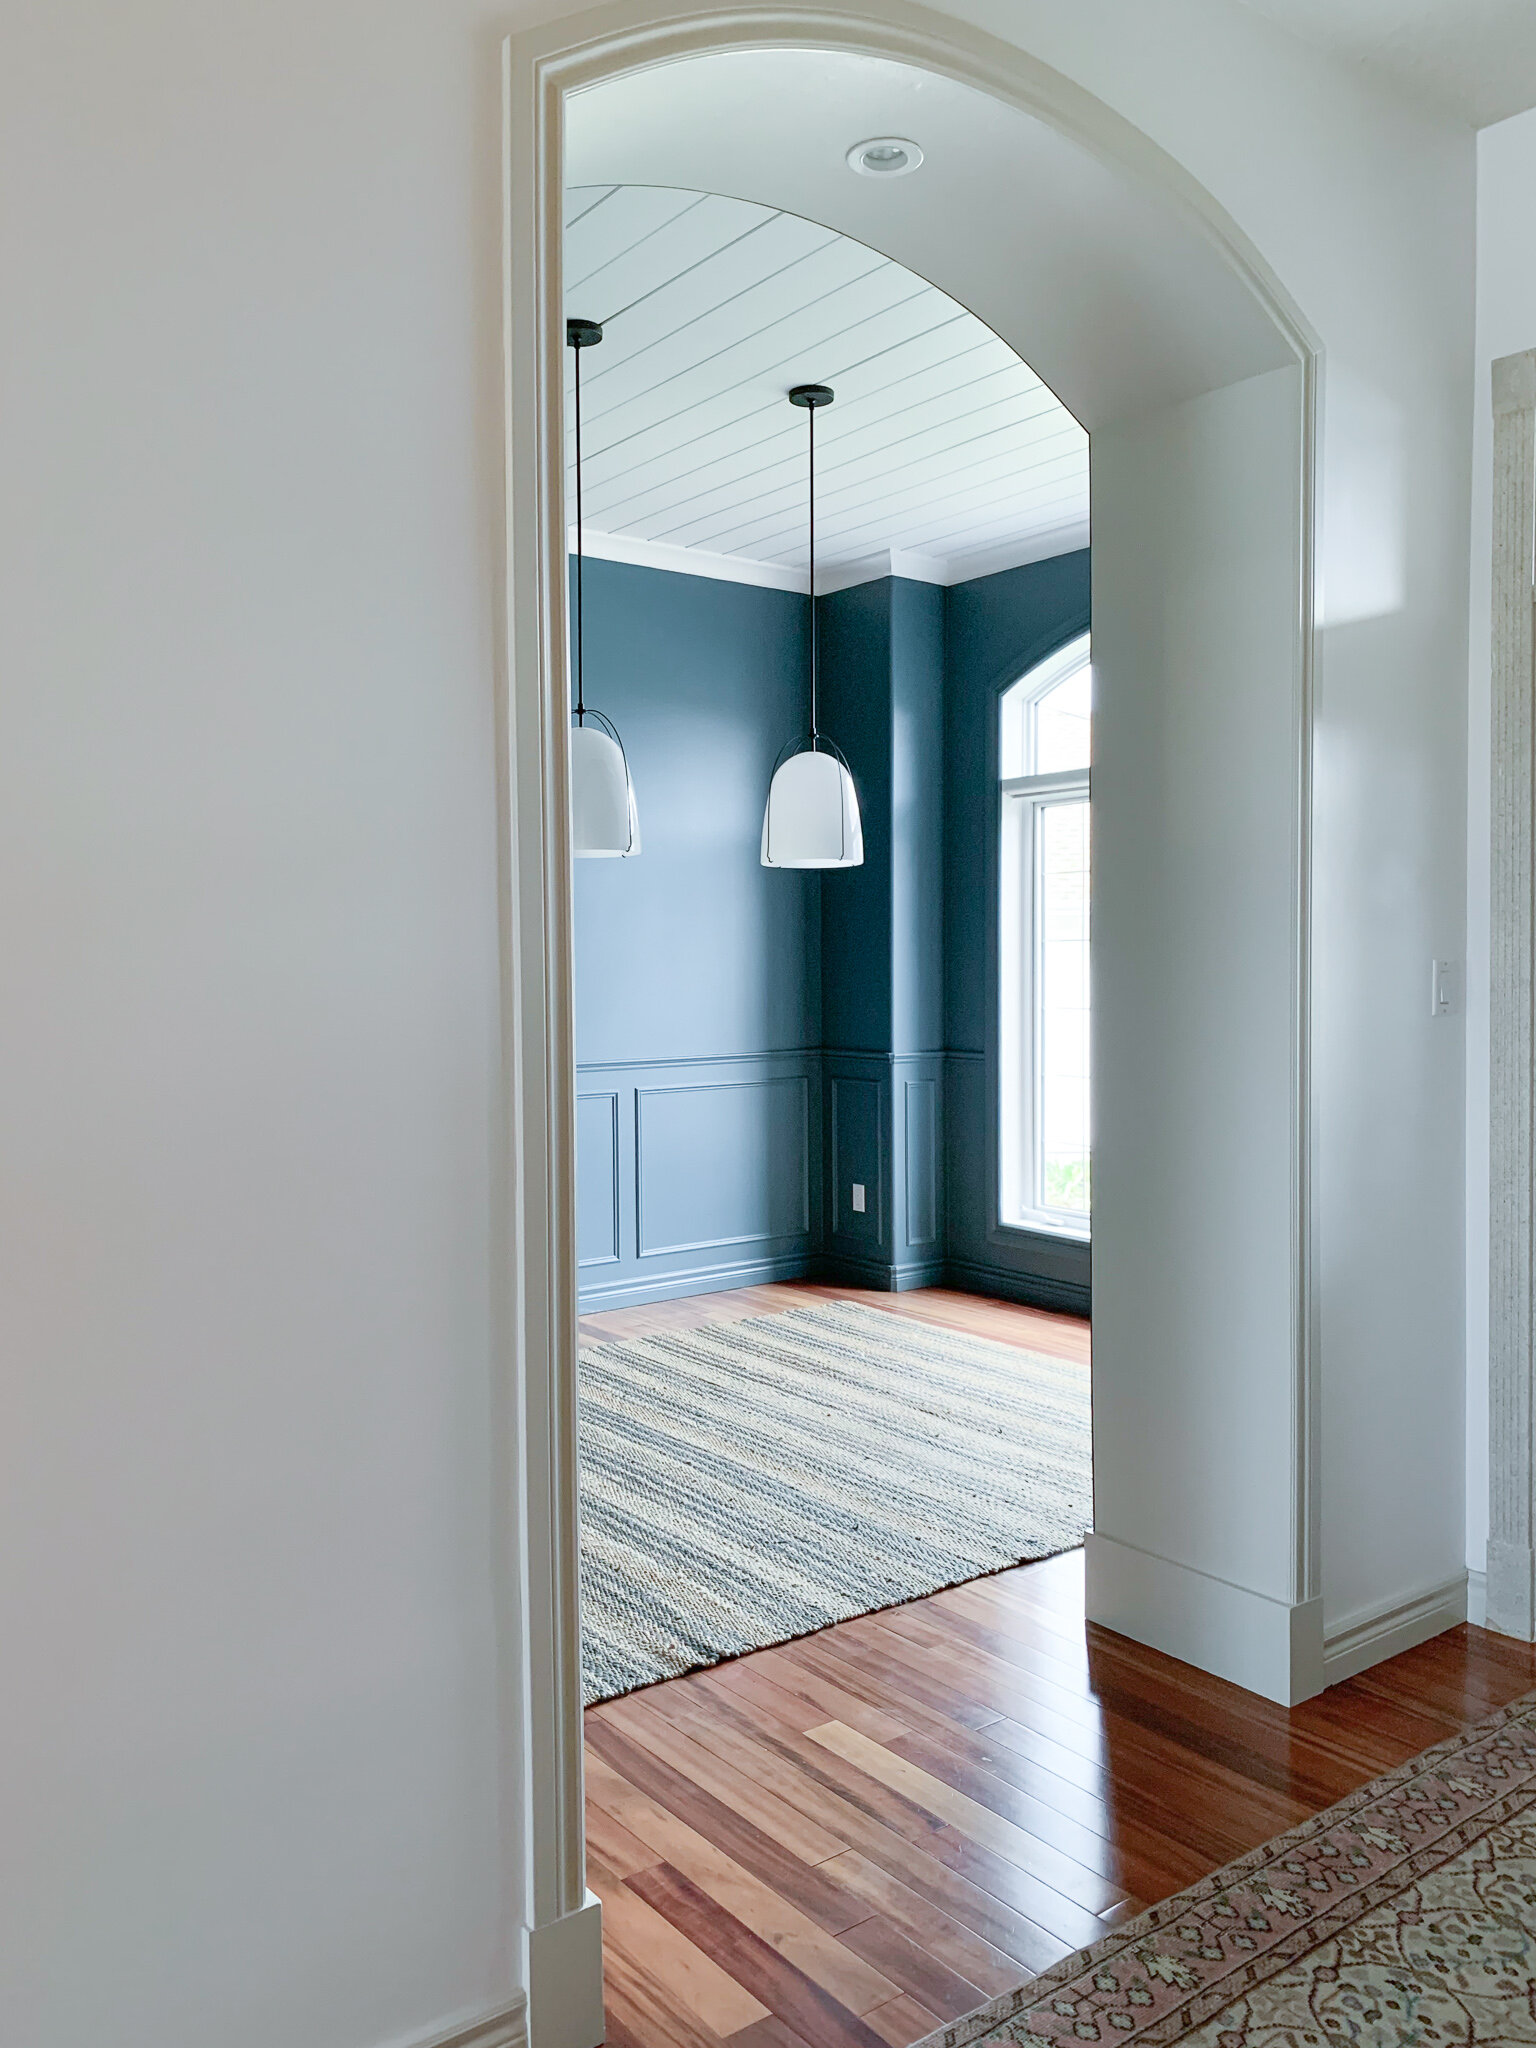
I also had to paint the outside of the room where the pillars were, in my entry, as the drywall had been repaired there so I needed to decide MY WHOLE HOUSE COLOUR SCHEME! I stressed over that quite a bit but then decided this little wall would be a perfect testing ground, I would just get a little of the wall and trim colour and if I didn’t like it, it would only be one wall to repaint when the time comes to paint the rest of this open concept space. But spoiler, I LOVE the colours I chose. The walls are Valspar Bistro White (such a warm soft white!) and the trim is Benjamin Moore Edgecomb grey. The contrast trim is nice and fairly subtle and it’s exactly what I hoped it would be.
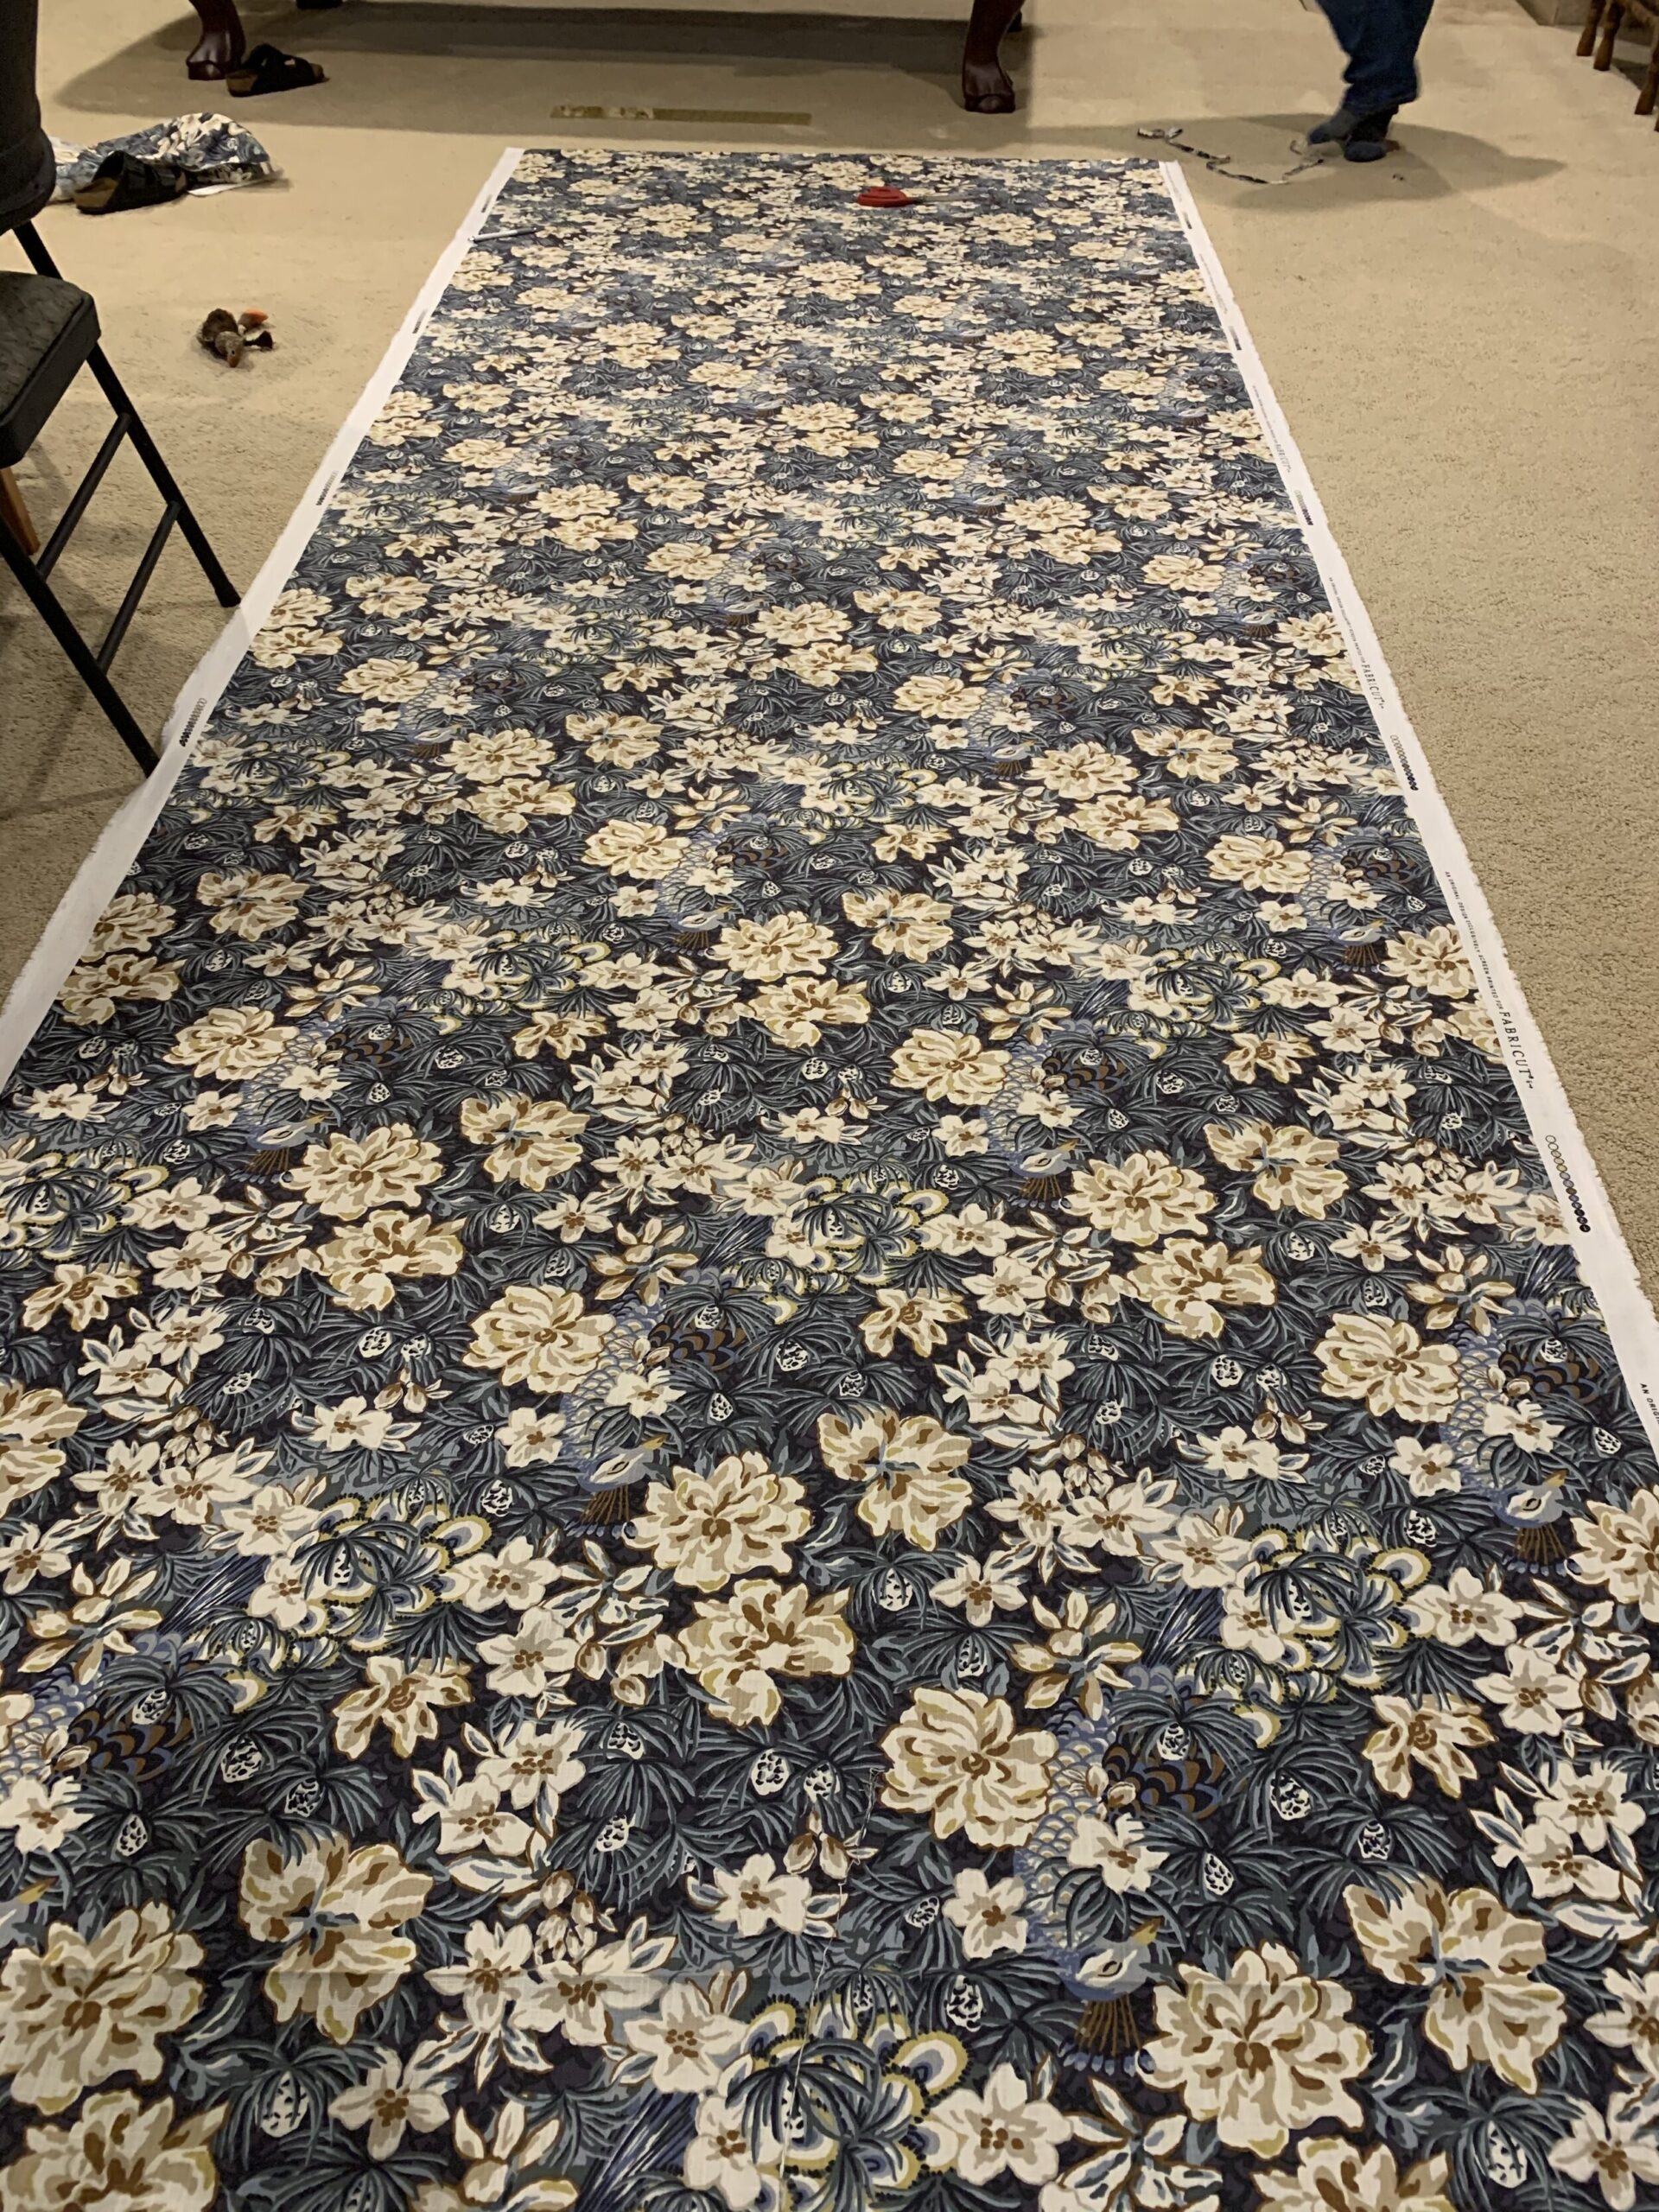
I also brought this beautiful fabric from Calico Corners over to my seamstress (AKA mom) to sew my curtain panels. I asked her to add lining and pleating tape to them so they would look suuuuuuper professional and she happily obliged and send me a photo of the finished curtains within a day. Now that’s service! I can’t wait to get these hung as they were the inspiration for the whole room’s colour palette. My mom said the quality was fabulous and it was so easy to sew with, she was very impressed. (She is used to me bringing her bargain-basement junk fabric I think, not the high-quality stuff from Calico!)
What’s left? Well, I still have some seats to make for my bentwood chairs, and I have to repaint my hutch. Then install the curtains, bring in the furniture, figure out the art and styling and photograph! I am hoping I have what I need to style within my stash because honestly, I haven’t thought through that part so styling day might be a bit of trial and error.
So you are all caught up, come back next week so see how it’s all pulled together for the final reveal! I am honestly so thrilled to have one room in my house done, I can not tell you how happy this room already makes me, even with nothing in it!
I just wanted to give a HUGE thank you to Calico Corners who have provided this fabric for this makeover. I can not WAIT for curtain hanging day.
That’s all for today – be sure to check back next week (or subscribe!) when the finished space is revealed! If you want to catch some sneak peeks follow me on Instagram (@erinzubotdesign), I’ll be sharing a lot of behind the scenes there. Also, check out the other designers HERE or click the ORC Logo below, there is a great lineup of both featured and guest participants and there is a lot to catch up on. See you next week!
Sources (Click the photo to be re-directed):
(This post may contain affiliate links for your convenience. I earn from qualifying purchases. This is at no cost to you but helps support my blog, Thank you!!)


OH ERIN!!!! This is going to be so DREAMY
This color is gorgeous! It really makes the stunning pendants stand out.
This color!!! It is so beautiful and classy! The pendant lights are perfect too.
Oooooooohhh looks so good!!
WOW! I love the paint color you chose! And those pendants!! Can’t wait to see the finished space!
Oh my gosh! Love that beautiful wall color!!!! Can’t wait to see it all come together. good luck this week.
Thanks Libbie!
Thanks Jenna!
Thank you Rebecca!
Thank you Jenasie!
Thanks Jewel!
Thank you Katie!