ORC Week 3 – The Fifth Wall and a Bathroom Moodboard!
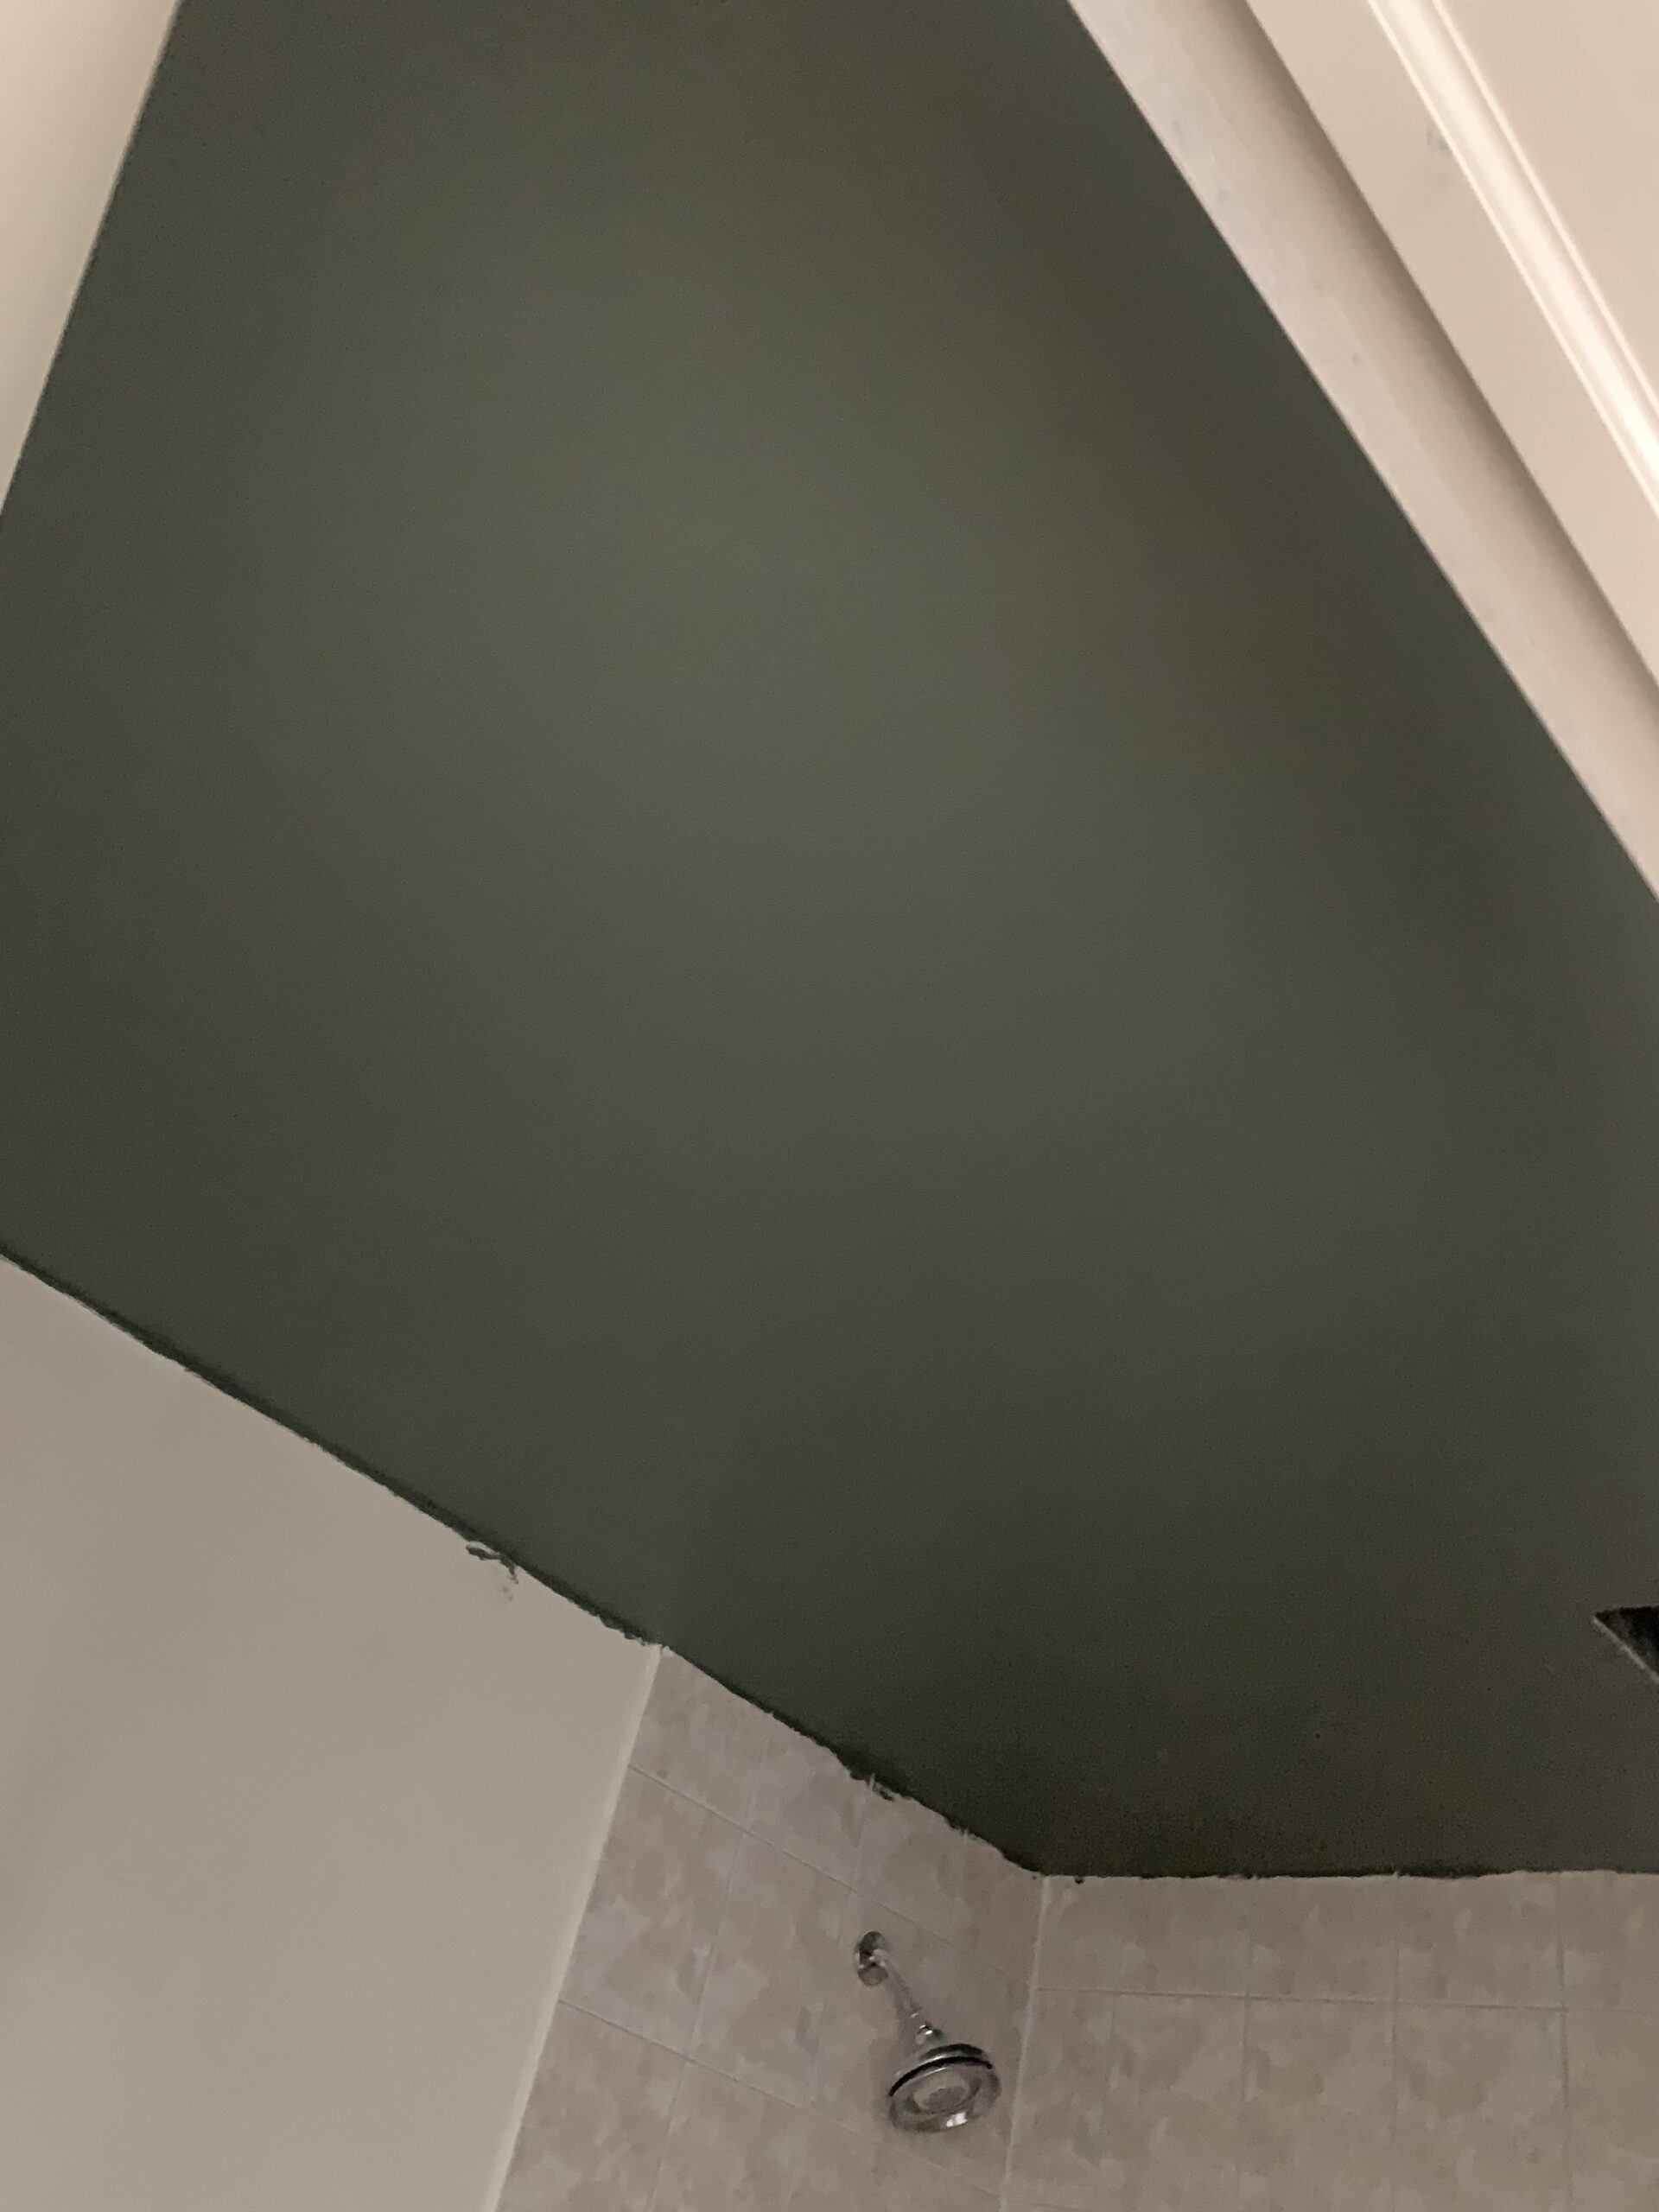
For this week’s update for the One Room Challenge, I painted my bathroom ceiling (aka the fifth wall) a dark colour – green! (It’s my first time painting a ceiling but I do not think it will be my last!) I also gathered my materials together for a little bathroom moodboard… read on for those updates!
This post may contain affiliate links. That means if you purchase anything from these links I earn a small commission, at no extra cost to you! This helps support my blog, so thank you!
Progress This Week
First of all, If you’ve hopped over from the One Room Challenge website, welcome! We are just starting the renovation of our guest/hall bathroom. If you want to catch up on the plan, read all about it here:
At the end of last week, we had finished up some behind the walls work and were just getting into drywalling. I started the process of mudding and taping and immediately regretted not hiring a drywaller! I thought it was a small job (and it was) and that I could handle it. Around the halfway point (right after the second coat of mud!) I was seriously regretting my decision to do my own mudding and taping.
Enter my new BFF – this drywall sander that is slowly making me hate drywall just a little less. Cue angels singing and light from above. I mean, it’s still not fun, but this thing makes me look like a pro and seriously cuts down on dust since it connects to my shop vac. Professional drywallers barely have to sand at the end because they are so skilled at applying mud, but let me tell you I am no pro and there was a lot of sanding required. I still did a bit of hand sanding in the corners and touched up a few spots but the sander made this task a lot less terrible and WAAAAAY faster. And the walls and new flat ceiling do look pretty dang smooth if I do say so myself!
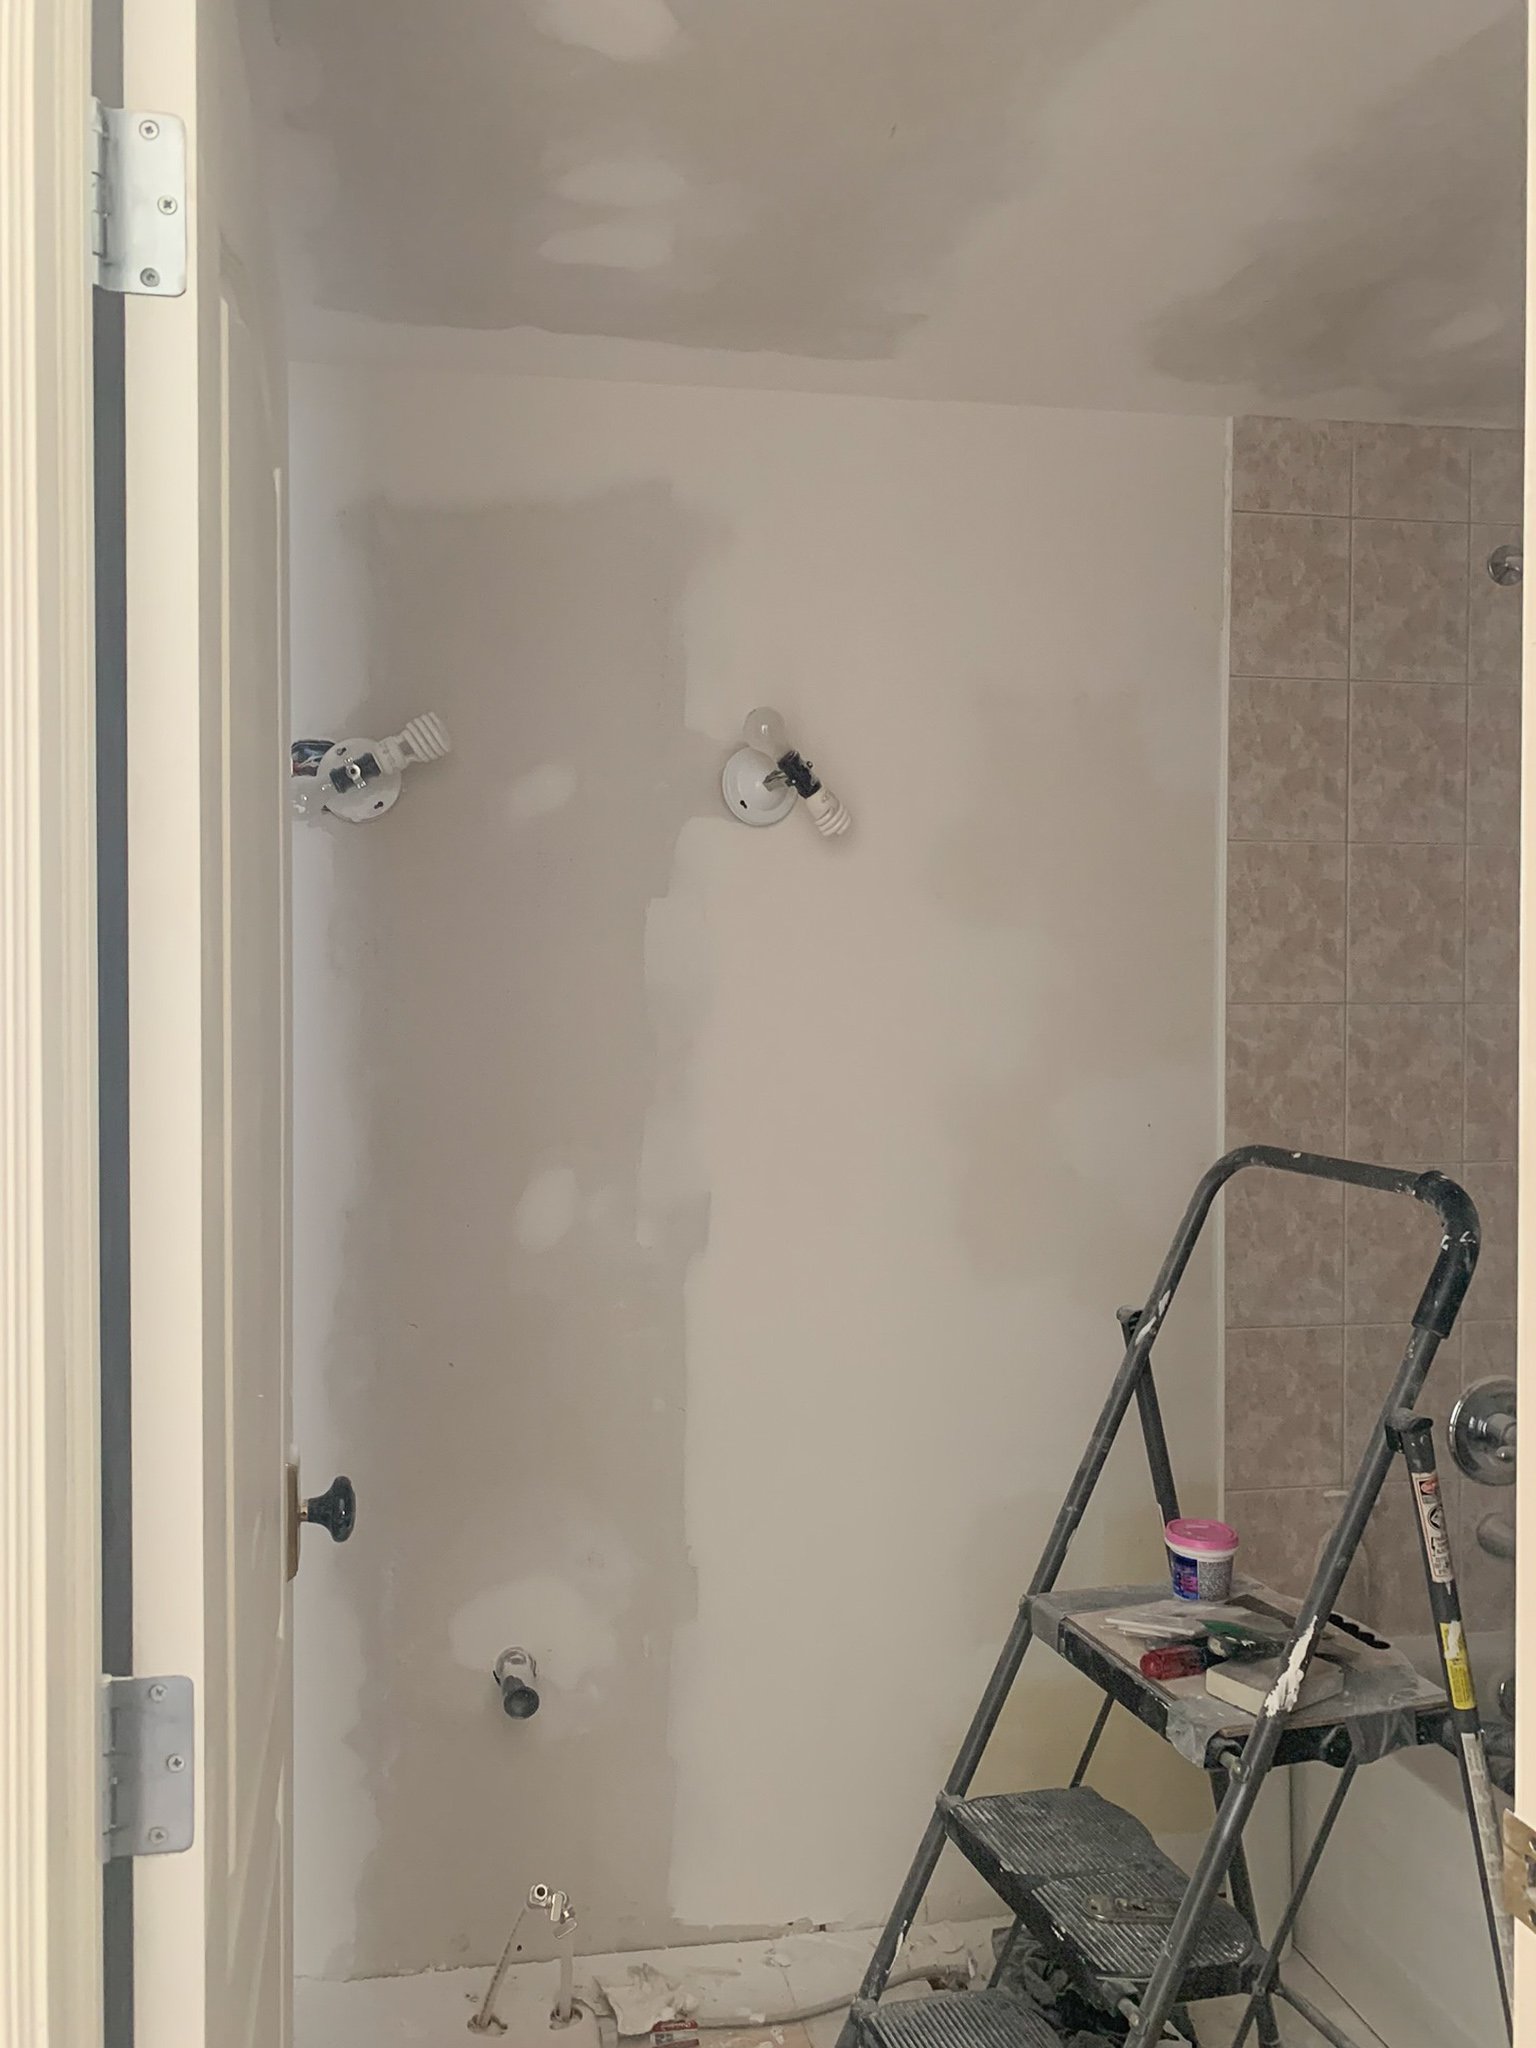
After the drywall was complete, I primed the new drywall with a drywall primer and then did a second coat of primer on all the walls using this Shellac Based primer. According to my google-research, this type of primer is supposed to make installing (and later on, removing) wallpaper a lot easier. Does it work? Circle back in 5 or so years when I decide to remove the wallpaper and I’ll let you know!
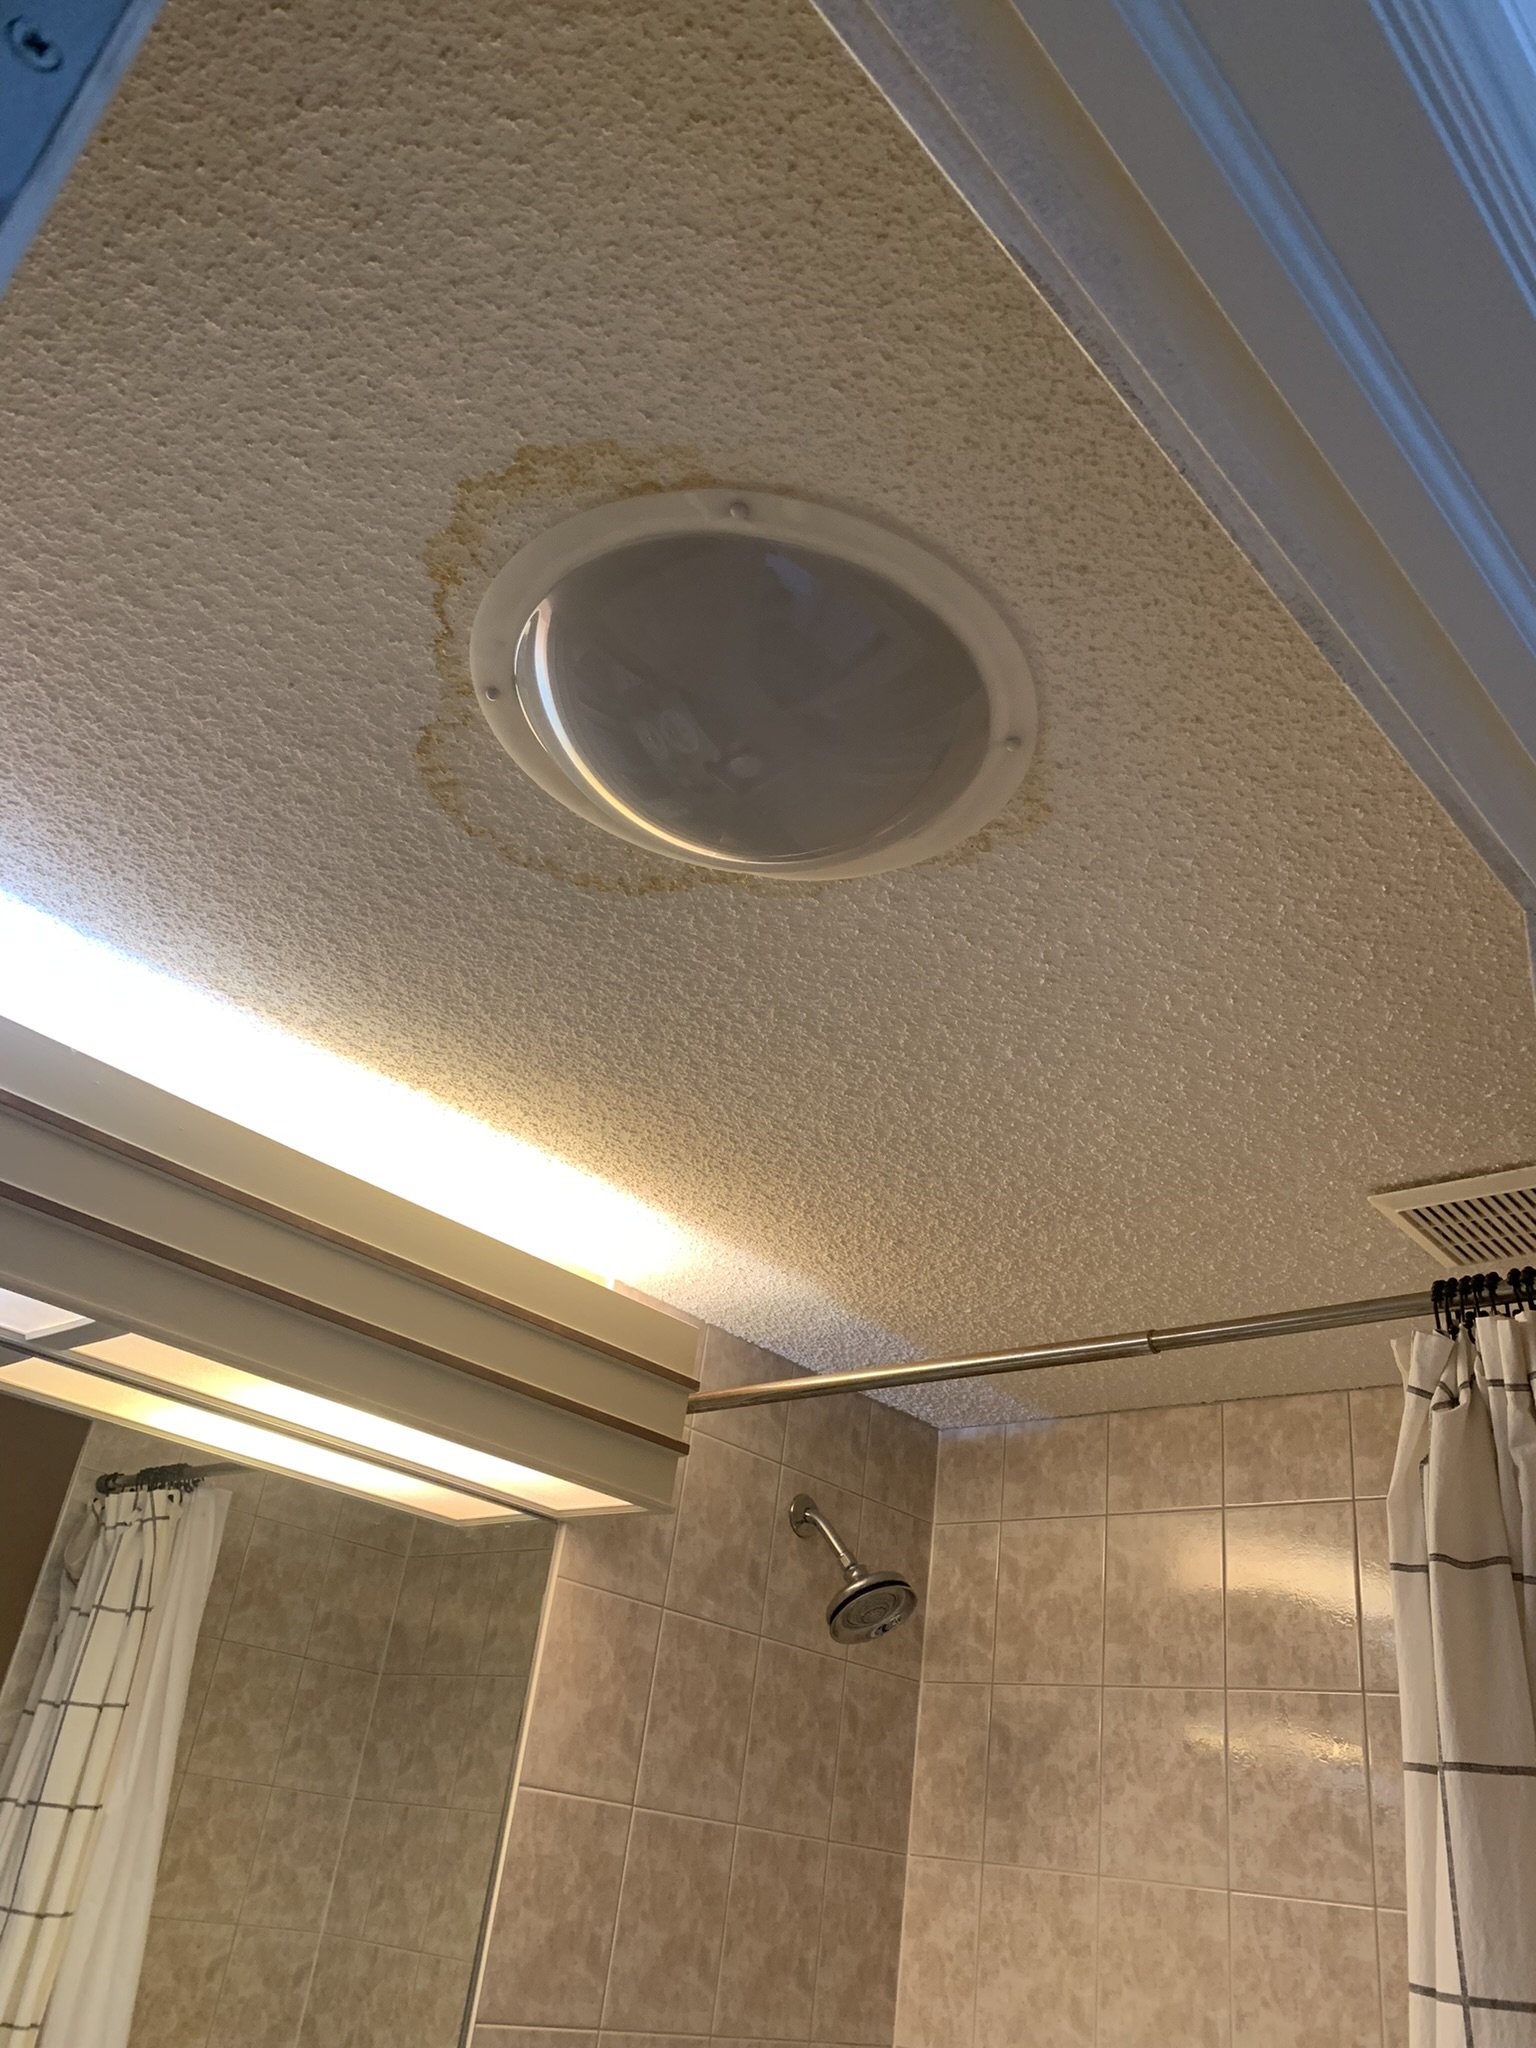
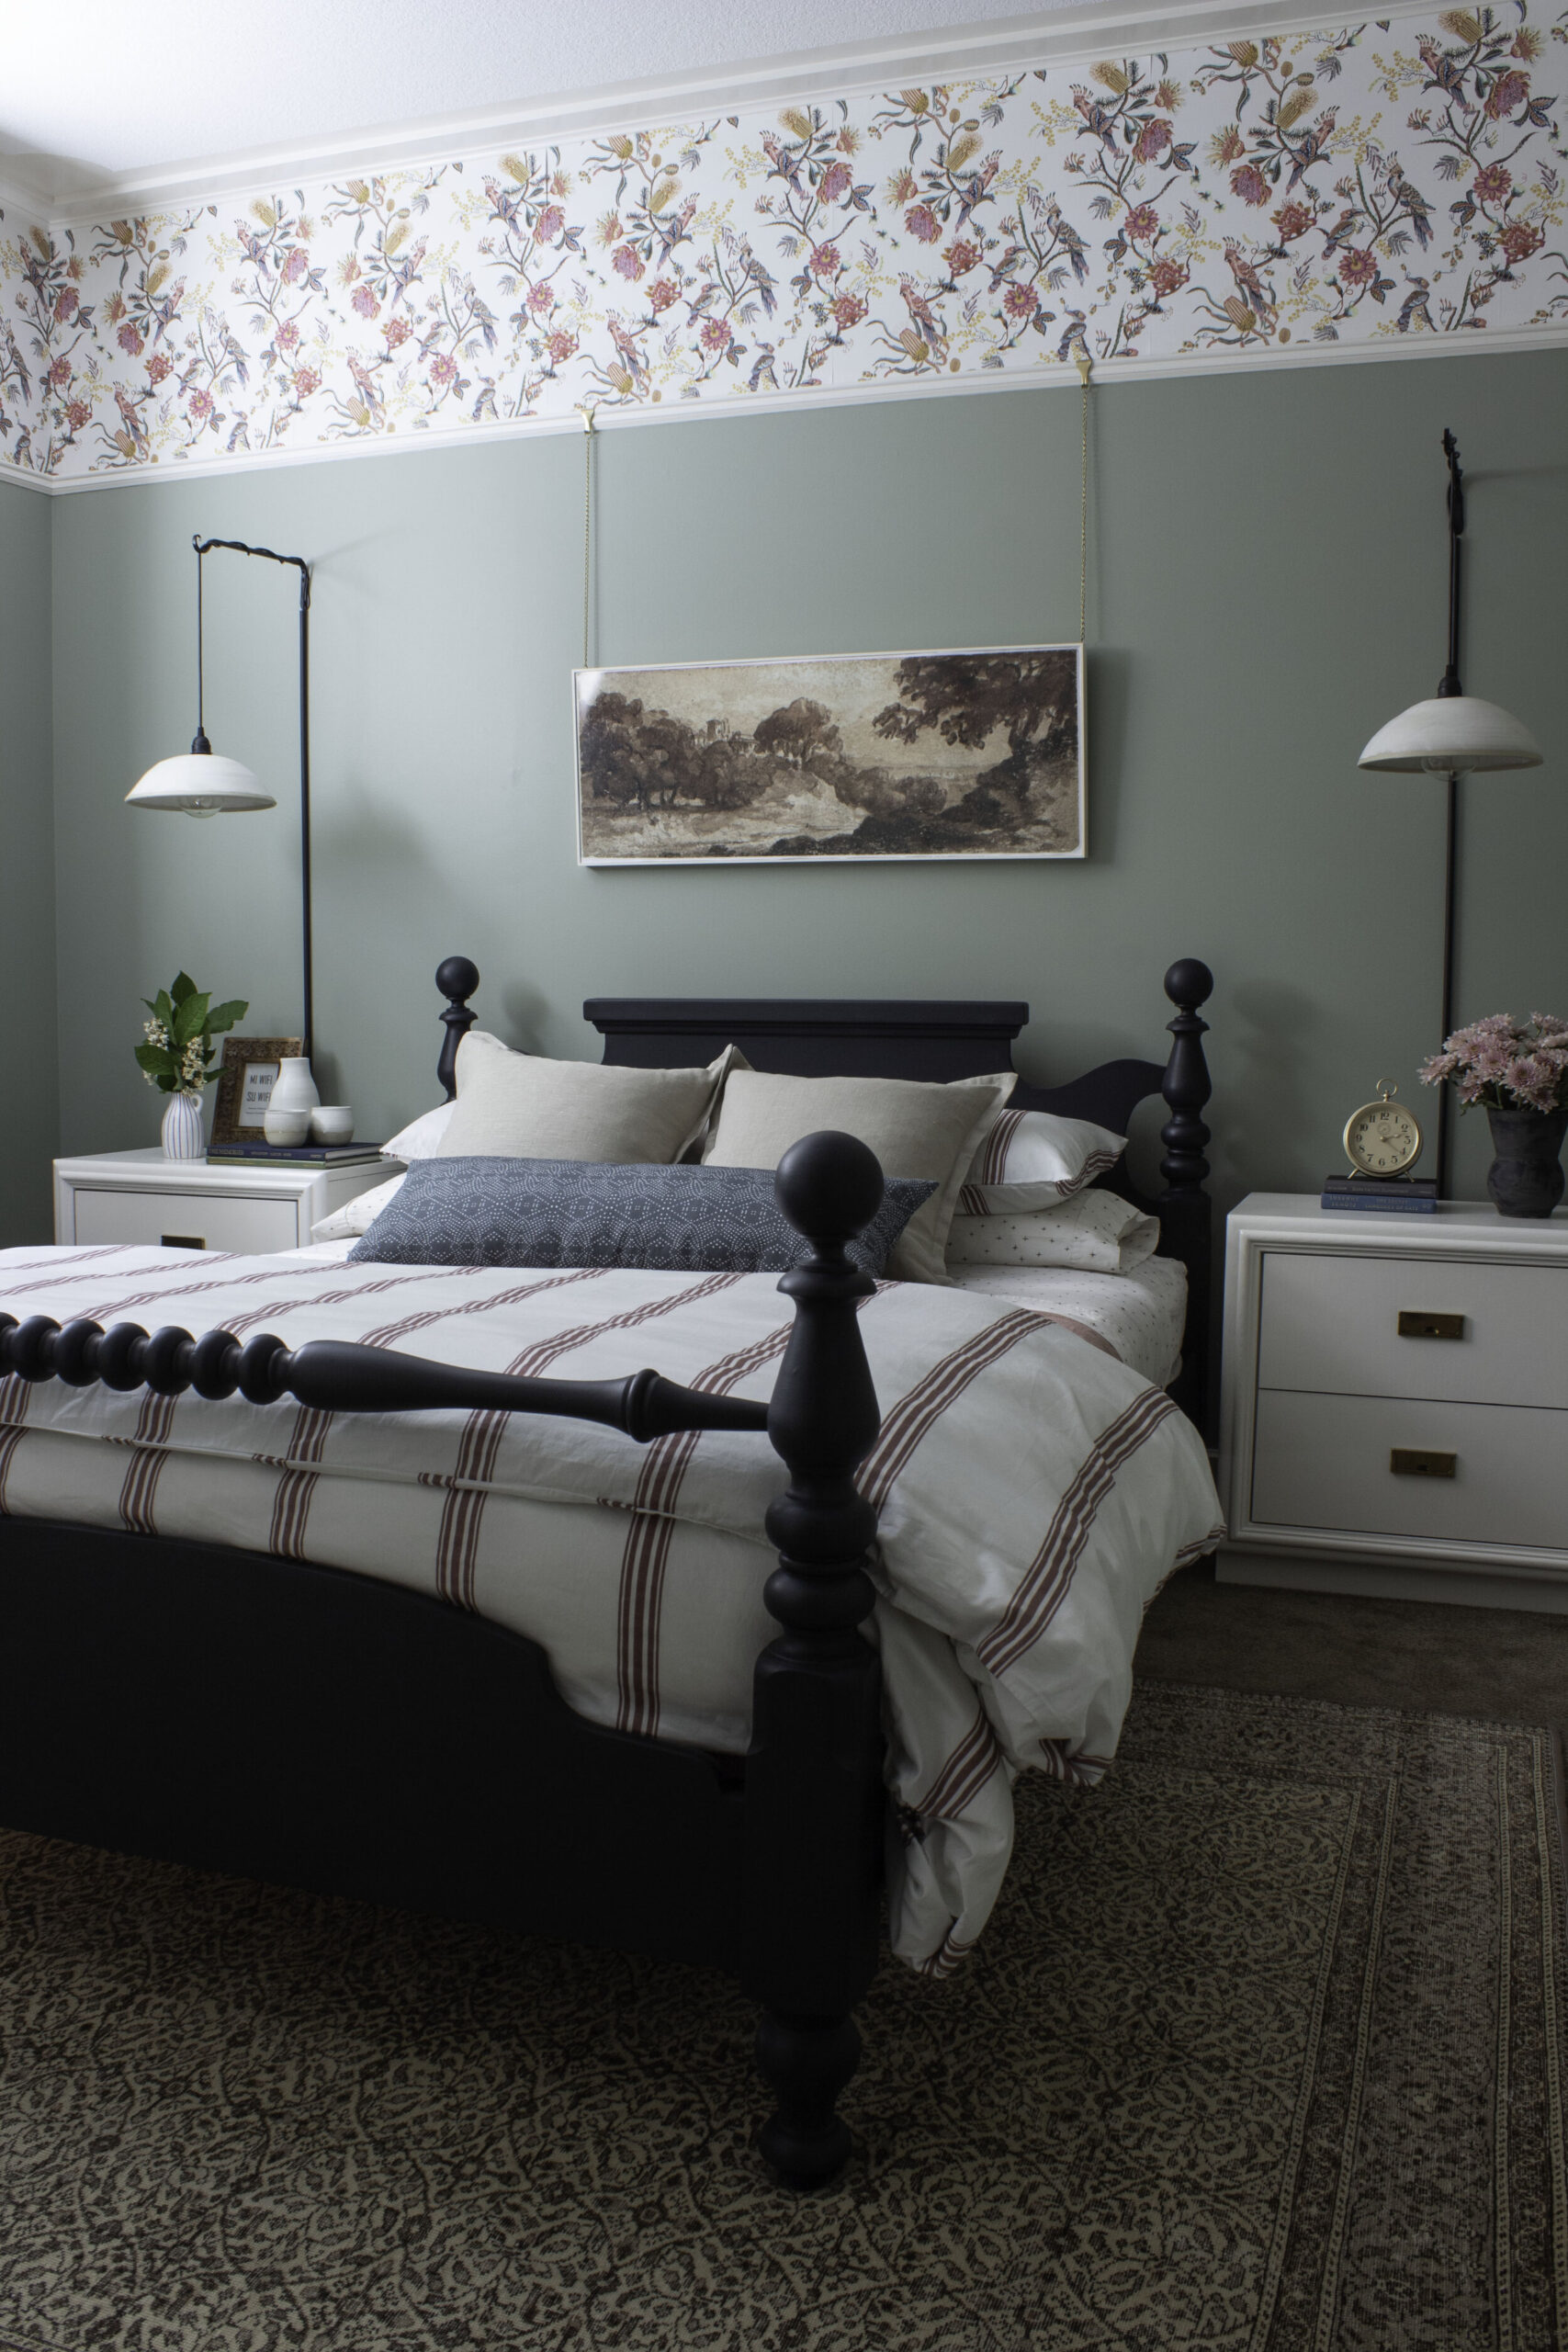
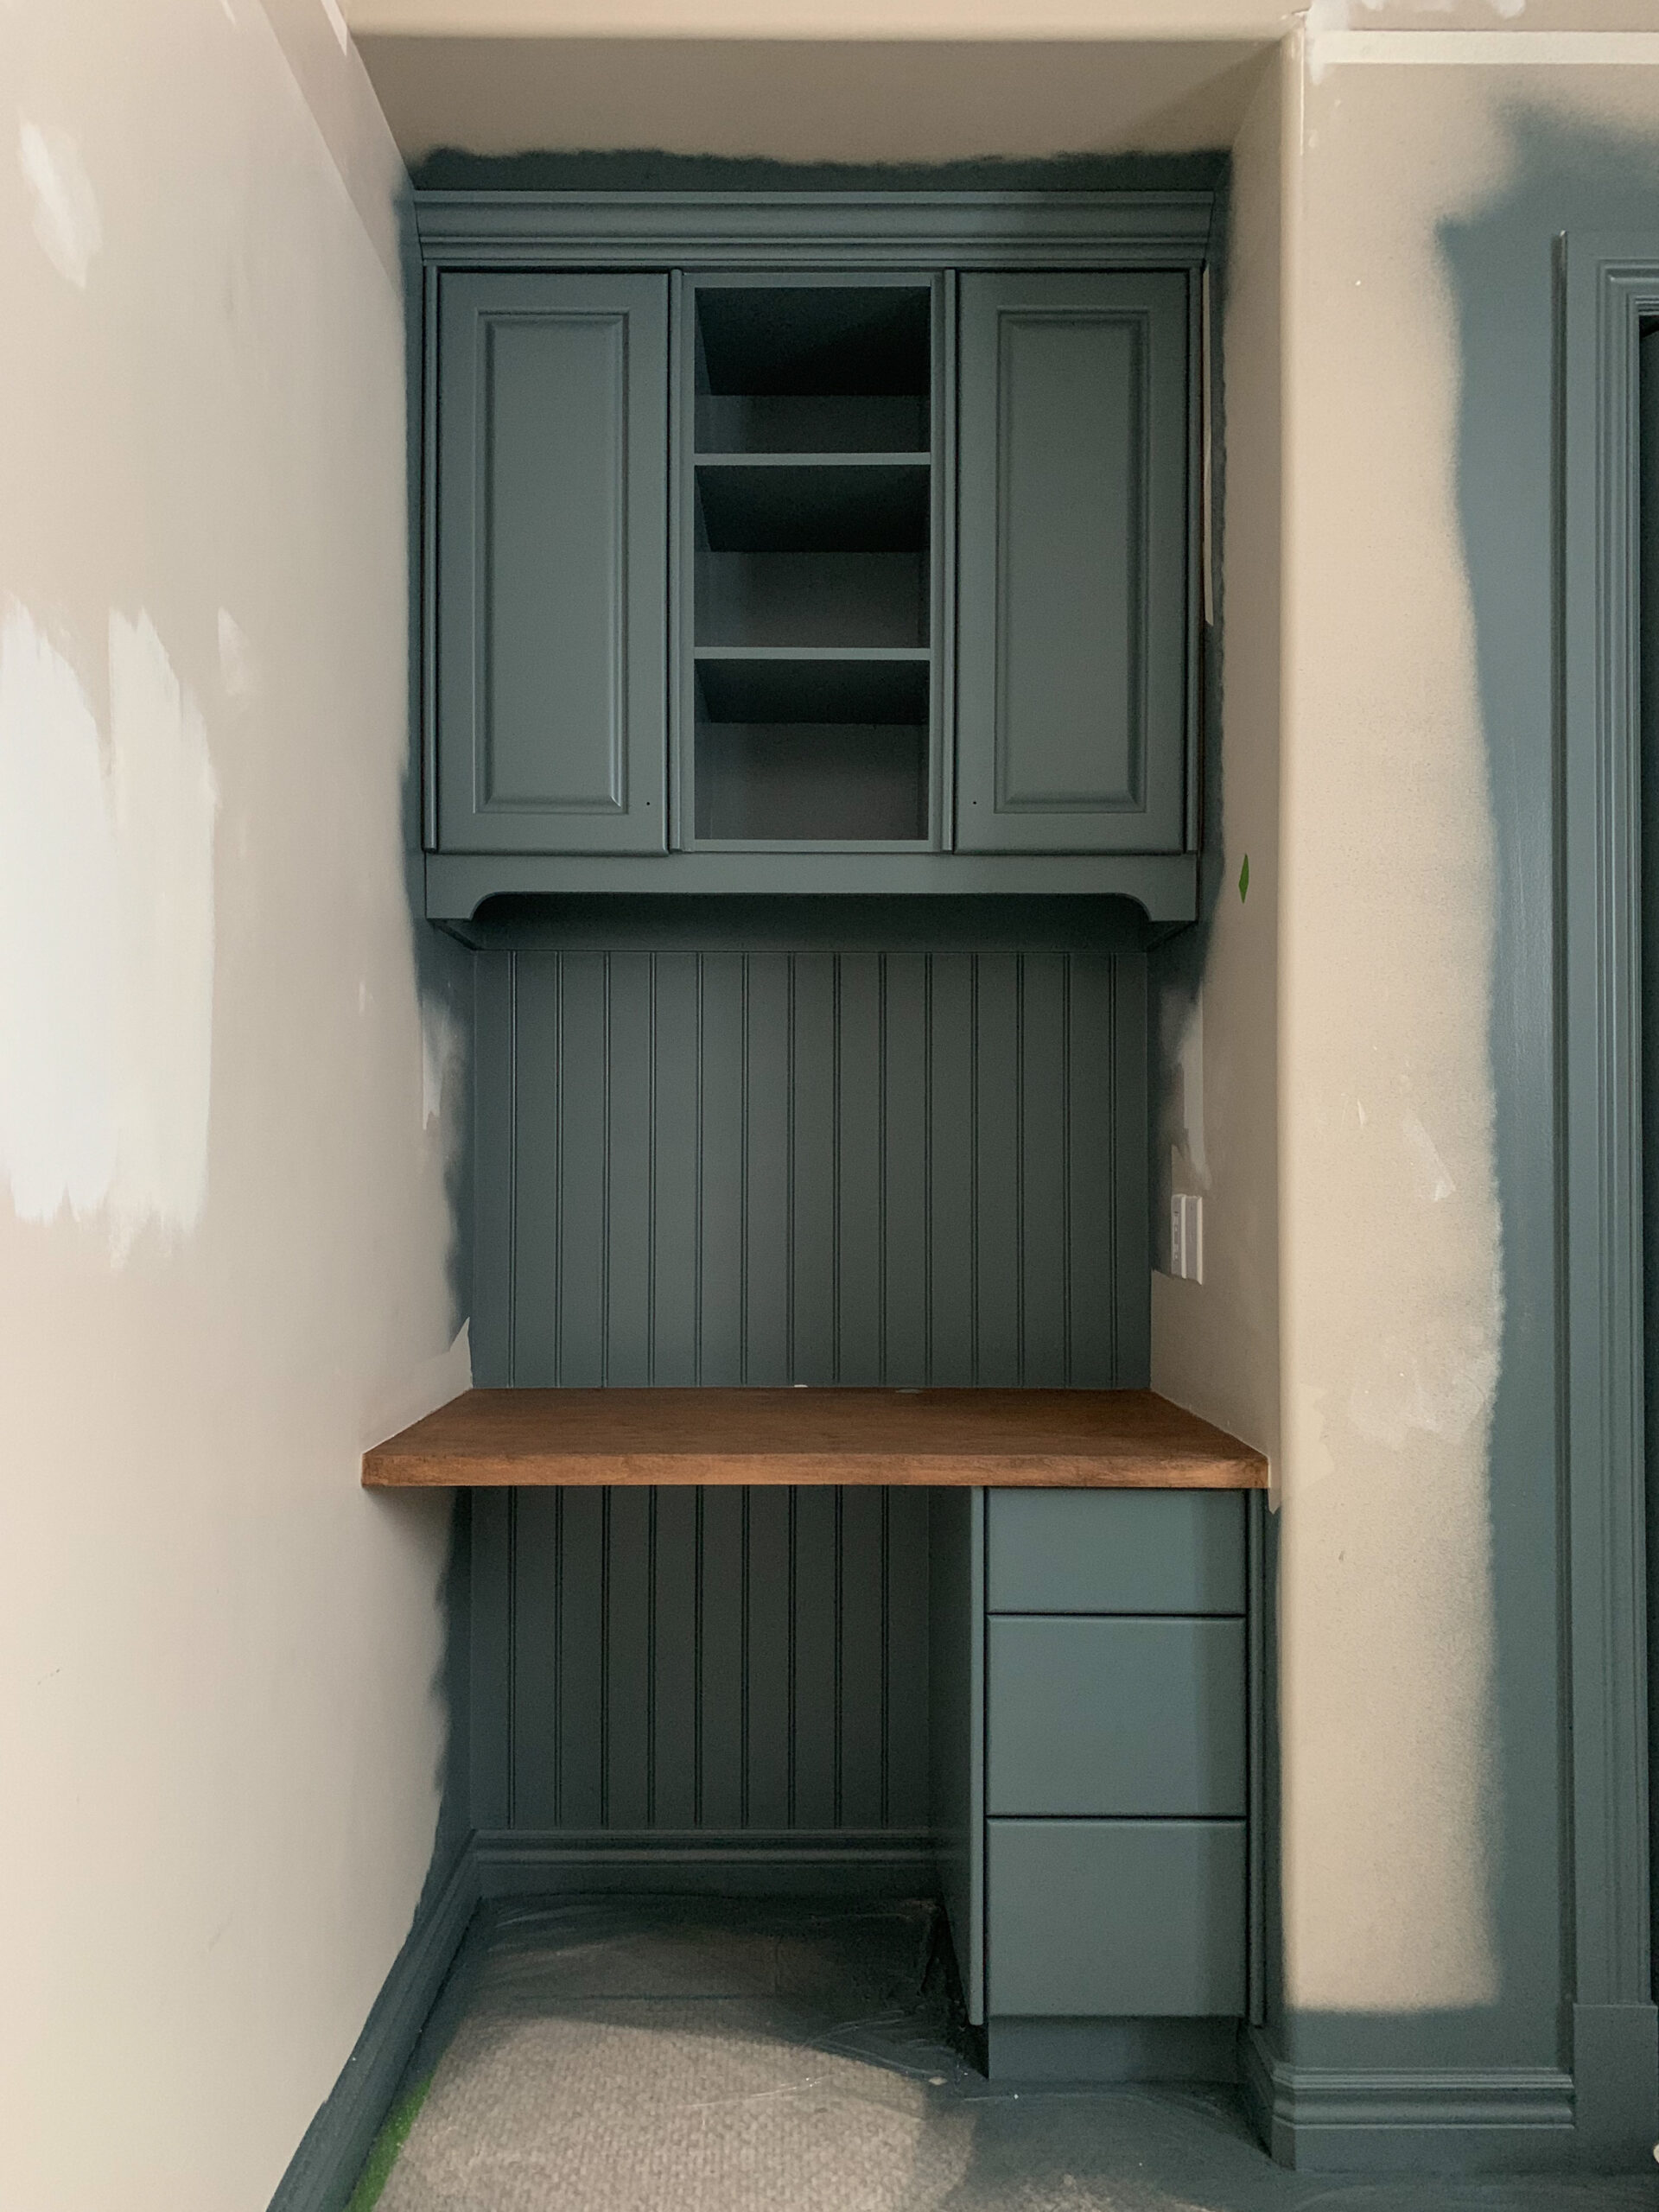
Now that all the boring but necessary stuff is done I get to start bringing back in the fun stuff… like paint! I have long admired a painted ceiling but have always been too much of a chicken to give it a try but DAYYYYUM now that I have tried it, there is no stopping me! The 5th wall will no longer be ignored! I decided to go for a pretty sage green. I found that colour looks a lot more saturated on the ceiling so I decided to go with a mid-tone green rather than anything too dark and it’s perfect! (The colour is Lush Sage by Valspar).
Bathroom Materials and Moodboard
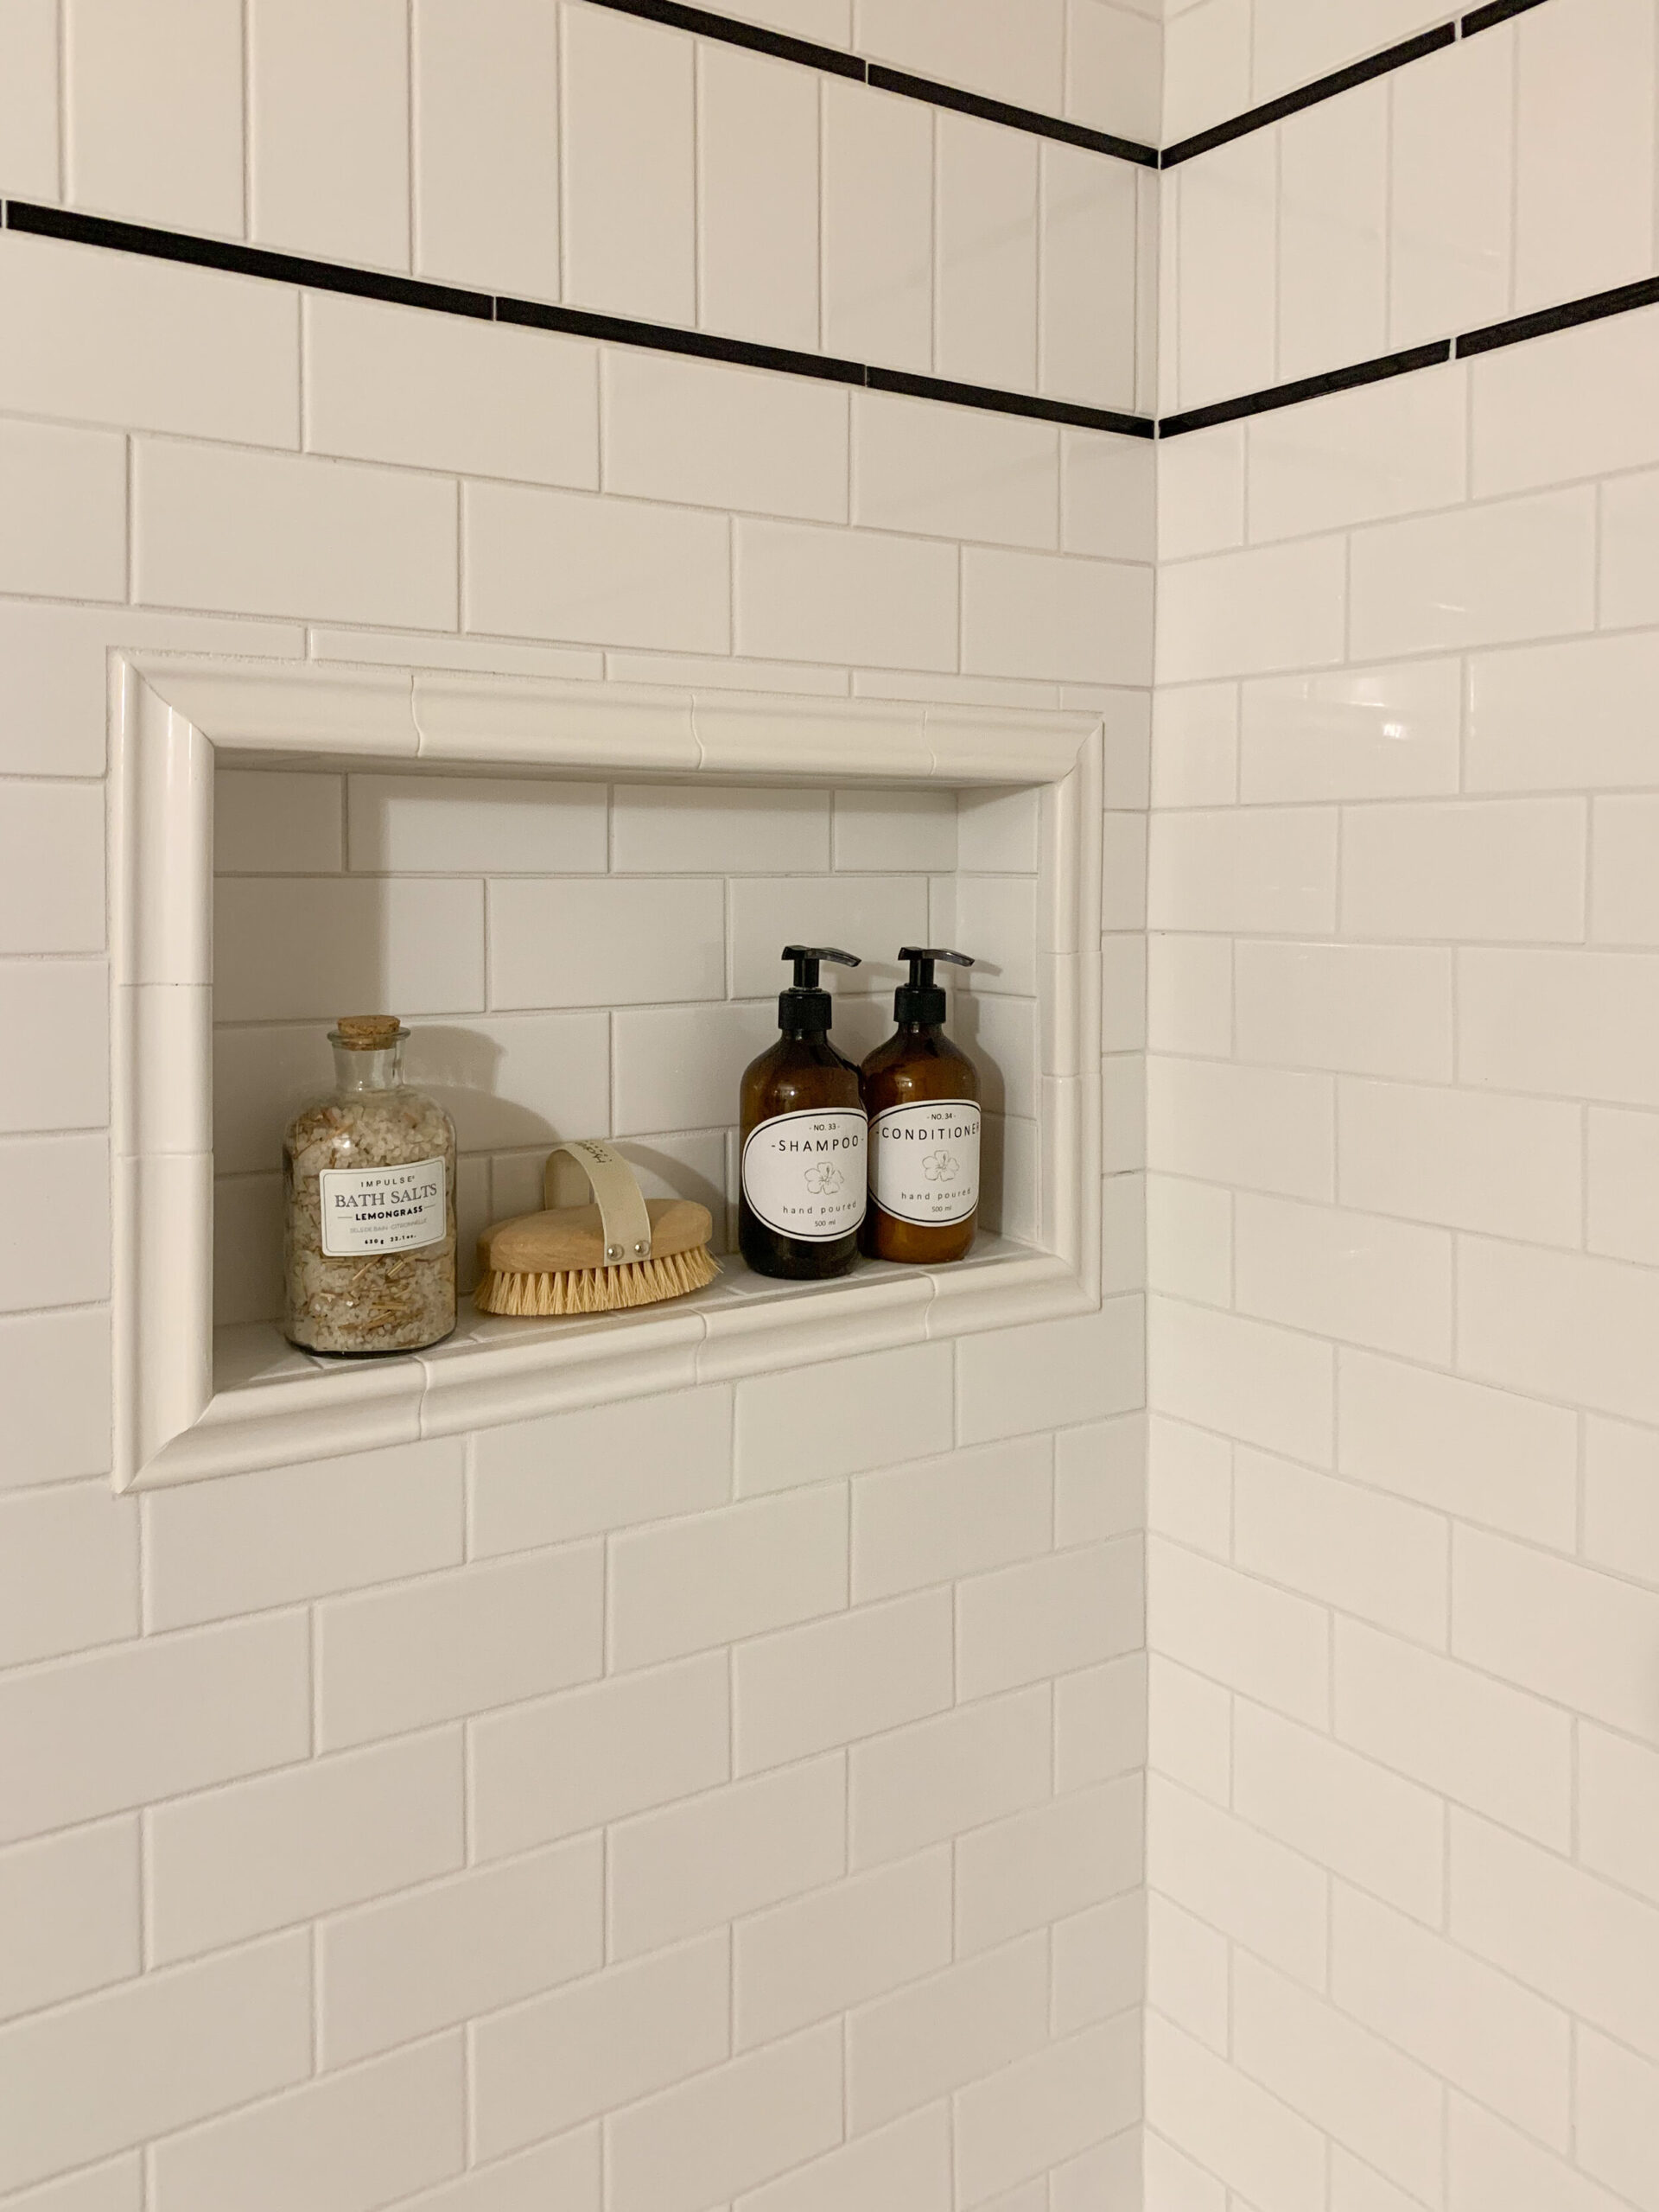
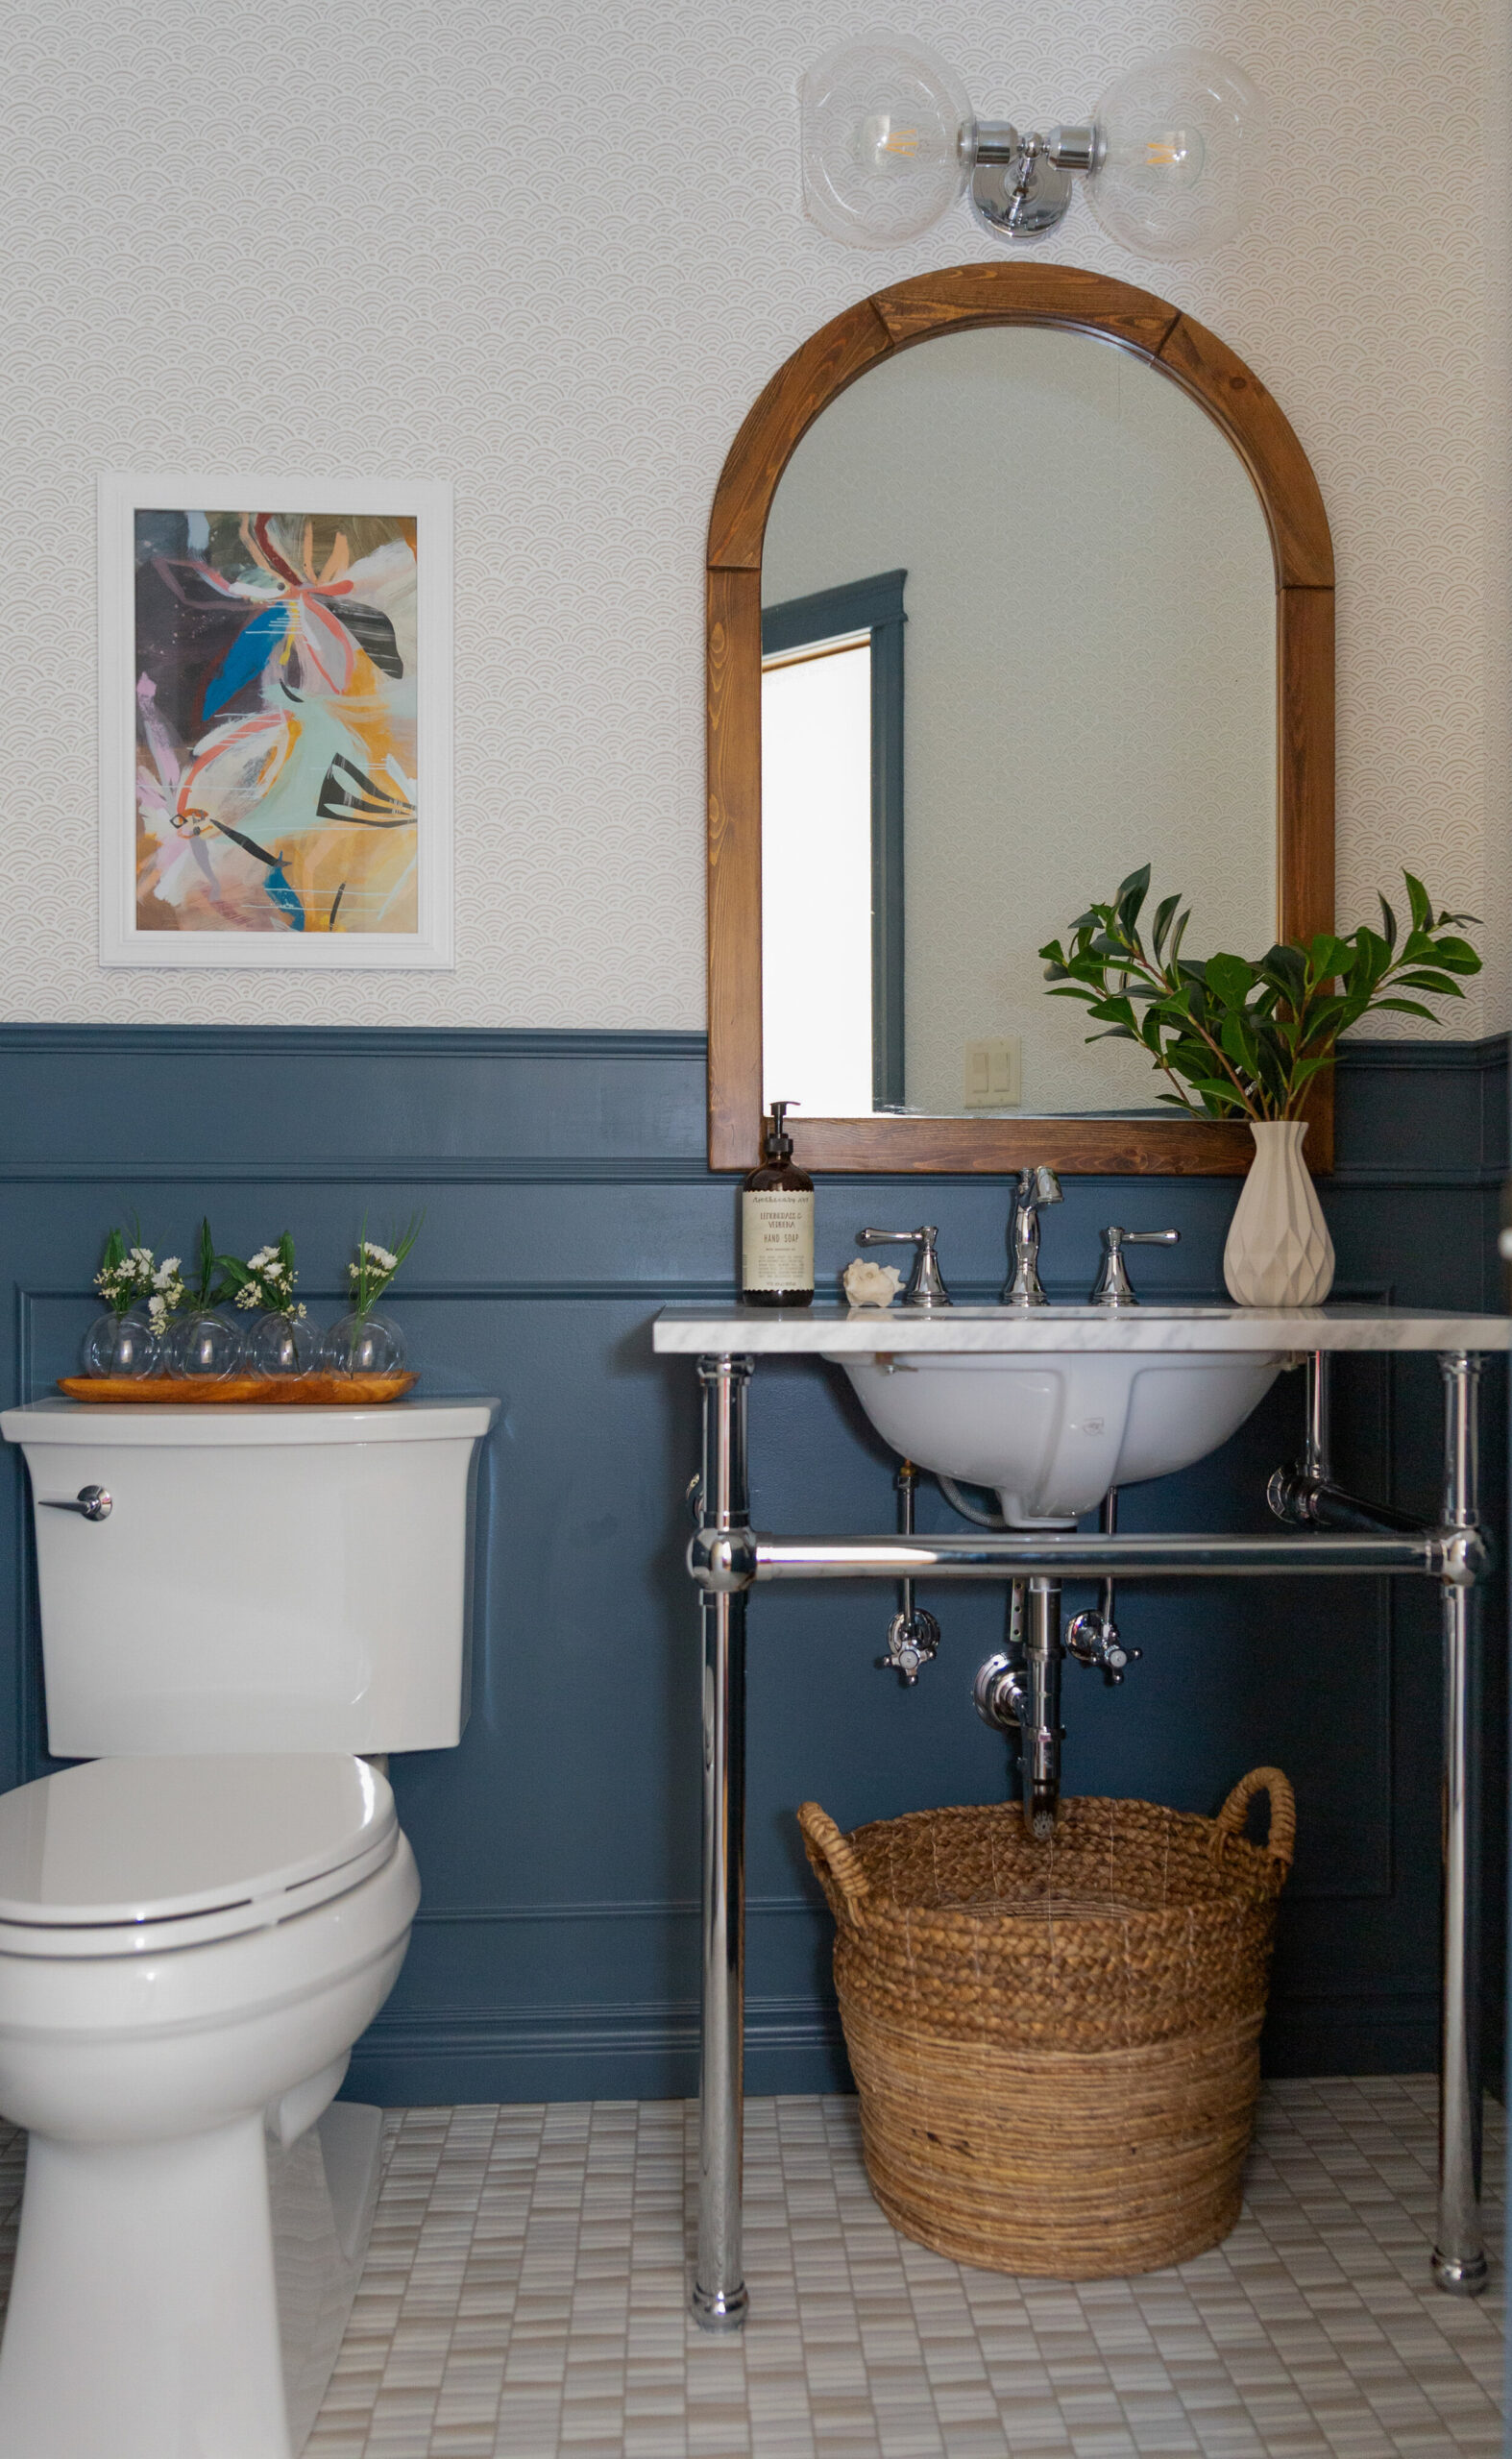
I also picked up my shower tile and got to lay out the tile pattern that has been living in my head. I chose basic subway tile but I’m using three different colours and three different shapes. I chose a 6×6” beige tile for the bottom portion of the shower and a 3×6” off-white for the top, which will be separated by a row of black trim tile. Once I laid it all out, I knew it was the right choice!
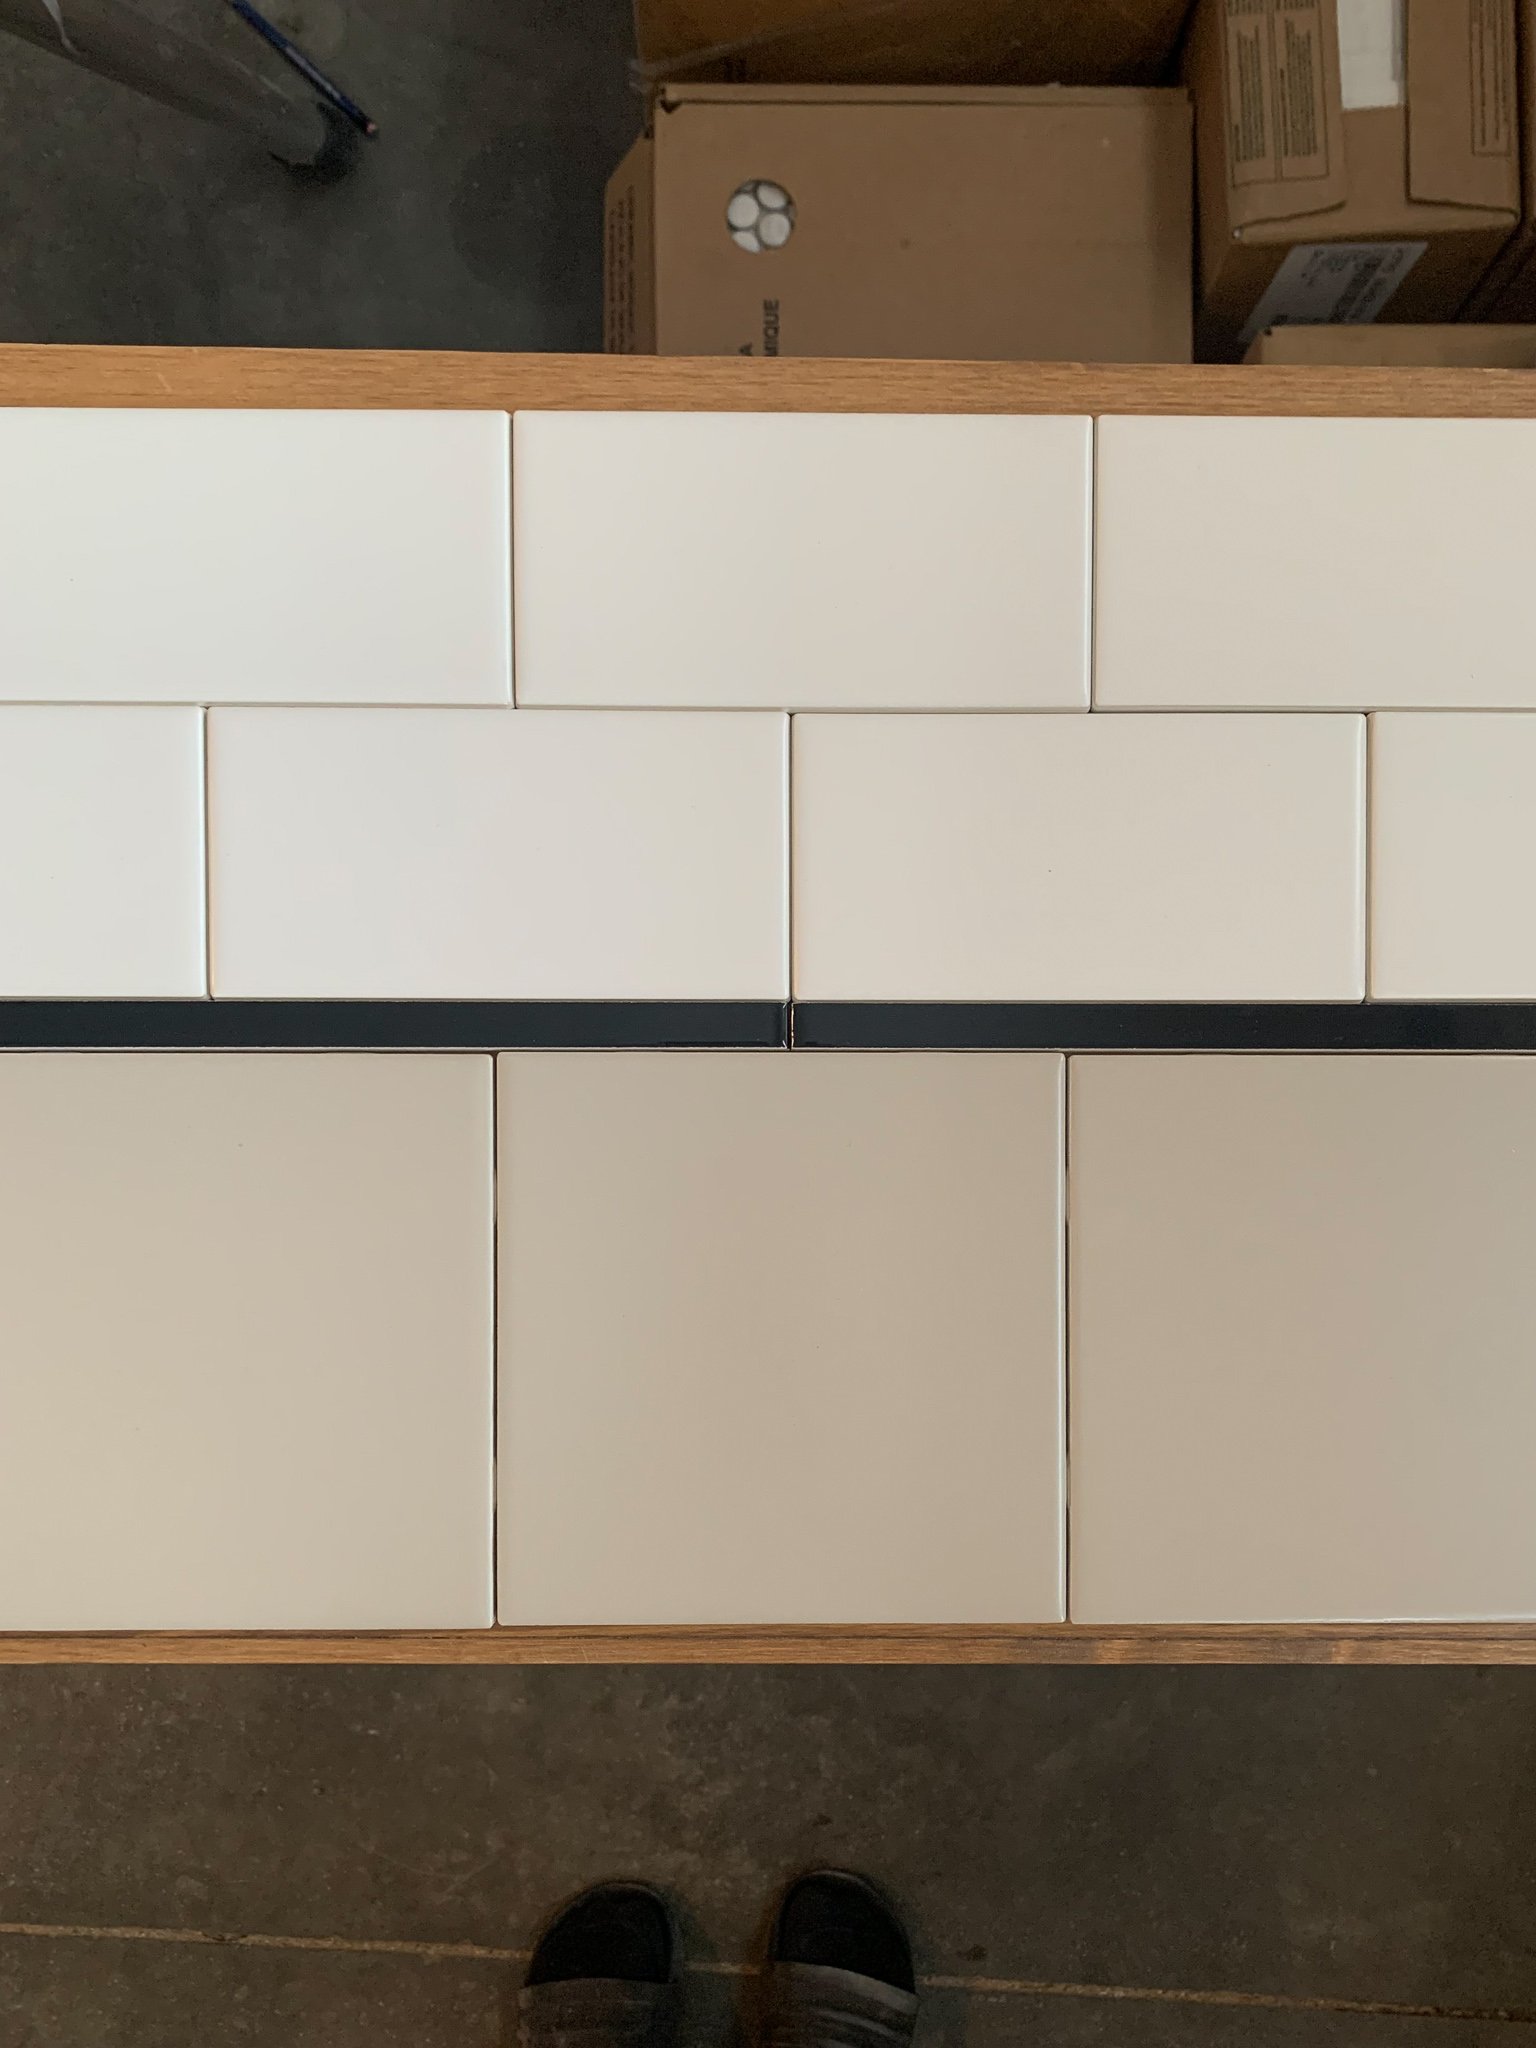
I also chose a fairly simple penny tile for the floor, I considered a checkerboard early on in the design process but decided with everything else going on, something a little more quiet on the floor was in order. These porcelain penny tiles from DalTile are just that, they have a subtle beige veining that picks up on the colour blocking on the wall. As more of the finishes are starting to arrive I couldn’t help but pull them all together for a bit of a material bathroom moodboard to see everything together and MAN that’s getting me pumped to get moving!
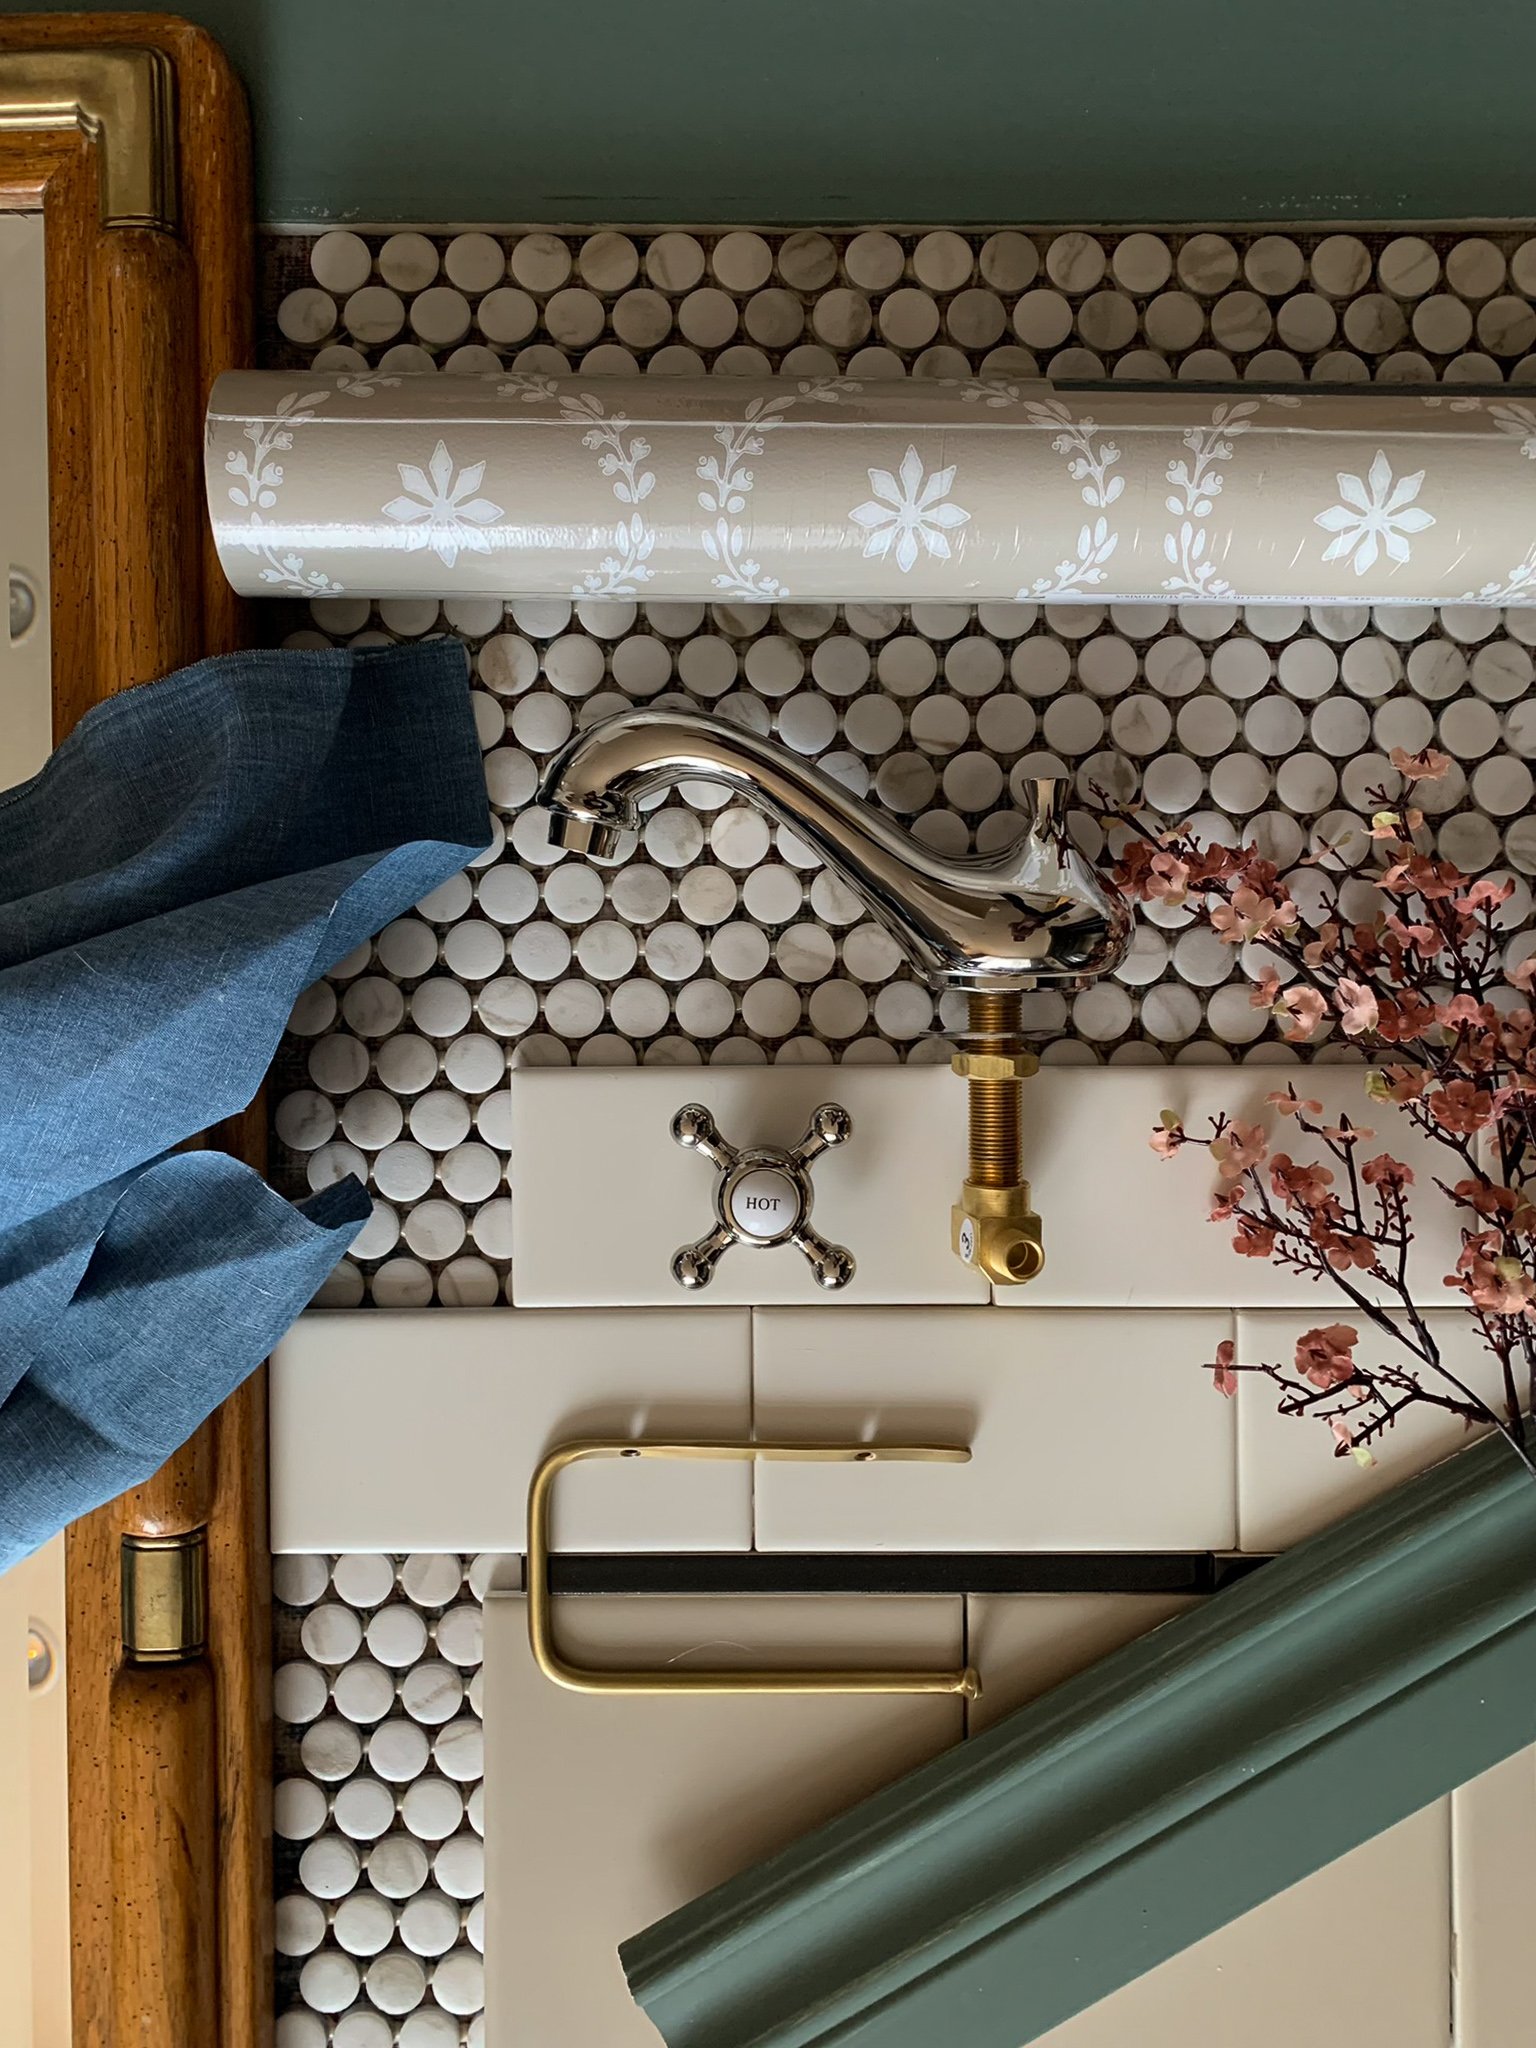
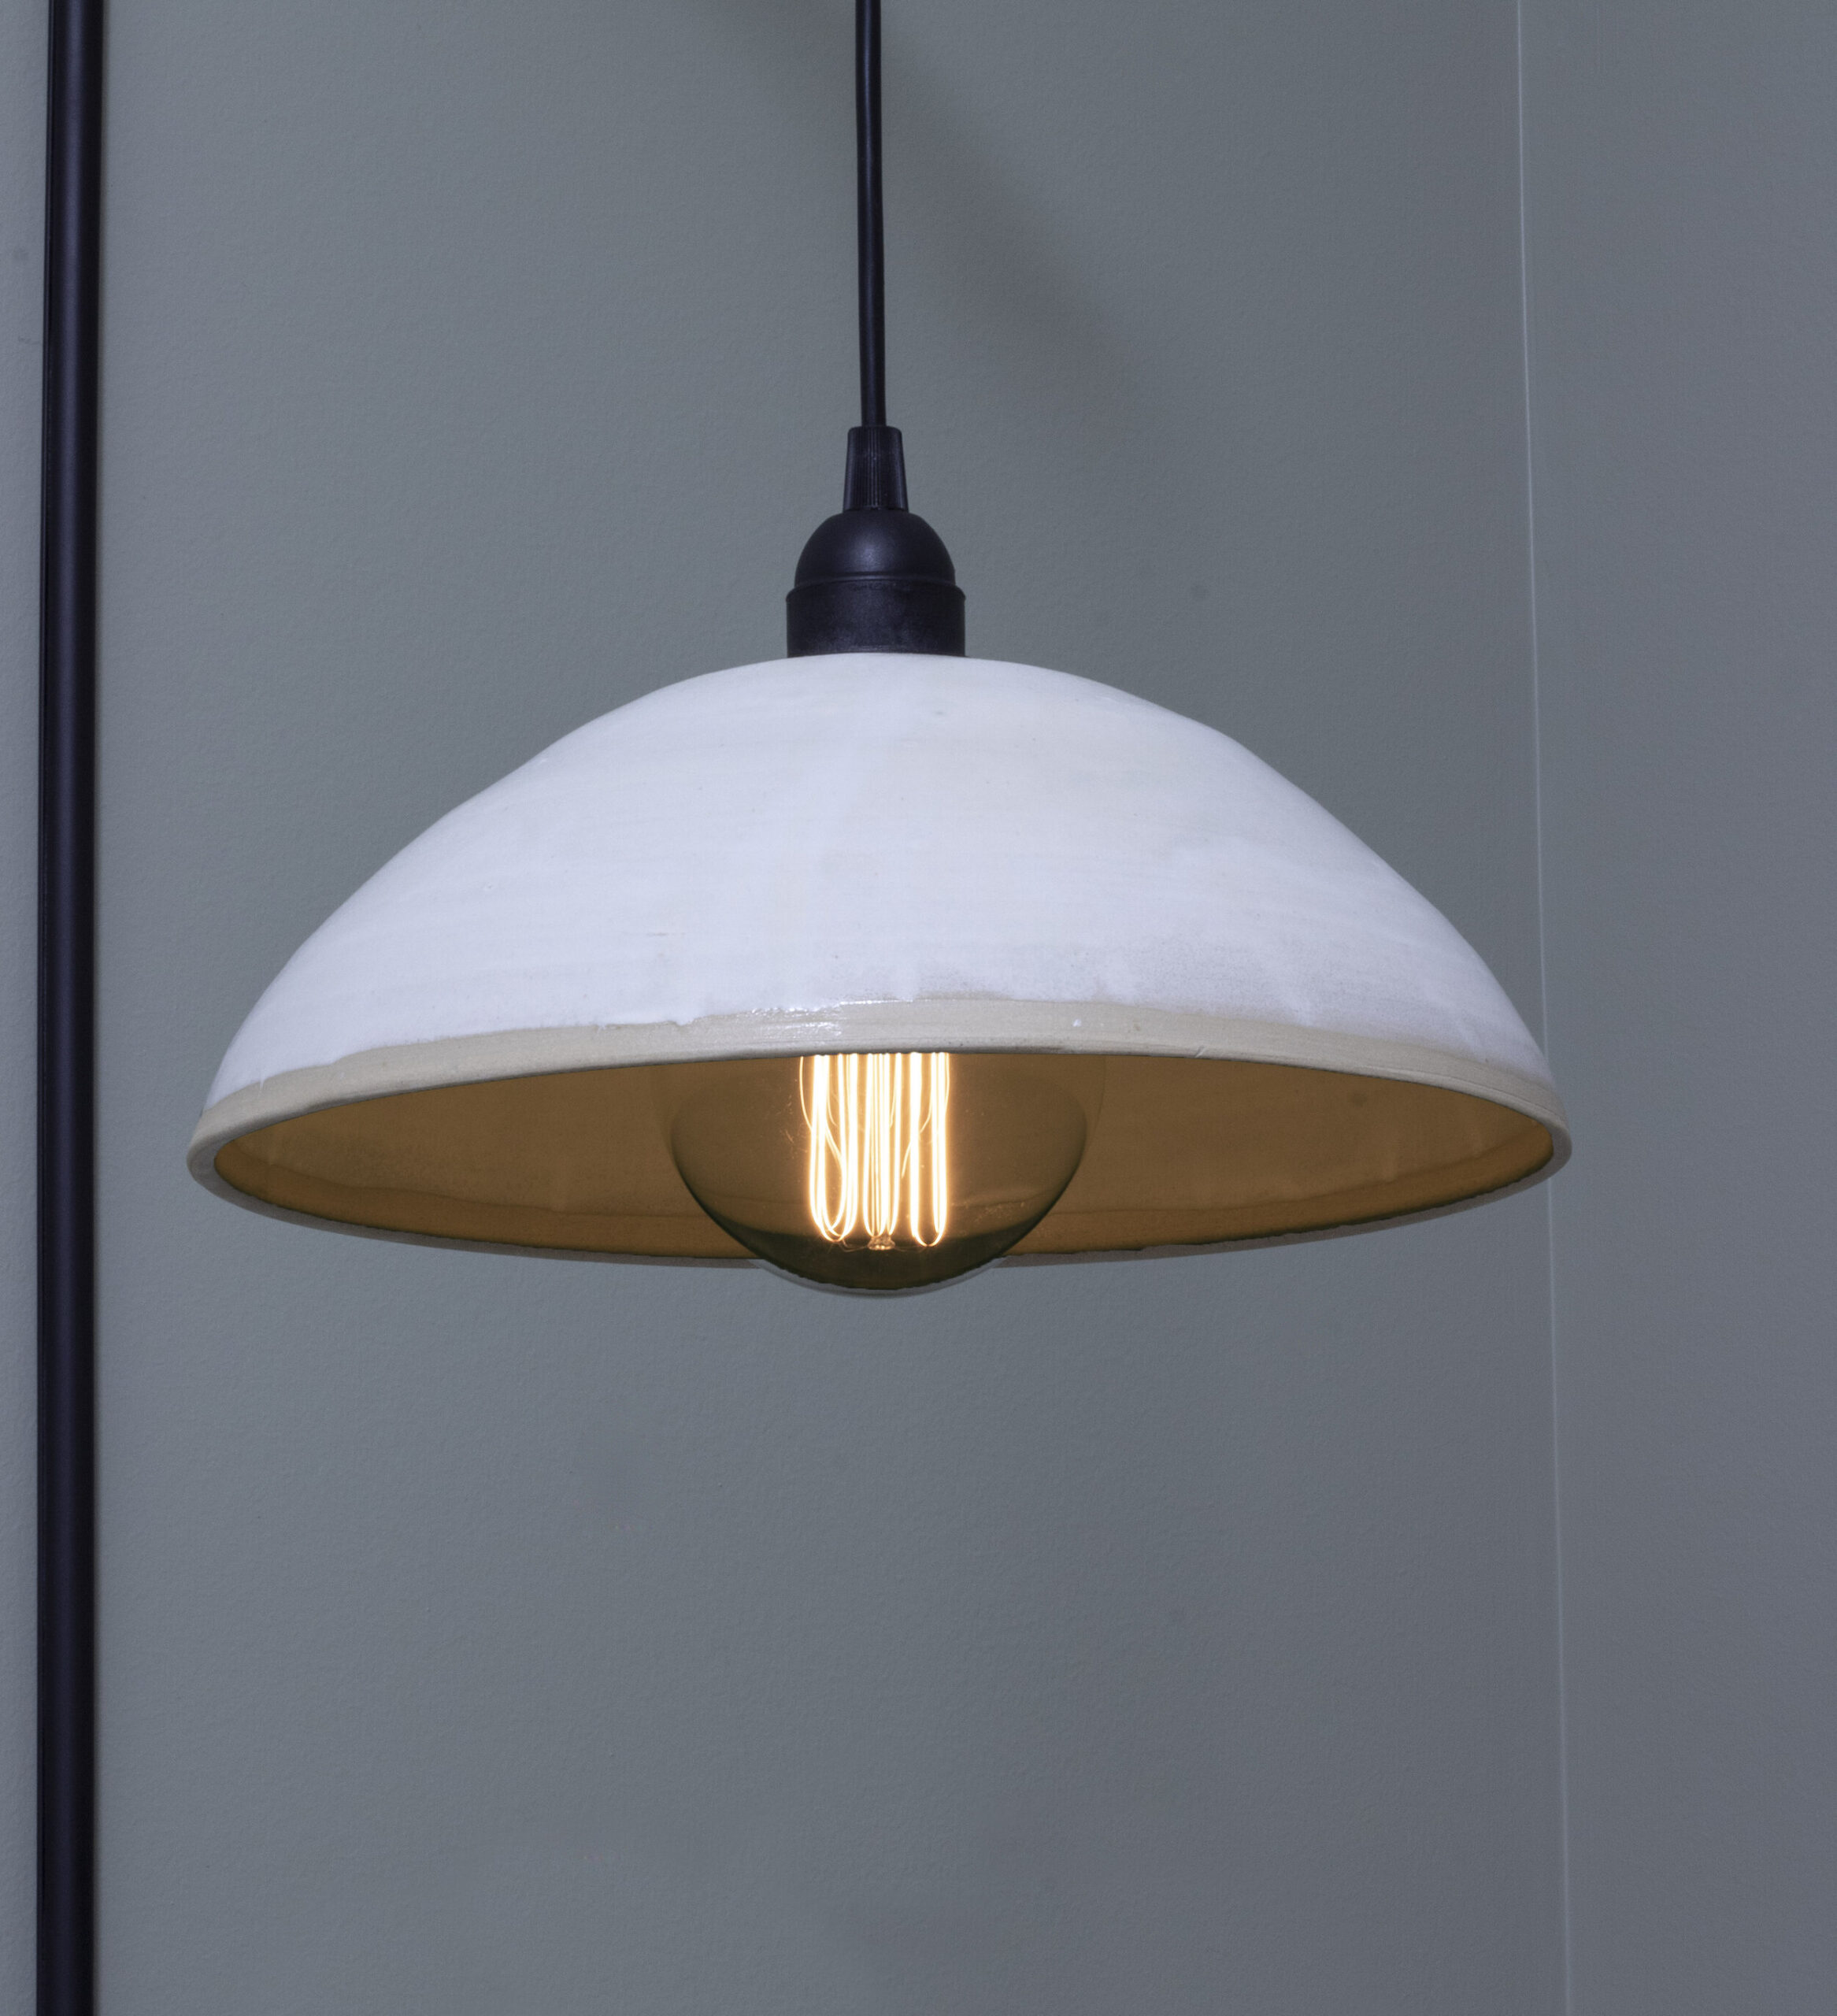
Wallpaper/ Penny Tile/ 6×6 Tile/ 3×6 Tile/ Faucet
Next week I will install the floor tile and then I’m probably going to have to wait a bit as some of my wall tile is not in just yet, but I have a few smaller projects I can work on while I’m waiting, so stay tuned! There is lots of time left, right? Right?
Be sure to head on over to the One Room Challenge Website and check out the other participants! There are over 500 this season and there are some talented designers doing some amazing things, this season is not to be missed!

Loving these details, Erin!
These look so nice together! I love your tile choices.
Hi friend!!! I love how it’s coming together and I really love the green ceiling. The one thing about painting the ceiling a super saturated color like green is it will cast that color on any reflective surface. Choosing a wallpaper on your walls is brilliant. I need to remember that for future projects. I’m looking forward to seeing the finished result!
Loving this flatlay so much!! It’s going to be beautiful and amazed at all you have done this far!