How to Upgrade Builder Grade Cabinets
WELL, I’m officially old, I have a grown son that has decided to live on his own. He’s been gone for a few months now and we’ve decided to move a few things around in our house to make better use of the extra space in the room he left empty (sob!!). We did a little reconfiguring to the desk area already for a little builder grade cabinet makeover, and I’m going to show you how to upgrade builder grade cabinets with a little hard work and paint, mainly!
Table of Contents
- The Guest Room Before
- The Guest Room Plan
- The Design
- Cabinet Modifications for a New Look
- How to upgrade builder grade cabients – some other ideas:
- You might also like:
This post may contain affiliate links. That means if you purchase anything from these links I earn a small commission, at no extra cost to you! This helps support my blog, so thank you!
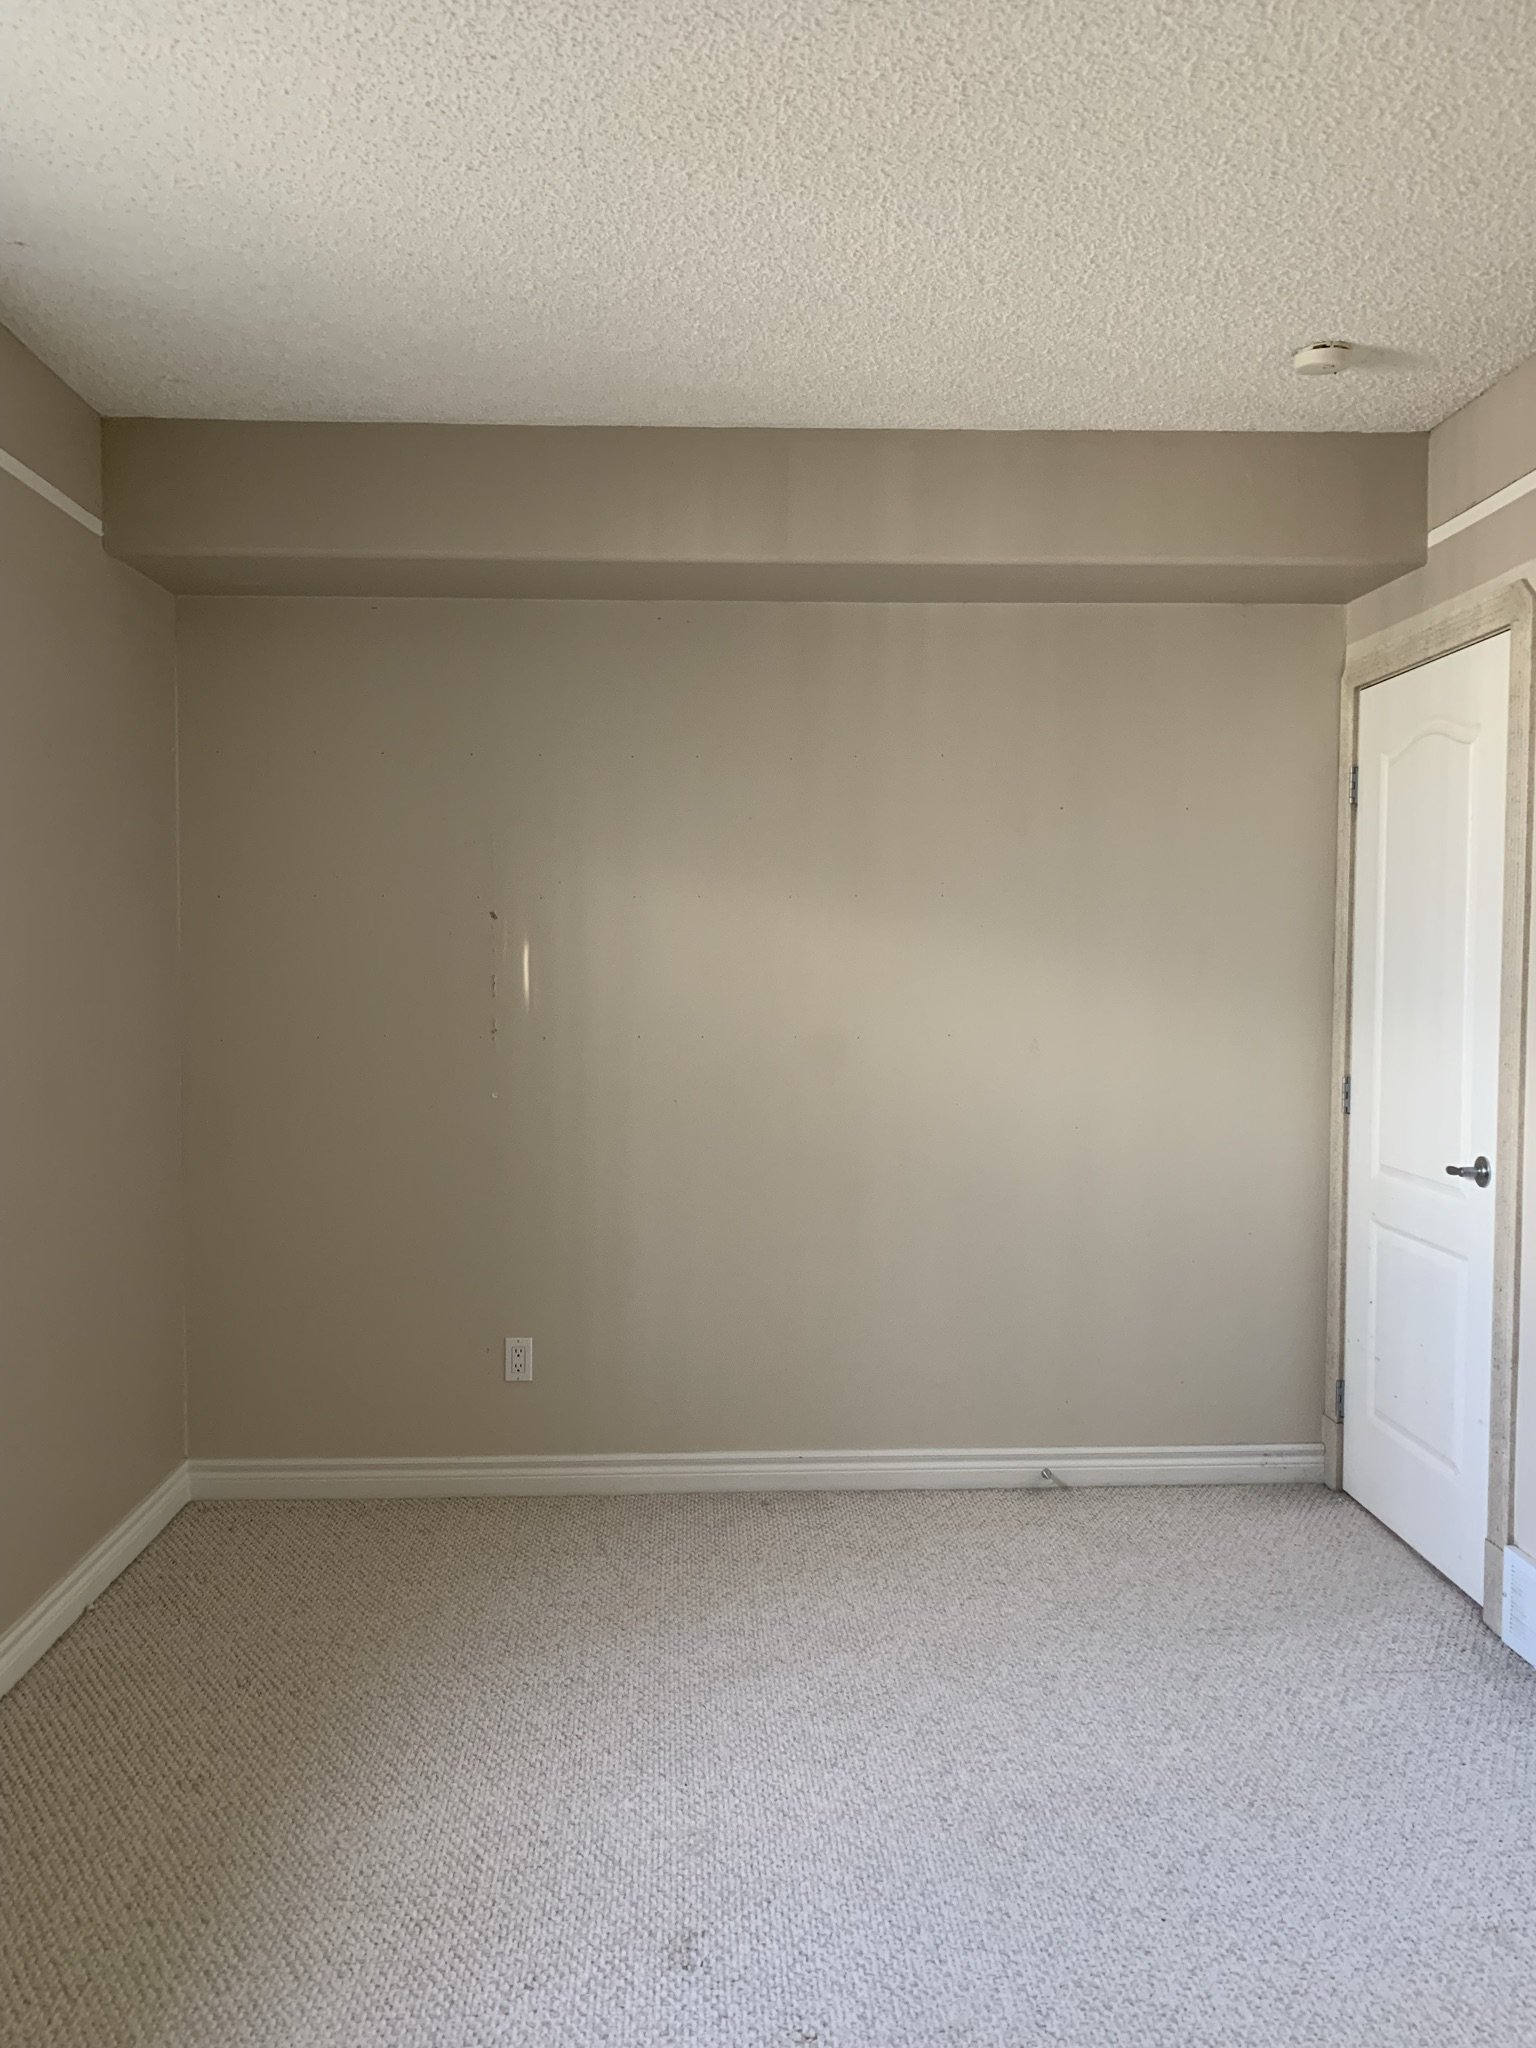
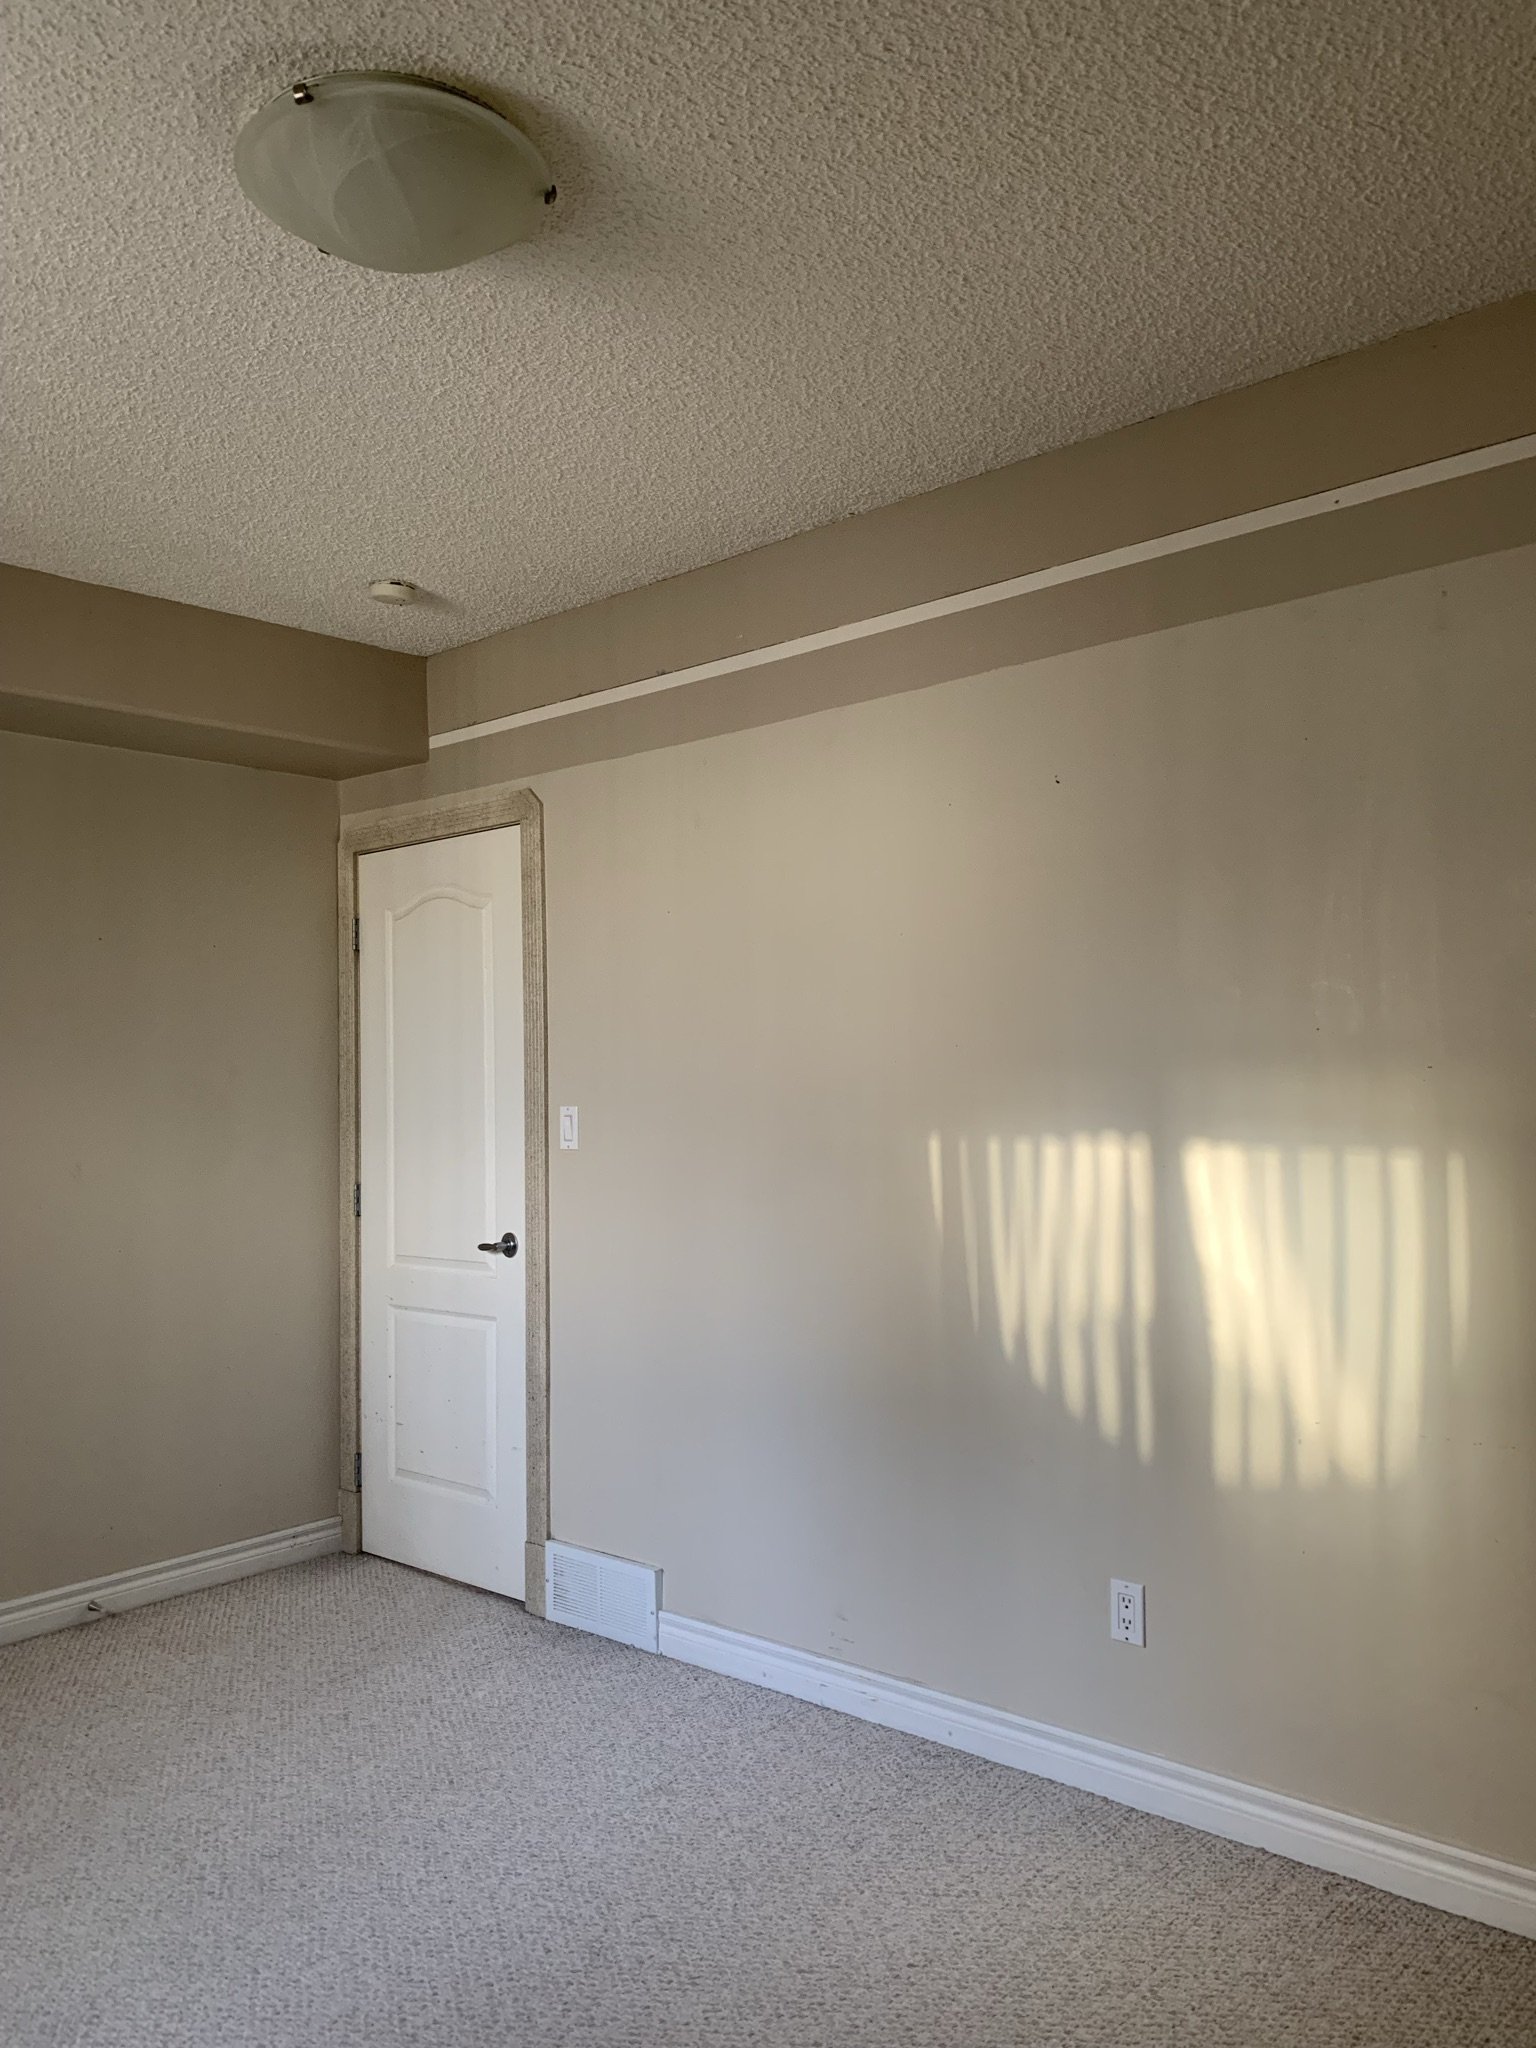
The Guest Room Before
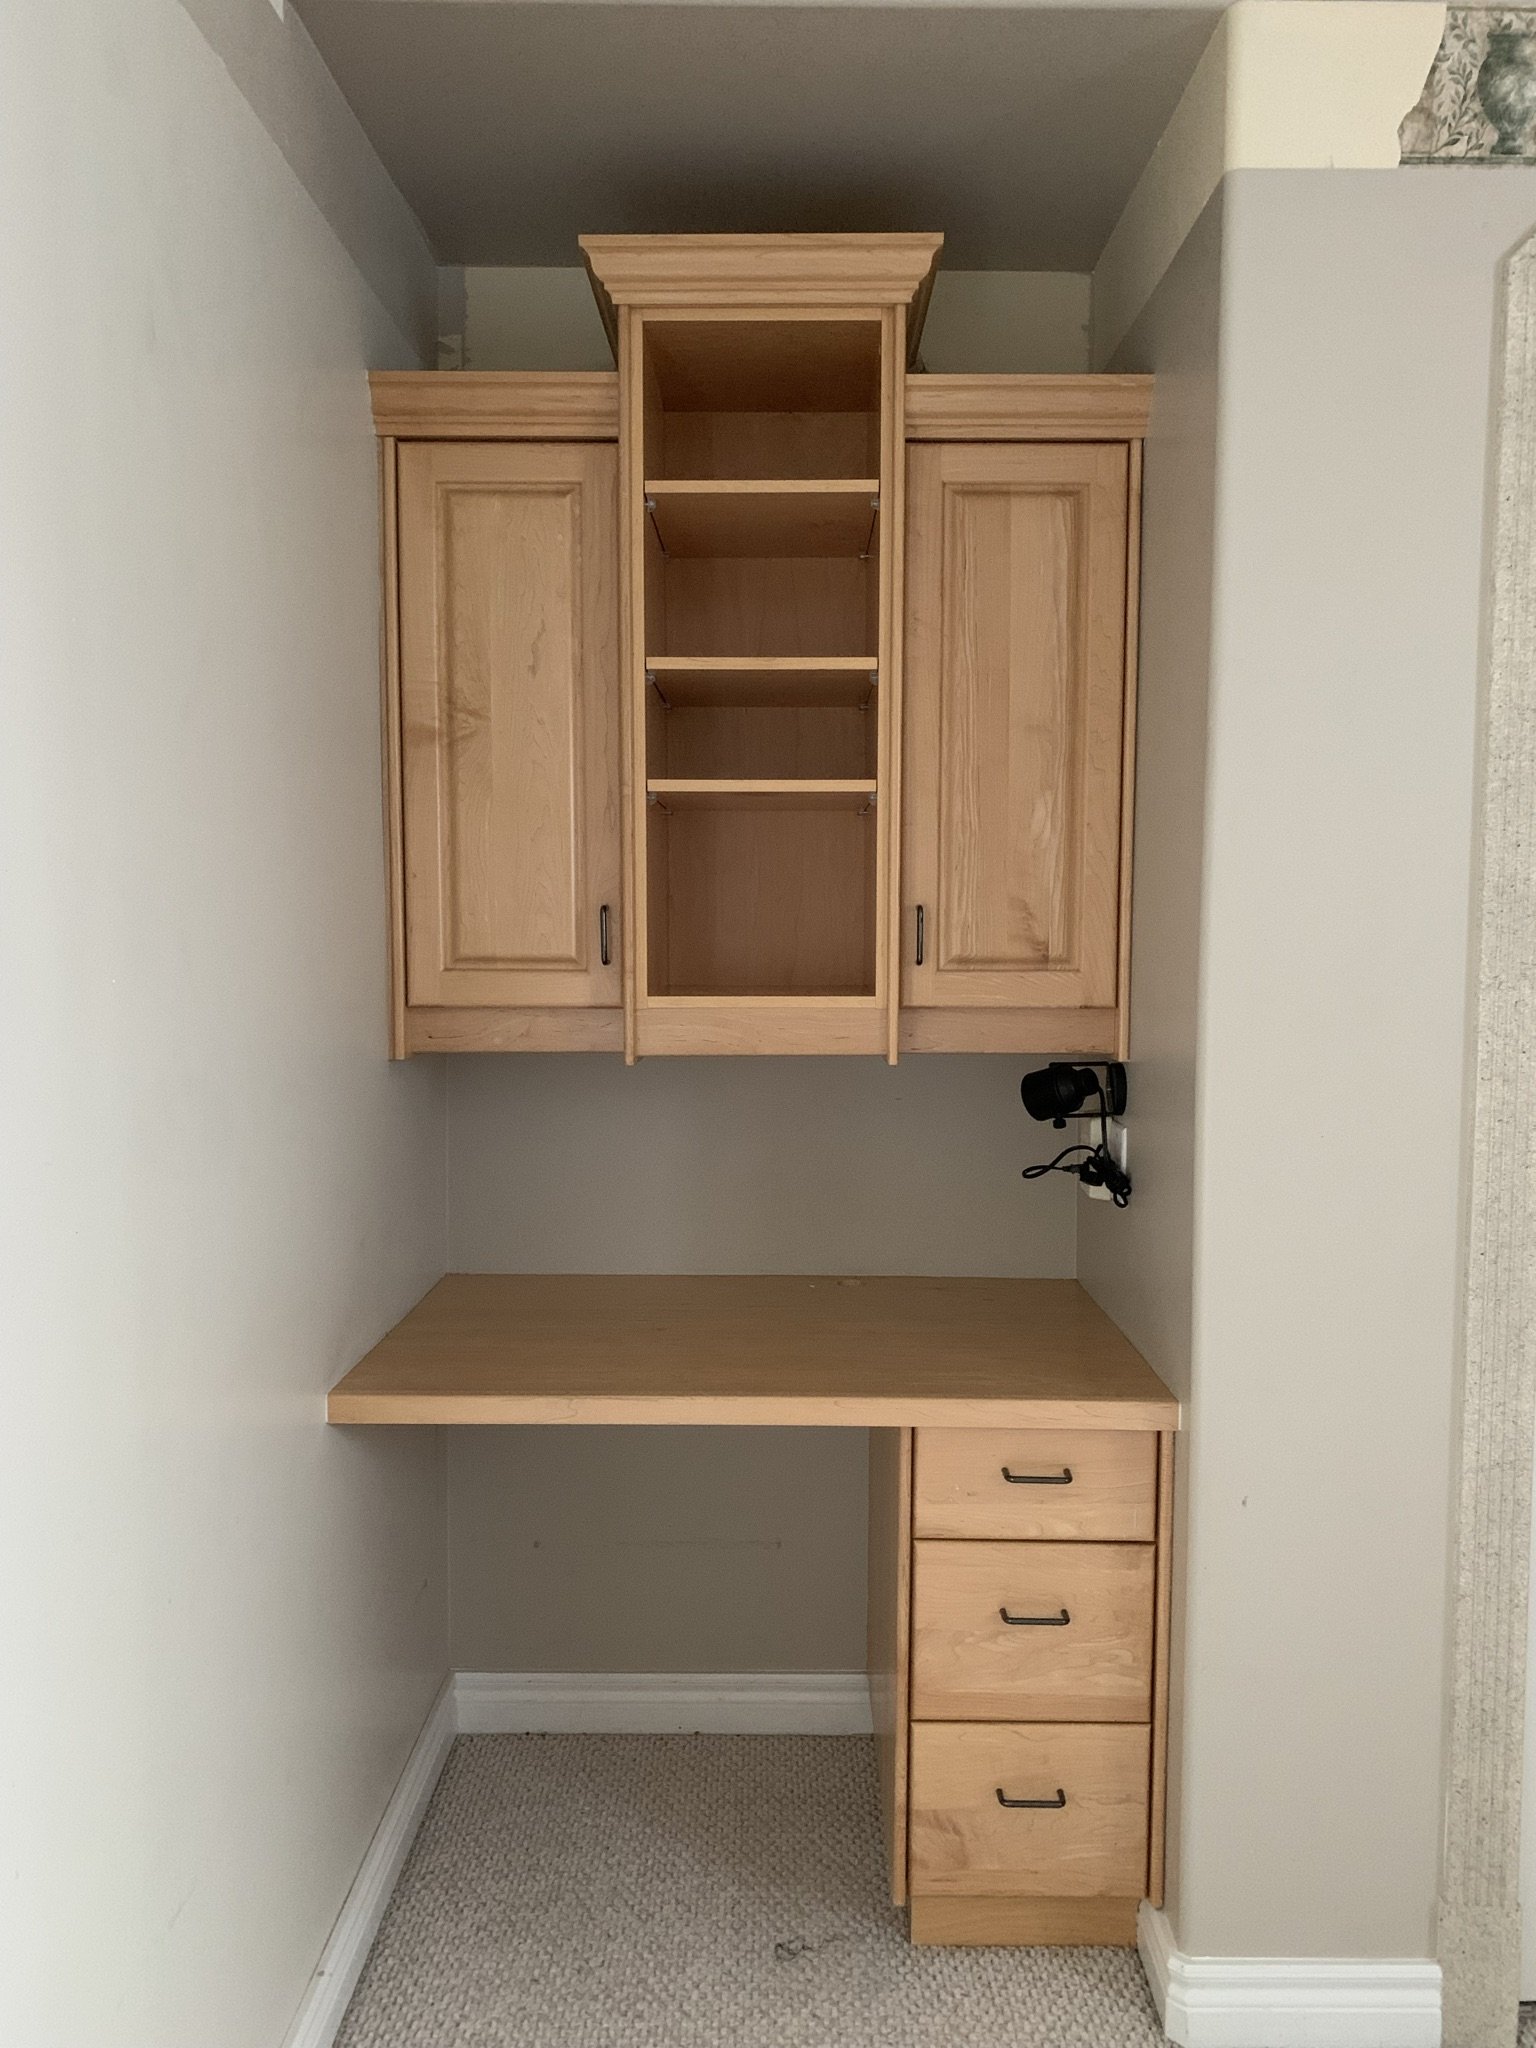
We had a treadmill and an elliptical climber and a few weights in our main basement space which was a bit of an eyesore. Since we had an extra room now, we decided to move the exercise equipment to what used to be the guest room, which is the smallest bedroom right at the very back of our basement. The room my son was in would now be the guest room, and bonus, it has a little built-in desk area that my daughter and I can use for sewing!
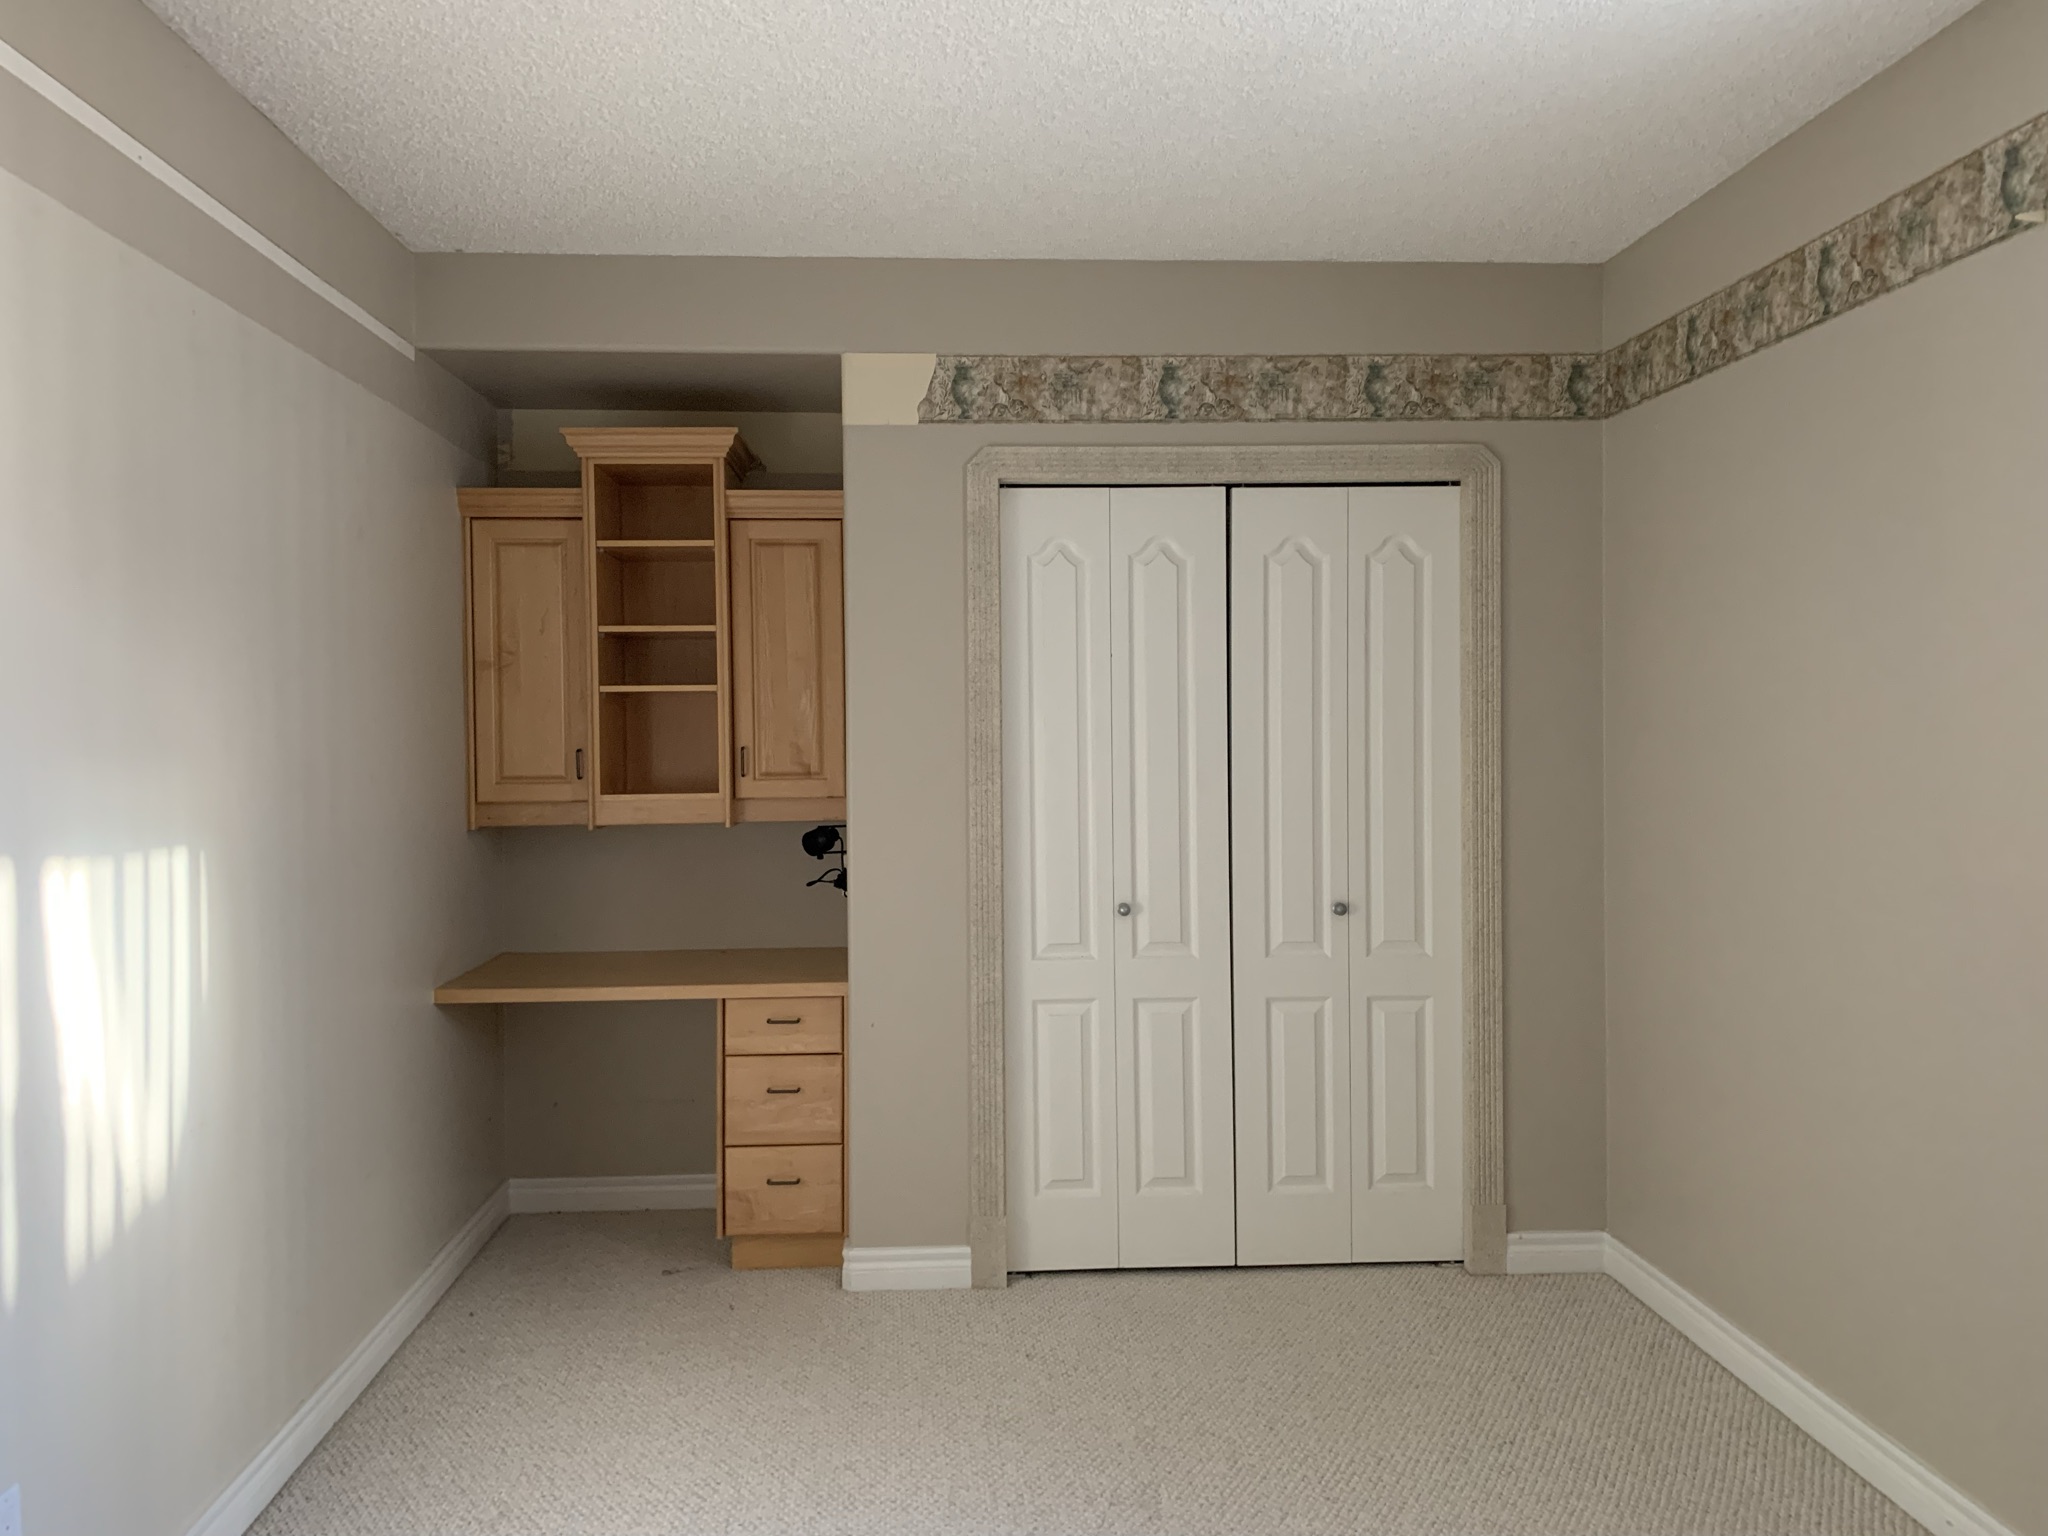
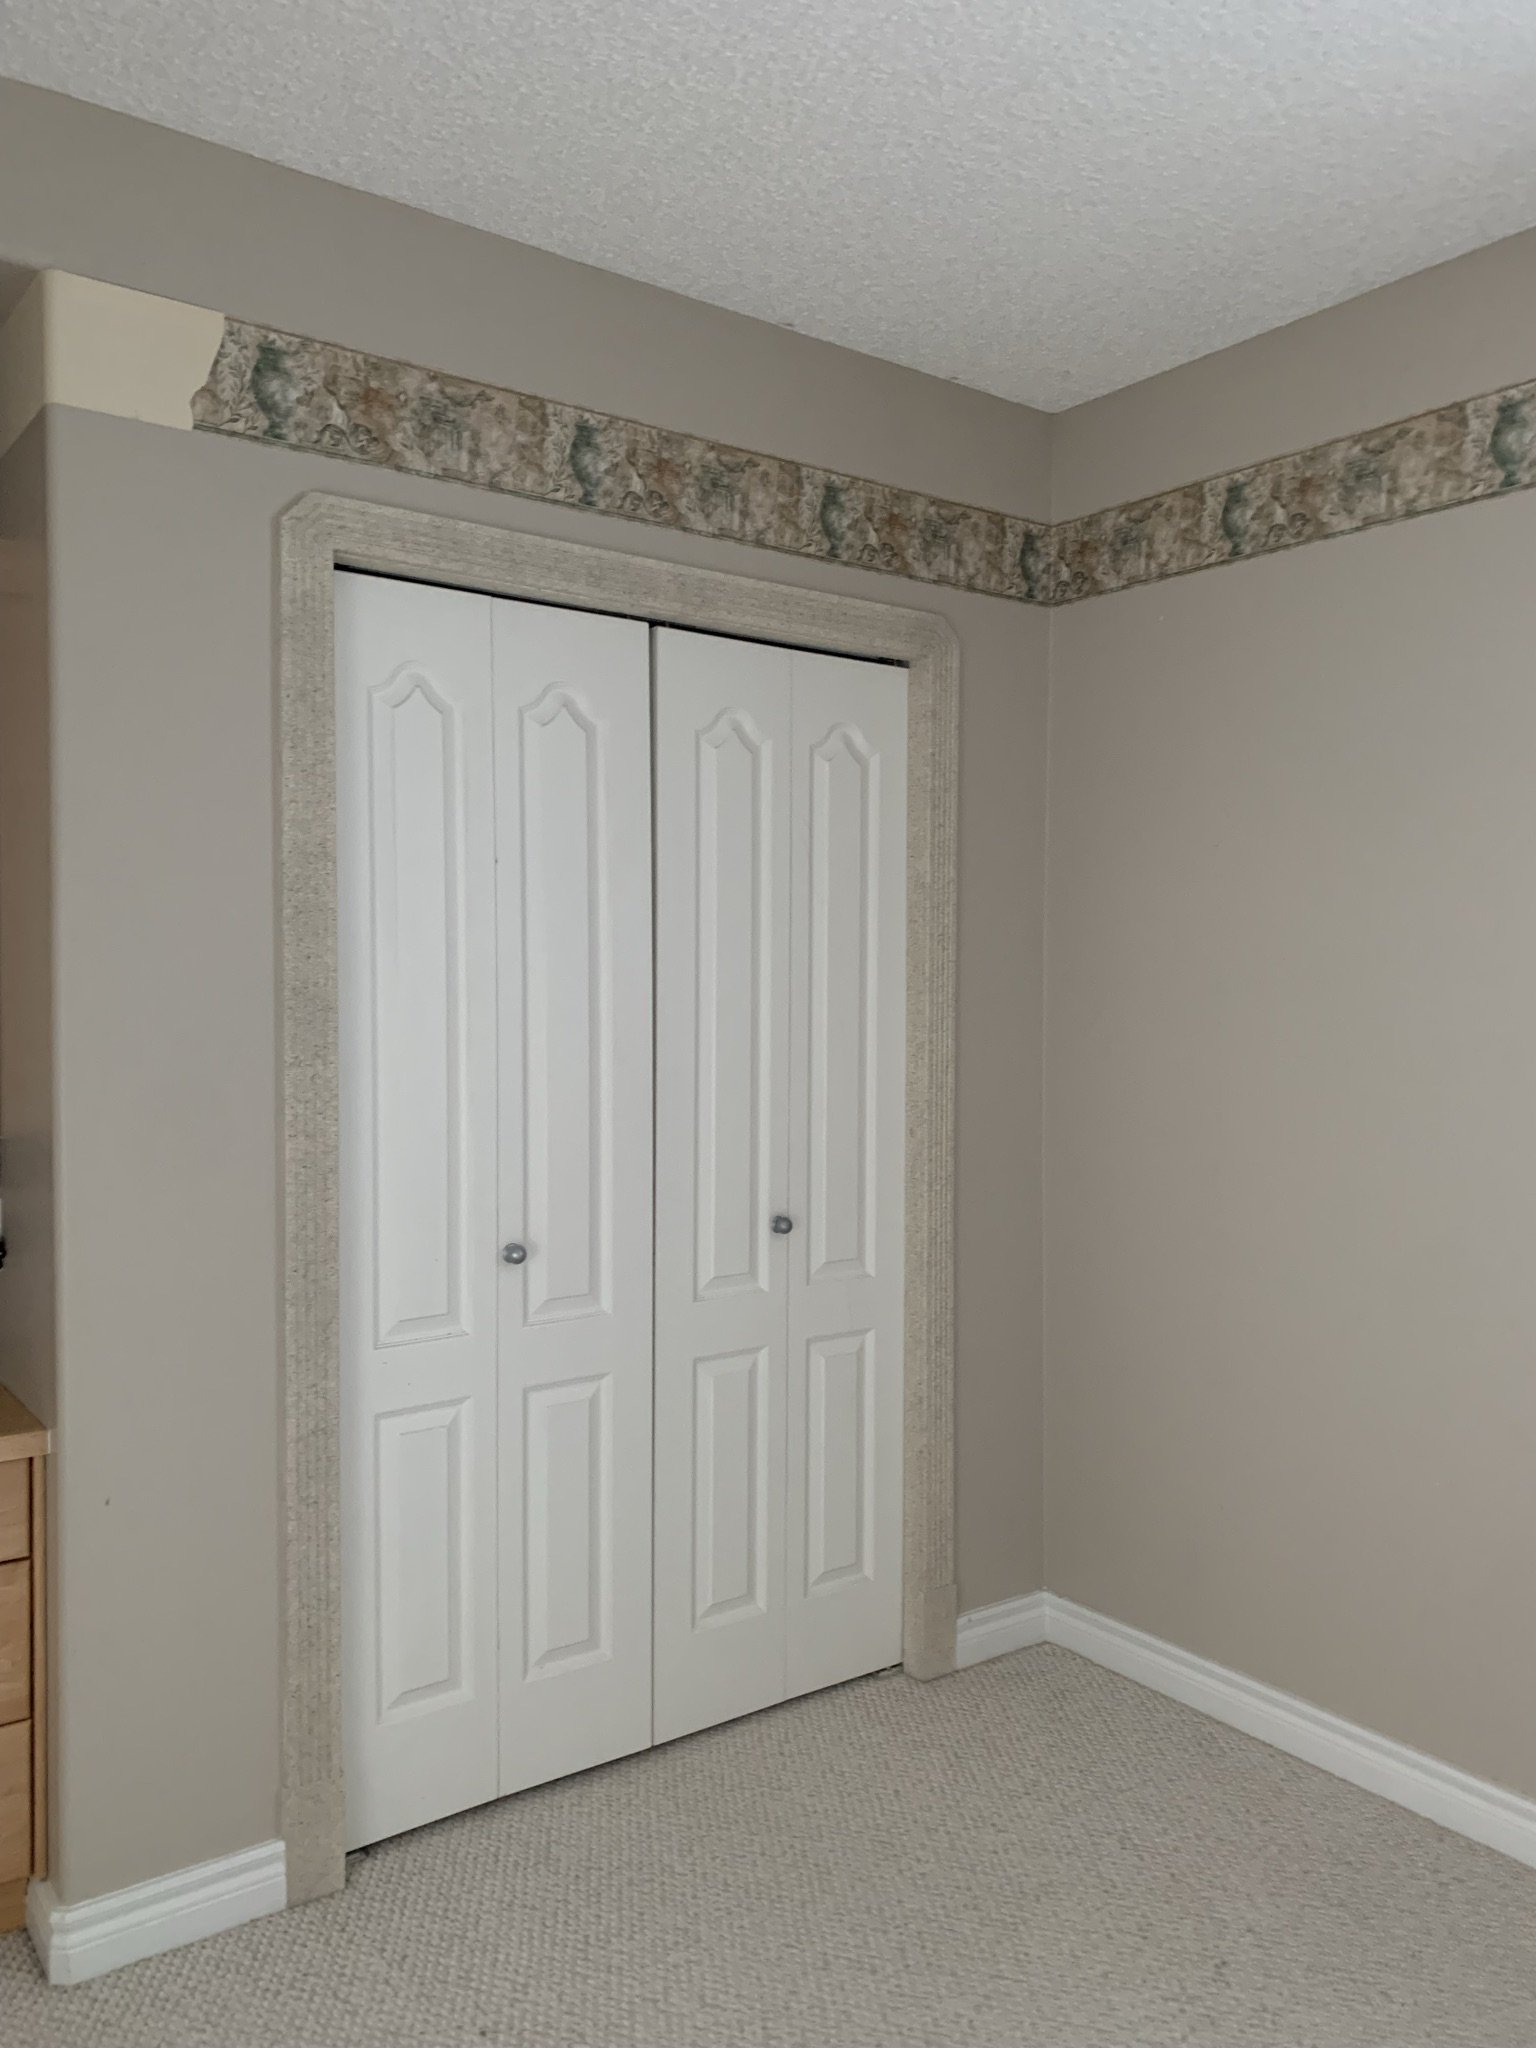
When my son was living in this room I offered to fix it up a little – paint and whatnot but he really didn’t want to be displaced from it and he made it his own. He covered the floral wallpaper border with floor-to-ceiling posters, added LED lights all over the place, as teenagers do. But once he was out and the room was empty, it seemed like a good time to fix this room up a bit before we officially made it the guest room.
The Guest Room Plan
This room didn’t require a TON of work…. I thought. My husband needed a break from working on the house after our huge kitchen renovation, so I told him I would happily work on this diy project by myself, thinking of it just as a decorating project. But actually, it is a lot of work, because I decided to remove the popcorn ceiling, replace the trim, re-configure the existing cabinets in desk area and paint that too. It seemed like a little project in my head but once I got into it, it actually is pretty big. So what am I doing? Here’s a list:
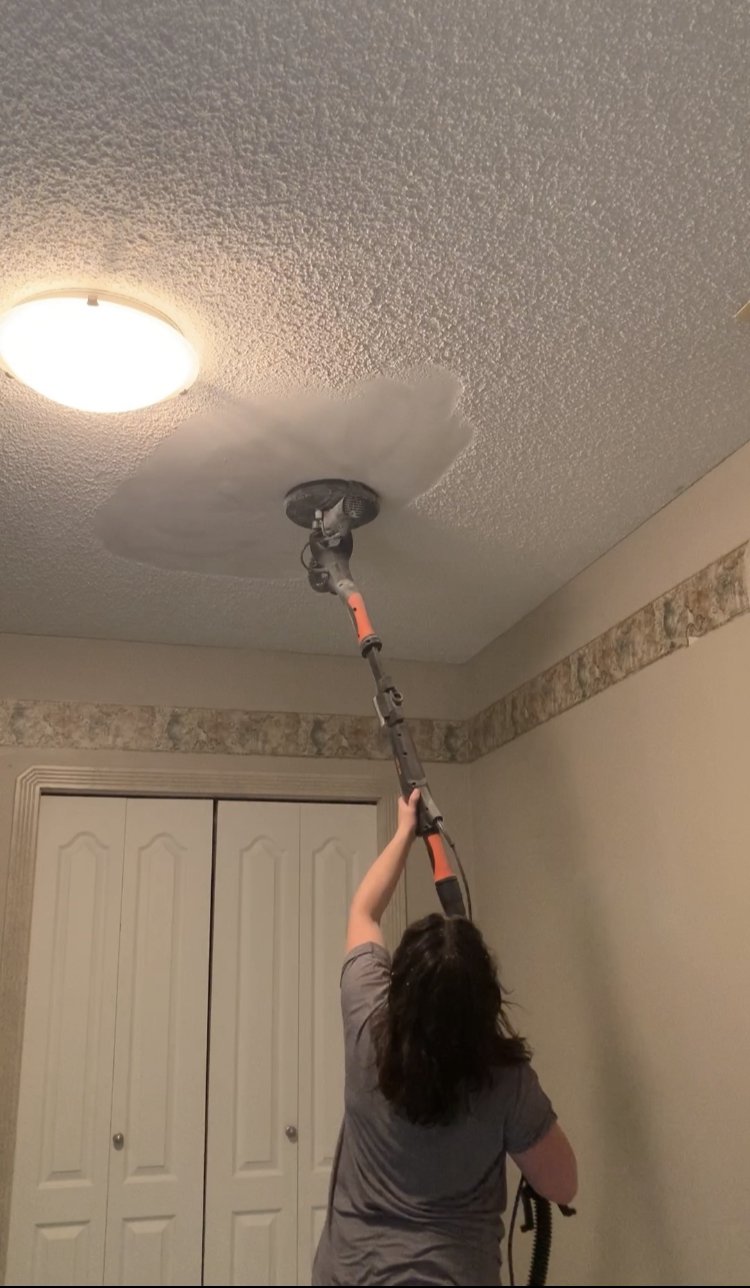
- Scrape the popcorn, paint the ceiling and walls
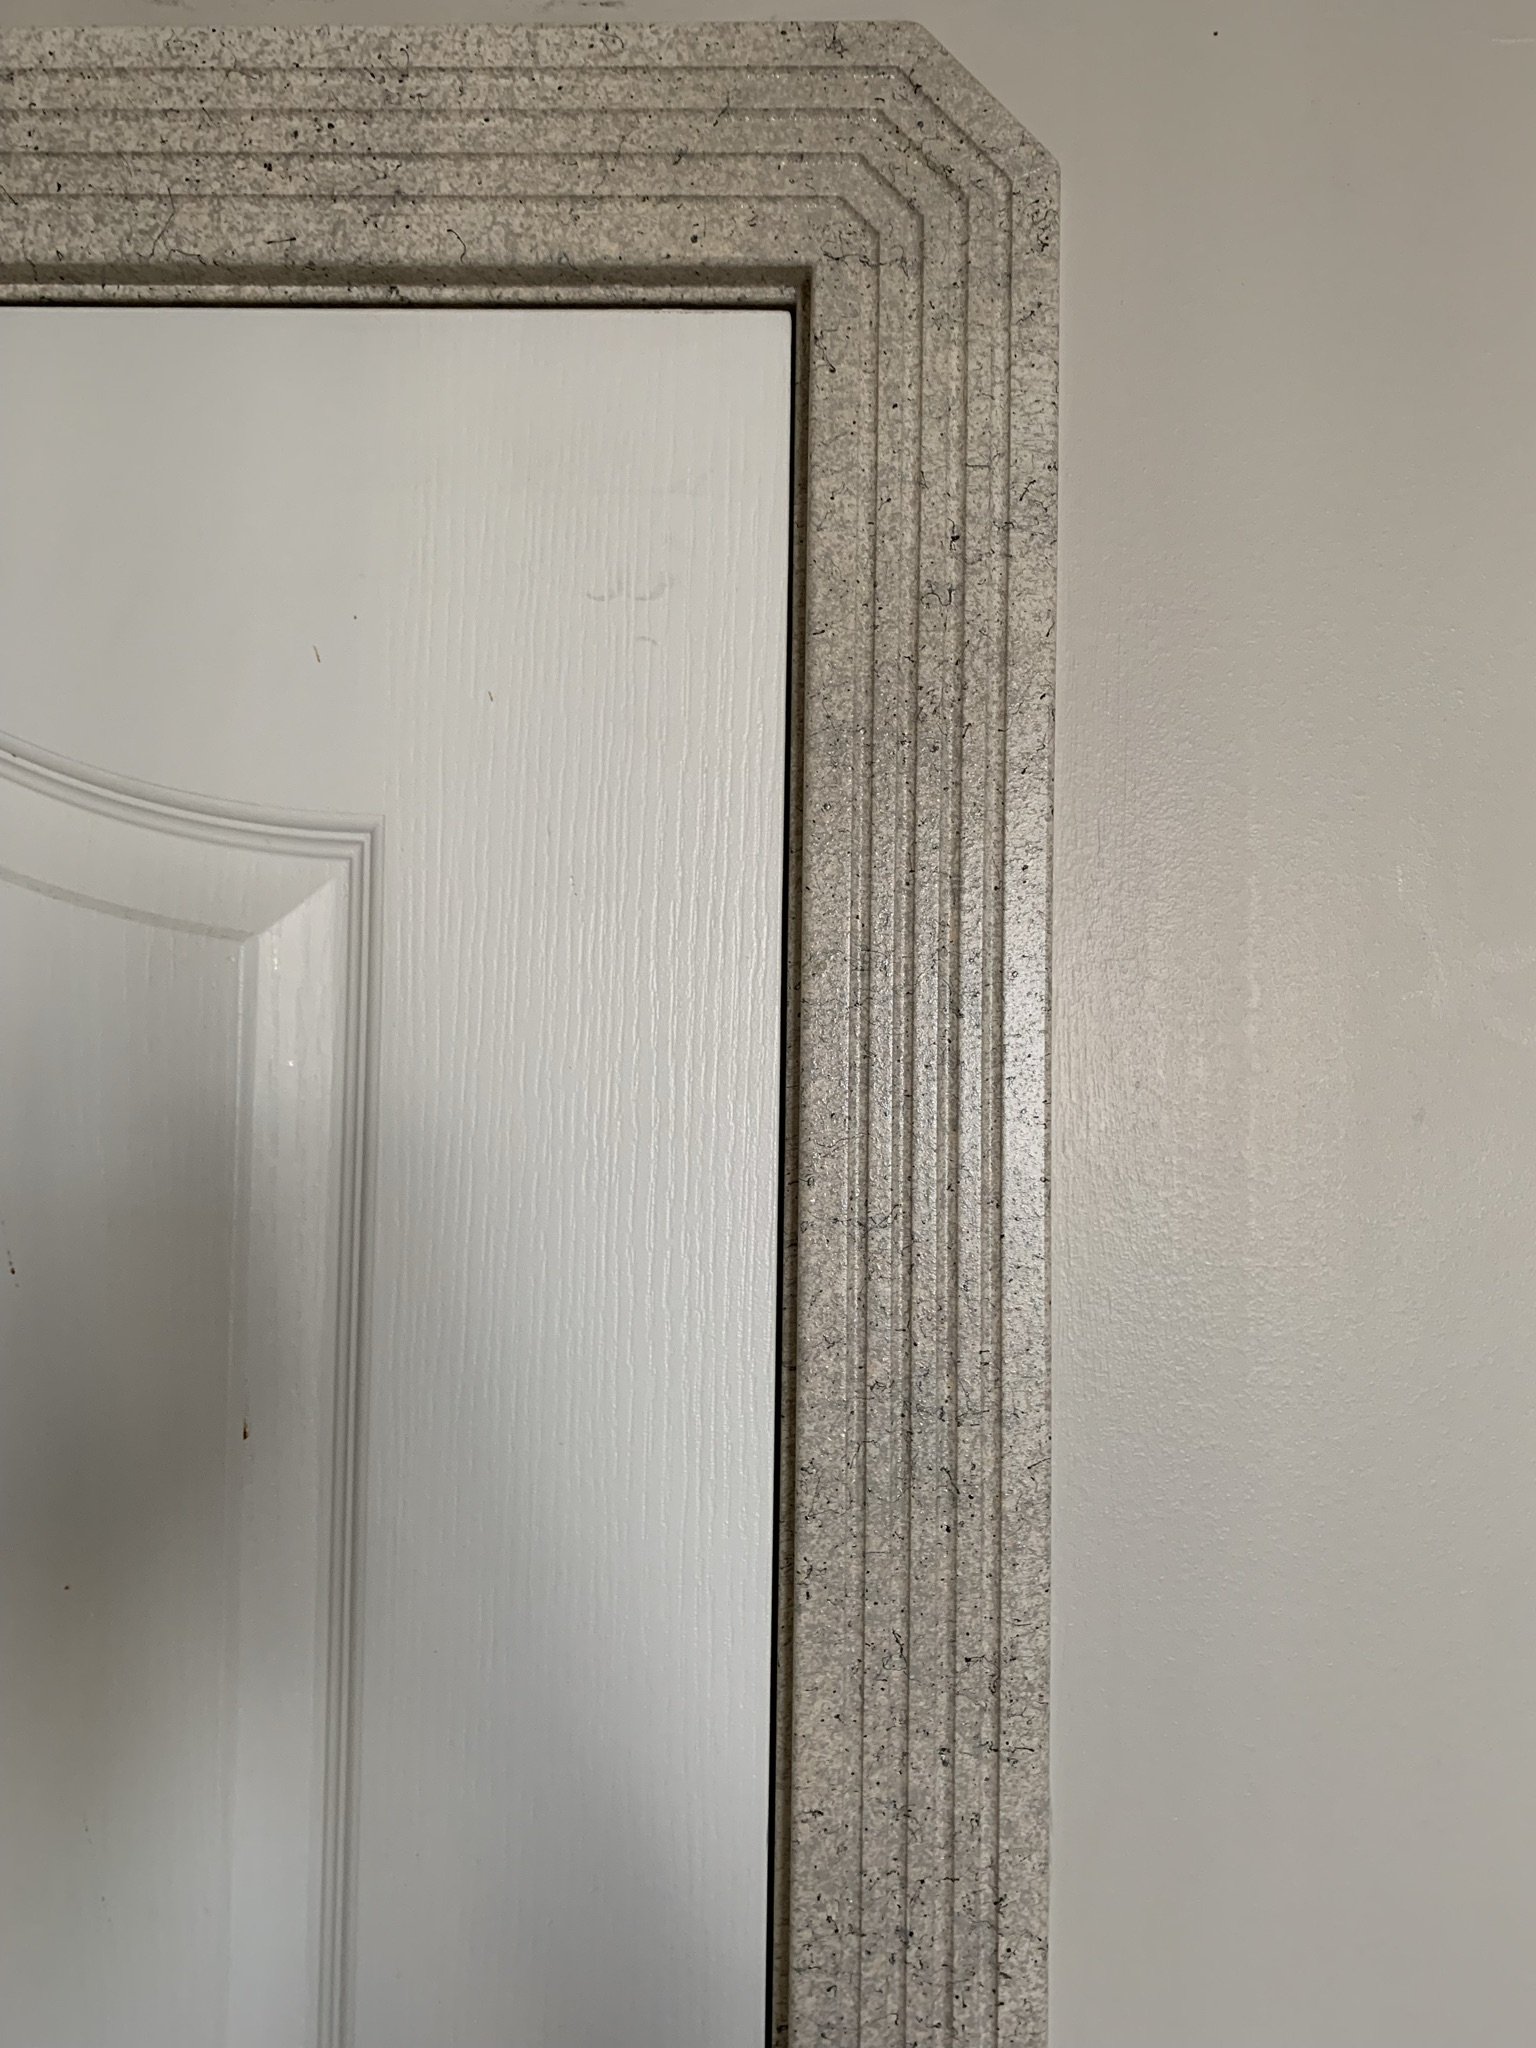
- Replace all the window and door trim – the window and door trim in our house was all textured like this so we’ve been slowly replacing it, room by room
- Reconfigure the desk area with the builder grade cabinets to update that space a bit
- Add a peg rail (convenient for guests!)
- Paint the trim, desk, doors, ALL THE THINGS. Every surface is being painted!
- Replace the lighting
- New window treatments
- New Rug (courtesy of Loloi)
- Bring in existing furniture and art, and decorate!
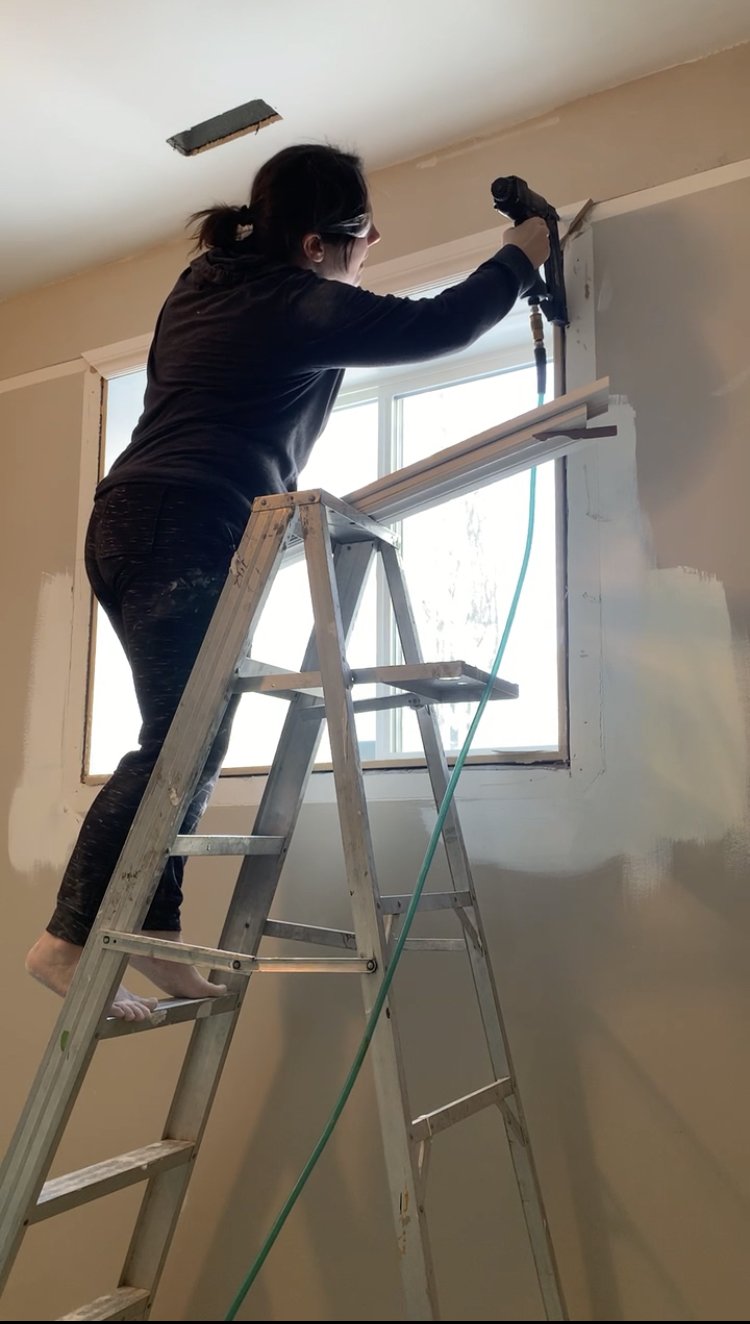
If you follow me on Instagram you know I’ve already got a great start on this. I used THIS drywall sander to sand the popcorn ceilings smooth and primed them, replaced all the trim and reconfigured the cabinets. (Note: If your house was built before about 1985, you should test your popcorn ceiling for asbestos before removing it yourself!)
The Design
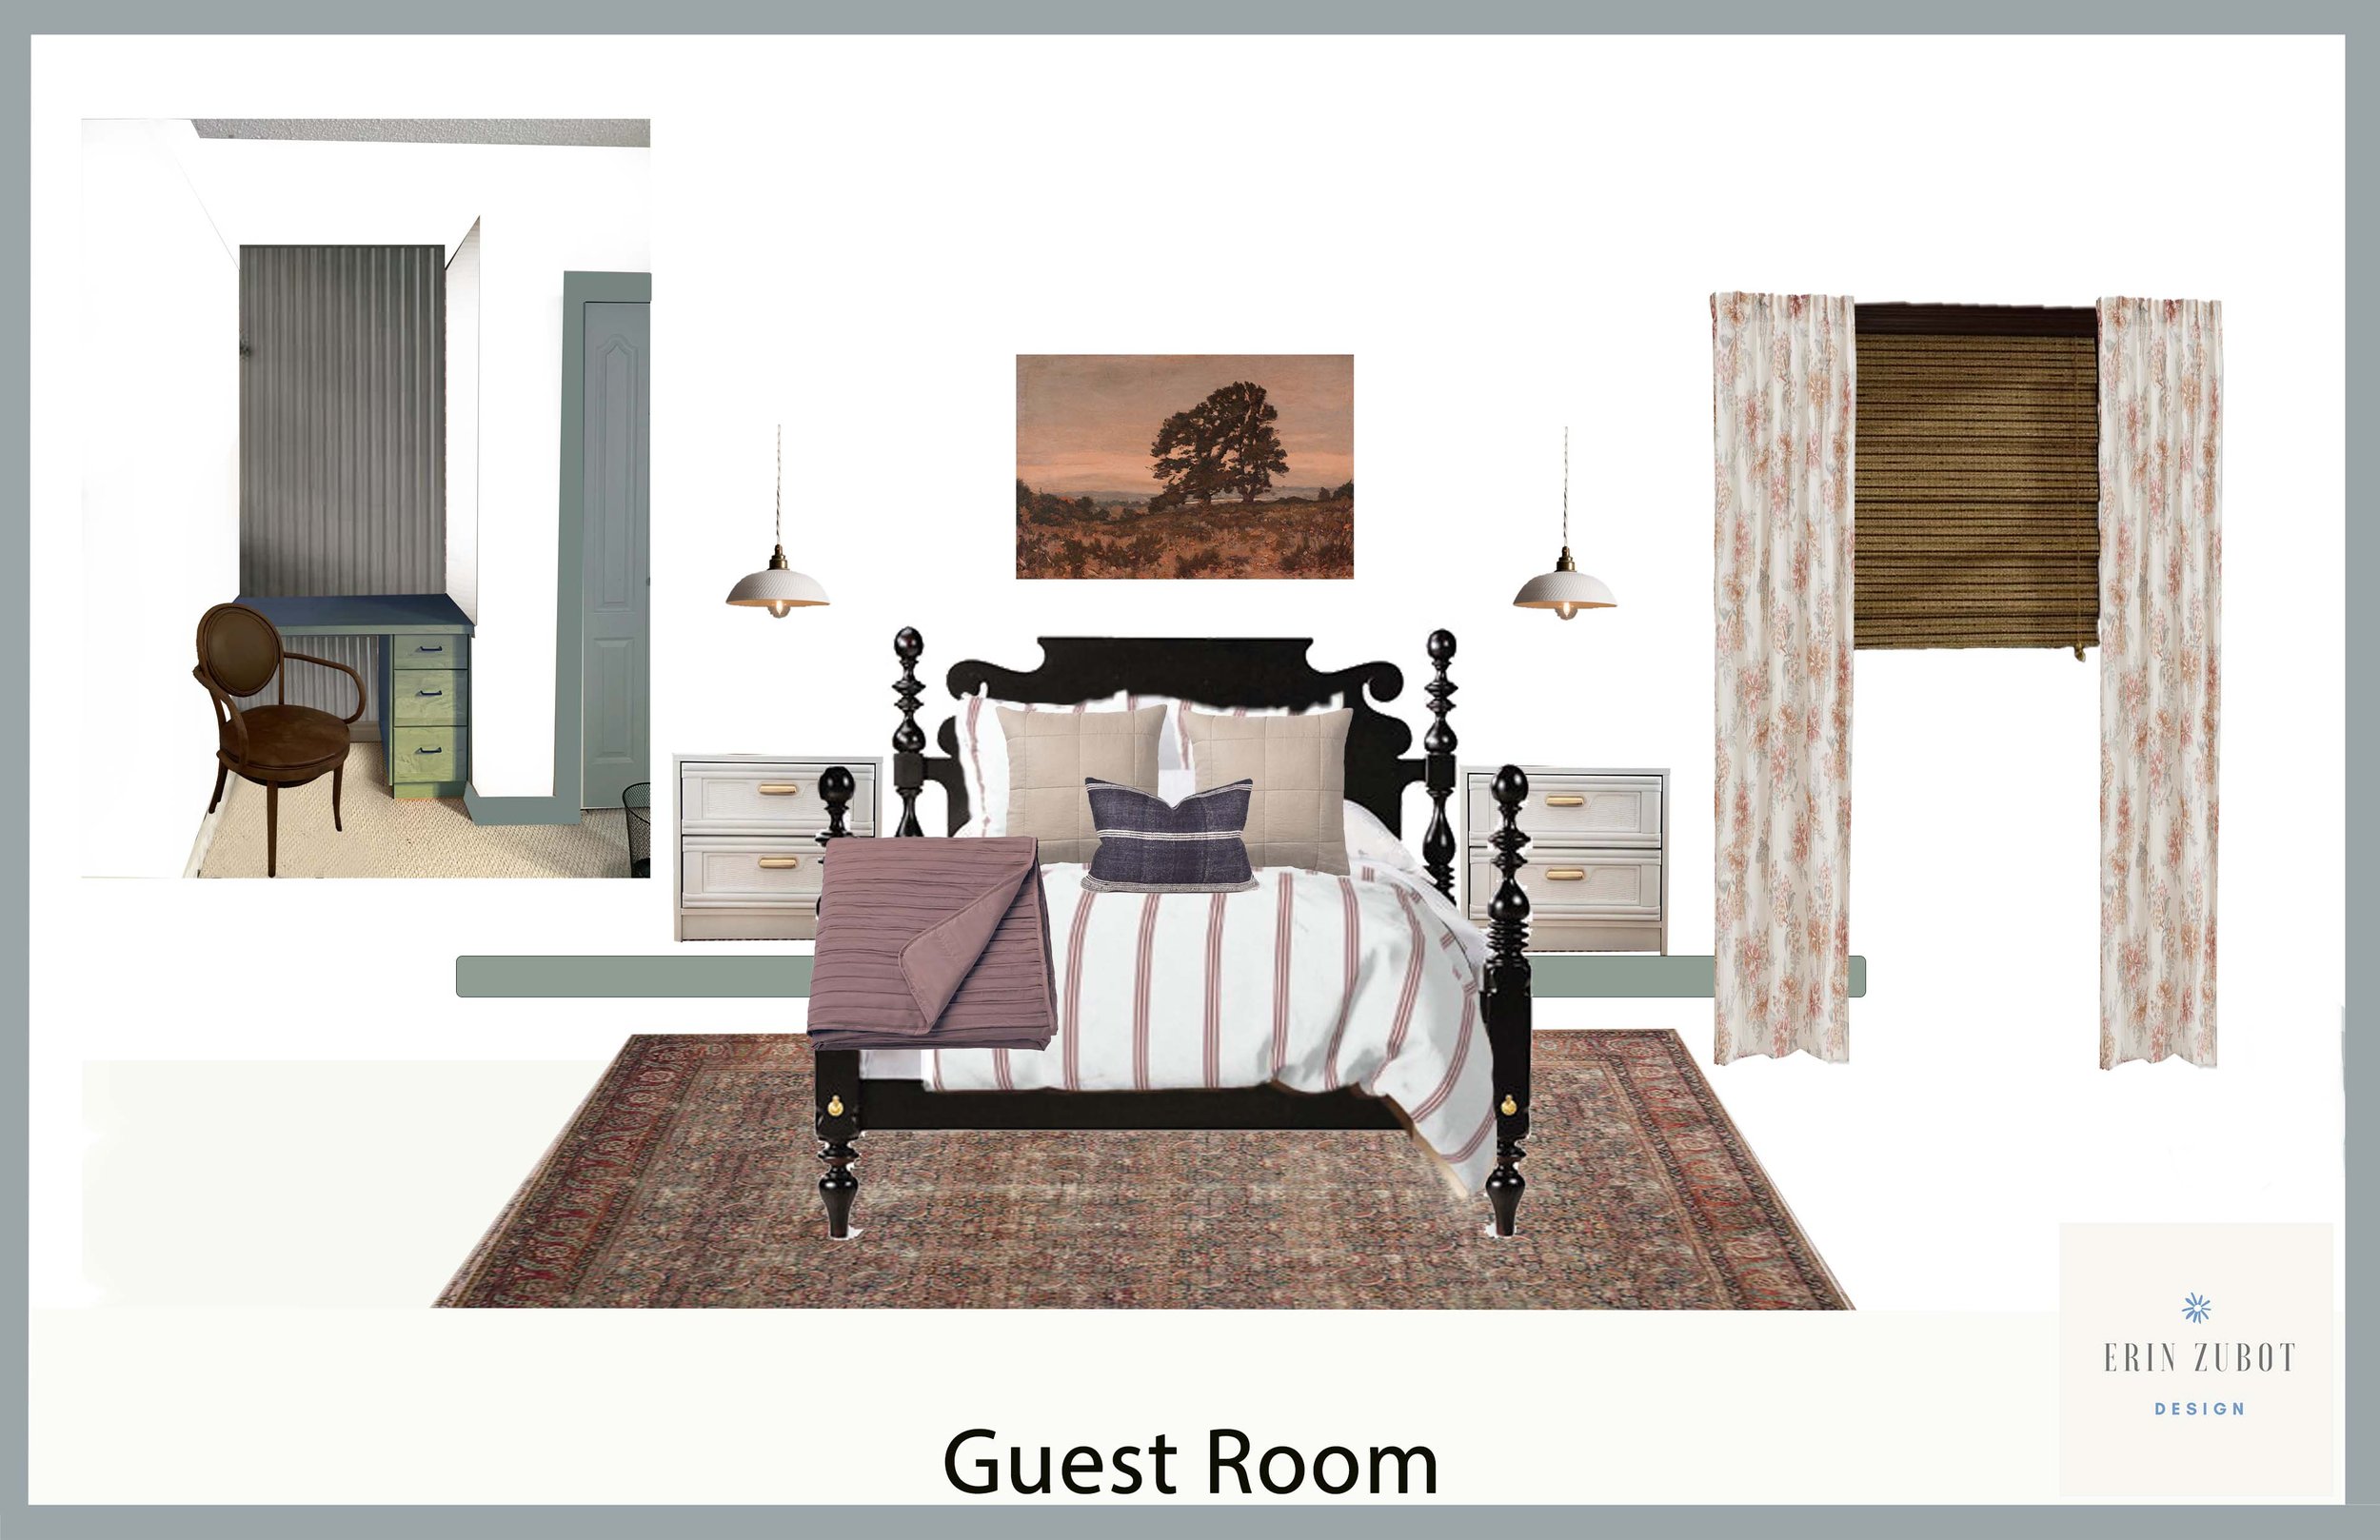
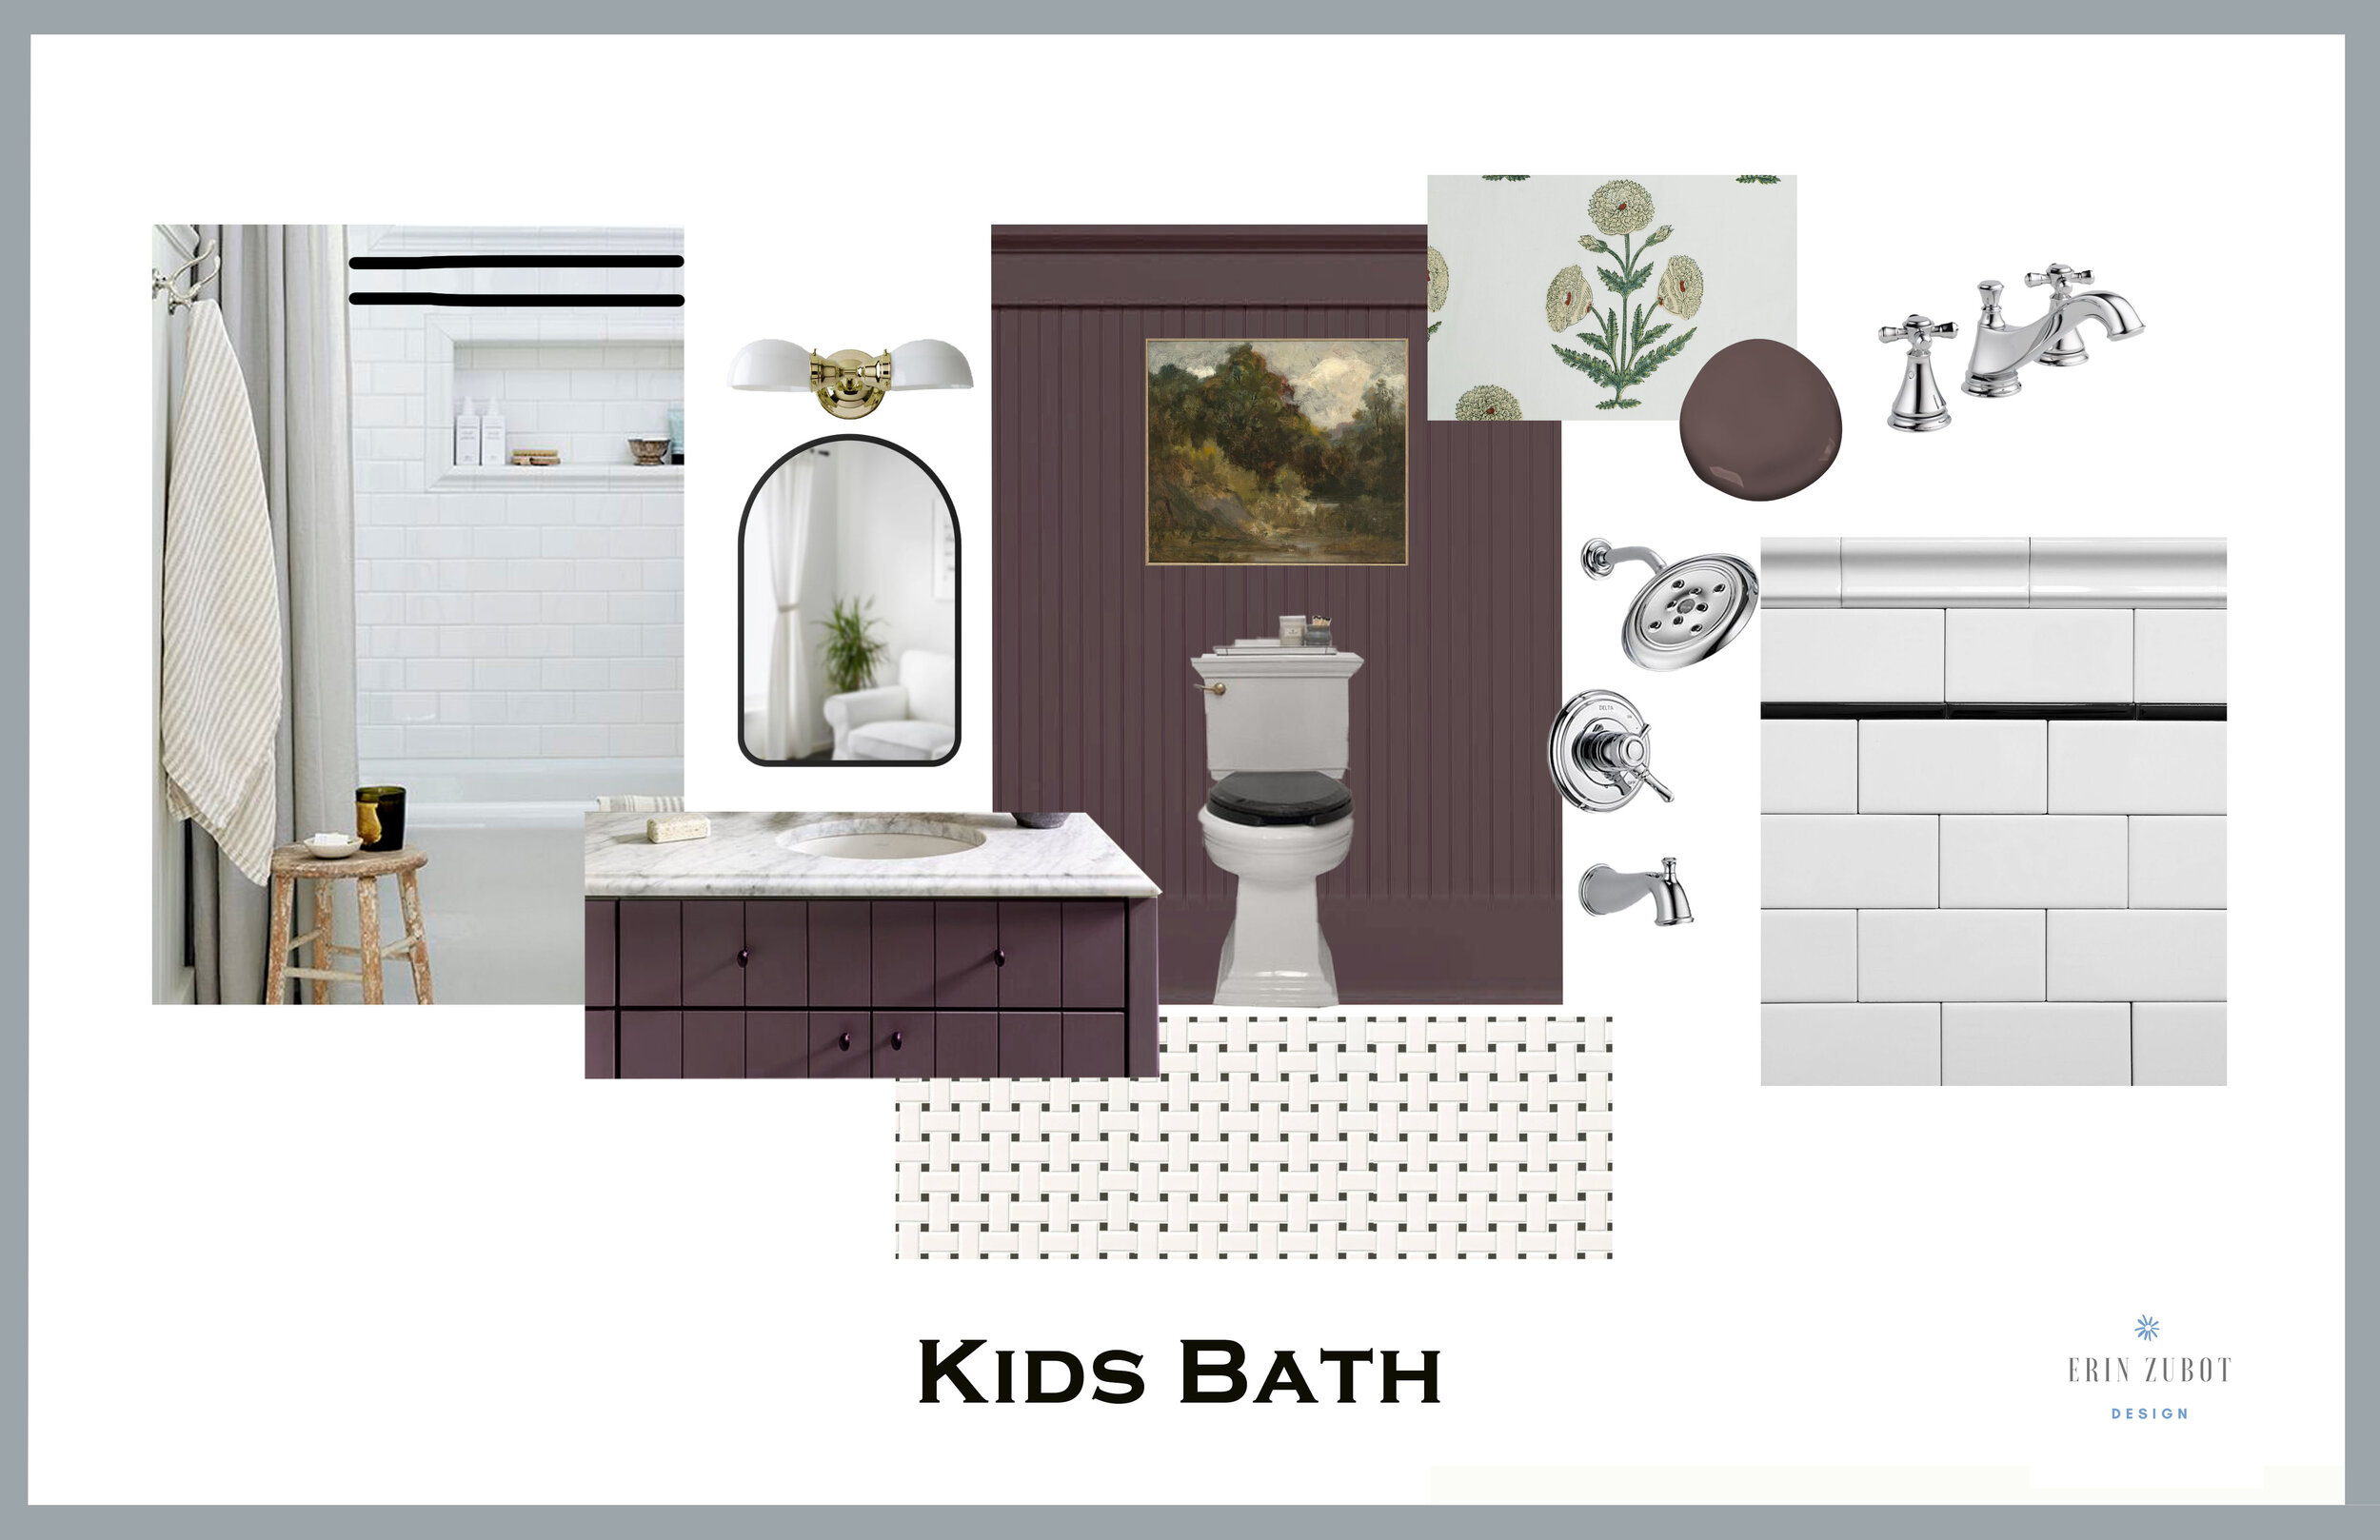
Here is a mood board for the space so you can see the direction I am headed! I wanted to reuse my existing furniture and bedding from the guest room in my last house, so I started there with this design. I really love red and green together and I tried very hard to choose a green for this room, but it turns out I like my greens to actually be blue – haha!
The colour I chose for the trim, doors and desk is Knoxville Gray which is actually pretty green in low light but bluer in the sun. Once the colour palette was set, I brought in some warm woods, some curtains and a rug to tie the colours together and that’s about all there was to it! A relatively simple design using mostly what I had and a little paint, but I think it will still be quite the transformation!
Shop the Mood Board
Cabinet Modifications for a New Look
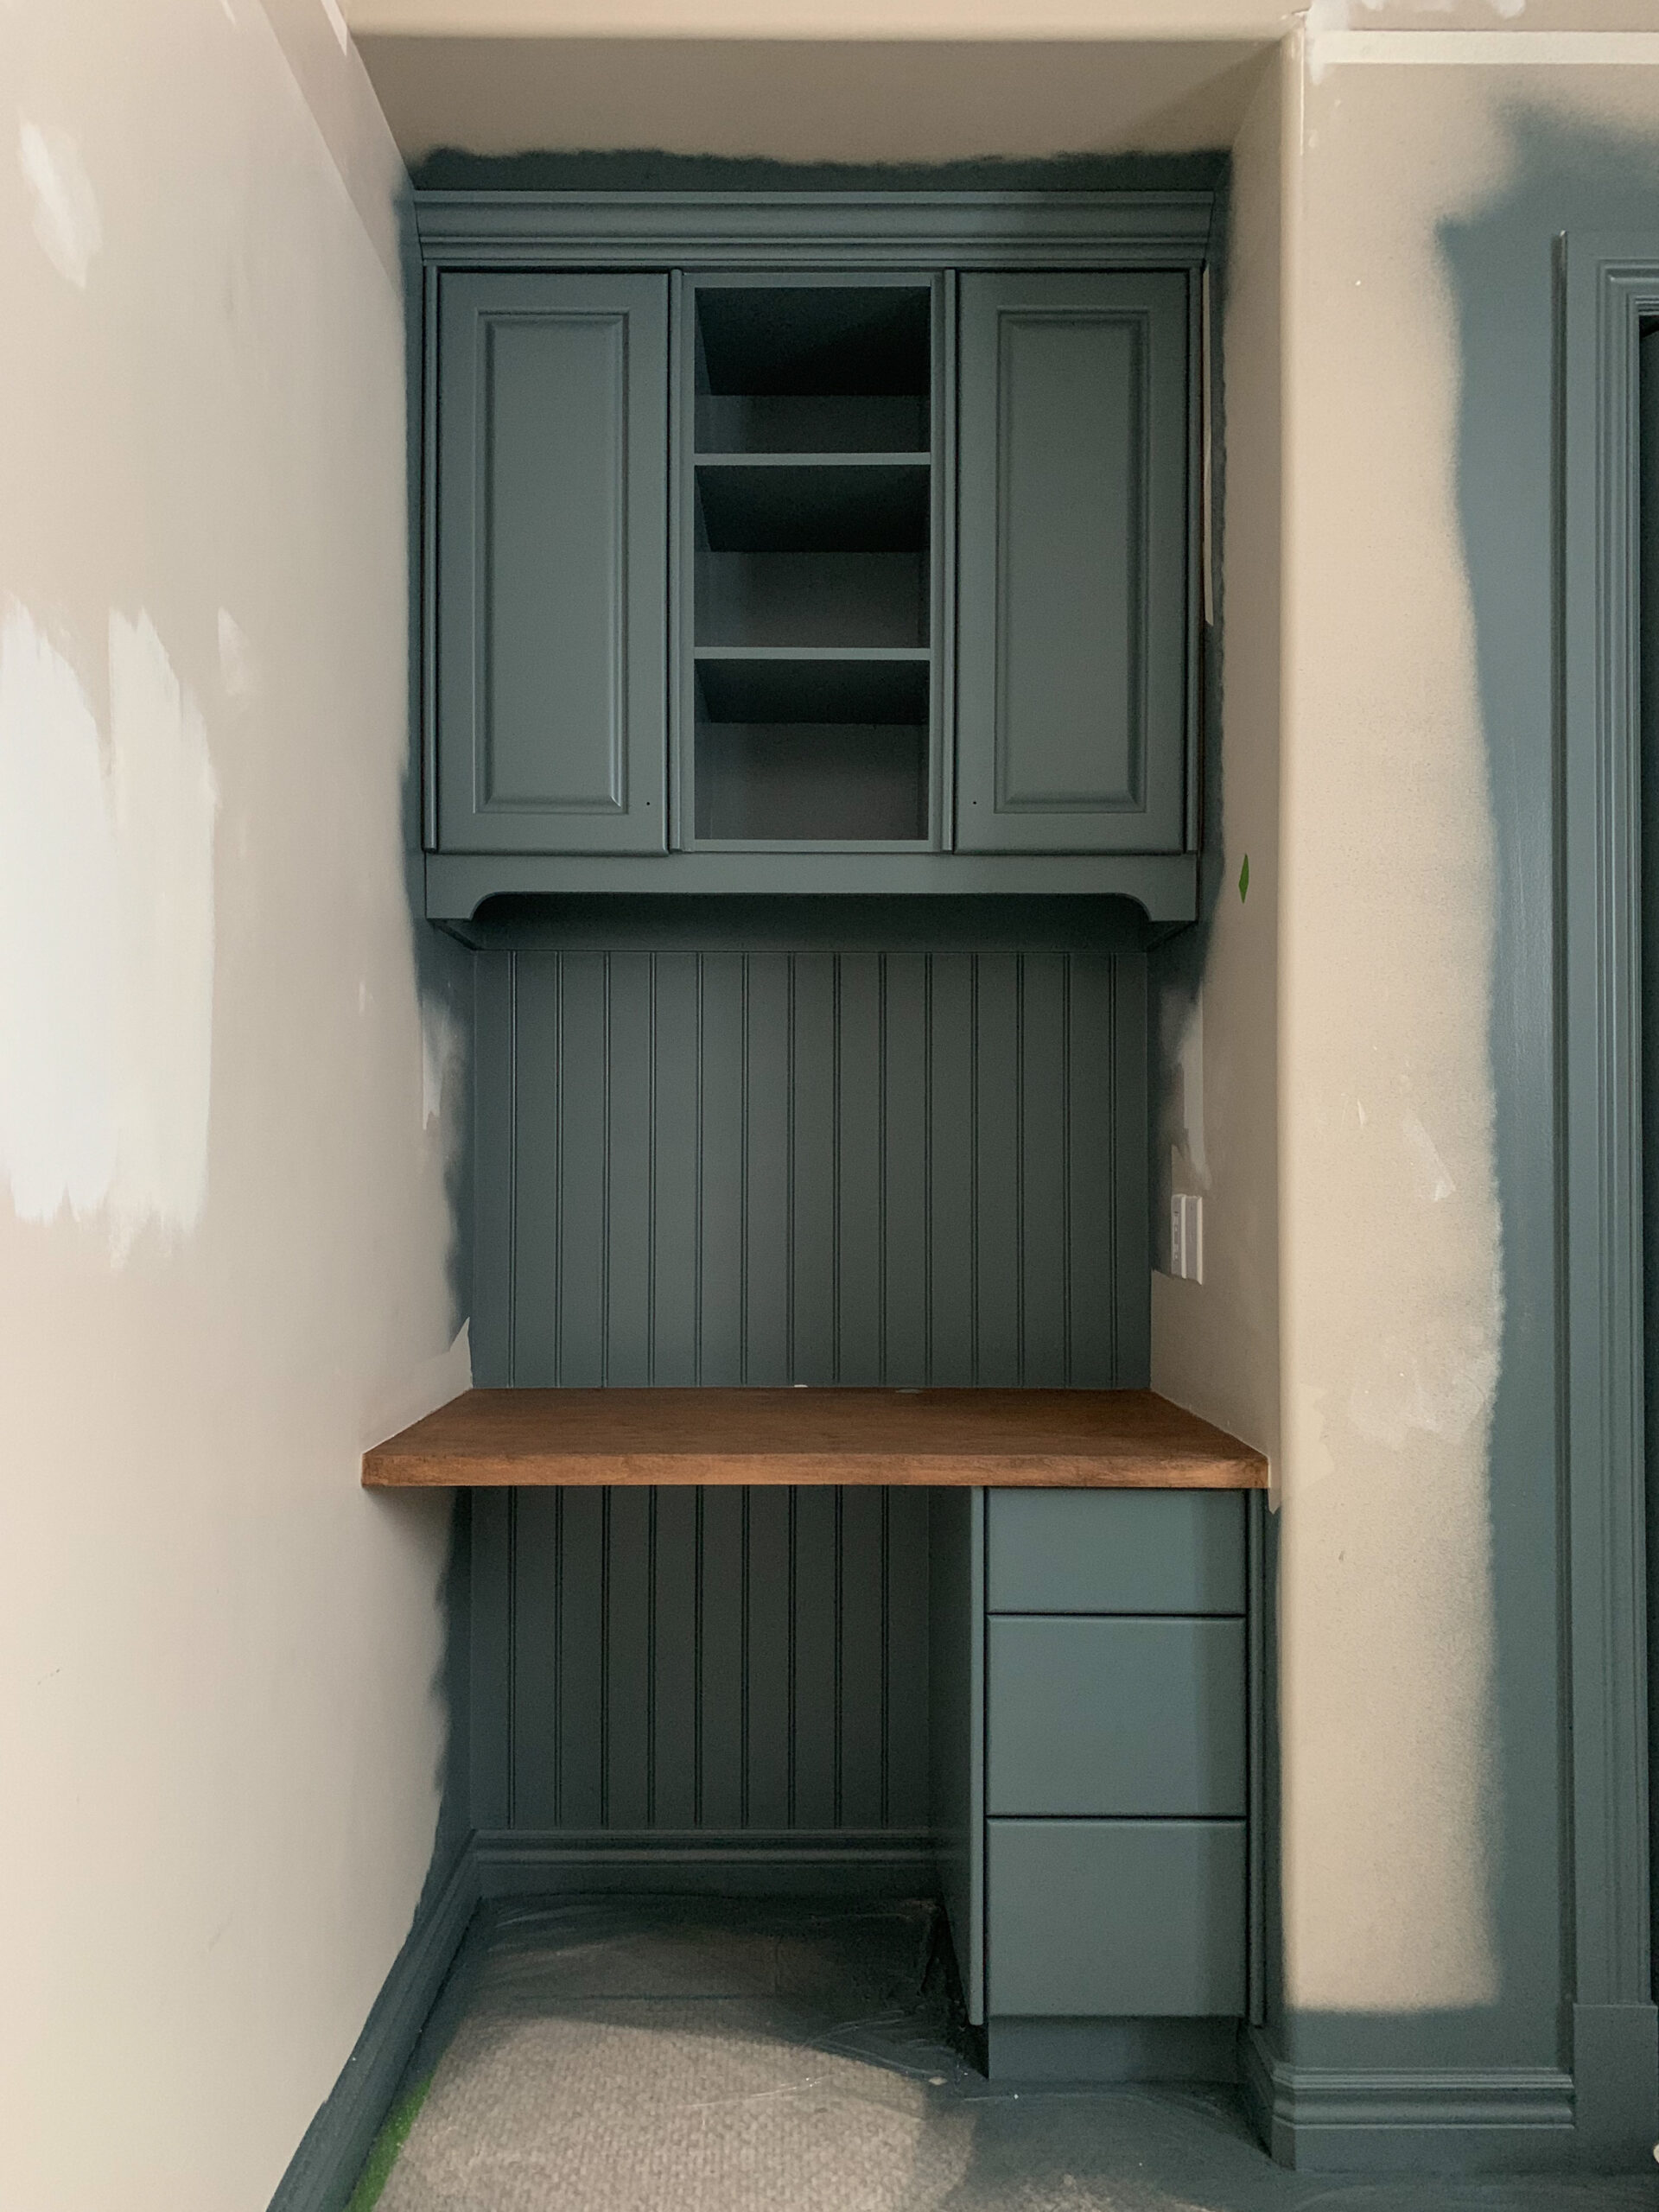
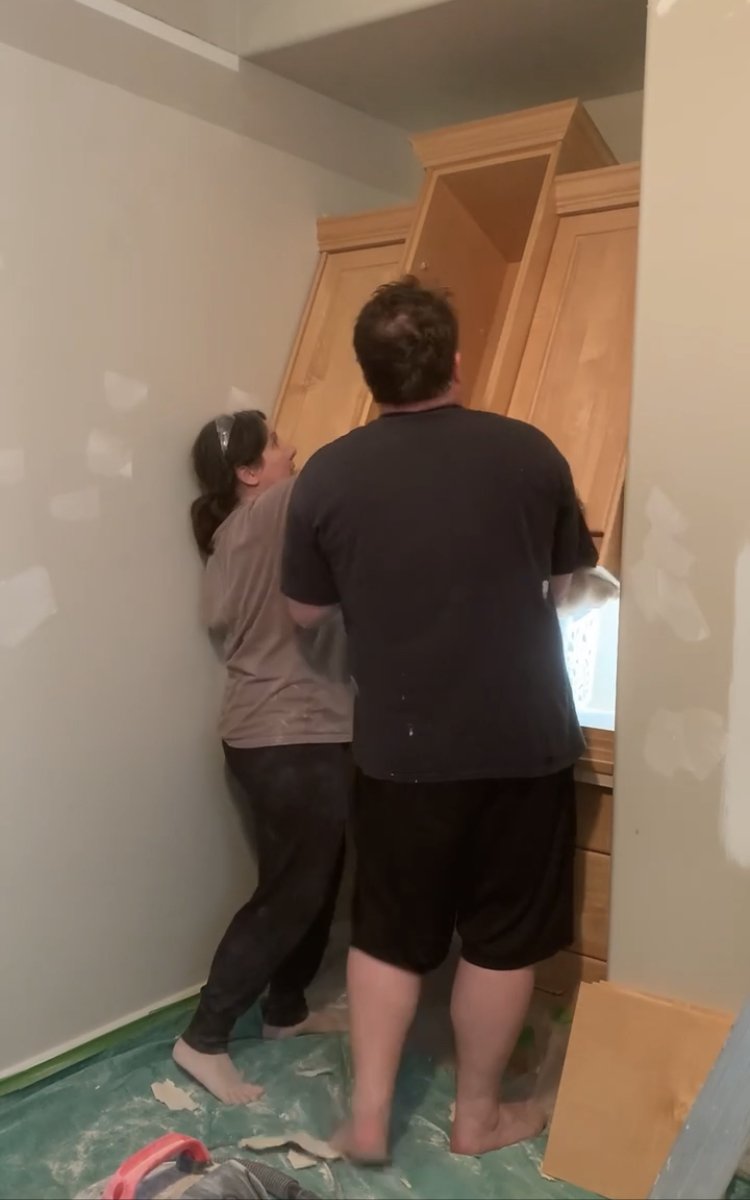
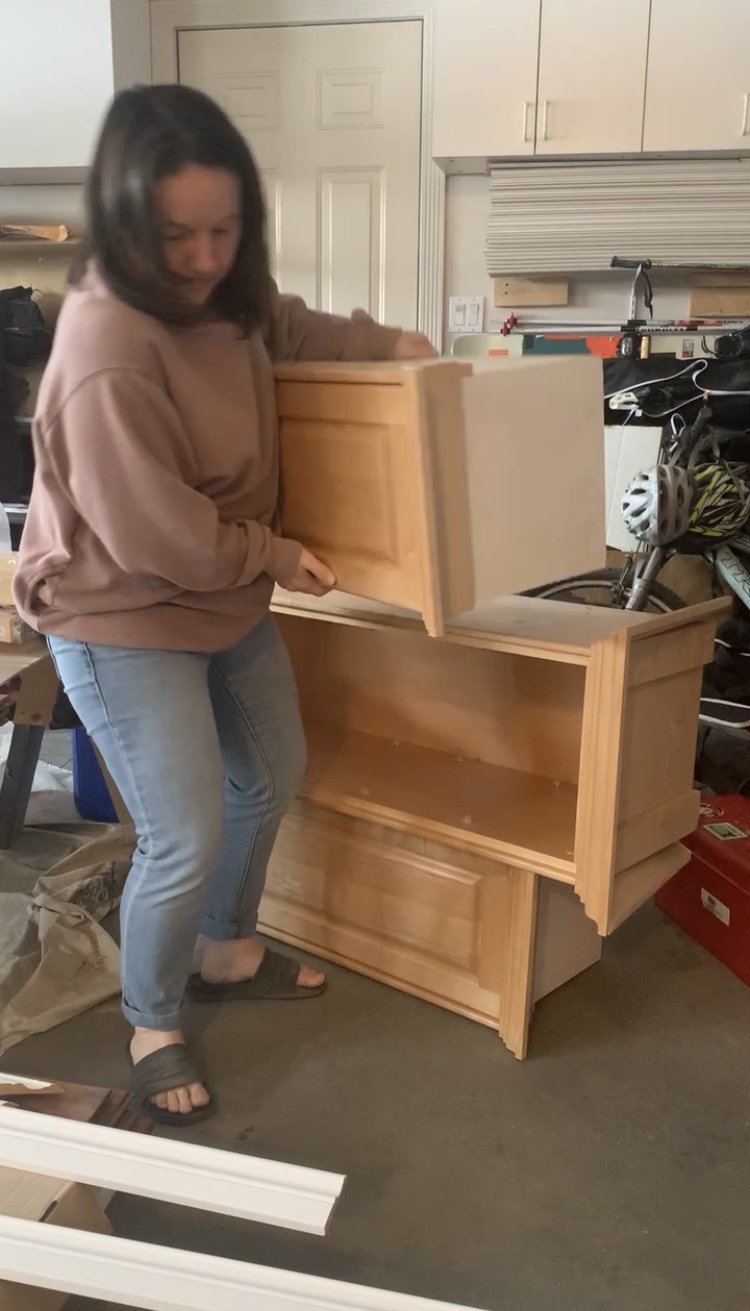
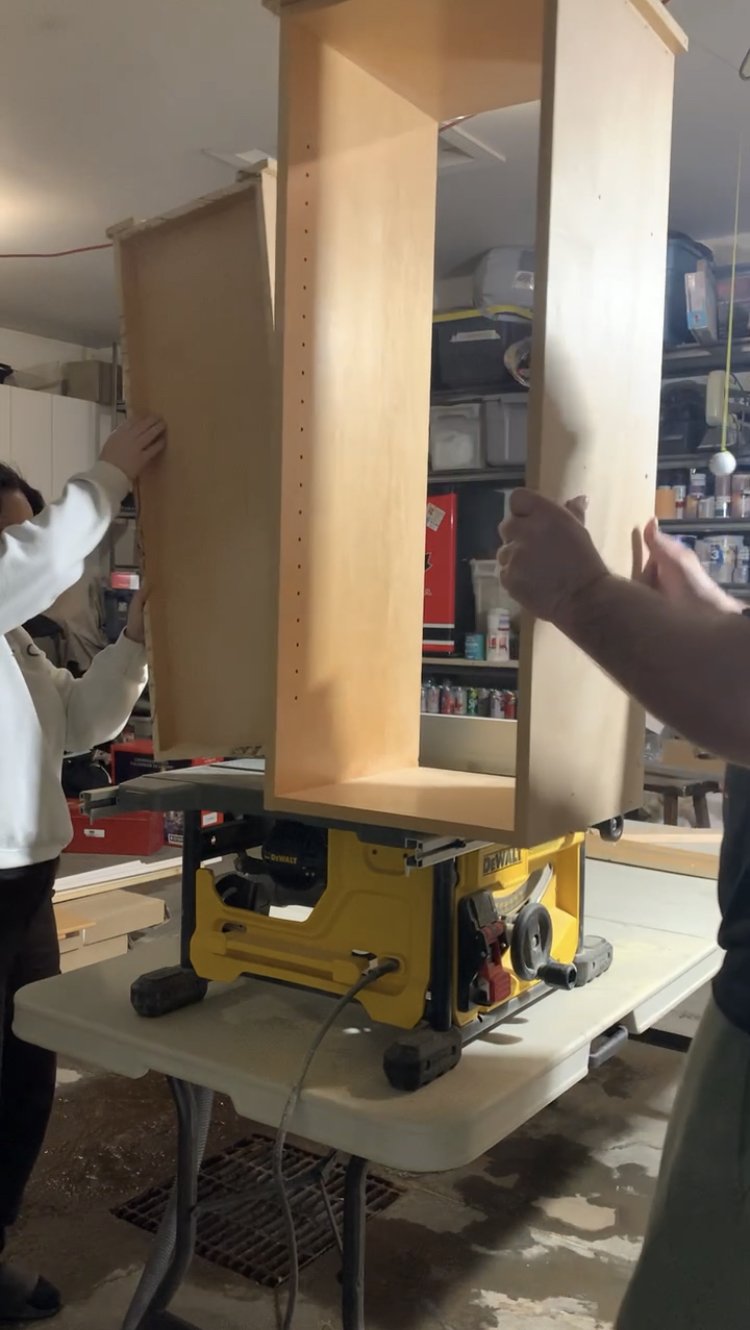
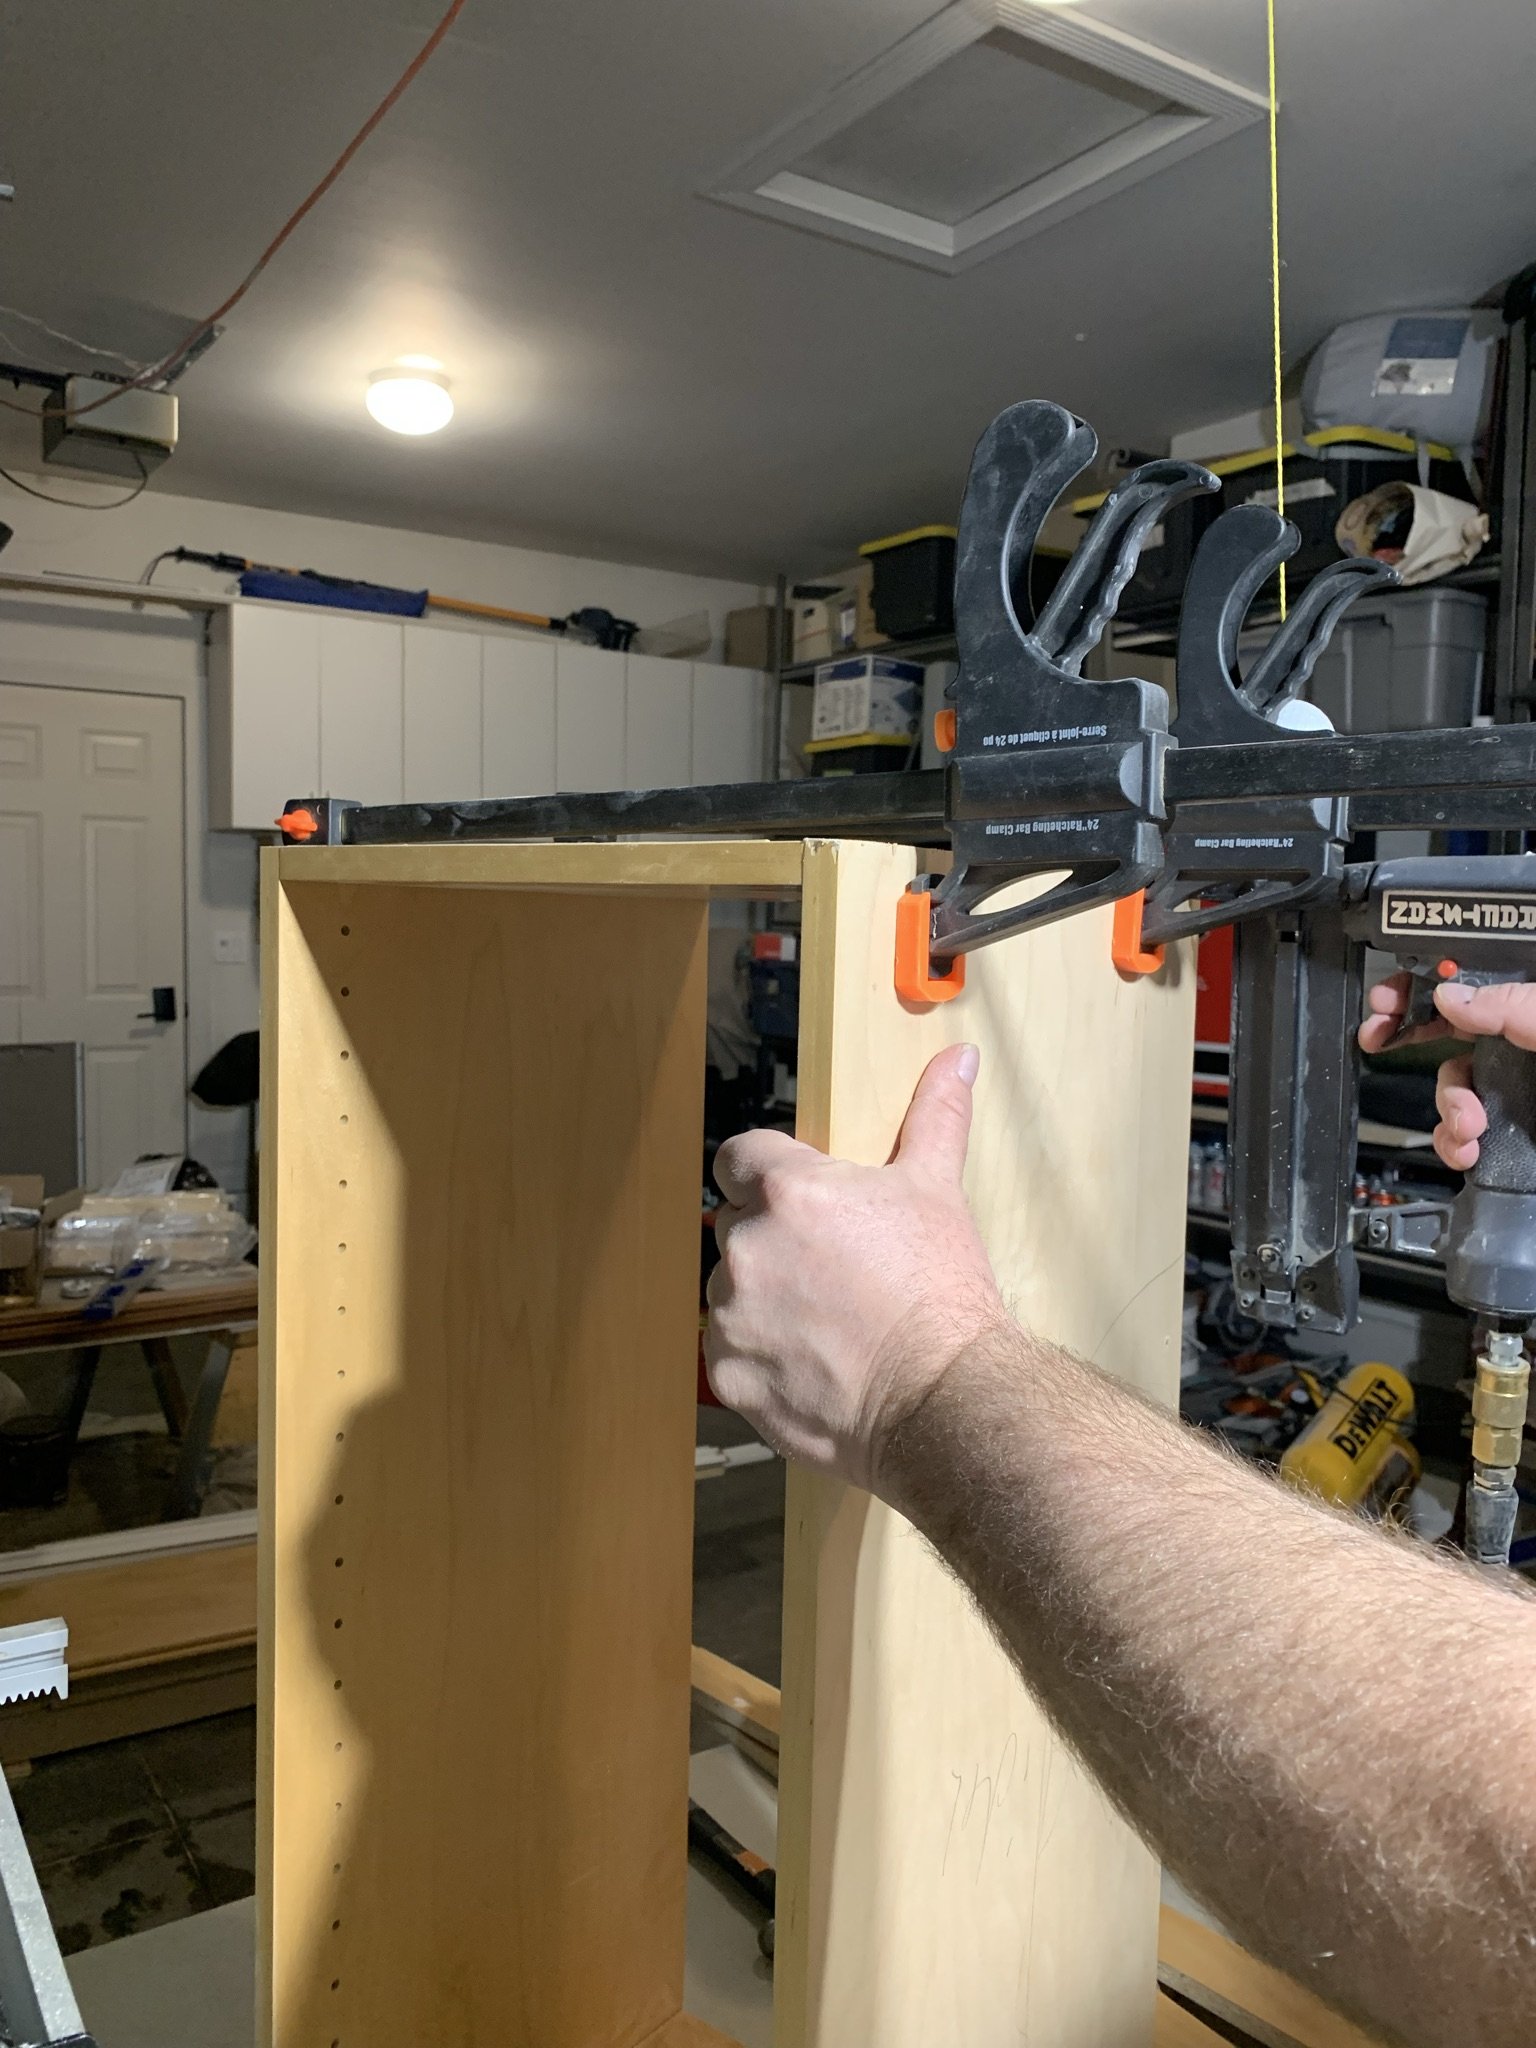
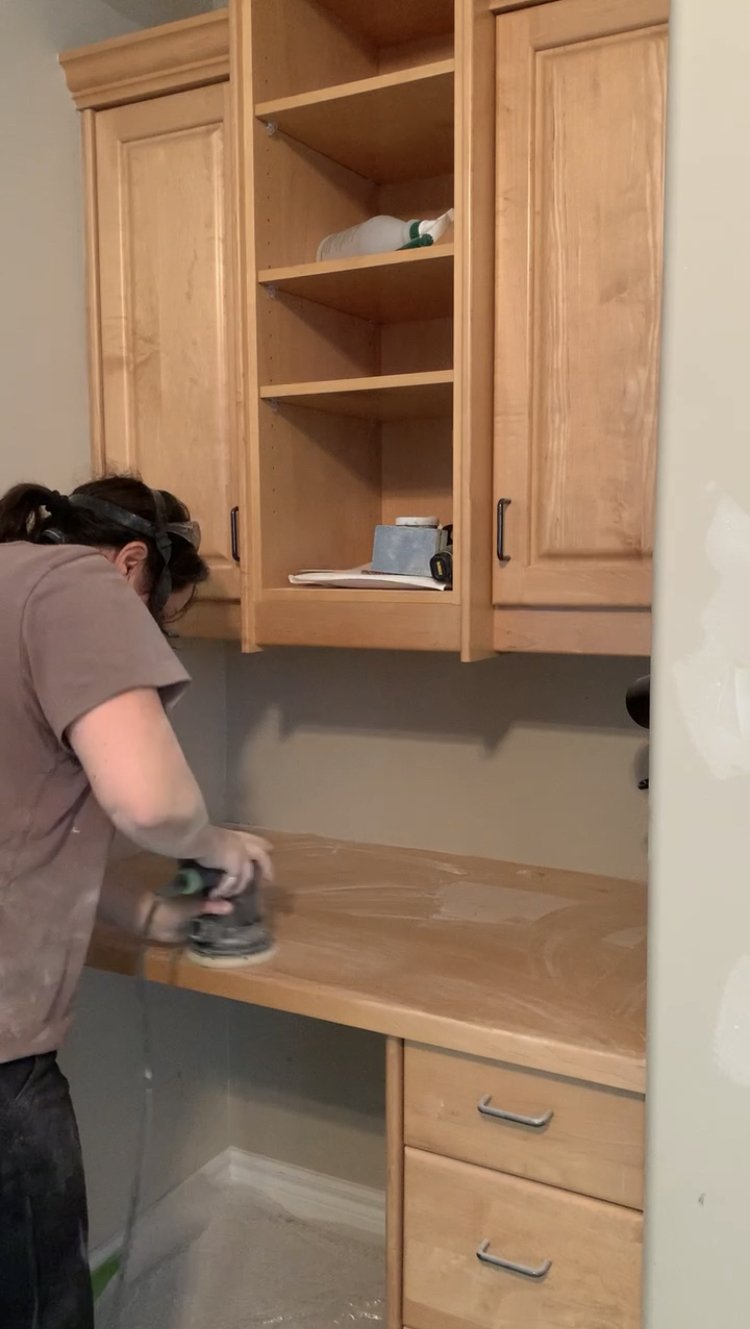
To update the builder-grade cabinets, we took down the uppers, removed the cabinet doors and separated the middle cabinet from the side cabinets (they were just screwed together).
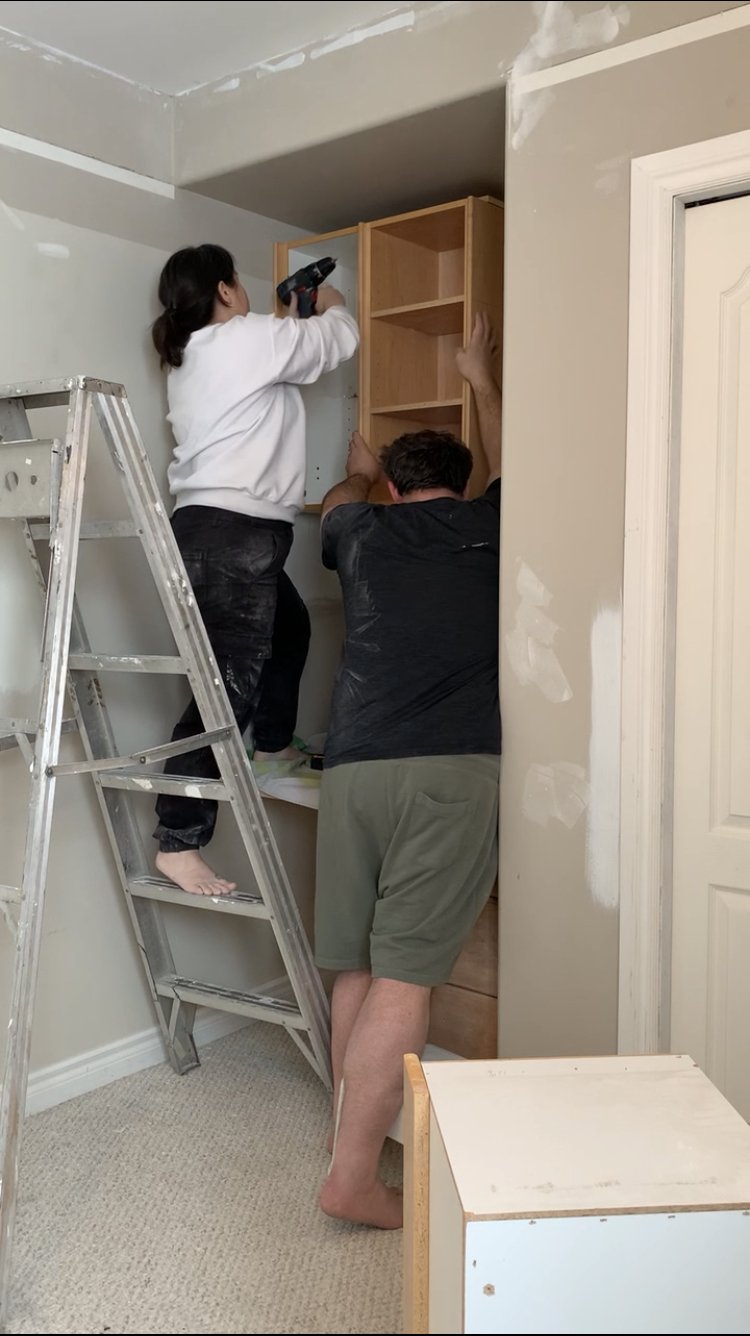
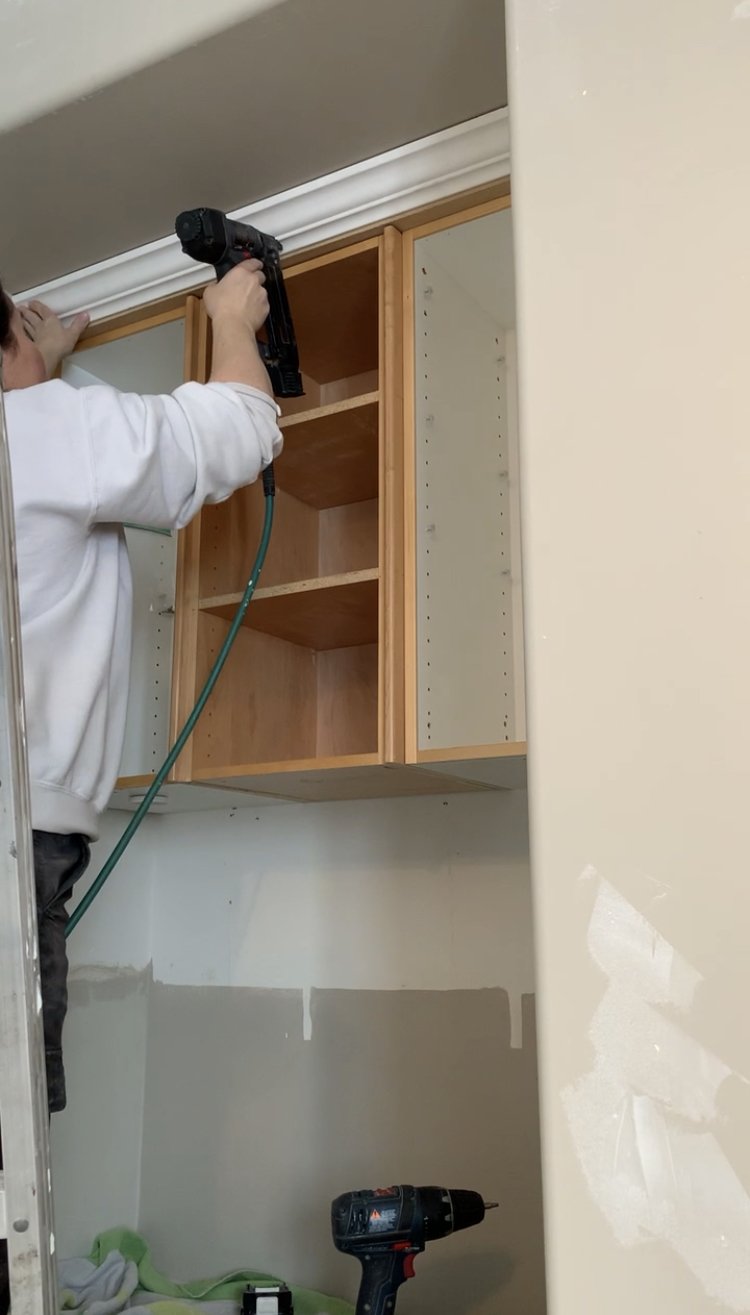
Then, we cut down the middle cabinet (both the length and the depth) to make it the same size as the two side cabinets on our table saw. We rehung all three cabinets closer to the ceiling, and that alone made a dramatic difference.
We added crown molding to match up with the ceiling height, and I also added a bit of valence with a little curve on the bottom to the bottom of all three cabinets for a custom look.
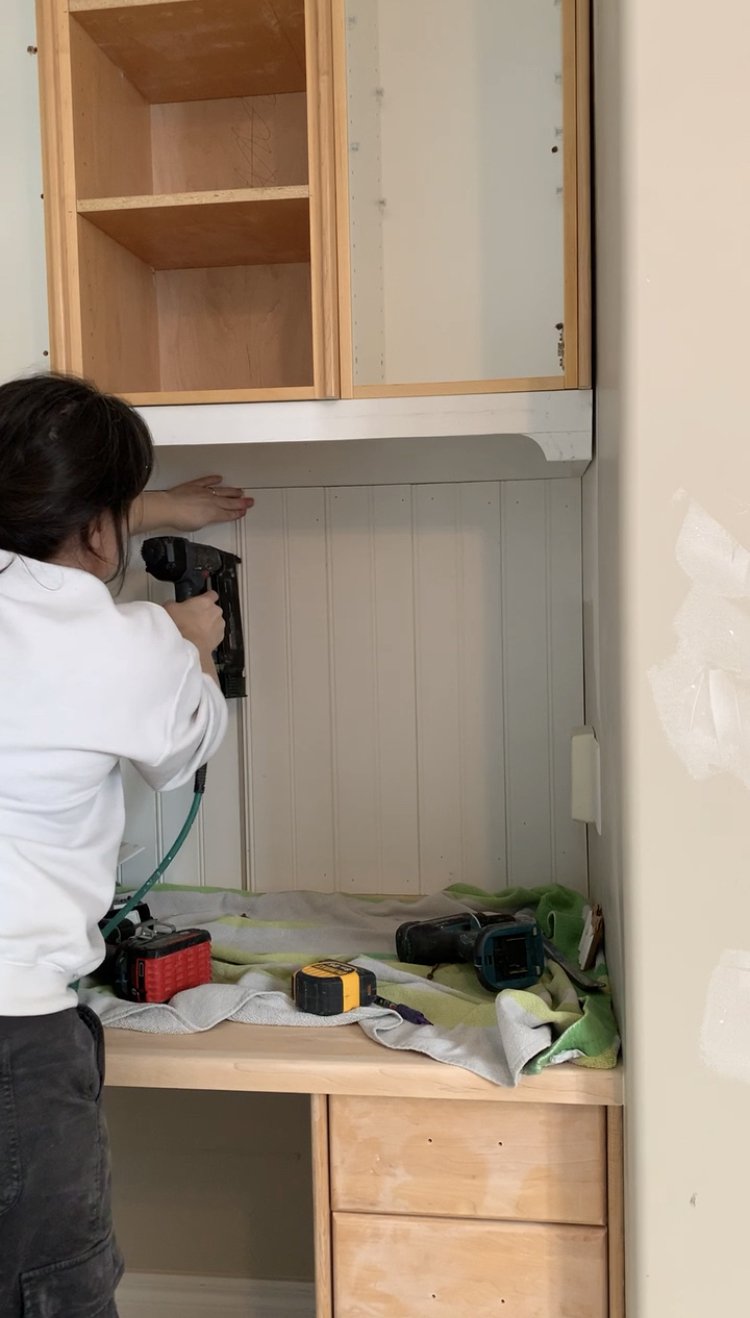
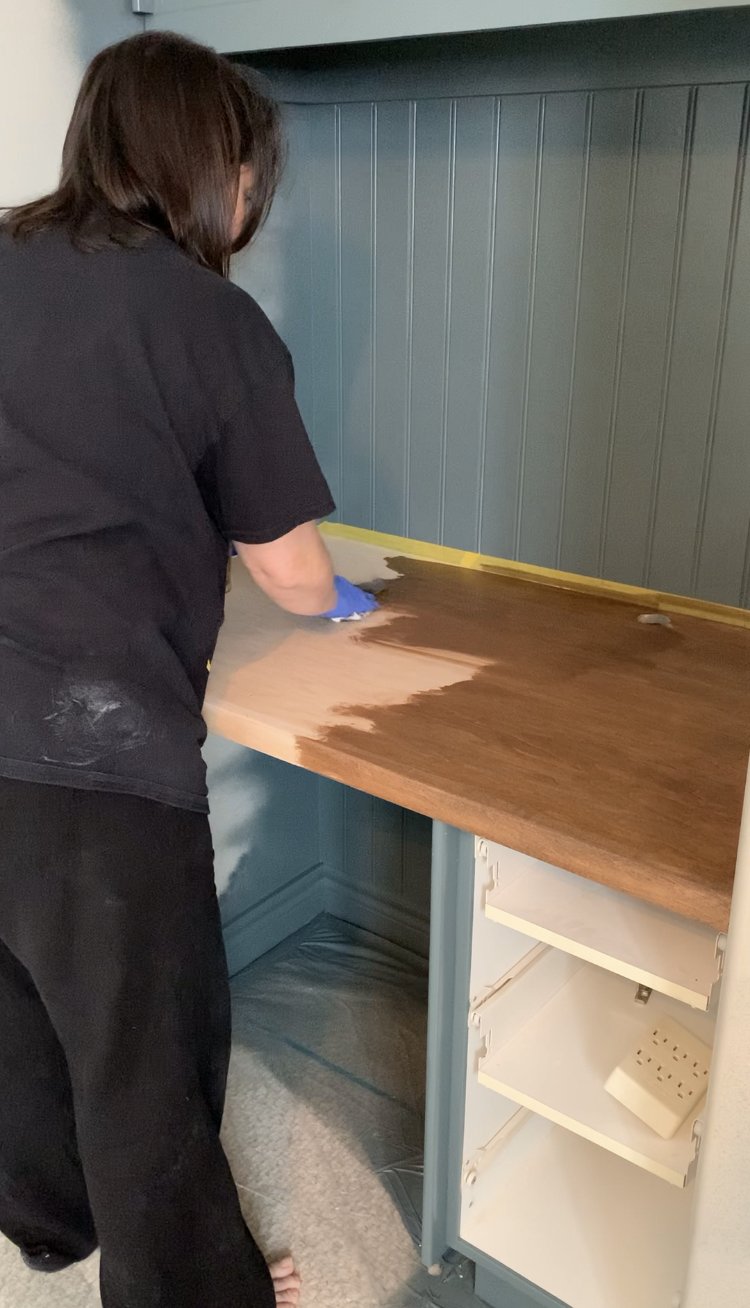
I sanded down the desktop so I could keep that as a wood surface instead of getting new counters, and added leftover beadboard from my stash to the back wall.
I removed the drawer fronts and doors, and added a coat of primer. I used my paint sprayer to eliminate brush marks and two coats of paint (Benjamin Moore Advance Paint in Knoxville Gray). Once it was all sprayed it was looking like alllllll new cabinets!
I LOVE that we were able to use what we had for this without really buying anything new, we reimagined and updated this area completely! This builder grade cabinet makeover had such a huge impact.

Are you ready for a little side by side before and “during”? You know I love a good side by side!! Paint colour is Knoxville Gray by Benajmain Moore.

There is no doubt that I underestimated the scope of this project but I’m so excited at how this room is shaping up. The builder grade cabinet makeover has turned out even better than I imagined and I can’t wait to finish painting the adjacent walls and style it up! Stay tuned! (Update: Click here for the final reveal of this space!)
How to upgrade builder grade cabients – some other ideas:
If you have cabients in your house that are so-so, maybe a little ho-hum, have a good at them to see if a few small changes can make a difference! Here are some ideas for your own builder grade cabinet makeover:
- Configuration – can you move cabinets around or even remove some to change the layout? Sometimes moving a few cabients or removing one or two results in a whole different look. Consider removing an upper or two to and replacing it with open shelving. Often, builder grade kitchen cabinets have a sea of uppers all in a row, and simply removing a few makes a huge difference.
- Move cabinets to the ceiling – reinstalling the top of the cabinets to the ceiling is an easy way to update the look of a kitchen or other cabinets. I love the idea of moving cabinets up to the ceiling and building a shelf below them. This allows you to utilize all of the vertical space and gives even more storage space. Store your pretty dishes on the shelf like in Cathy and Garret’s pretty farmhouse.
- Add details to make your cabinets not look so builder-grade. If you are going to be painting your cabinets, before you do so, see if there is anything you can add to spice things up! Examples of this are crown moulding, trim on the backside of an island or an end panel, or even extra details to the door fronts. Once those things are all painted, they will look like they were always a part of the kitchen!
- Replace the cabinet hardware – this seems like such an easy one, but you would be surprised what a huge difference new hardware makes.
- Paint! Painting cabinets is always a good way to update the look of your cabinets. If you are willing to DIY it, it is an inexpensive way to feel like you have a whole new space.
- Replace the backsplash. A lot of times the backsplash is really tying a space in to a certain era. Replacing the backsplash can give the existing cabinets a whole new look!
- New countertops – If the countertops are not your style or not in the best shape, replacing them might be the solution and really changes the look of the space.
Inspired. Glad you went dark on the desk. I wanted a green ceiling in my kitchen renovation that included a bonus area (from LR) and the old DR now library/DR. It now has large windows looking onto garden. It’s a north-south orientation. I sampled almost 20 greens to find a green that was not blue on one end and yellow on the other. An apprentice (young!) electrician came in, looked up and said, “Hey, dude, you’re going camo. Sweet!” Ugh. This new room is going to be a great addition!
PS Why do people in colder climates than I am in wear flip flops/bare feet no socks in freakin’ winter? I’m almost 73 and I telling you socks are a great invention. Haha!!!
Sounds like your new room will be lovely! It’s worth putting the time and effort into choosing a good paint colour. Your comment about socks is funny… I guess we have lived in Canada so long we no longer feel cold!