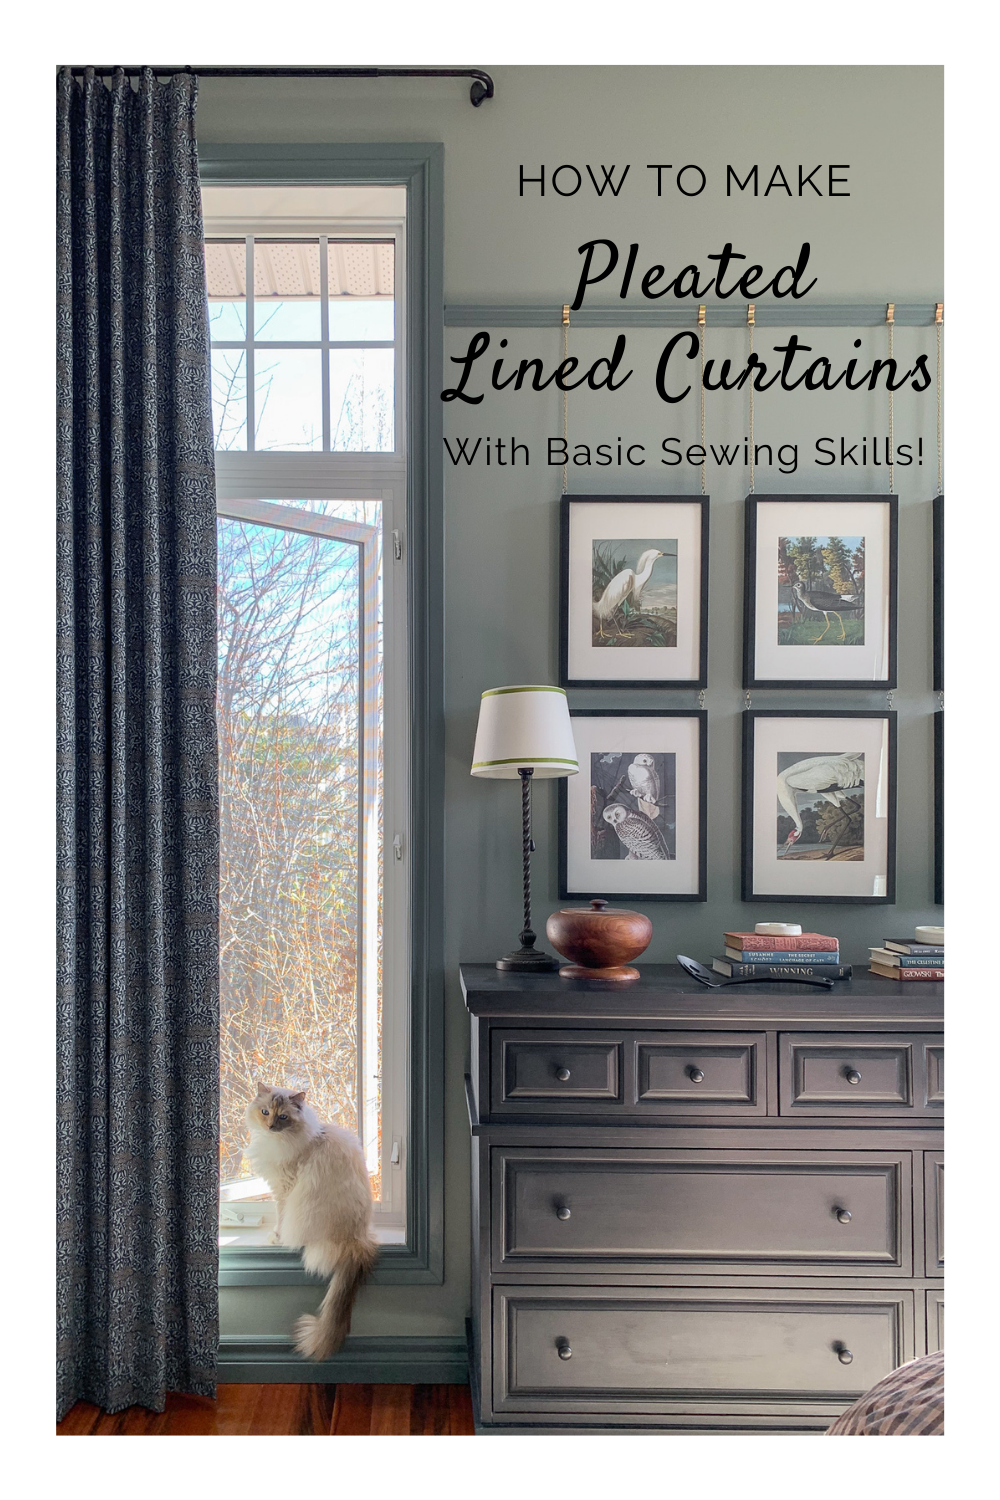
How to Make Lined, Pleated Curtains
If you have been following along with my projects for any amount of time, you will know that when I need something made that involves sewing (pillows, curtains, upholstery) I send it off to my mom. I’m so lucky to have her skills available to me and she’s also (relatively) willing to make my stuff! However, I realize that not everyone has a sewing mom available to them and also, at some point, she may actually be sick of making yards and yards of curtains for me. So, I asked her to write down her process, tips and tricks for making curtain panels for you (and me!) to use as a reference. My mom has been teaching my daughter to sew, so I’m hoping that once my mom retires my daughter can pick up the slack and I can dodge the sewing bullet for the rest of my life!! (Have I mentioned that I dislike sewing?) BUT if that becomes problematic, I feel like after reading these directions, even I could make these panels, they seem relatively easy, I just need to practice sewing in a straight line!
There are quite a few different tutorials for making curtains on the old web and my mom mostly followed this one from A View Along the Way. We have modified it to remove the tabs and add pleating tape, which is my preferred curtain hanging method du jour.
This post may contain affiliate links. That means if you purchase anything from these links I earn a small commission, at no extra cost to you! This helps support my blog, so thank you!
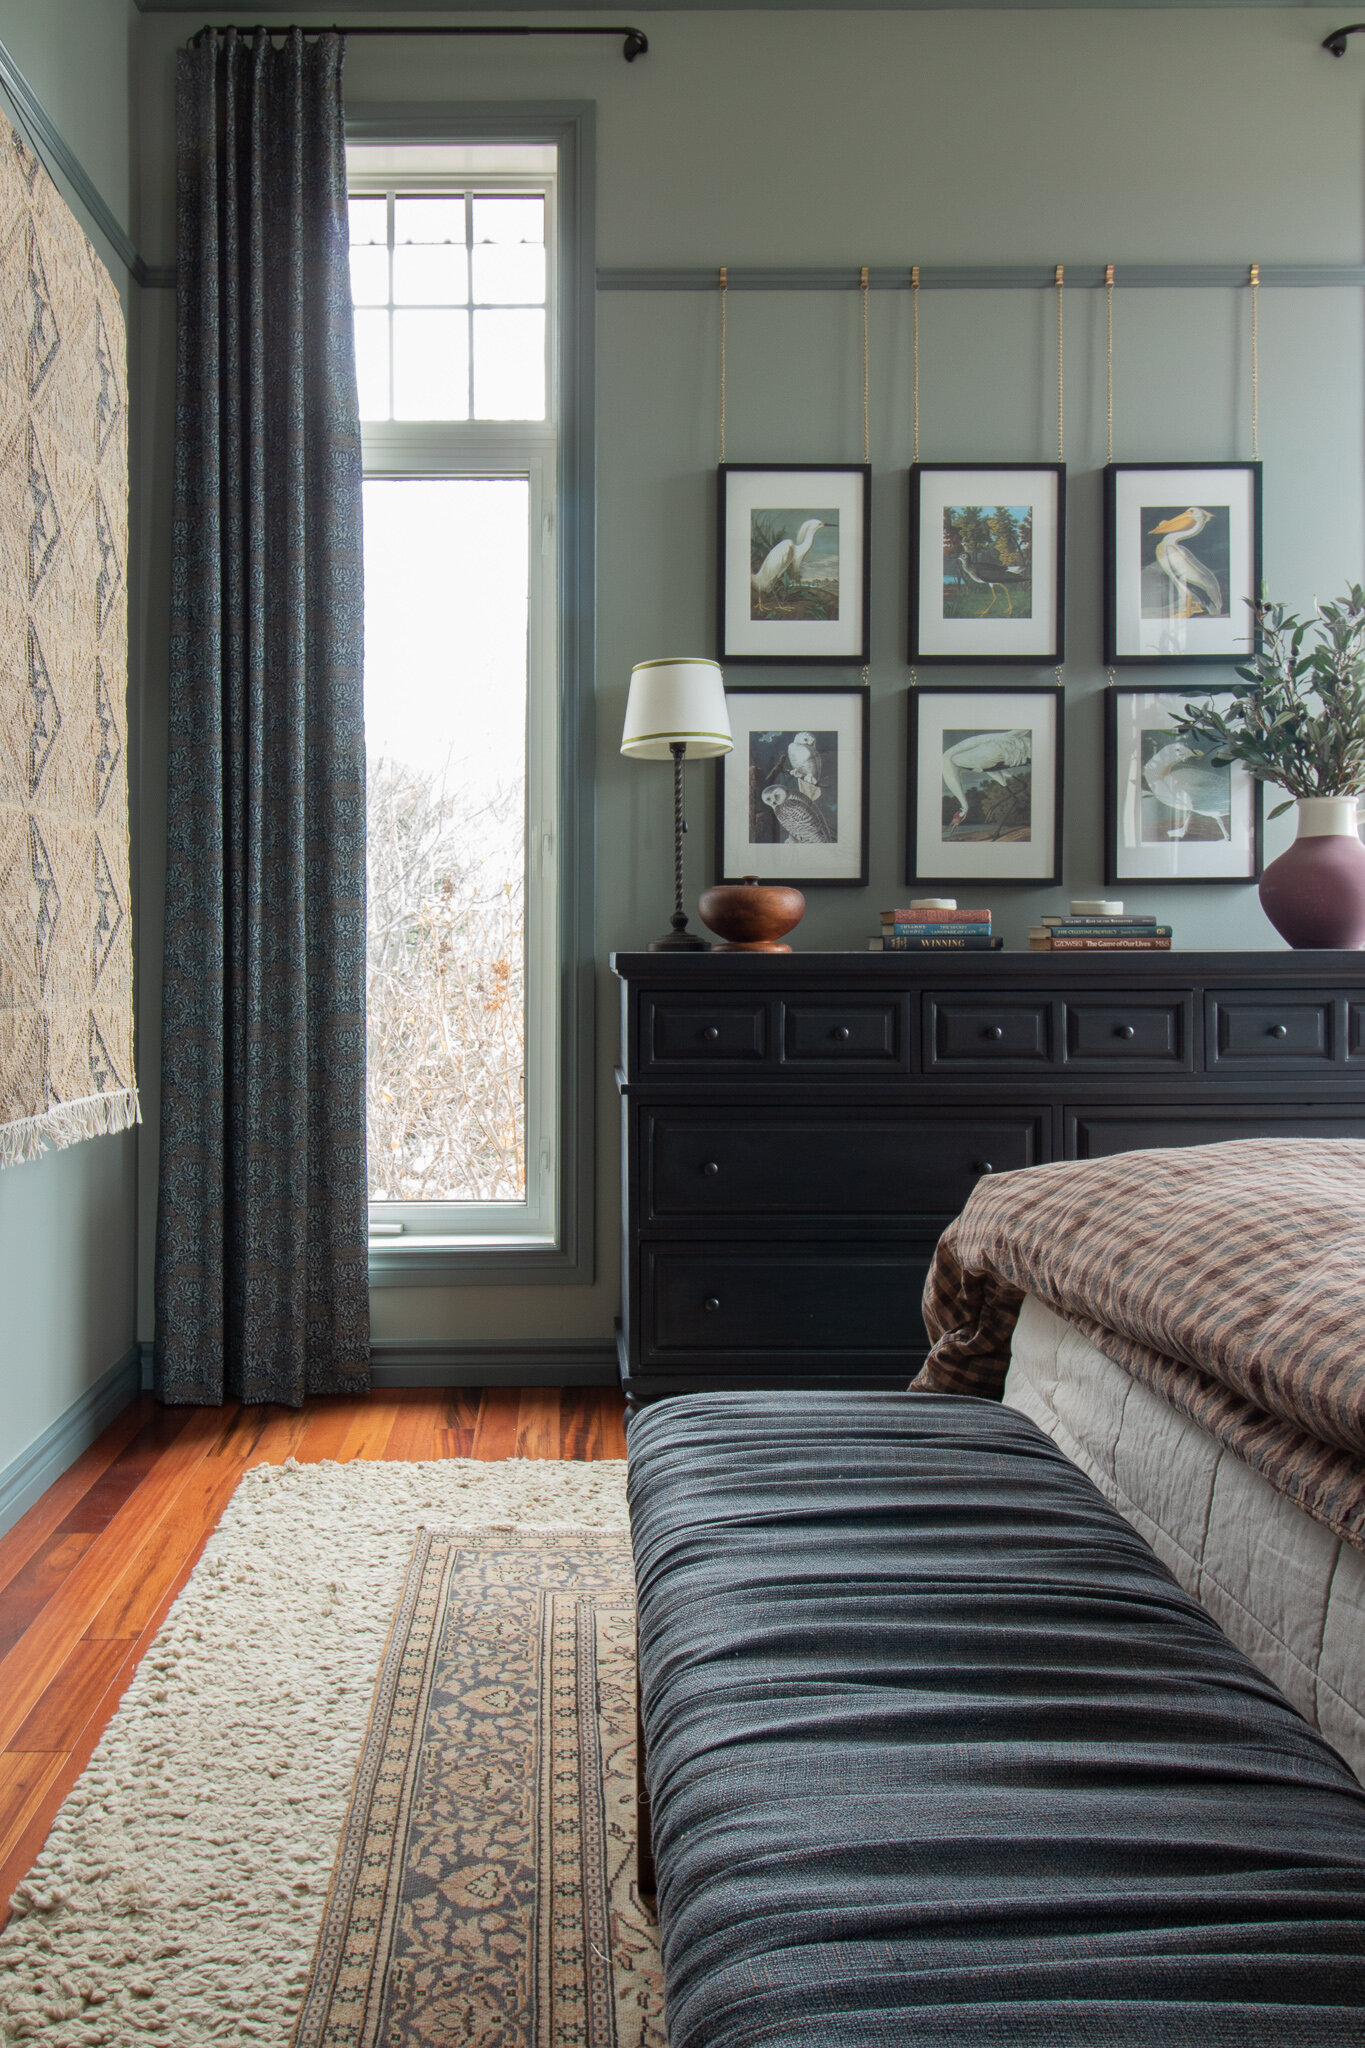
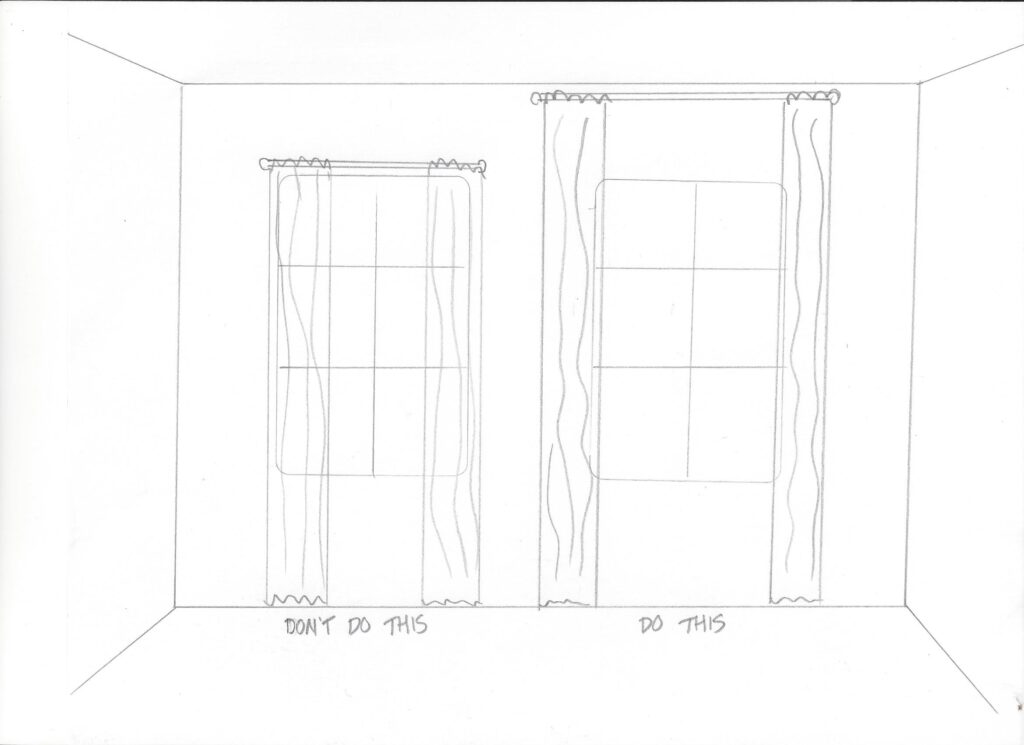
Before you start, determine what the final length of your curtains should be. I never hang my rods just yet, because depending on the diameter of the rod and the rings you use, they sit slightly differently on every rod, and I want my curtains to sit just above (like a finger width, or about 1/2”) the floor. The best way to do that is to hang a finished curtain on the rod you are using to set the rod height, exactly. But you can decide how long you want the curtain to be by estimating the length allowing a bit of space for a rod. Also, while we are talking curtains, you want to make sure that you hang you curtains HIGH and WIDE! Curtains should hang close to the ceiling, regardless of the height of the window, and be wide enough so that when opened, they can sit in front of the wall, not in front of the window. I usually place mine about 4” lower than the ceiling and about 8-12” wider than each side of the window (or sometimes more, depending on the room and the width of your panels). If you haven’t seen a graphic like the one below before, this is a good visual of why you would do that.
So now that you know how long your curtains need to be, you have probably discovered that the ones they sell off the shelf at most retailers are almost never long enough (unless your ceilings are really short). Some retailers sell curtains in 96”, 108” and 118” (I’m looking at you, IKEA!) which is great, always buy them a little long and hem them to suit your space. A lot of the less expensive off-the-shelf curtains don’t always have a lining, however, which I am very partial to. A lining makes your curtains look neutral from the outside, have more weight and body, have the ability to block varying amounts of light, protect your curtains from fading, and generally feel a lot more luxe. So if you can’t find something off the shelf that meets all of these criteria, or if you want a specific fabric or look for your drapes, custom isn’t the only option. With a sewing machine and some basic sewing skills, you can make them!
So without further ado, let’s look at how this is done! Thanks, Mom for the detailed instructions and photos!
1. Straighten the Fabric
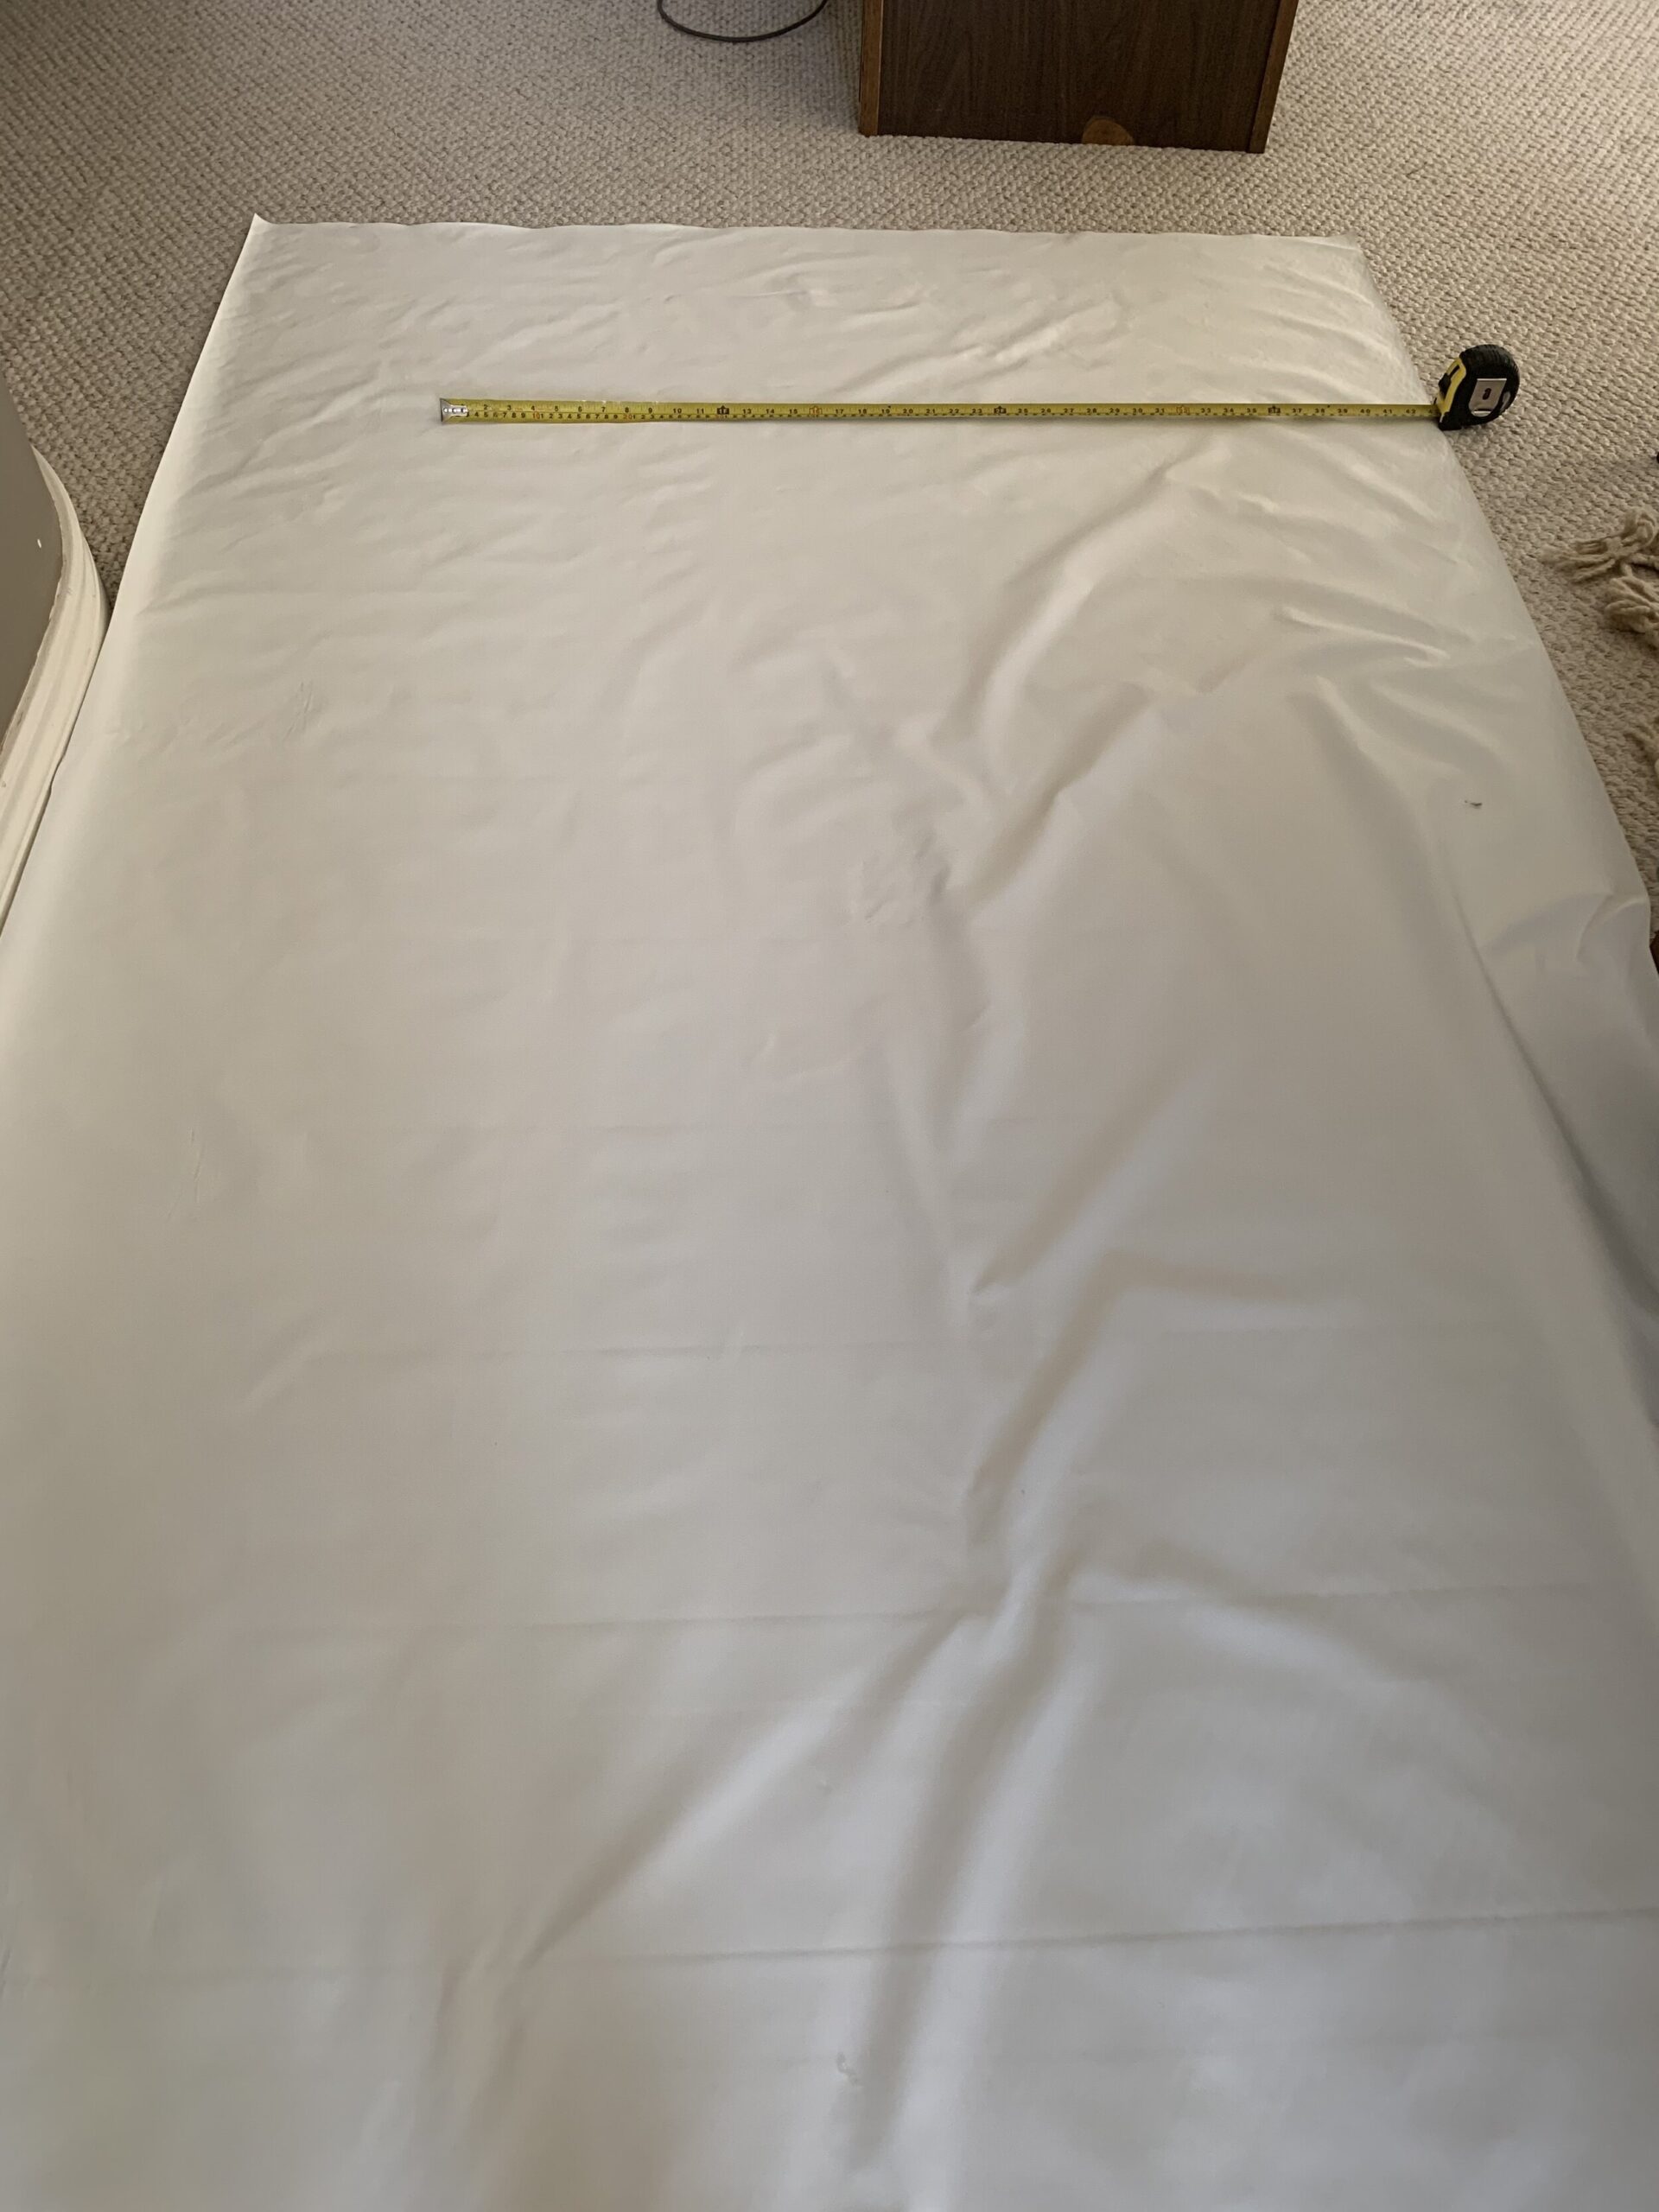
You want to make sure your curtains are straight and square, and often the cut they make at the fabric store is not exactly straight. I cut these panels at home before I shipped the fabric off to my mom (I used a square from my garage to line up with the edge of the fabric and square off the end, but when my mom does this she uses a quilting ruler. We make due!) Mark and trim the end of the fabric using the square.

2. Cut your drapery fabric
Cut your fabric 10” longer than the finished length. For example, I wanted my curtains to be 112” long so I cut my fabric at 122”. I used a tape measure and made a few marks across the fabric, and connected the marks, measuring from the squared of end to mark a nice straight line. (Cutting the fabric square is very important or you will have curtains that are not straight!)
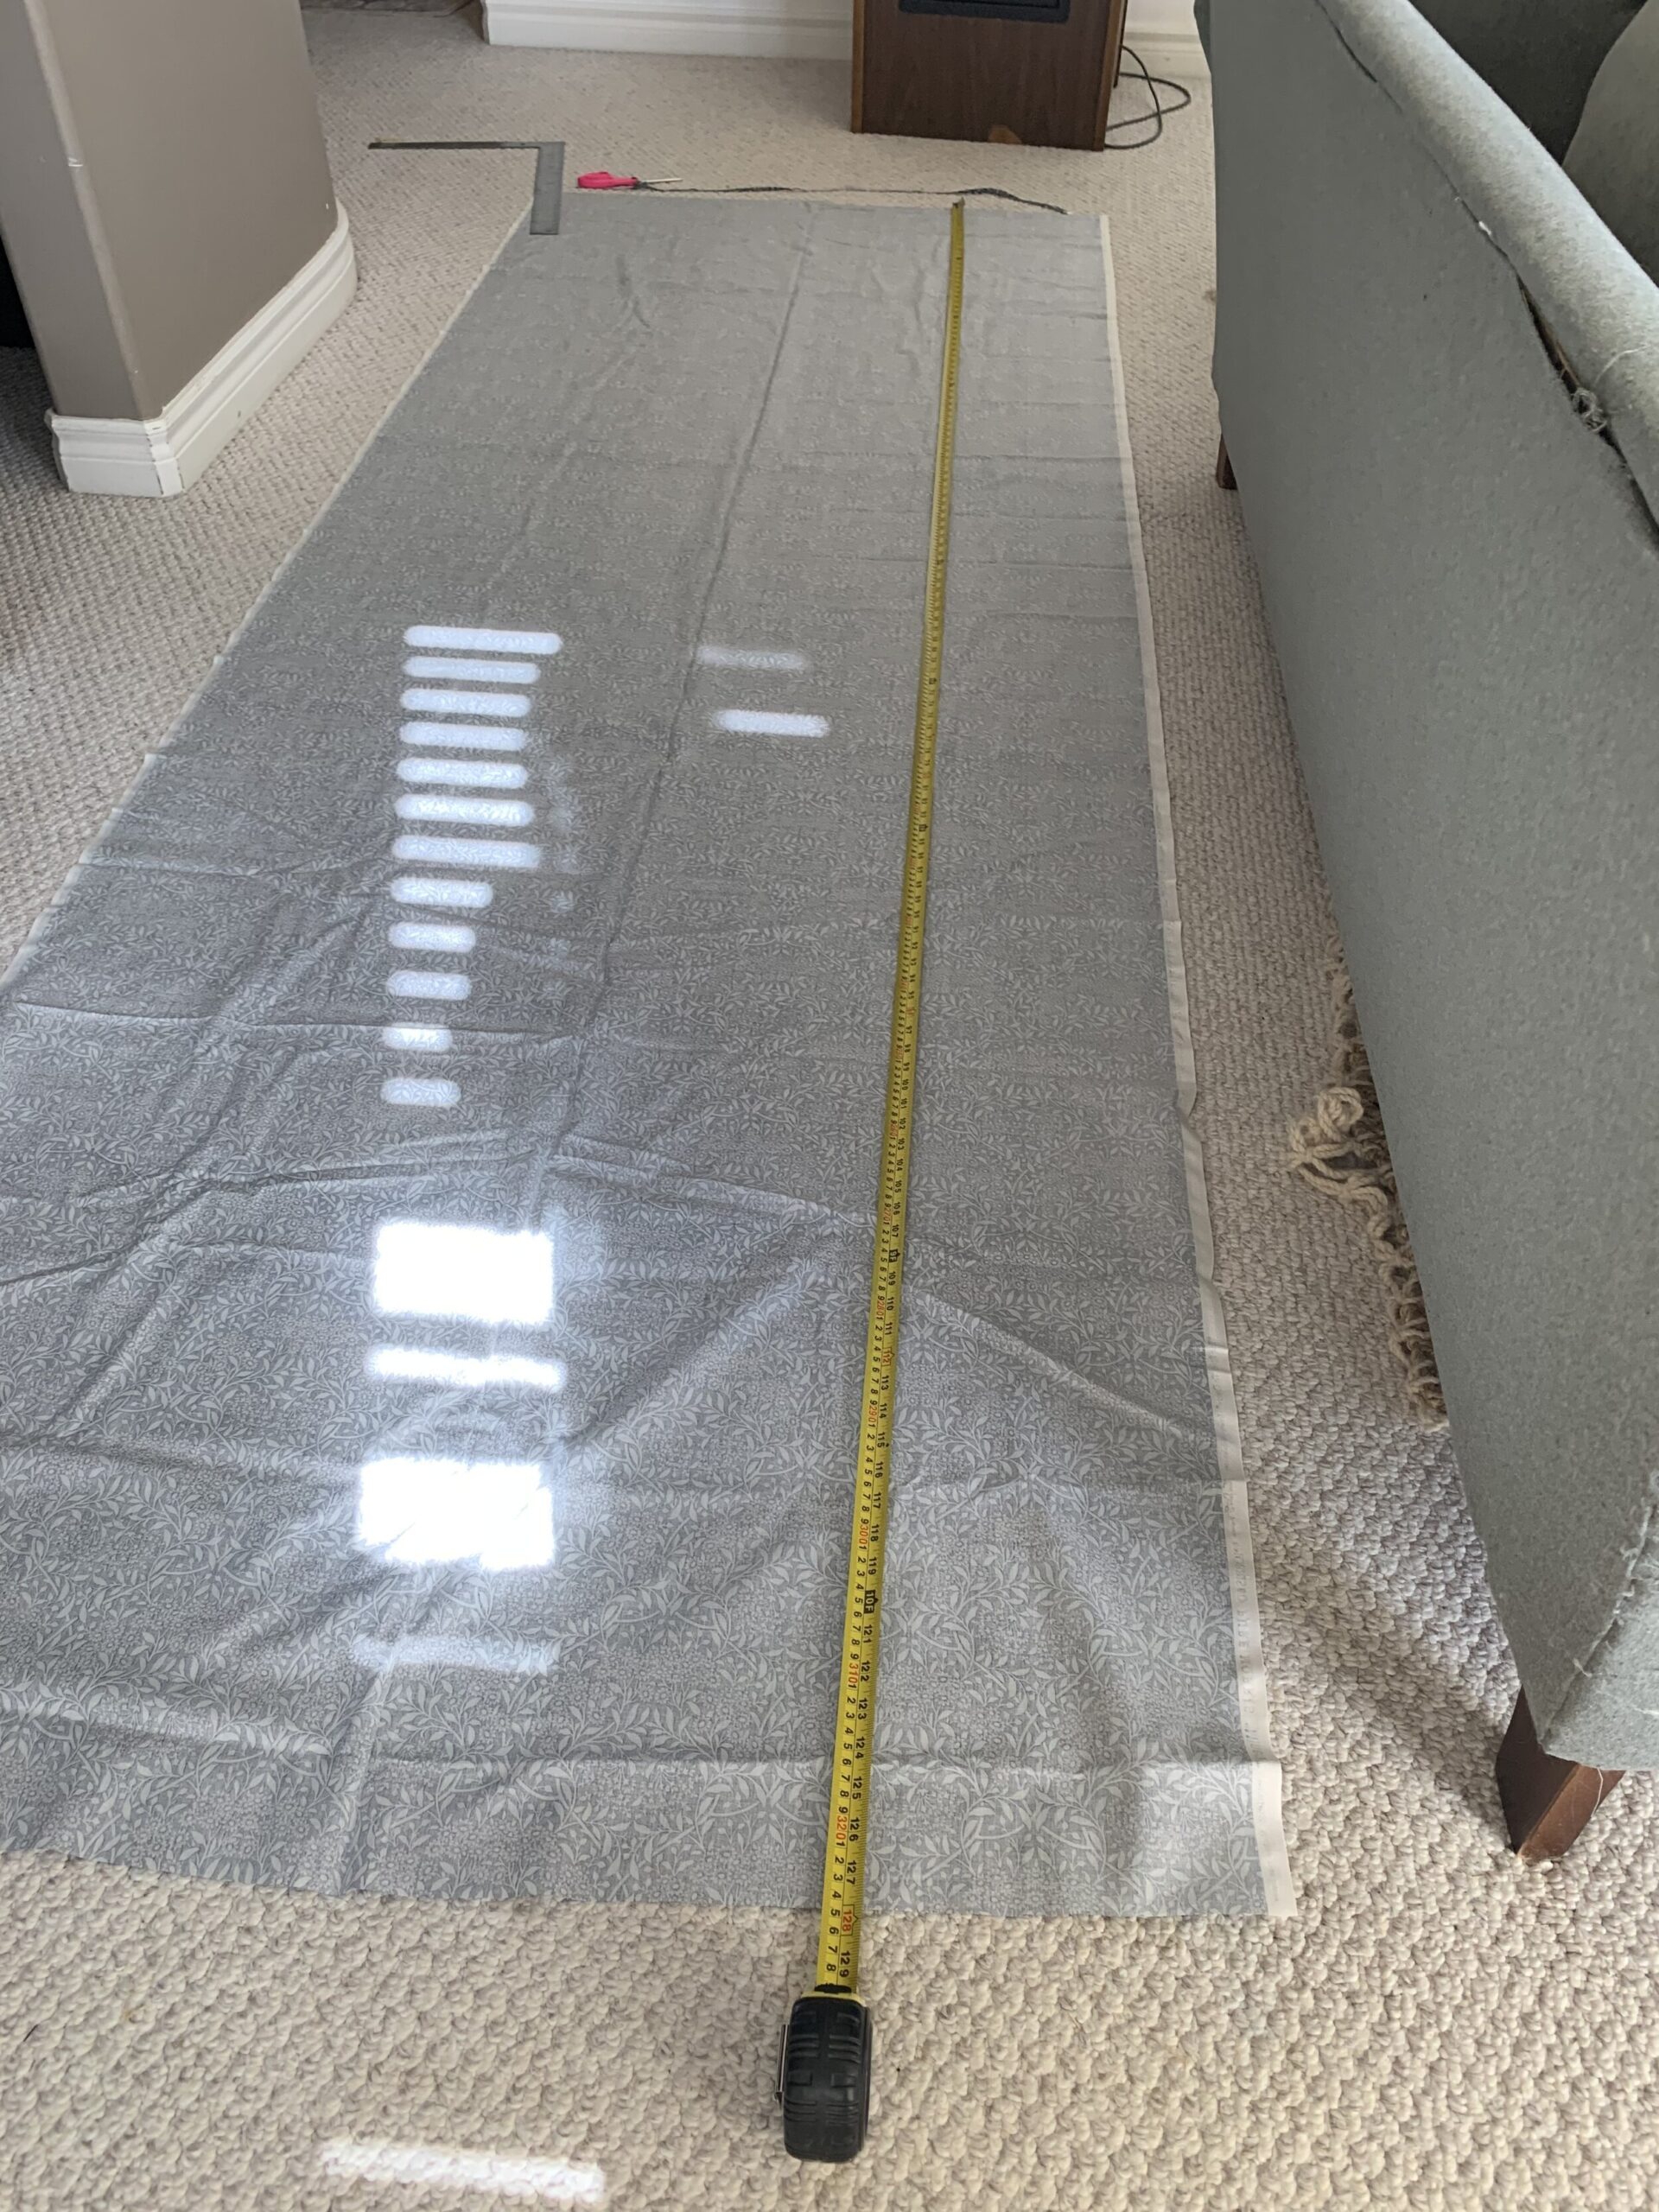
2. Cut your lining fabric
You will repeat this process to cut the lining, but this time you are going to cut the lining to 2.5” longer than the finished length. (For my example of 112” long curtains, I would cut my lining 114.5”) You will also need to cut the width of the lining to be 6” less than the width of the curtain fabric. For example, if your curtain fabric is 54” wide, you would cut your lining to 48” wide.
3. Hem the bottom of the curtain fabric:
Fold the curtain fabric up 4 inches from the bottom and iron the fold. Fold another 4 inches up and iron the fold. Pin and sew the hem. (We forgot to take a photo of this step, but it’s very similar to what is shown below for the lining!)
4. Hem the bottom of the lining.
Fold the fabric up 2 inches from the bottom, iron the fold, fold another 2 inches up. Pin and hem the lining.
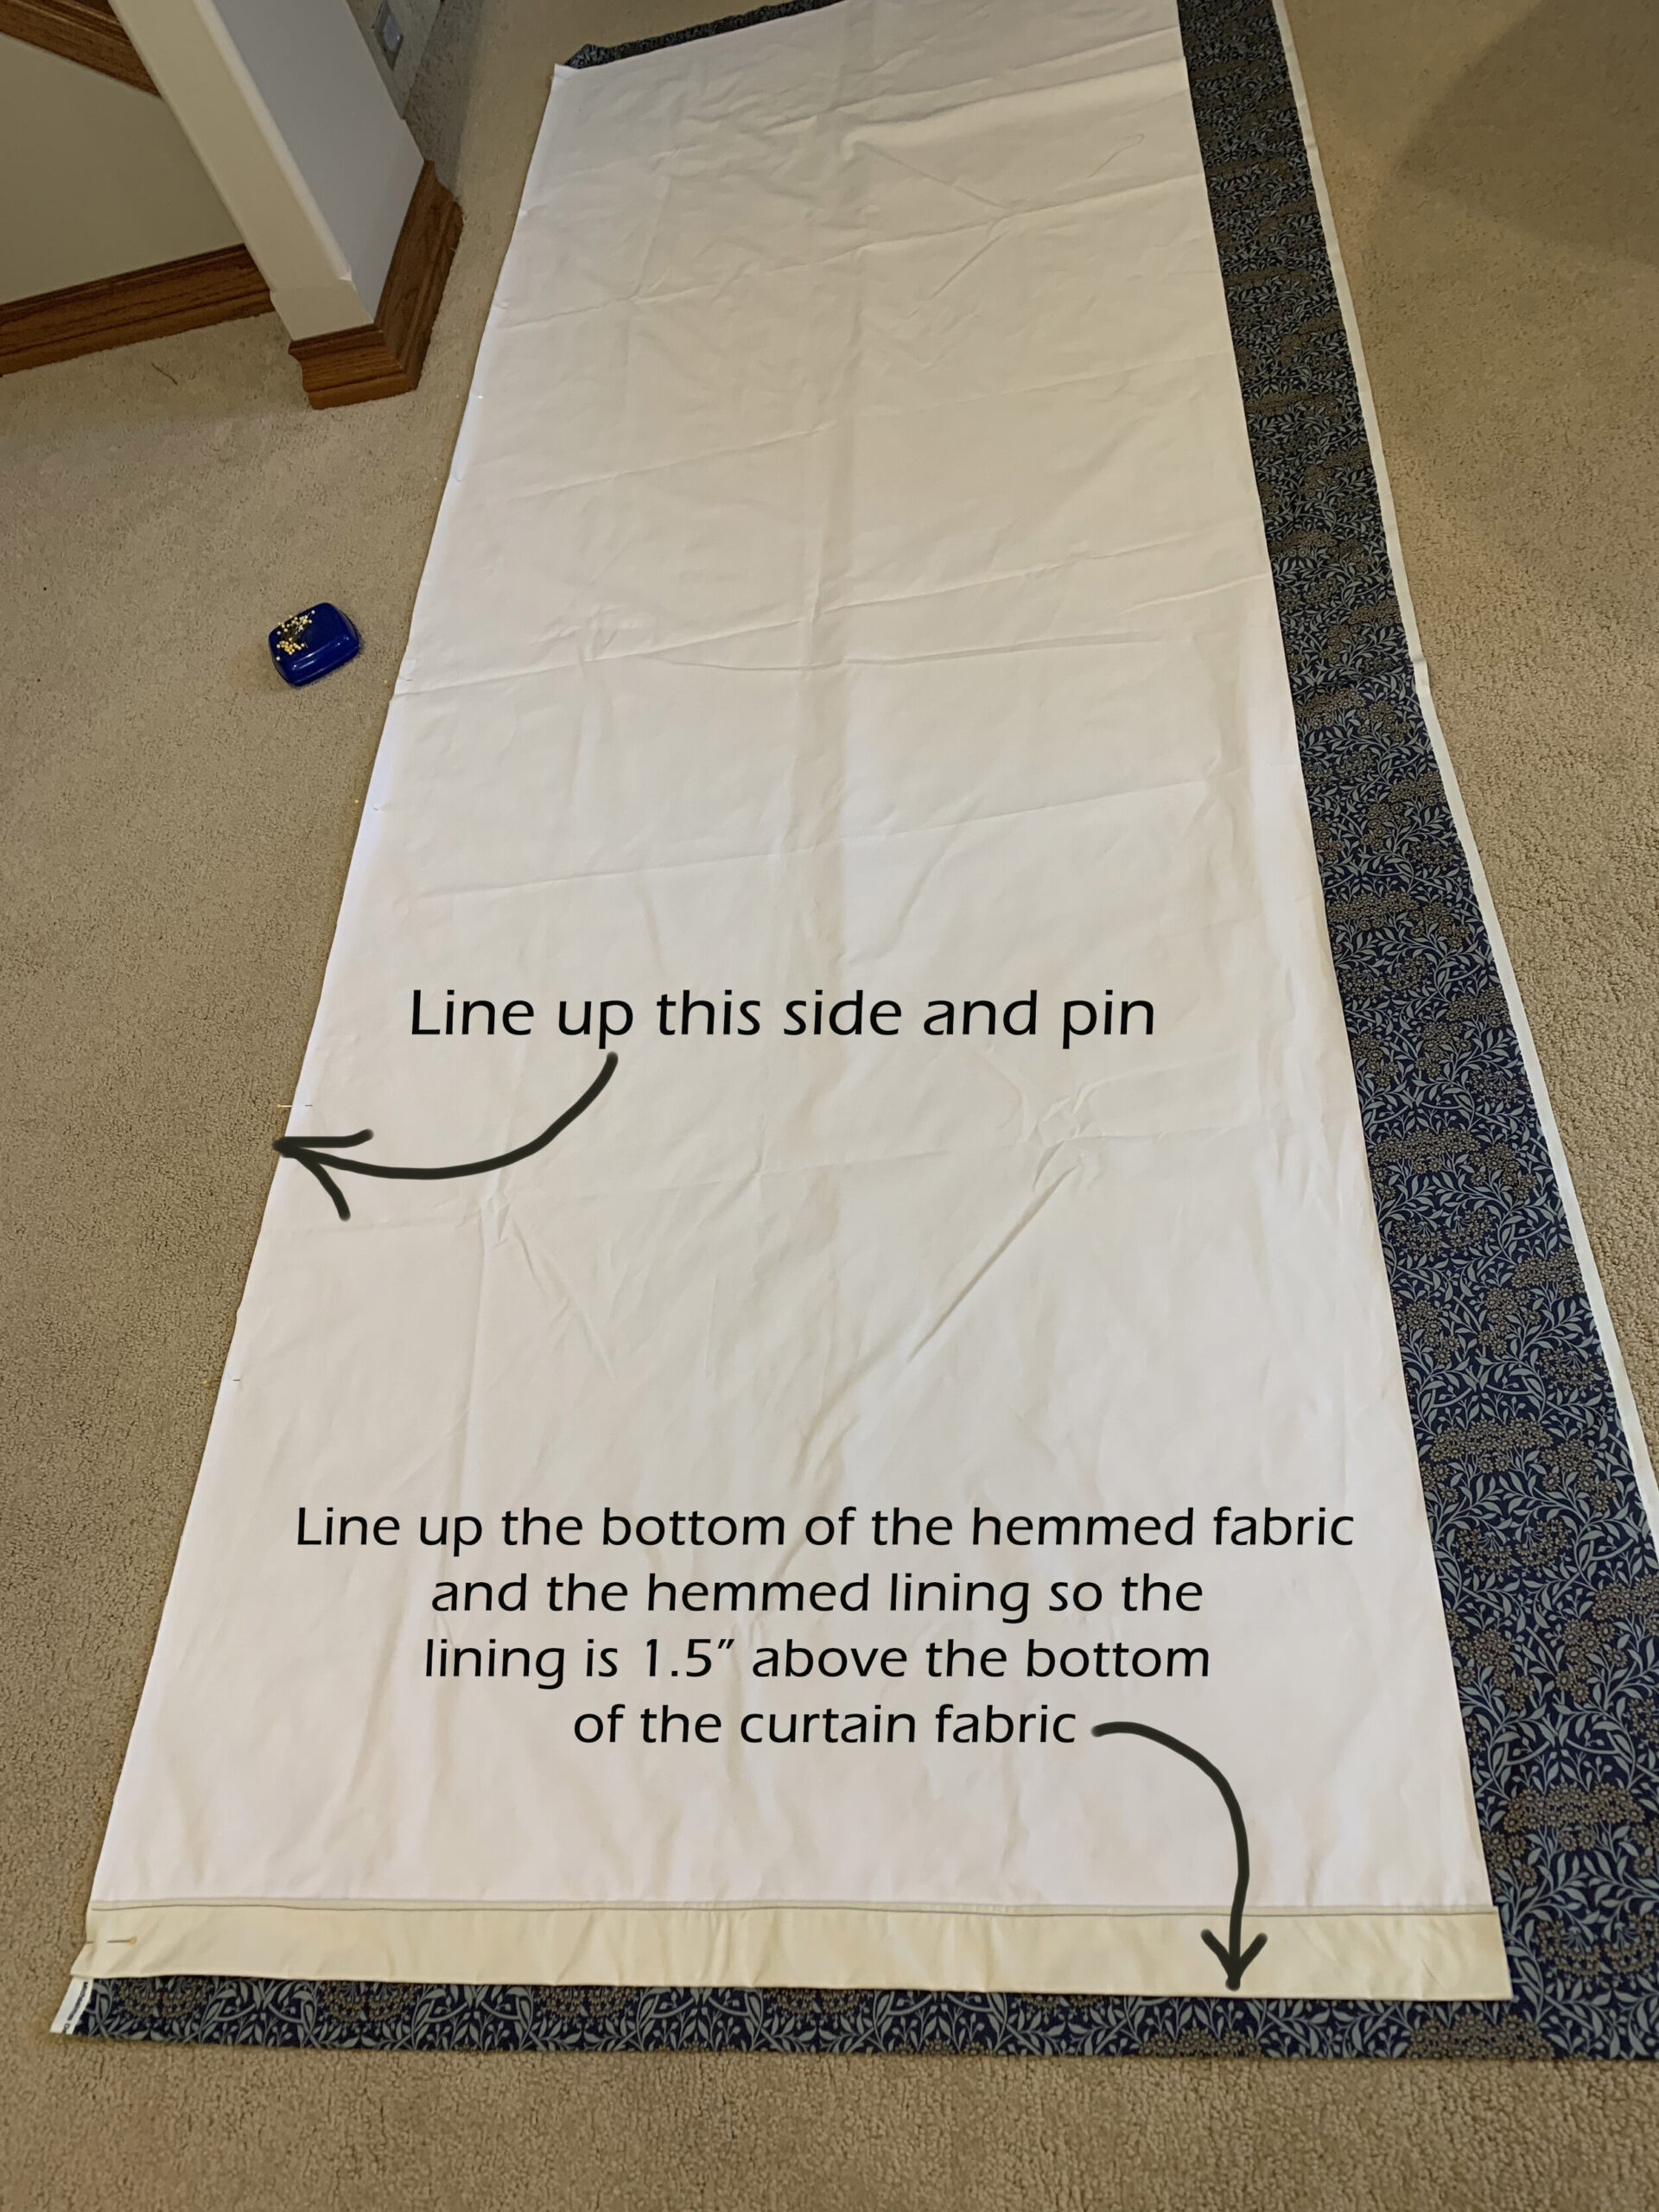
5. Sewing the lining to the curtain fabric.
Lay your curtain on the floor, right side up. Lay the lining on top of it, right side down. (Basically, the “nice” sides of the fabric should be facing each other.) The hemmed bottom of the lining should be 1.5 inches from the hemmed bottom of the curtain fabric, and you should line up one side of the lining and the fabric (remember, the lining is narrower than the curtain fabric). Pin down the side where the two fabrics are lined up, and sew that side together, using a 5/8” seam allowance.
6. Sew the other side
Now that one side of the lining is sewn to one side of the fabric, lay them back on the floor and line up the other side. Because your fabric is wider than the lining, it will be a bit awkward. Pin in place, and sew, using a 5/8” seam. NOTE: Always sew in the same direction: ie: from the top of the curtain to the bottom. If you don’t do this, your curtain can pull a bit to one side.
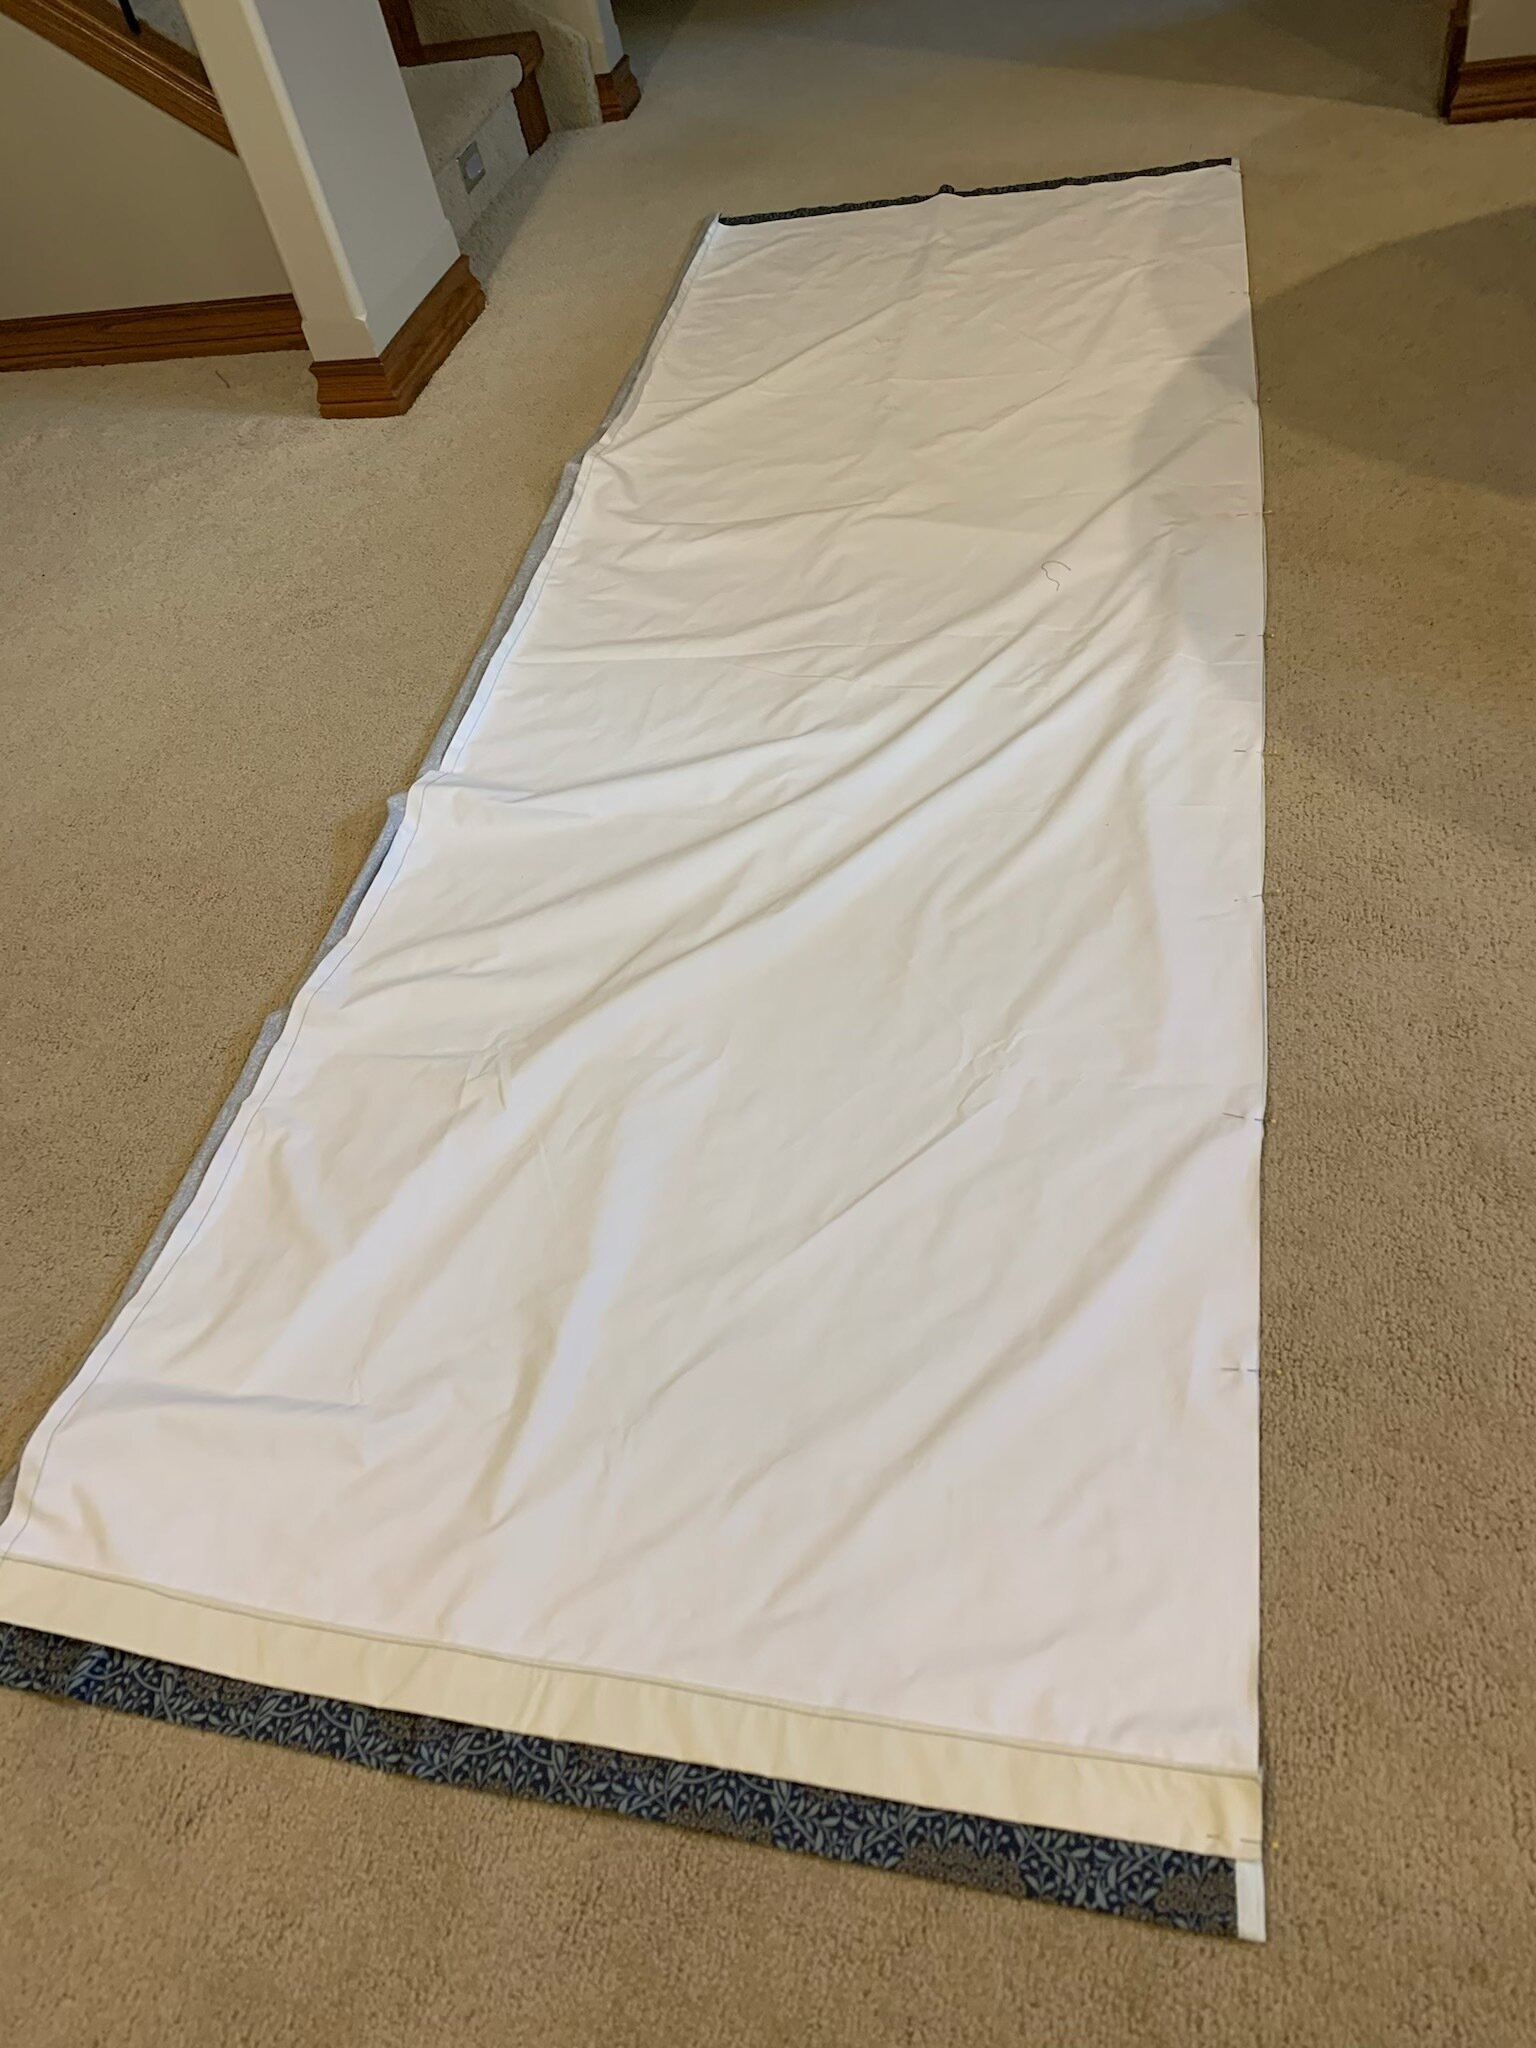
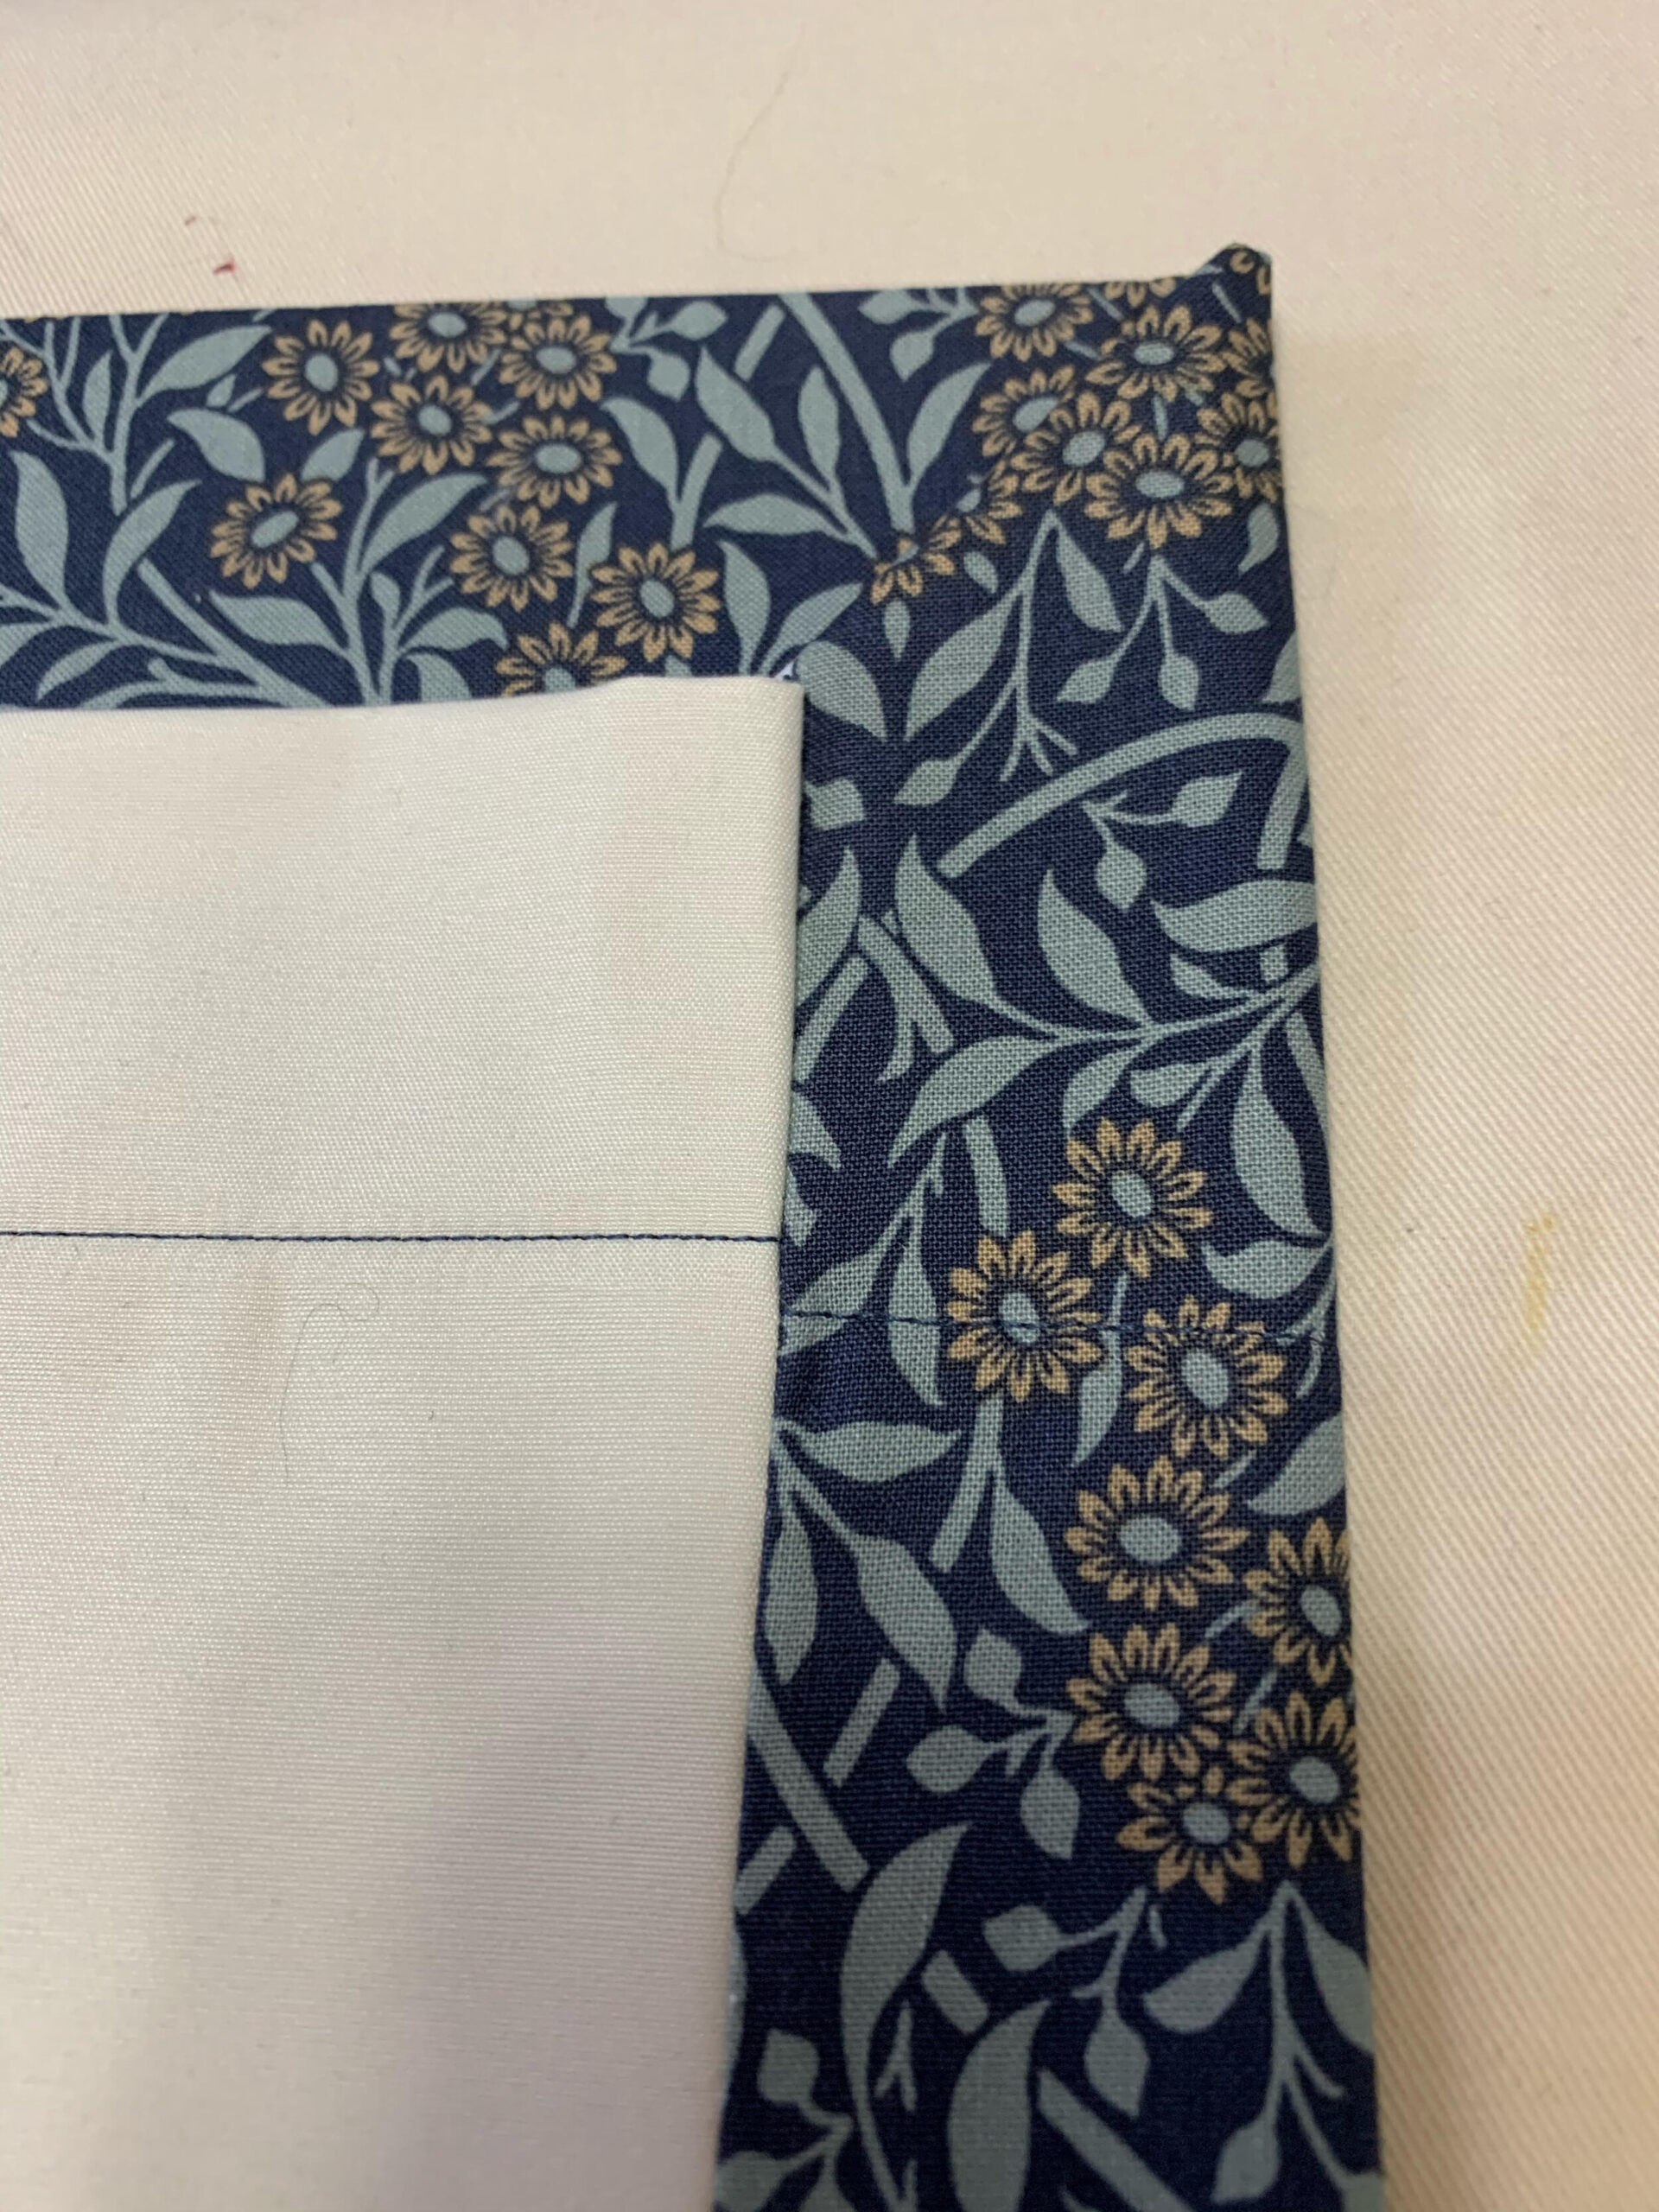
Turn the curtain right side out. It will resemble a large tube, with the bottom hemmed and the top unfinished.
7. Straighten the sides and iron.
Maneuver the curtains until you have equal fabric on each side of the lining. Because the curtain fabric is wider than the lining fabric, the curtain fabric will fold over onto the backside of your new curtain by a few inches. Iron the side edges so it stays in place.
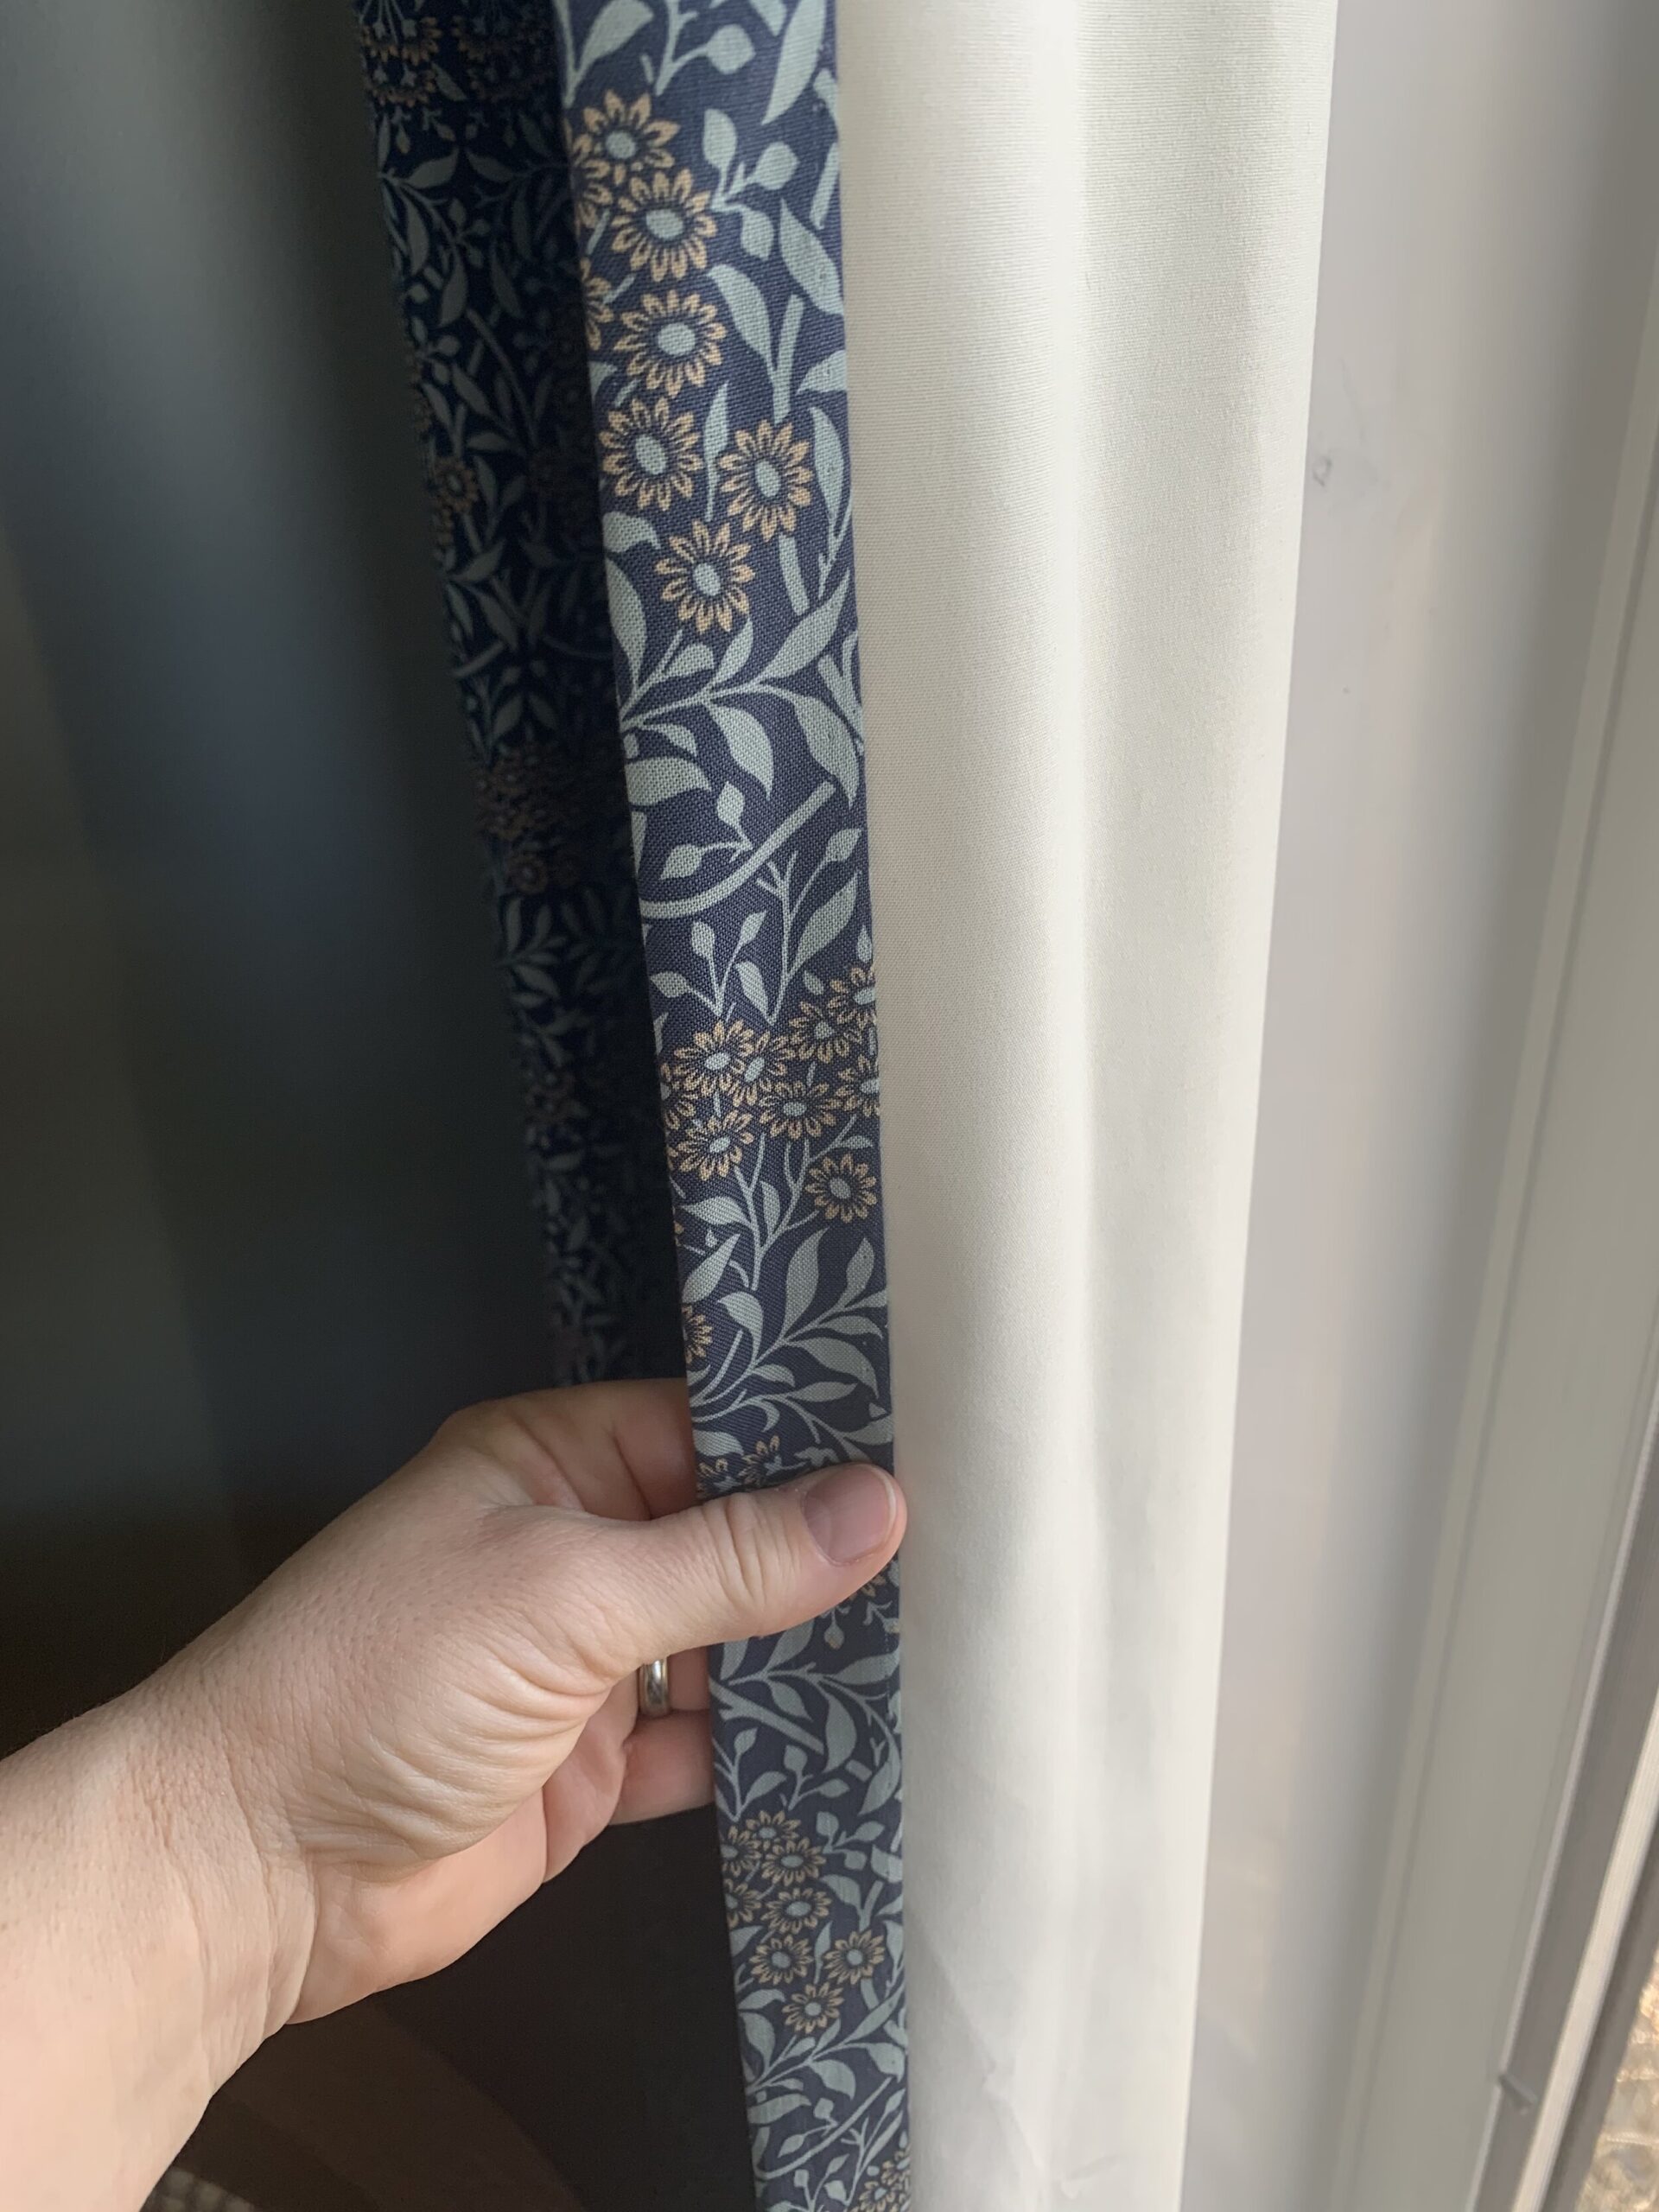
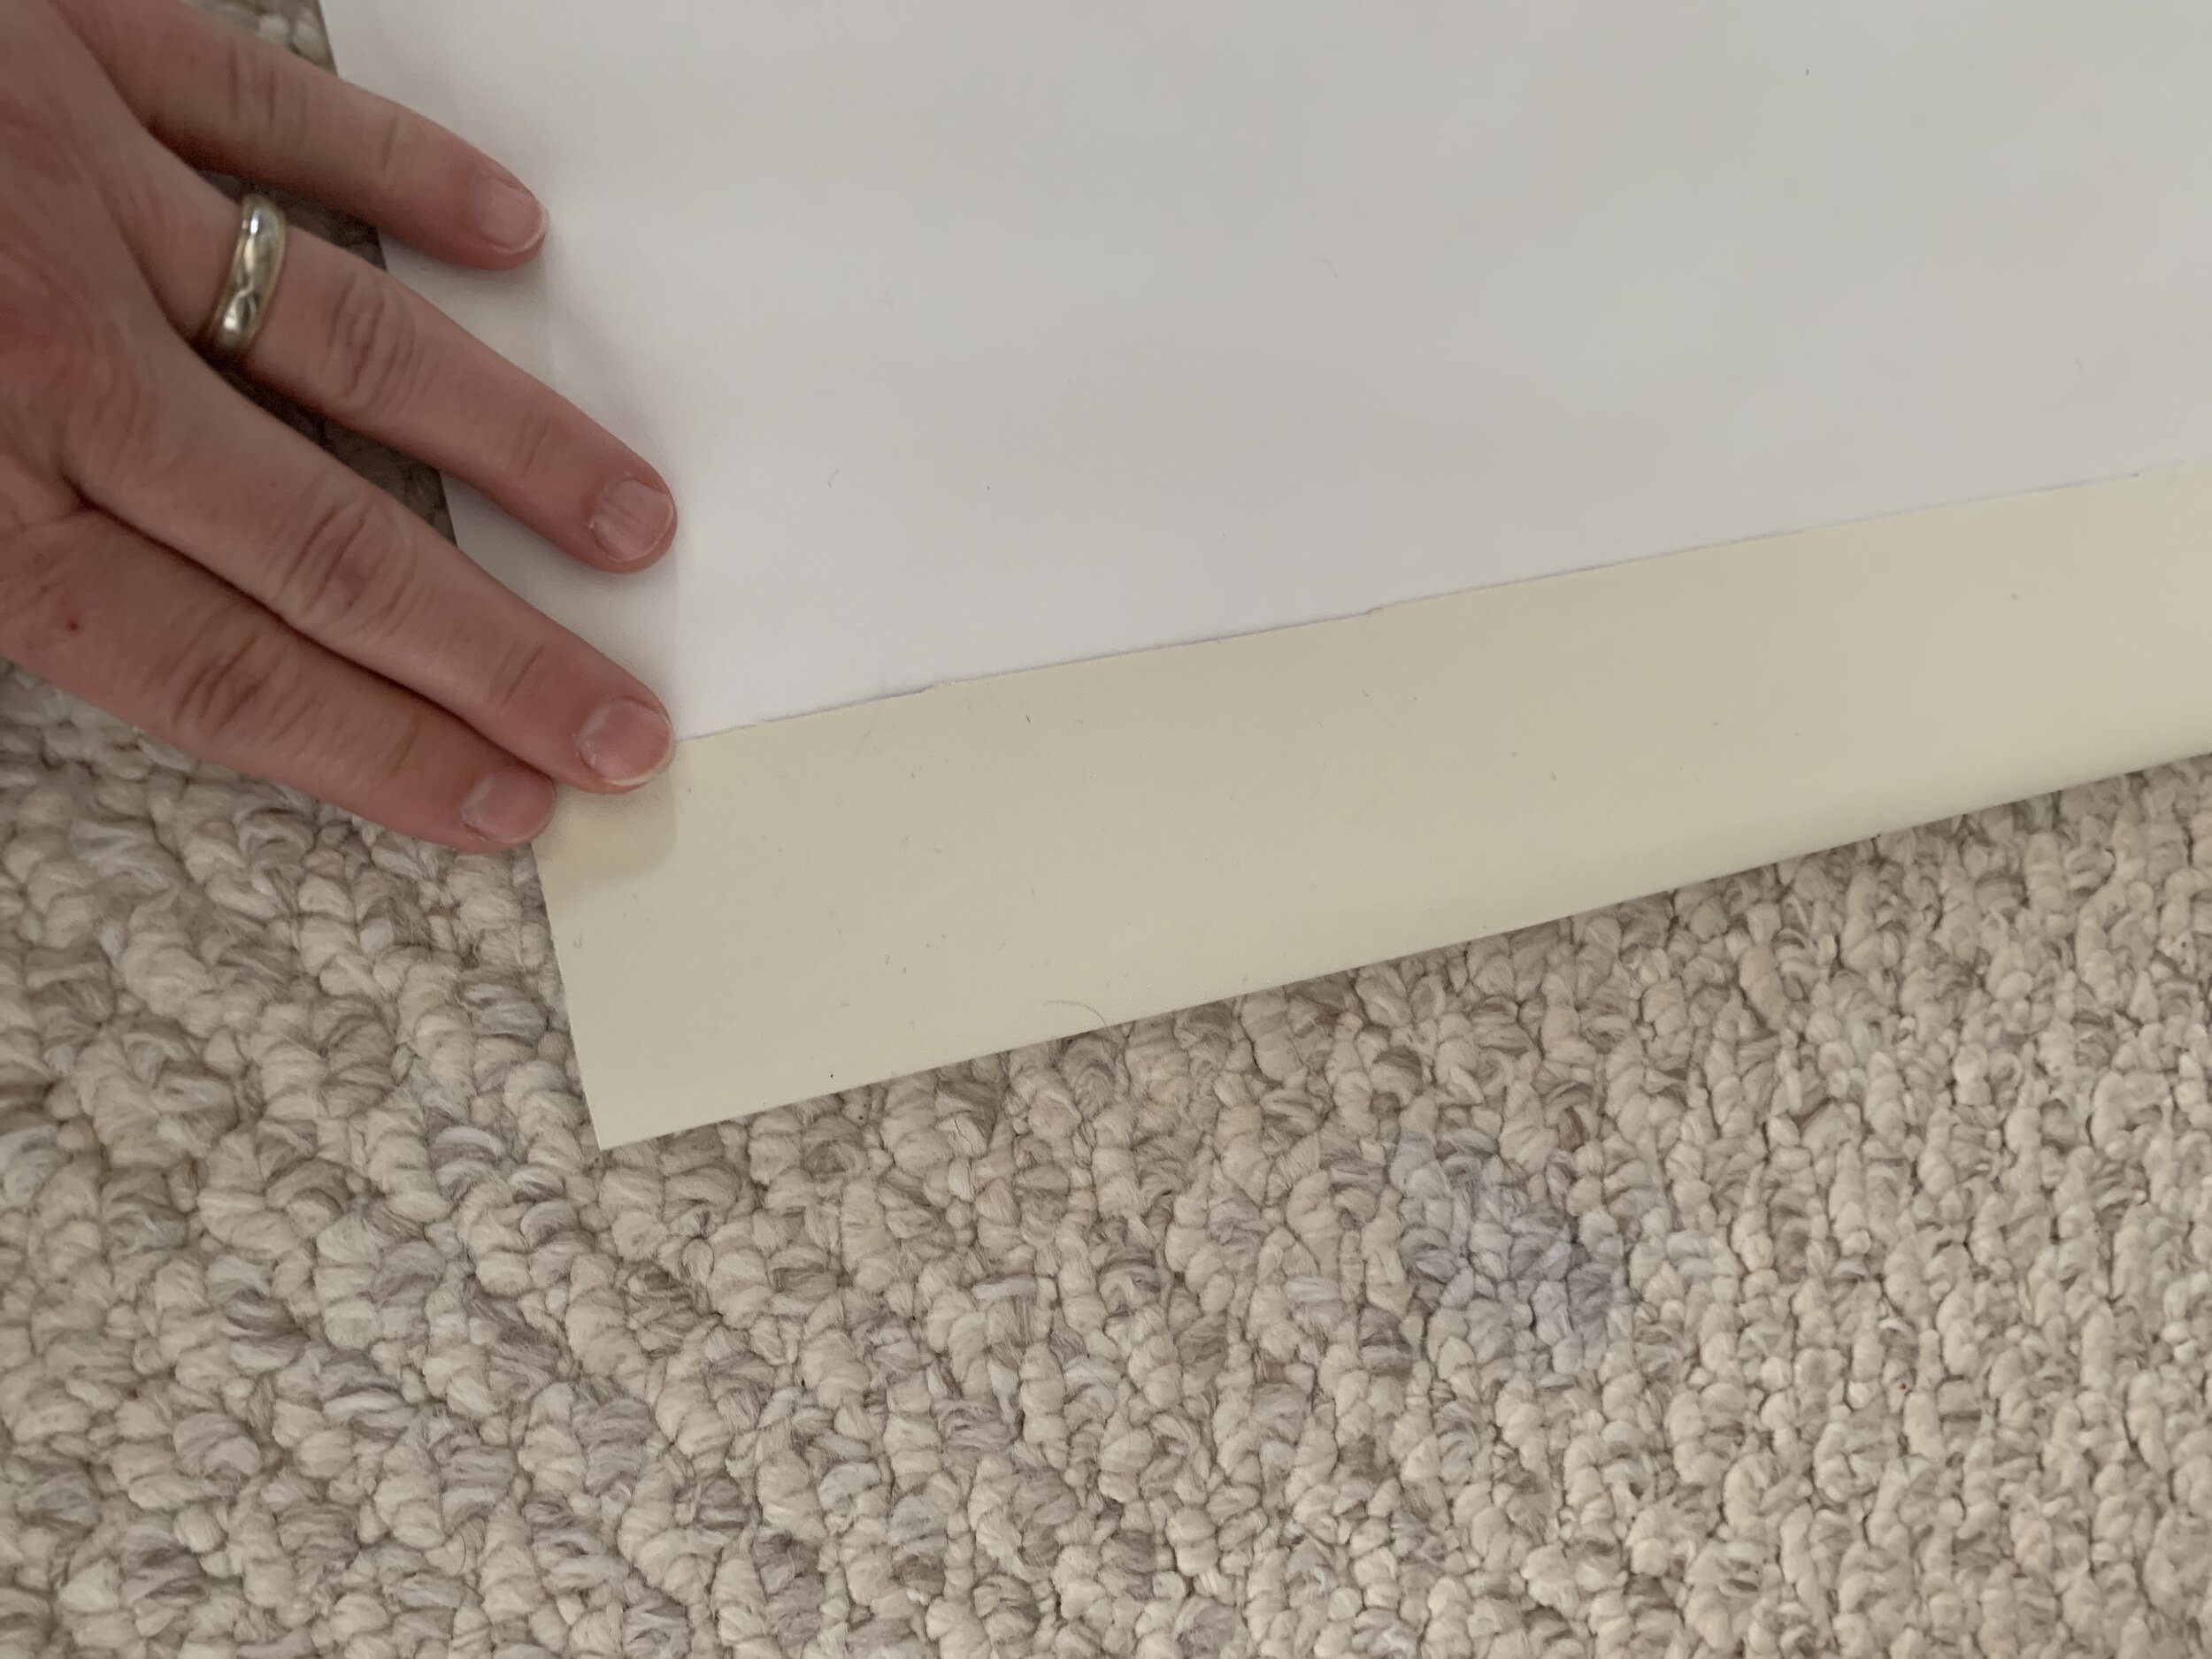
8. Finish the bottom:
Right now the bottom corners of your panels look like this (the white part is the edge of the curtain fabric):
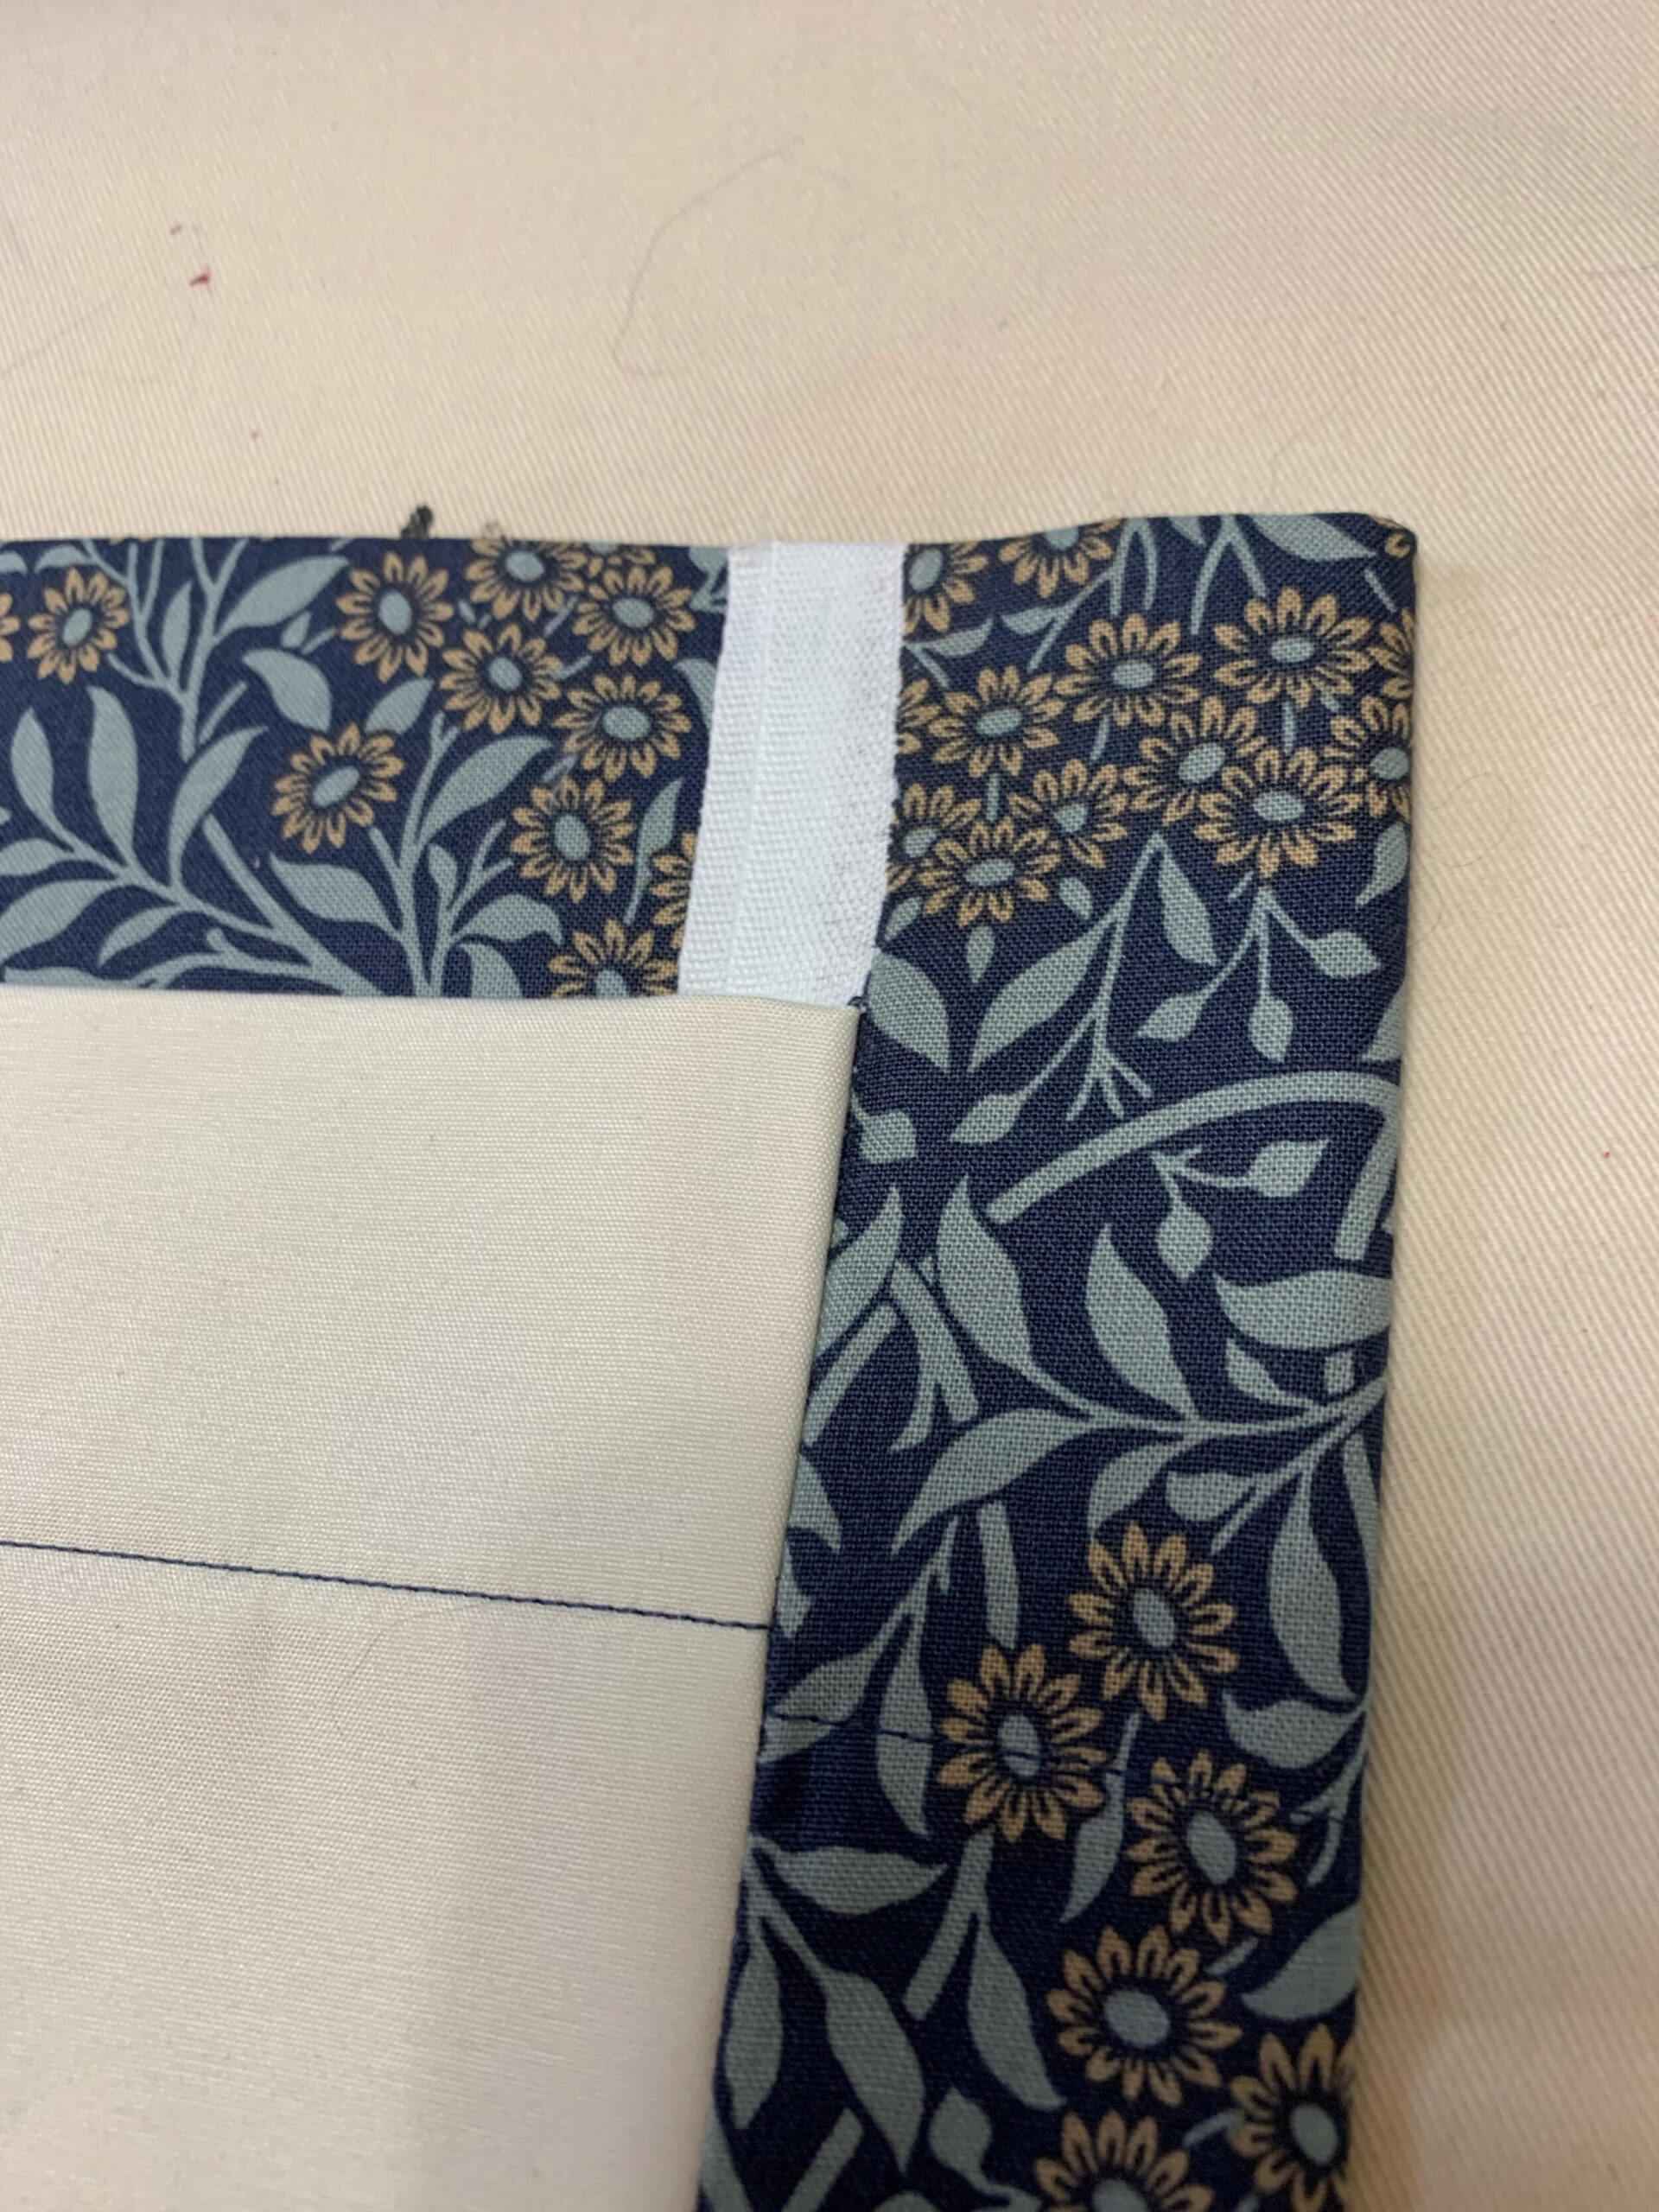
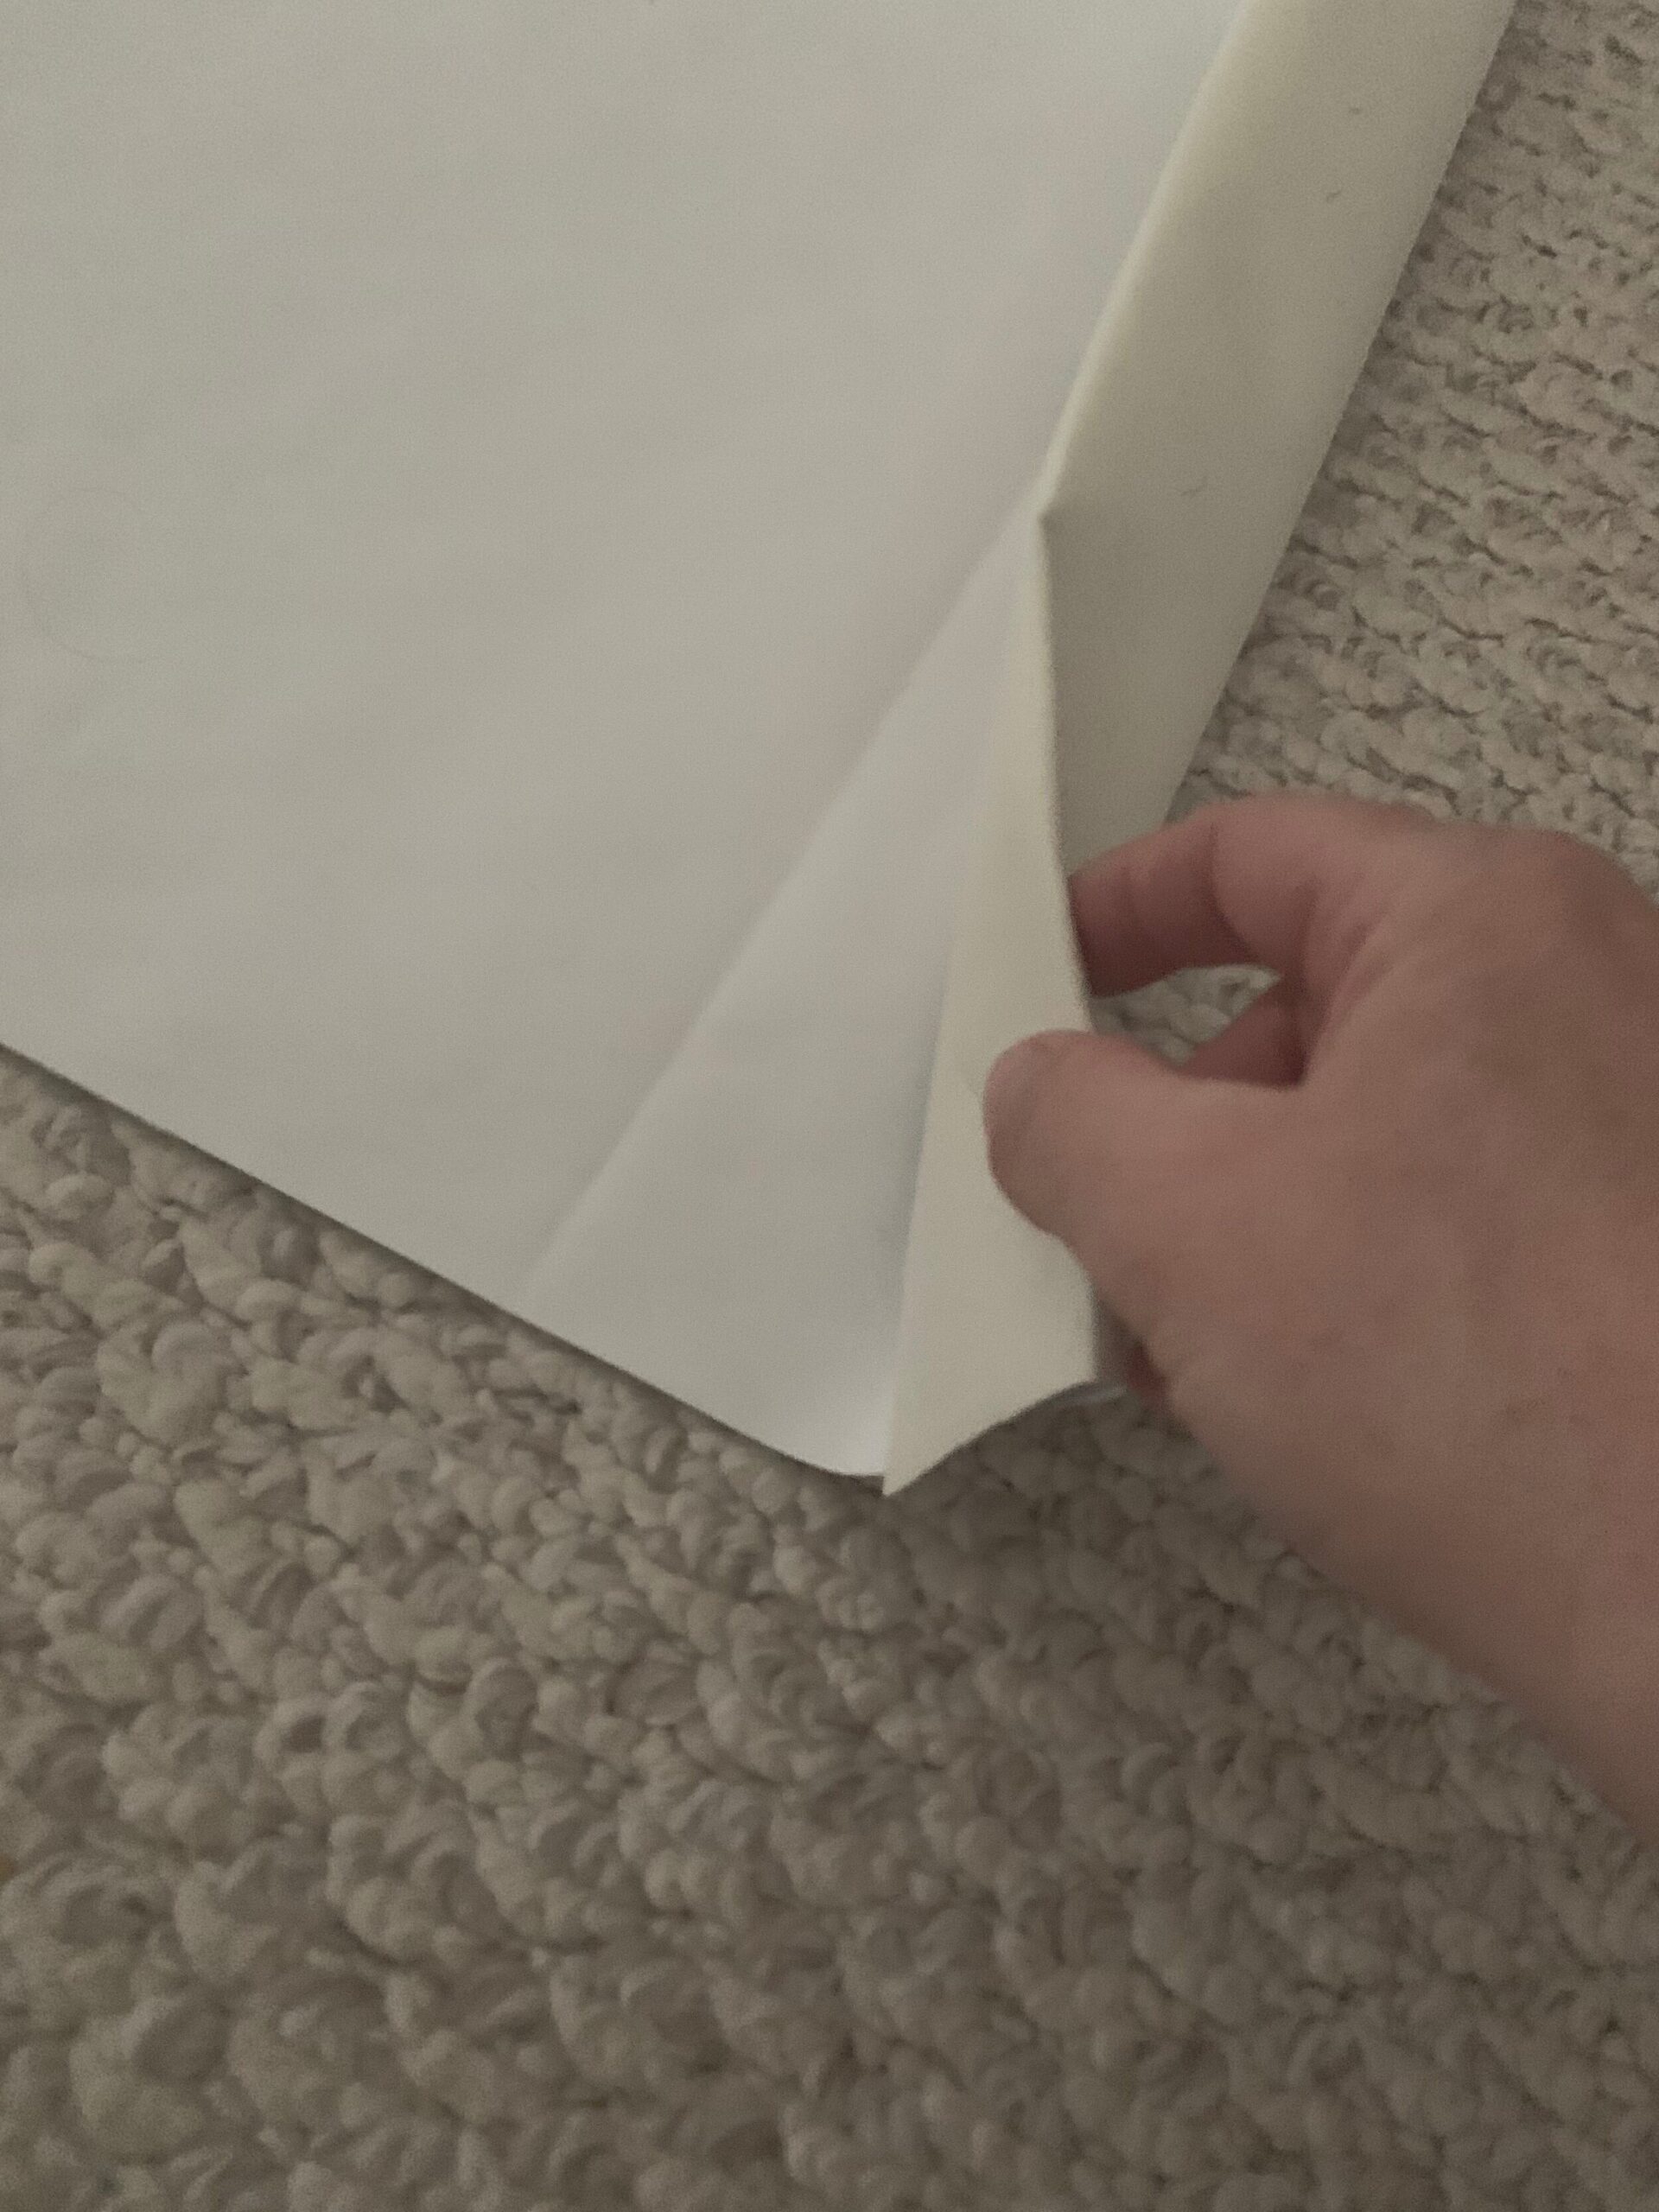
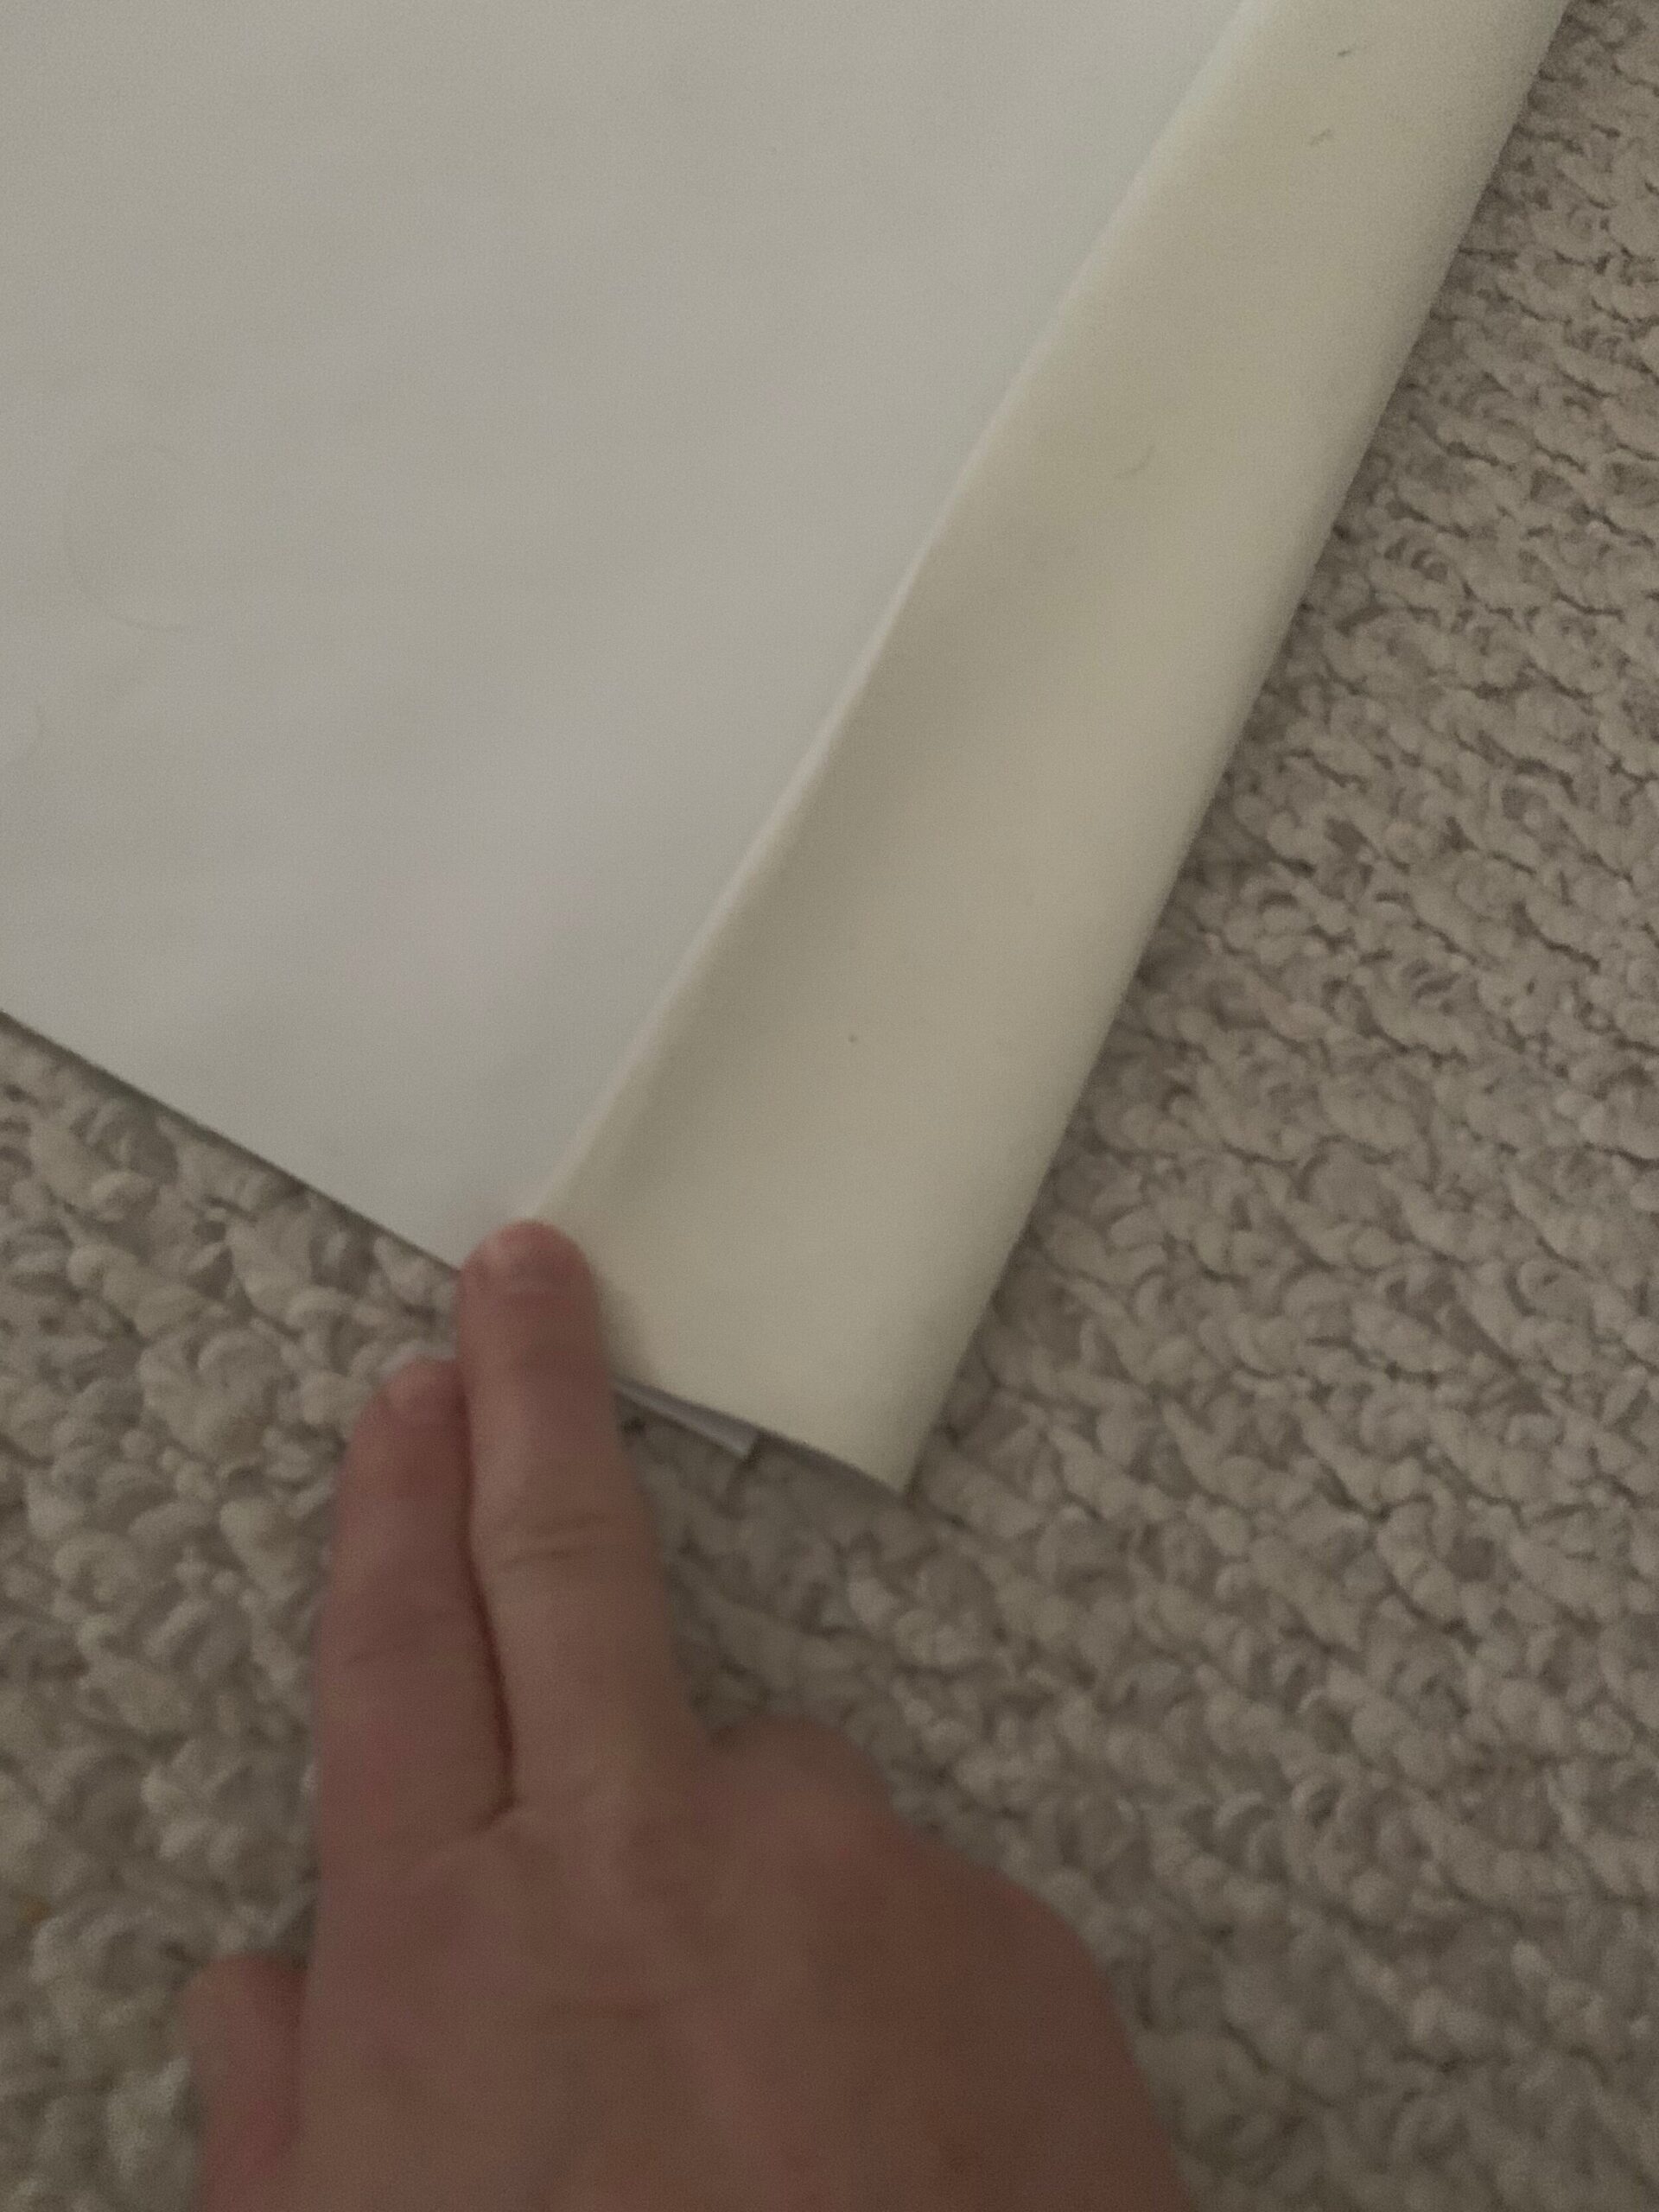
Fold the corners of the curtain fabric in so it looks like this:
Now just stitch the corners in place by hand. (You could also stitch this on the machine, which would show from the front a little depending on your fabric, so we prefer to hand stitch the corners.)
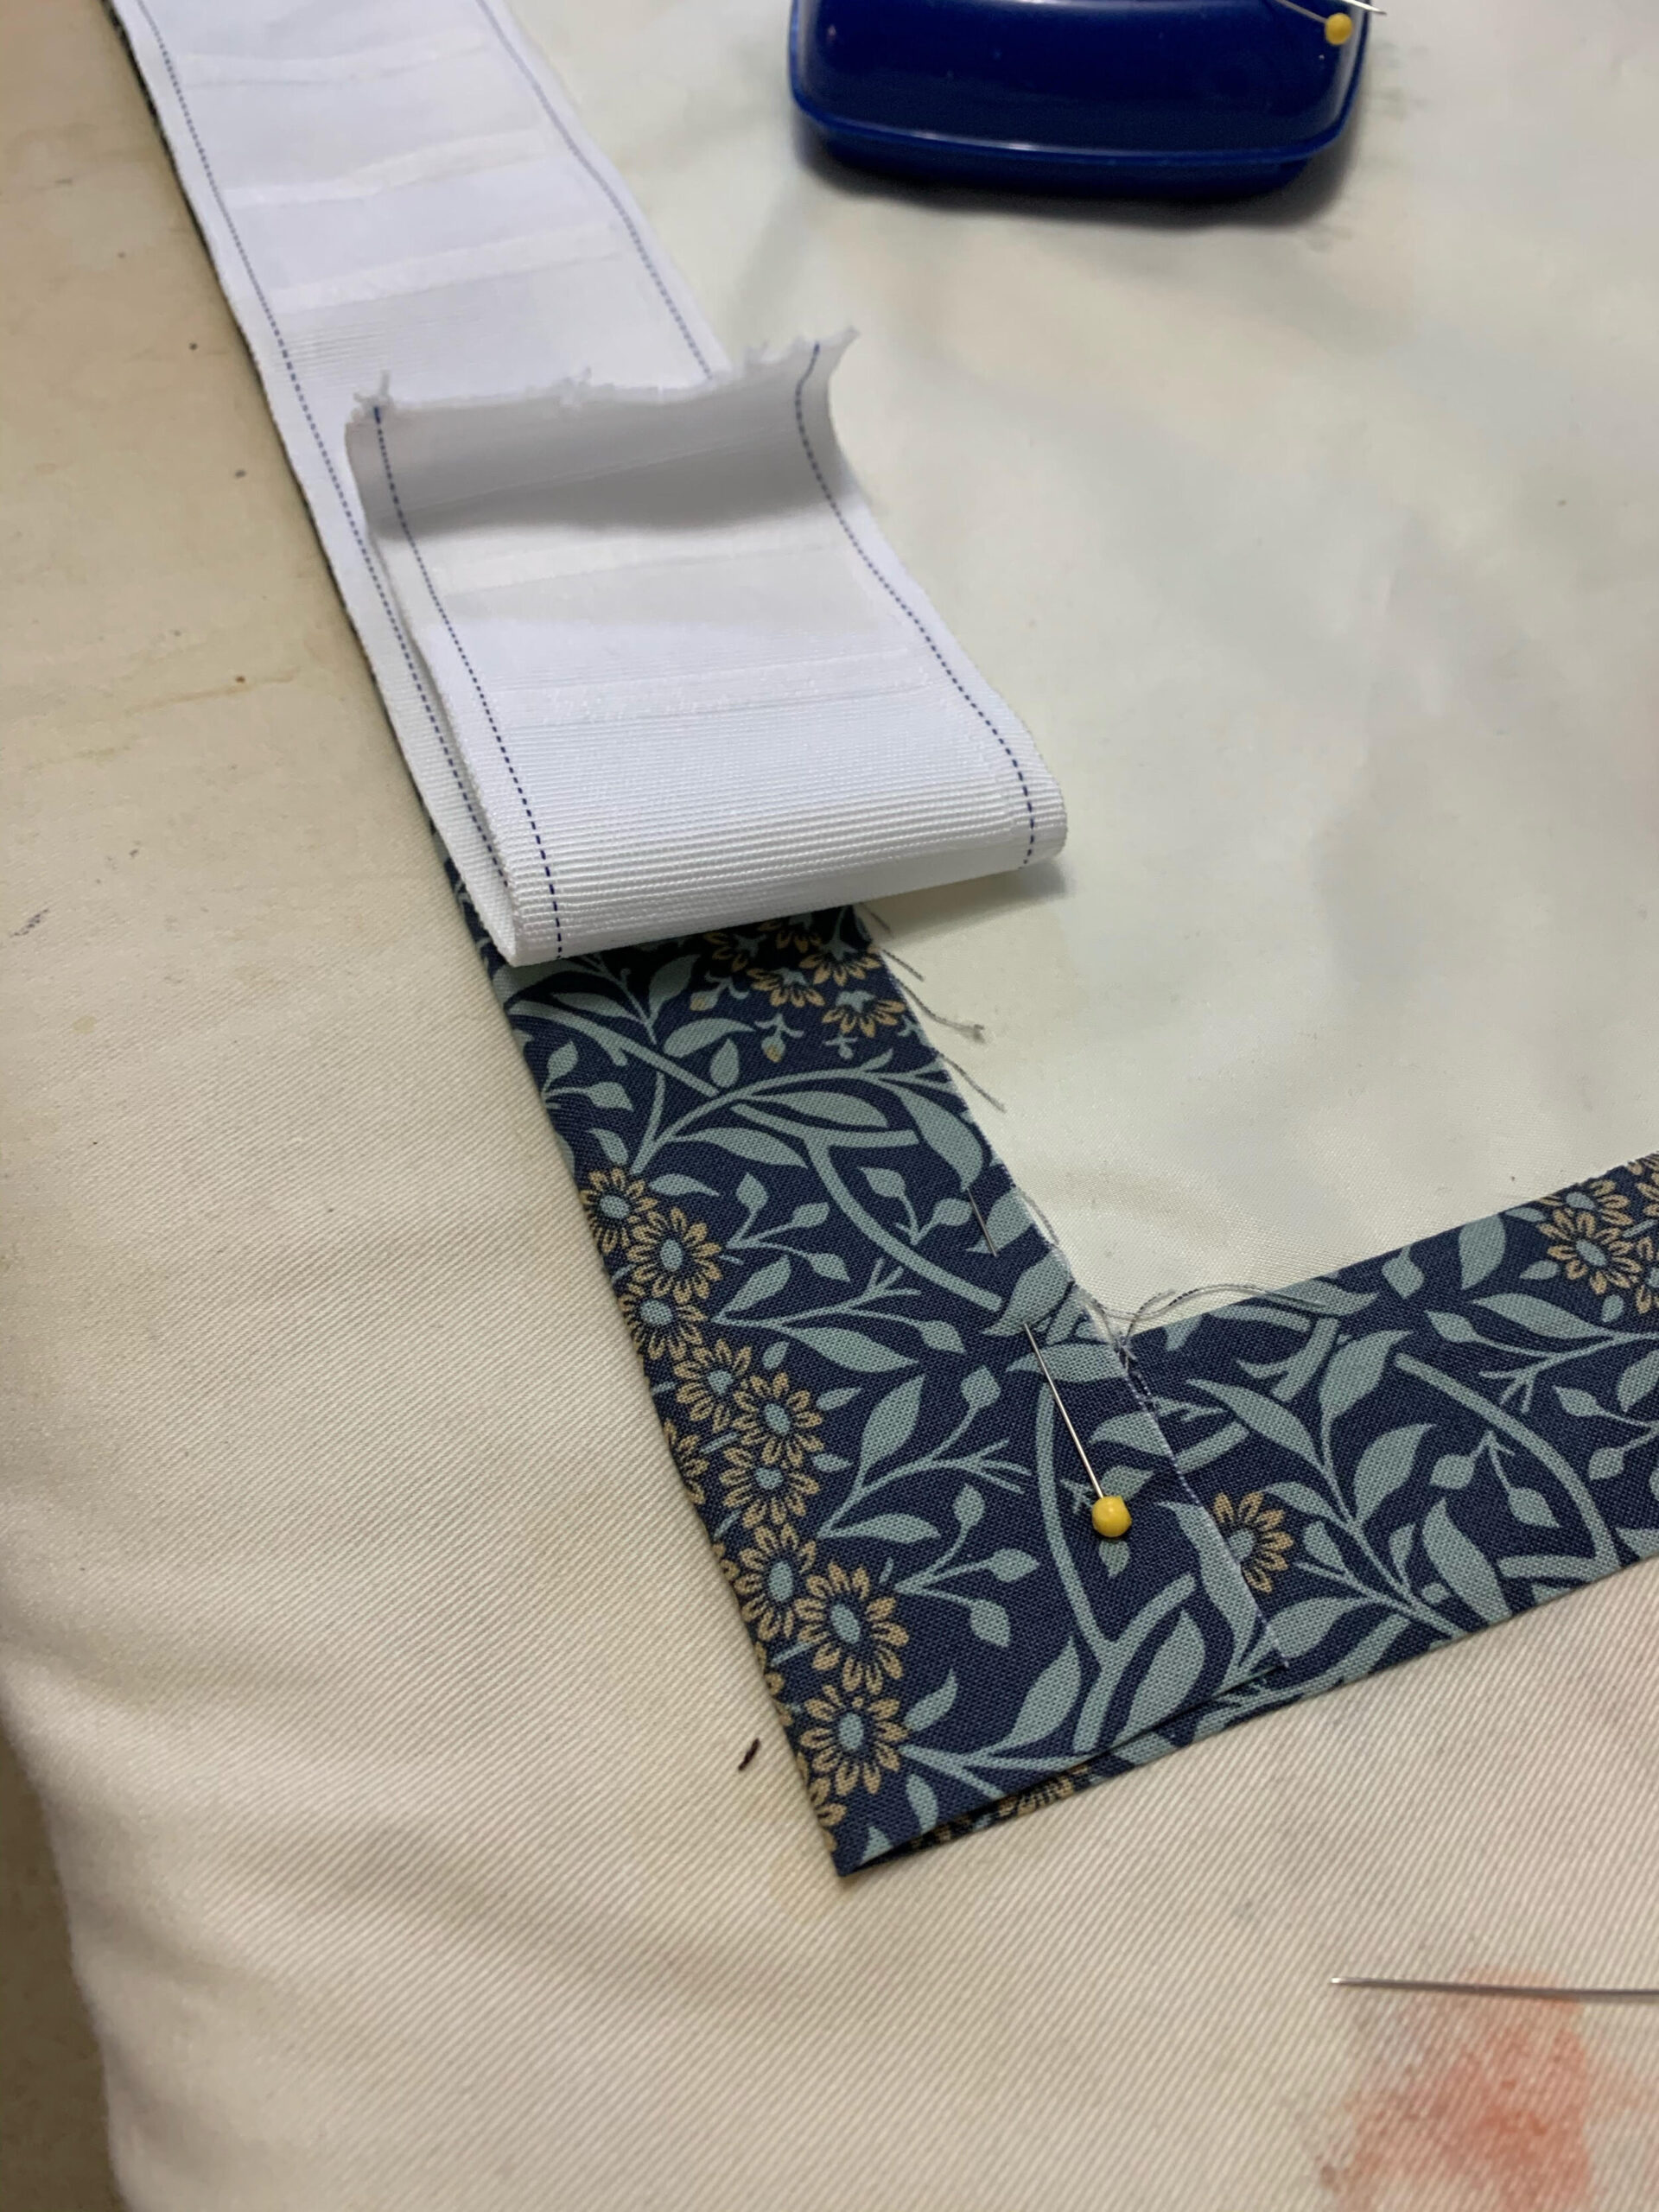
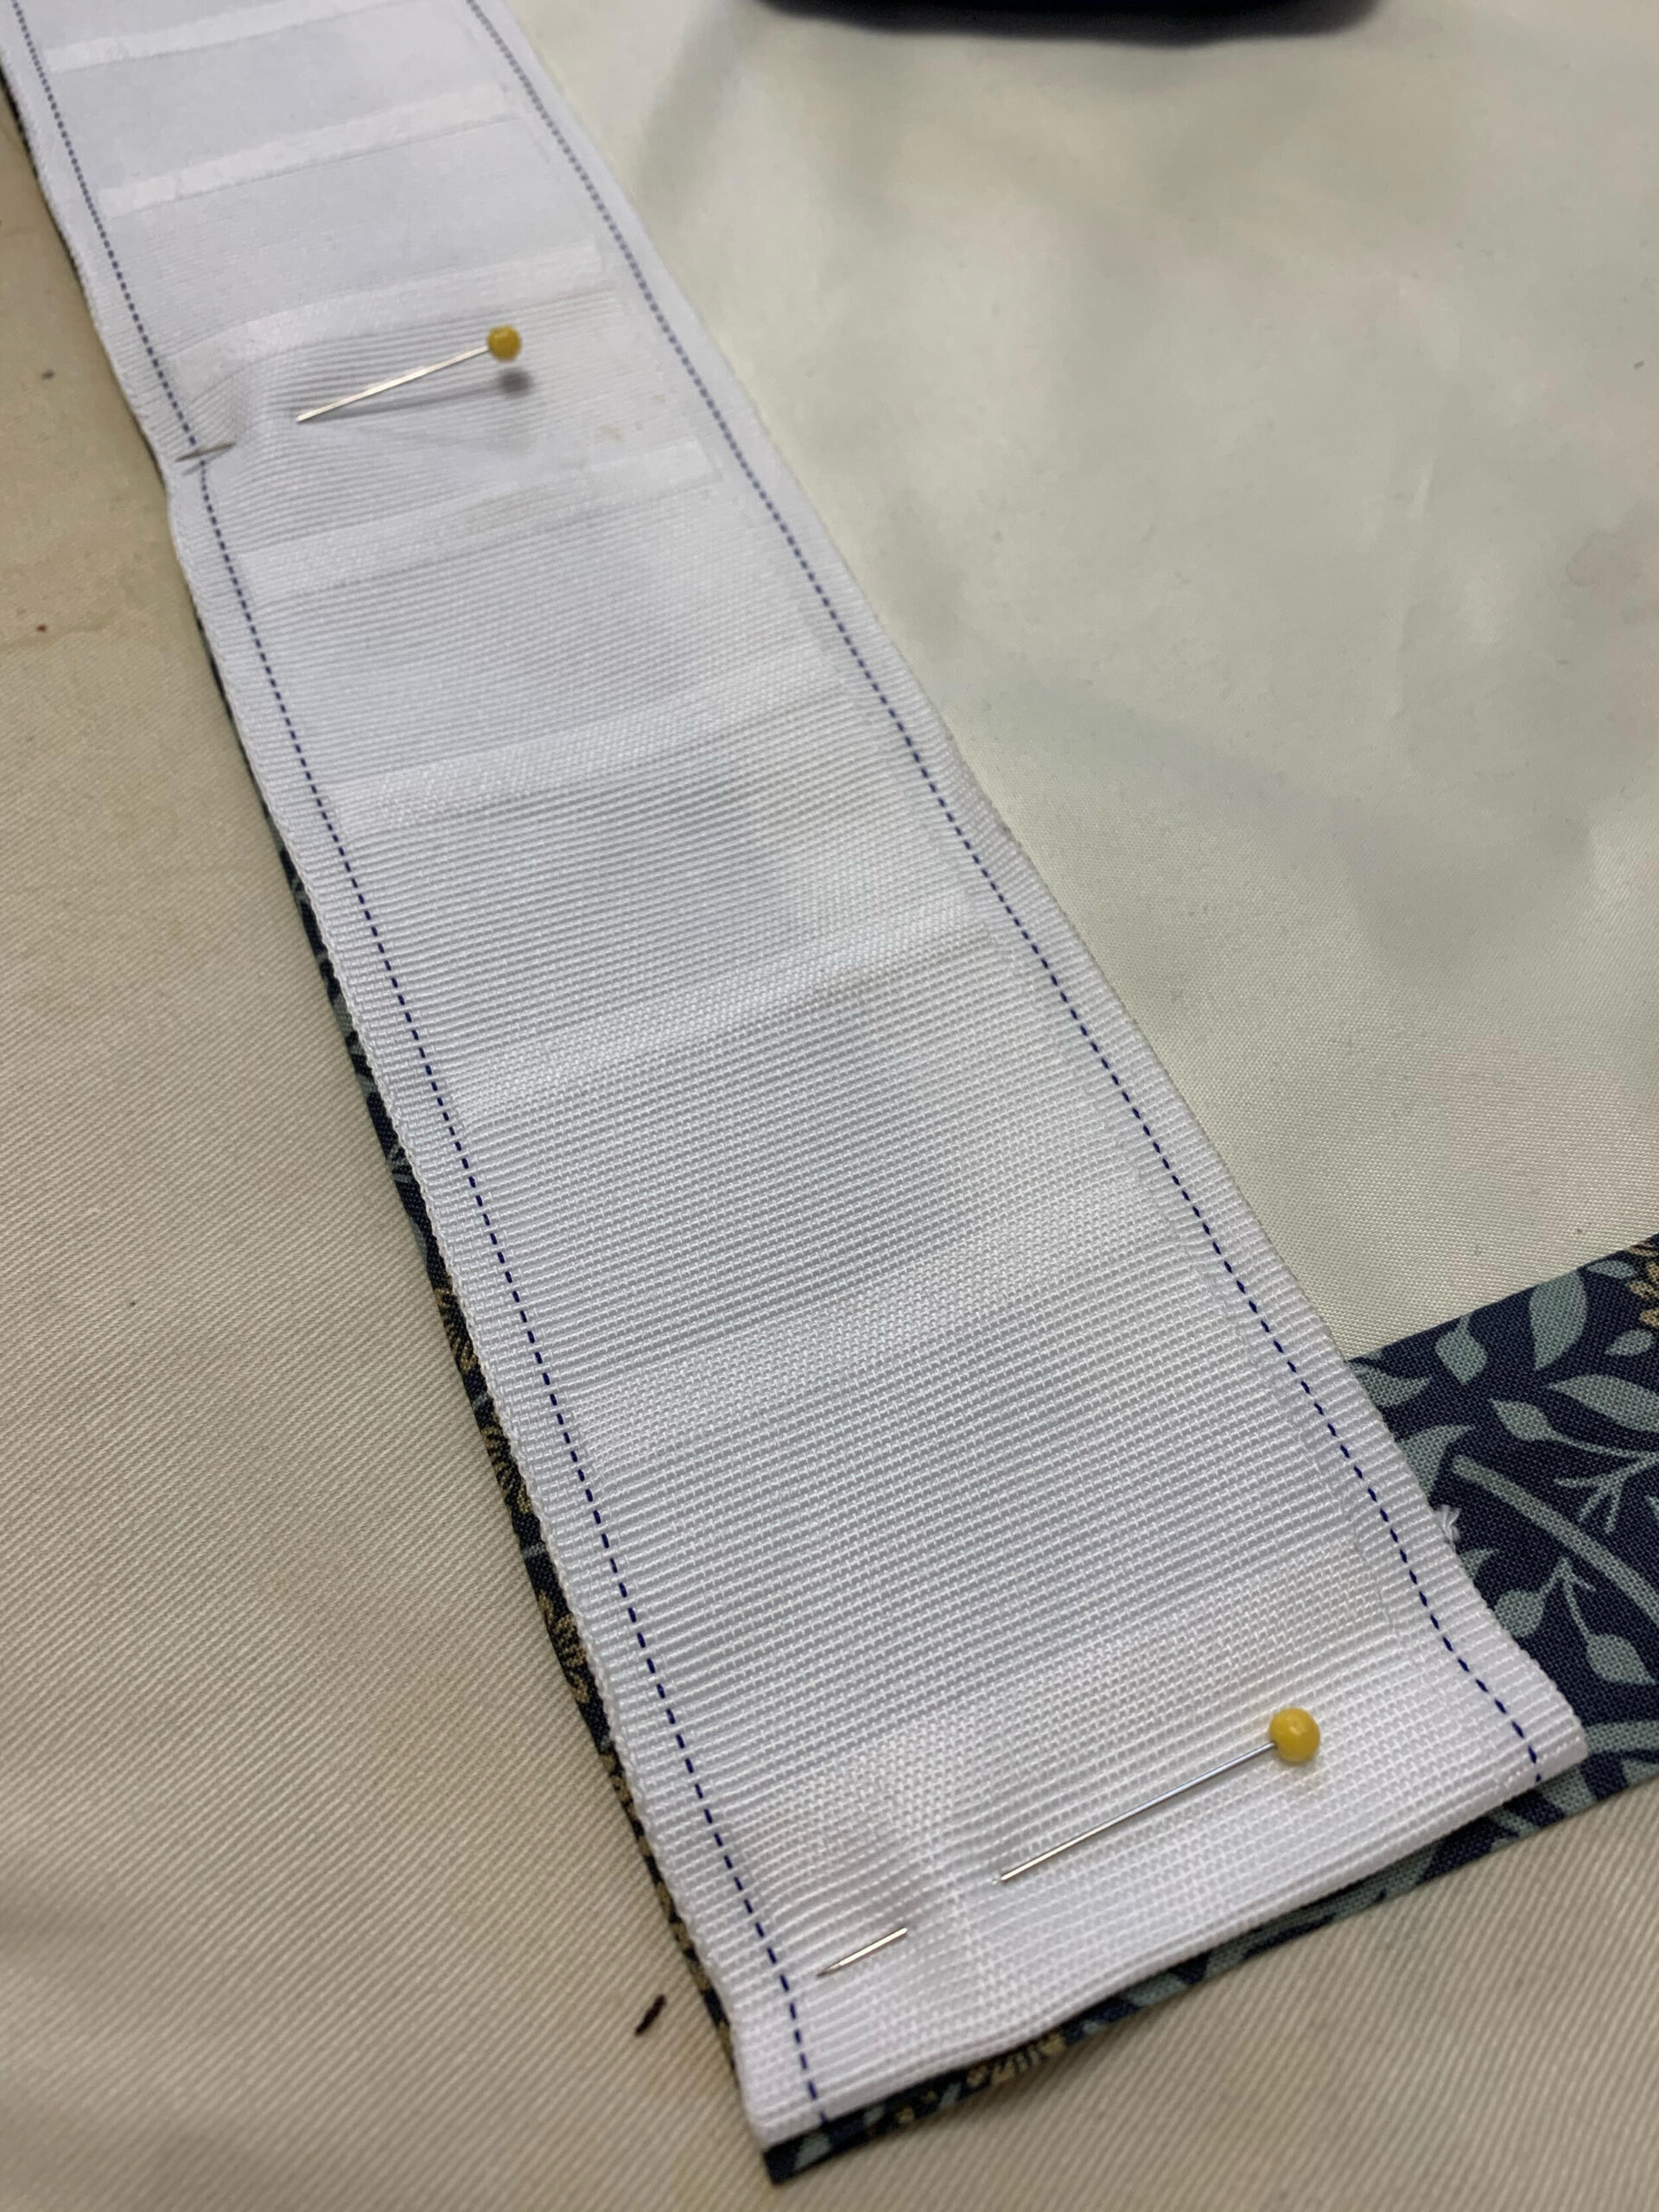
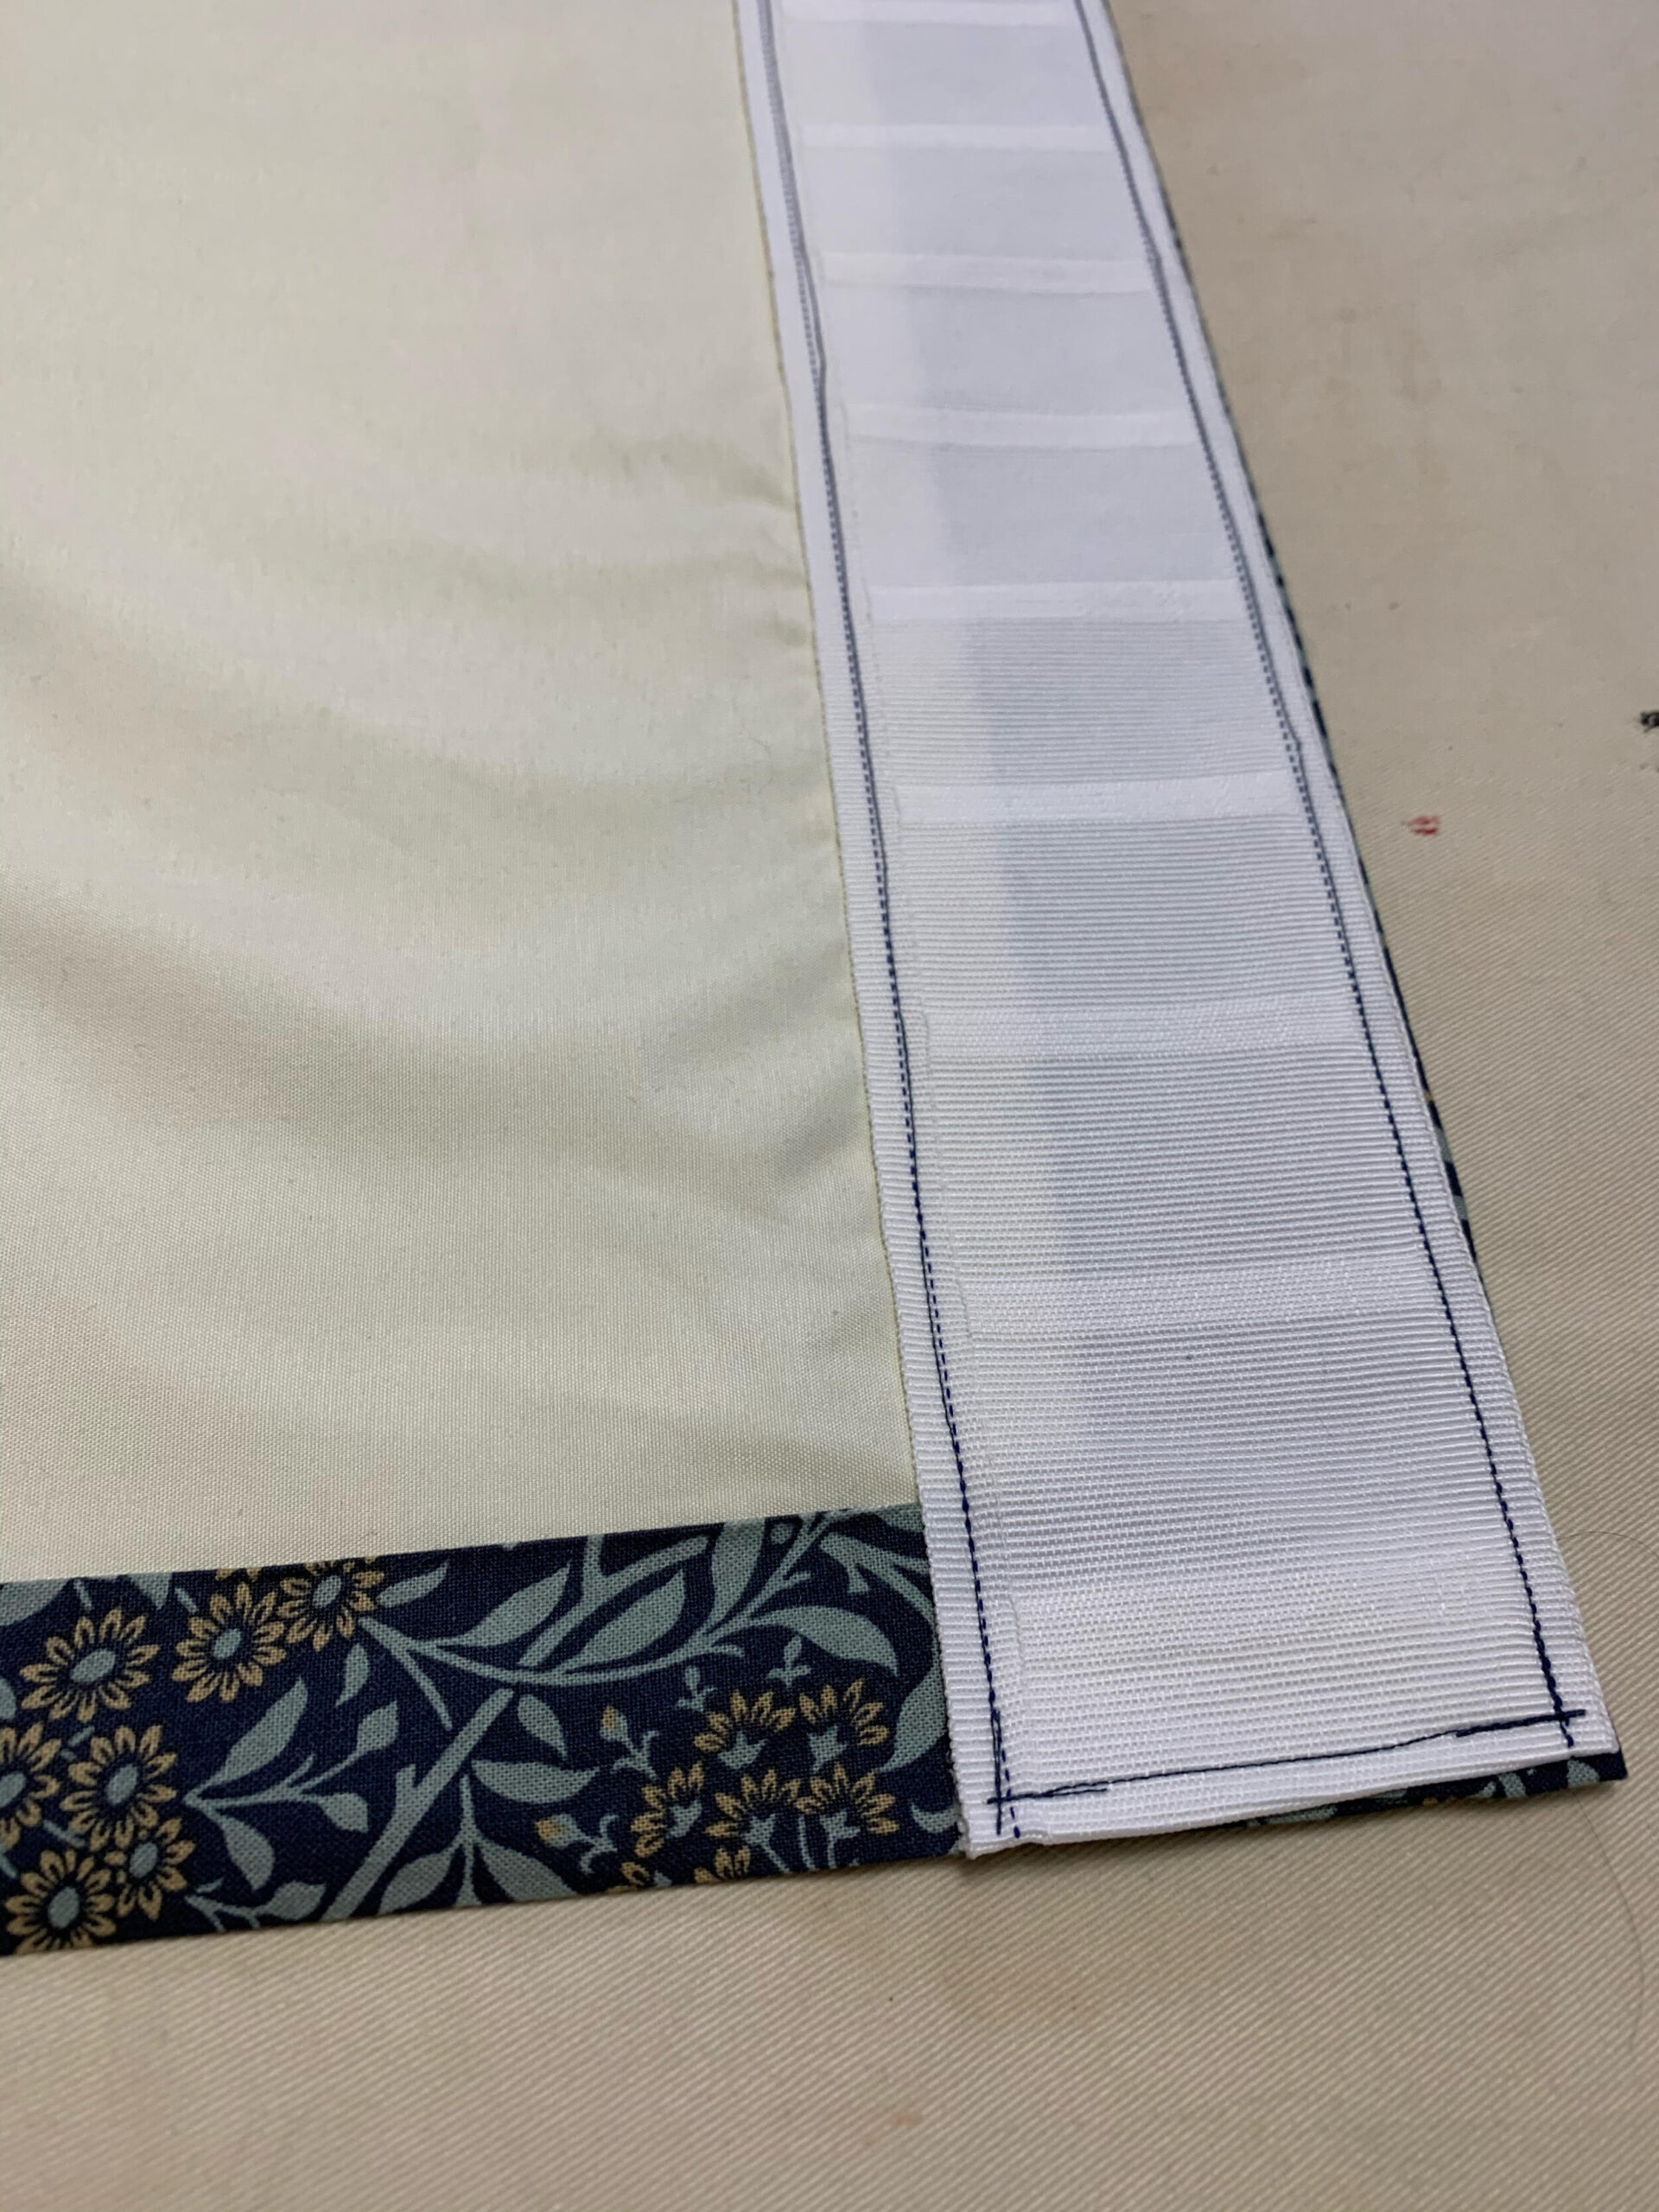
9. Prepare the top:
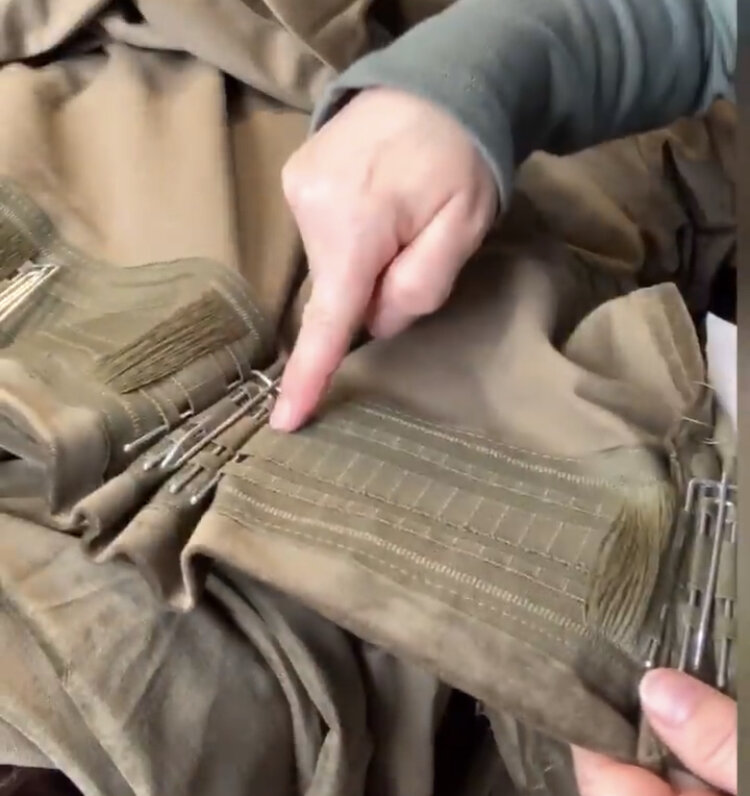
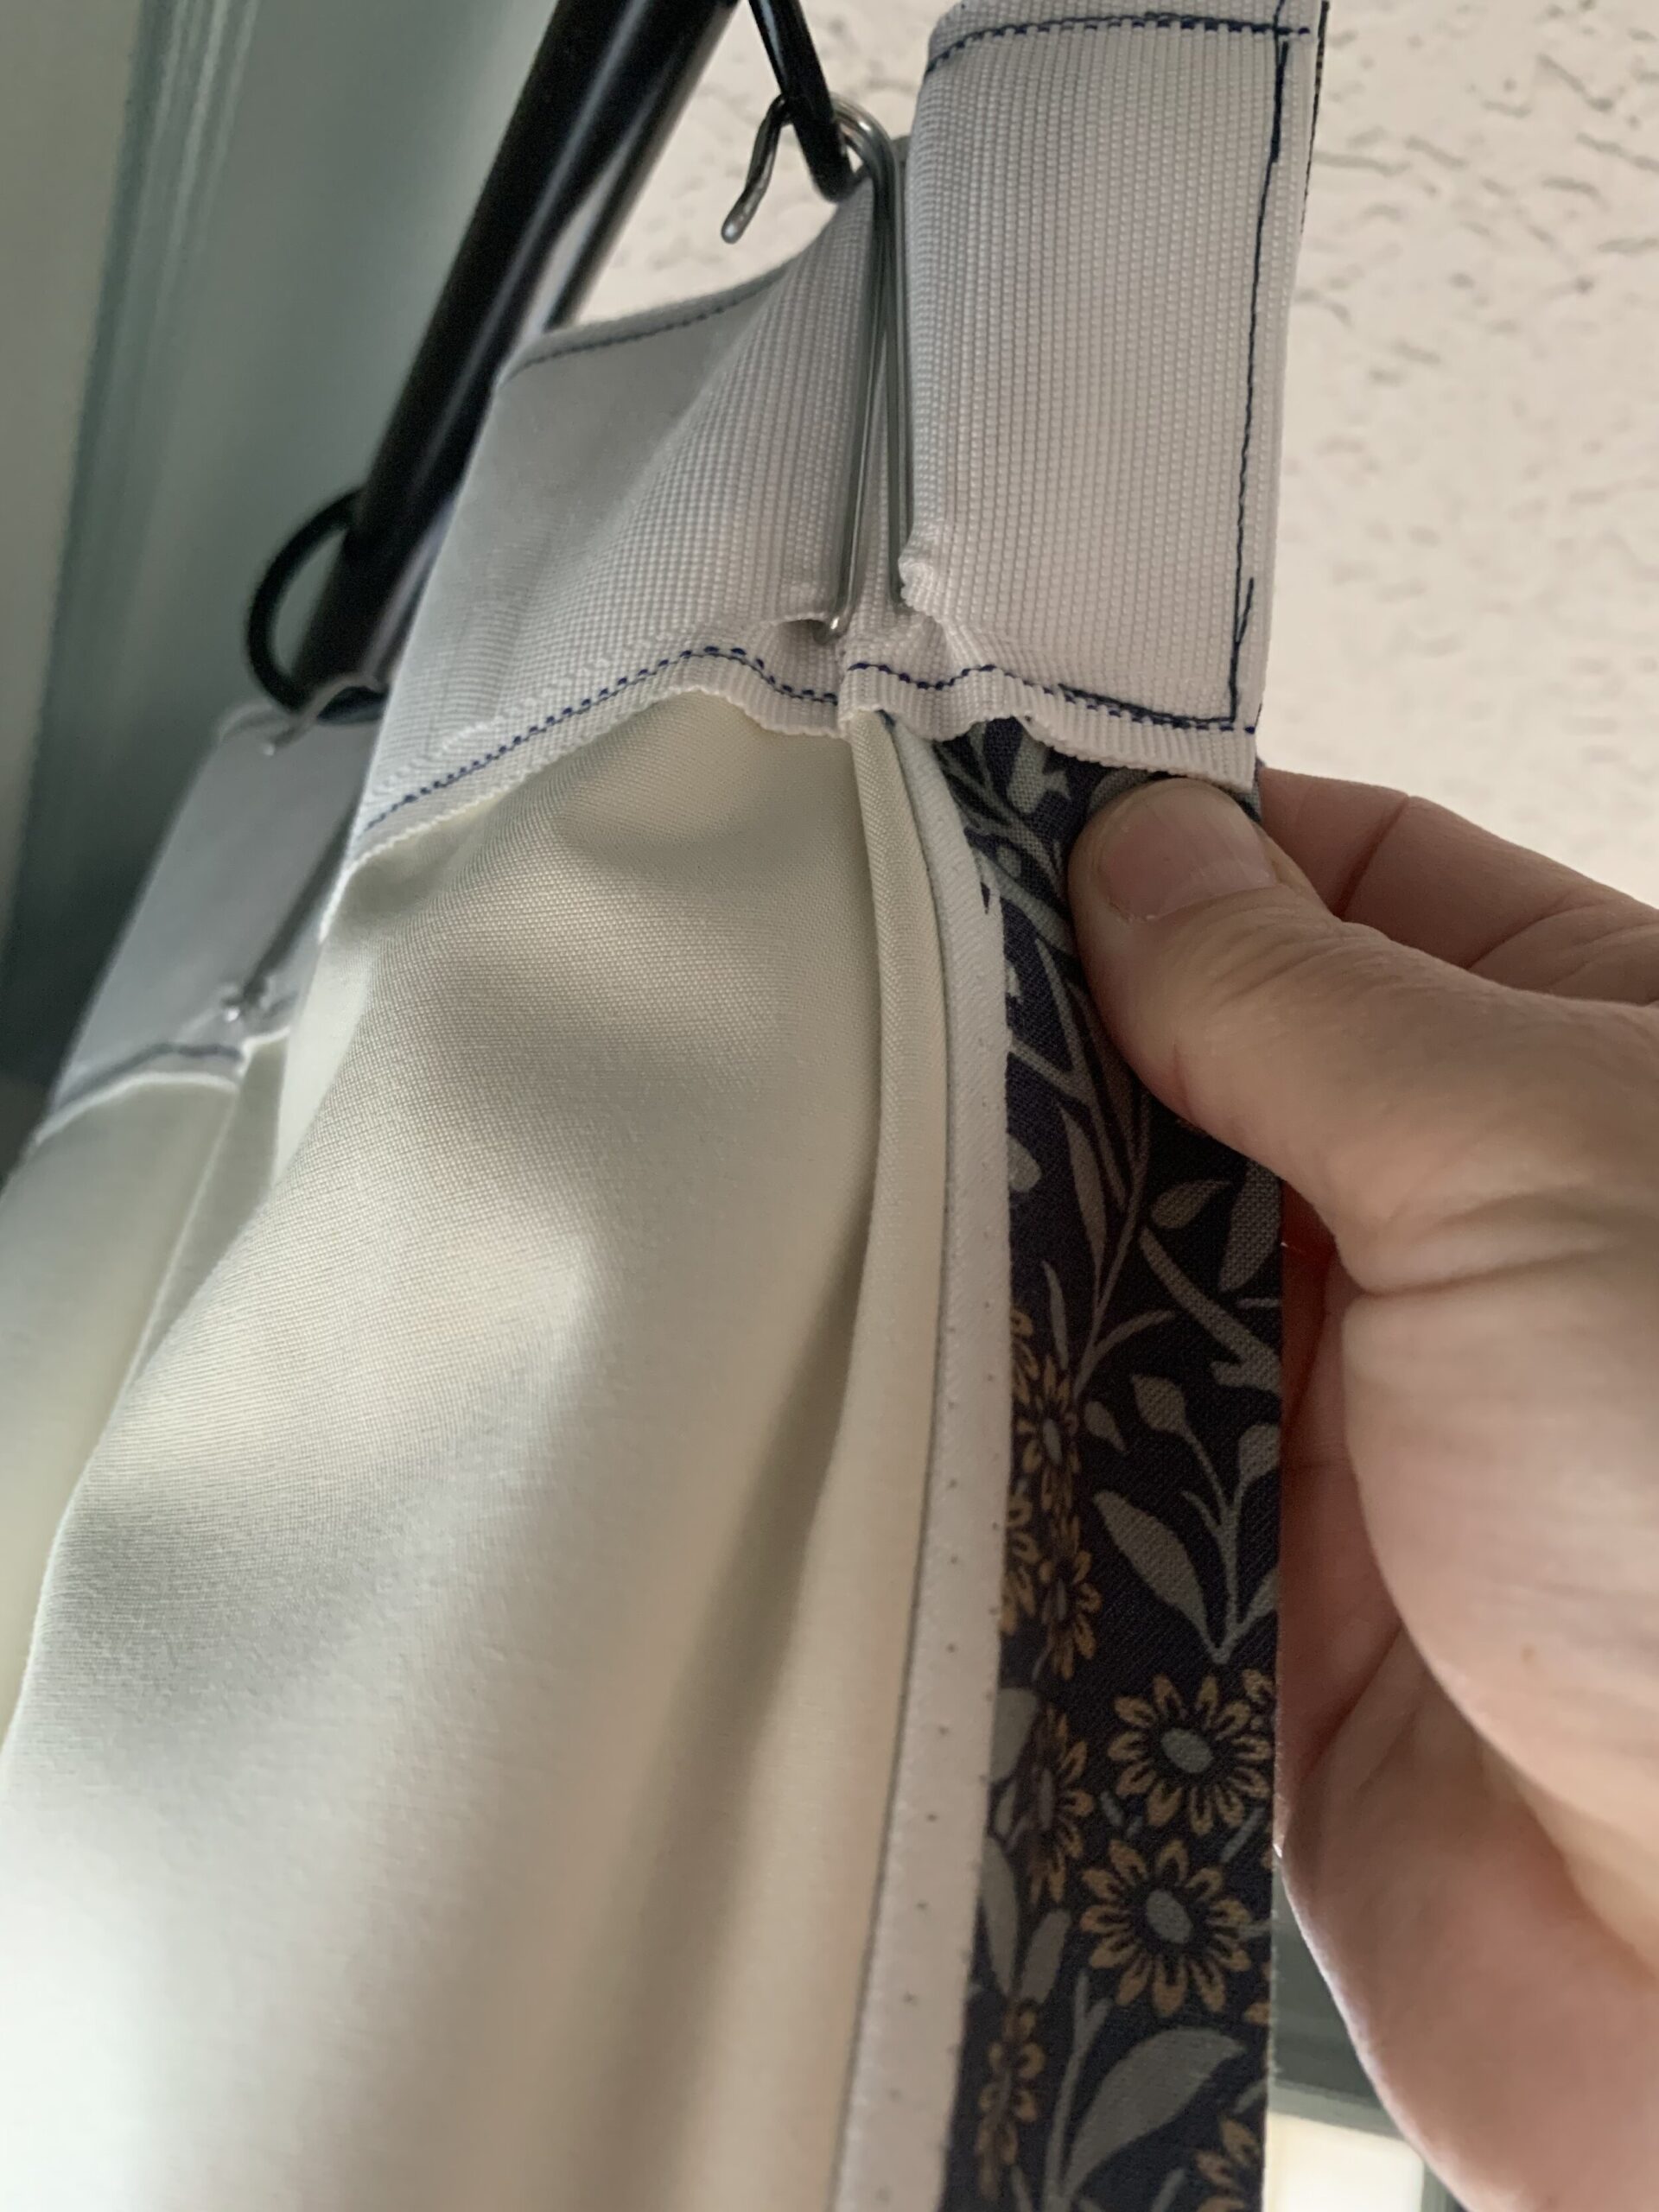
Almost done, stay with me!! Fold the top edge down 2 inches. Iron and pin in place but do not sew. Pin the tape in place, (trying to make the distance equal to the first pocket of the tape from either edge of the curtain panel, or as close as you can). Sew the top of the tape in place, through the curtain and the tape all at once. Remove the pins, and sew the bottom and sides of the tape in place.
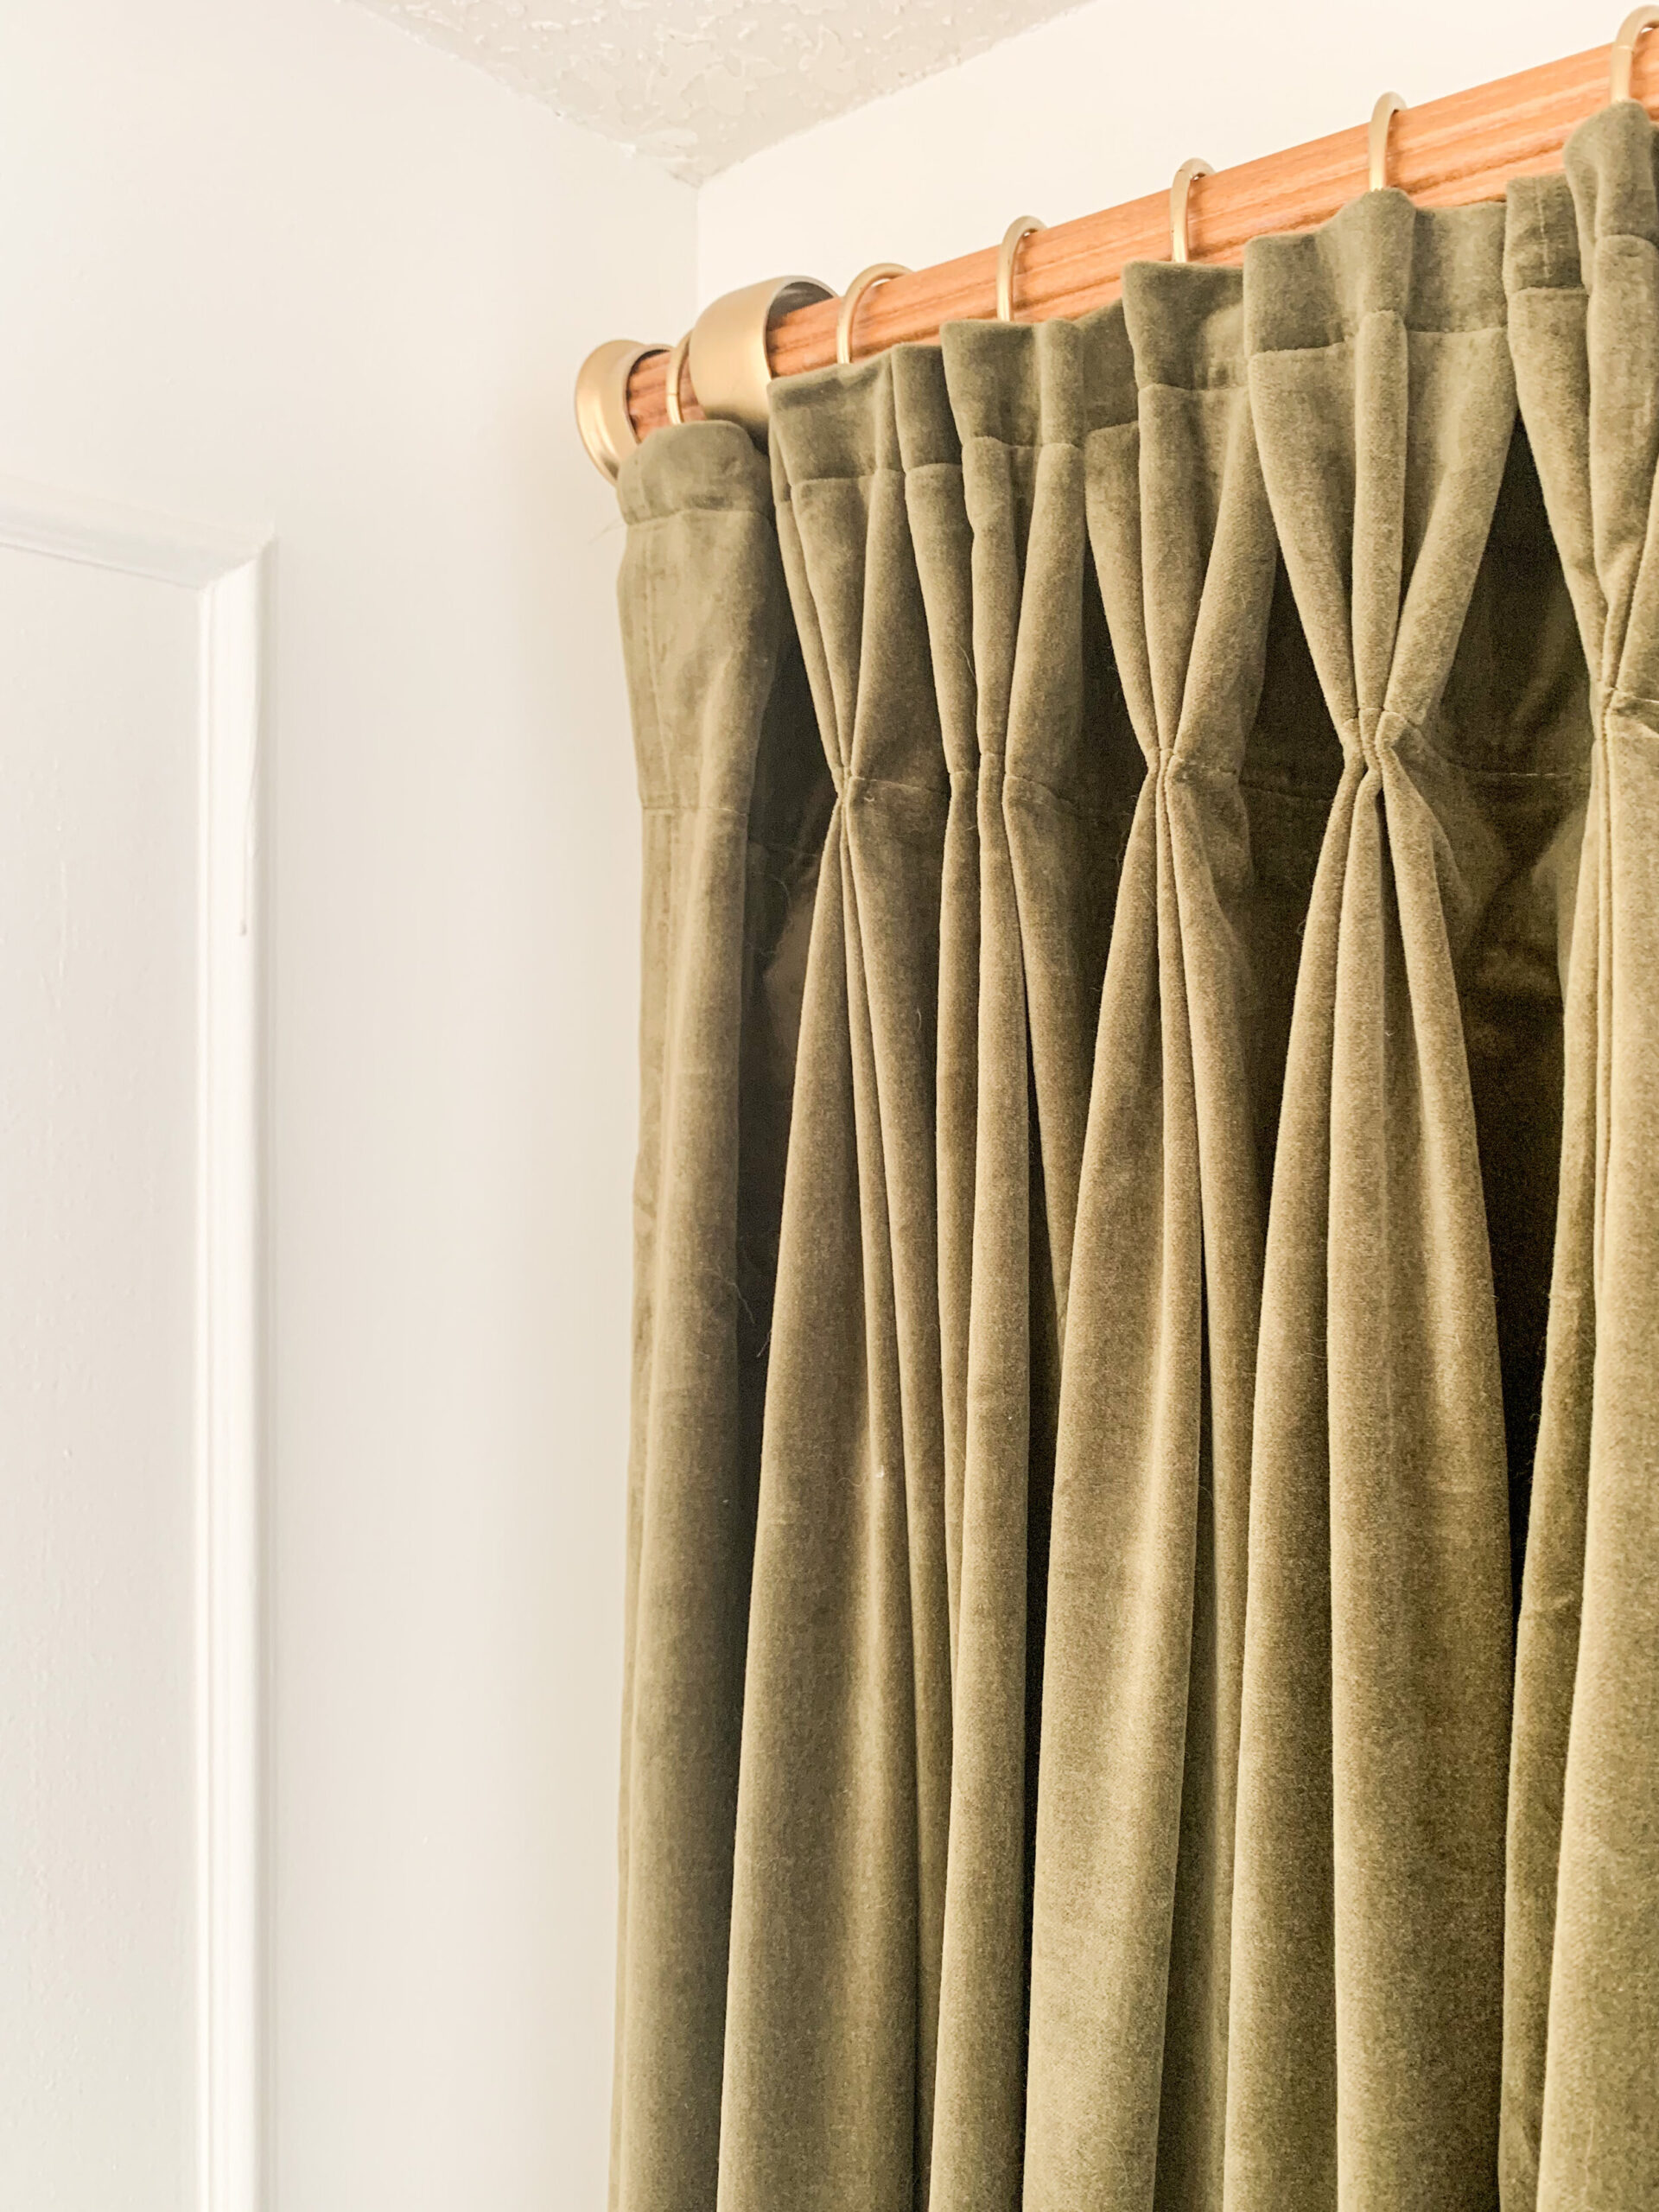
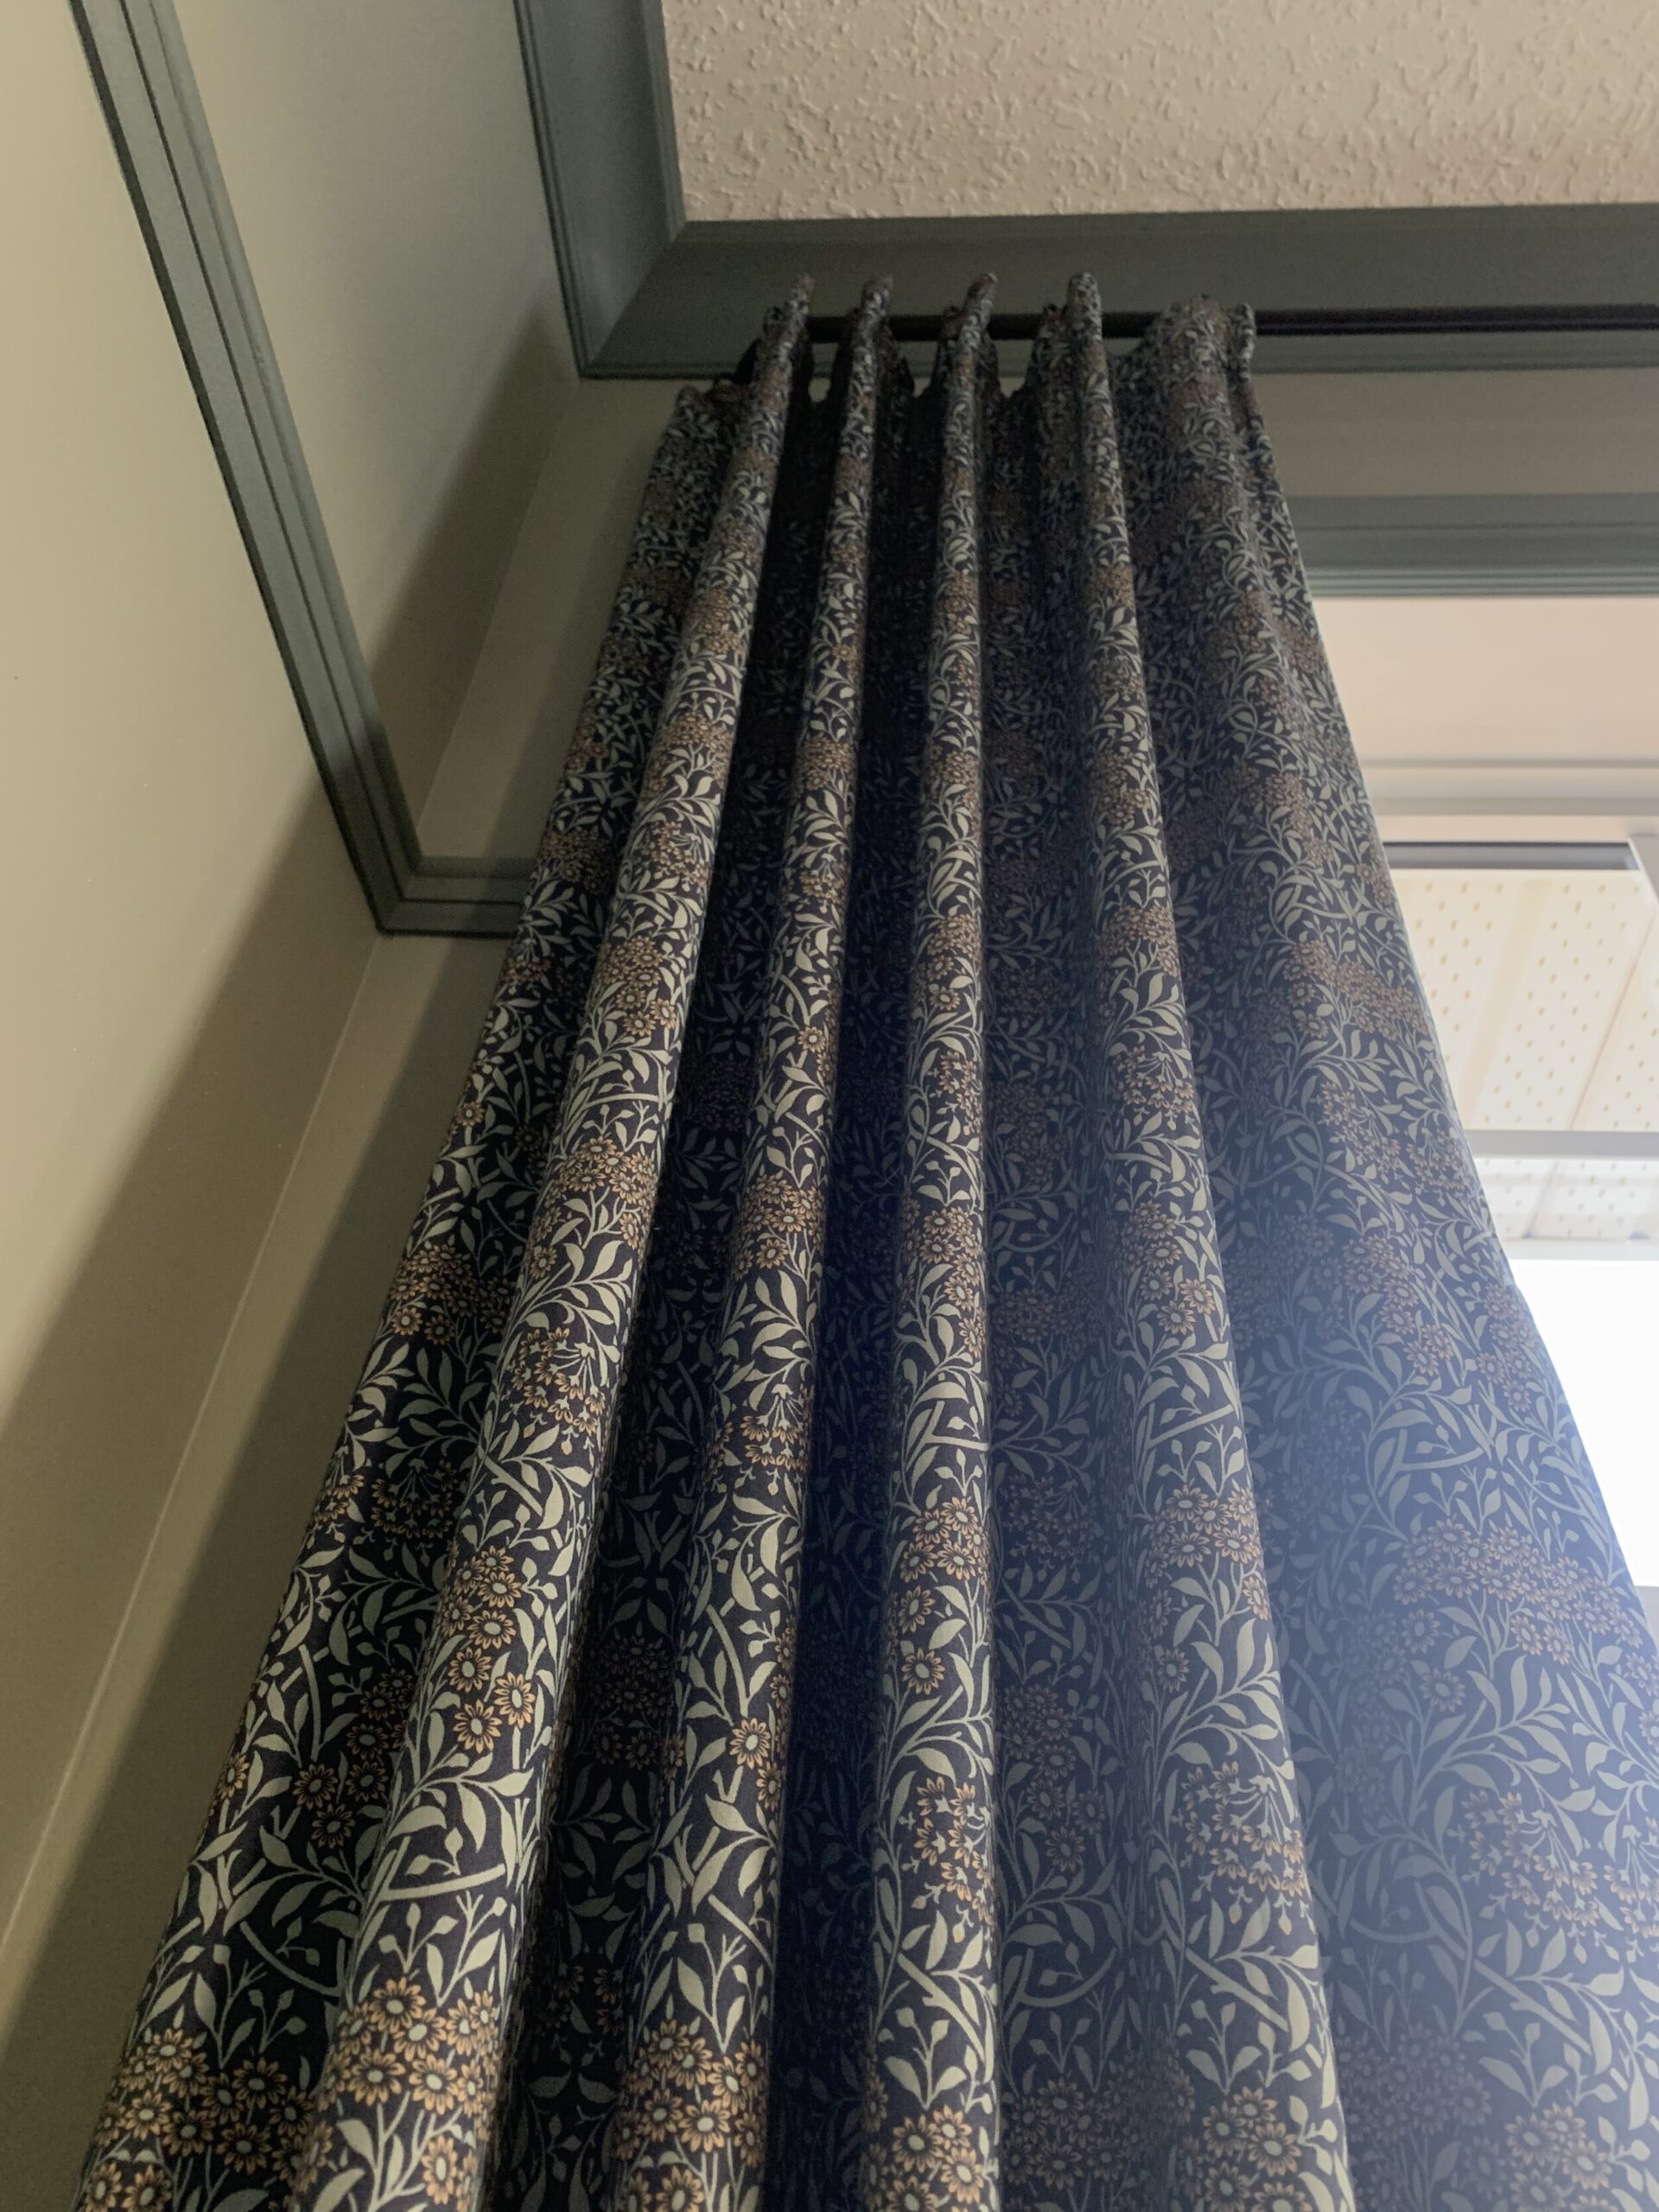
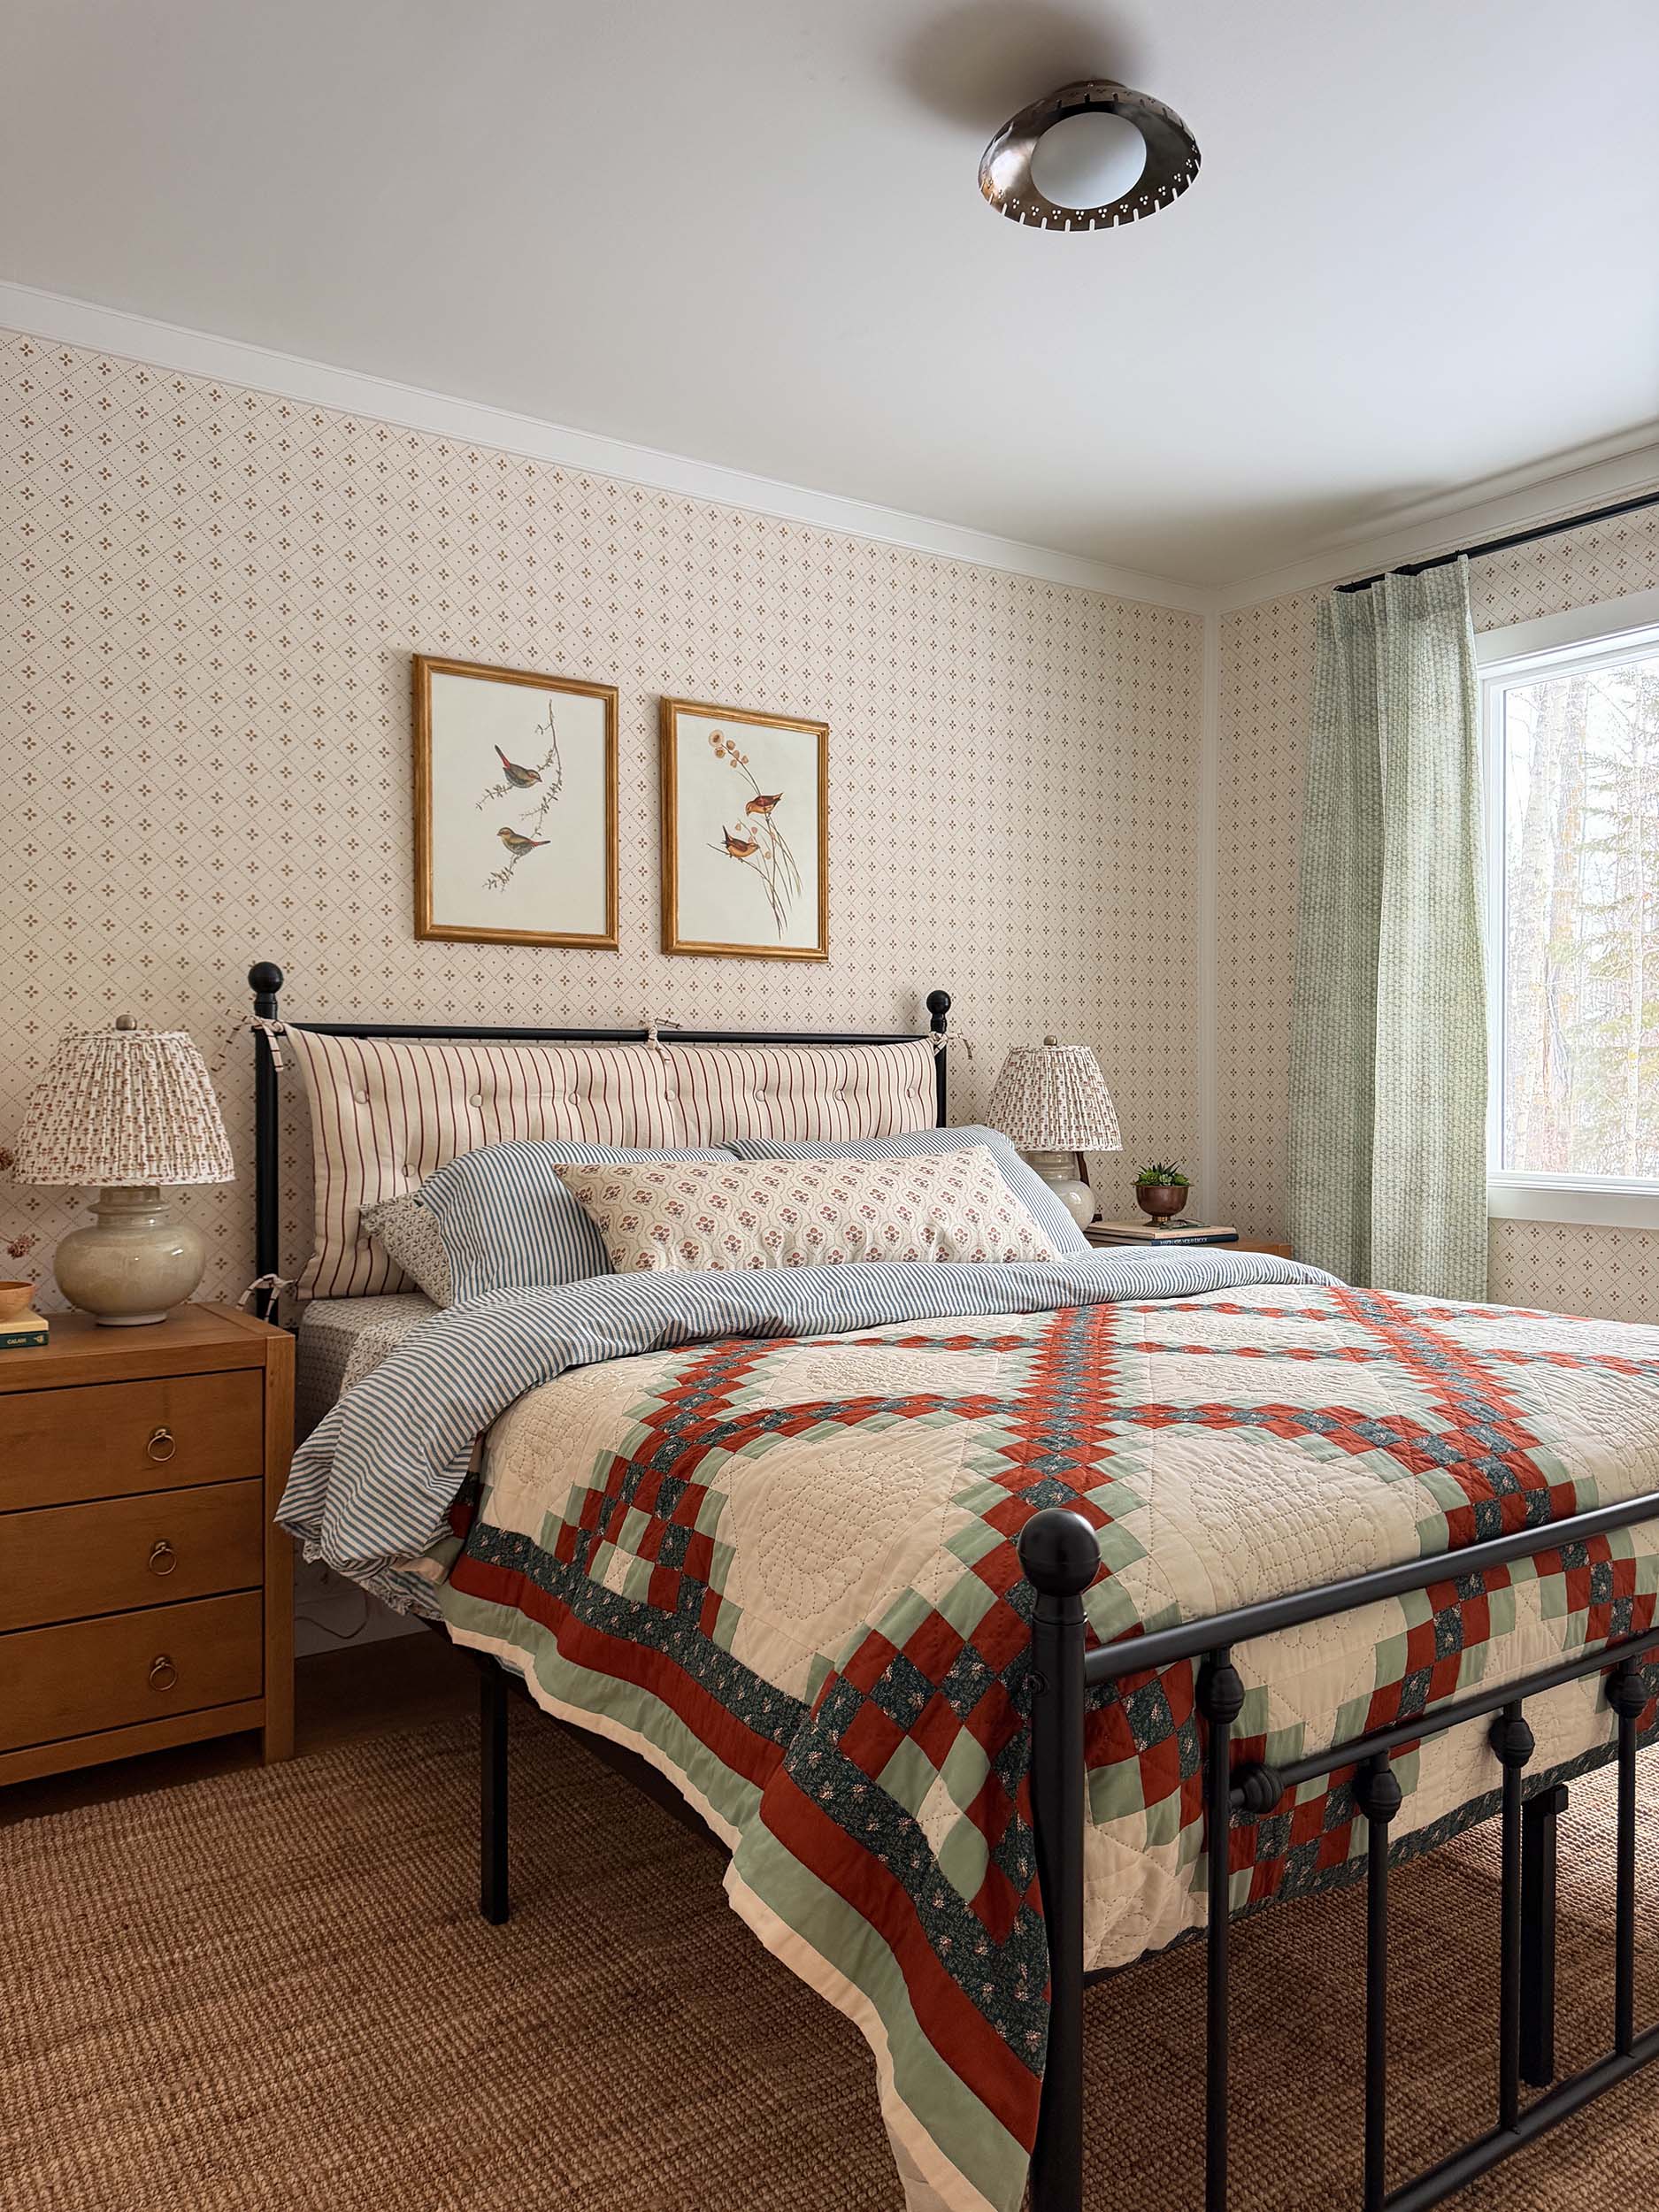
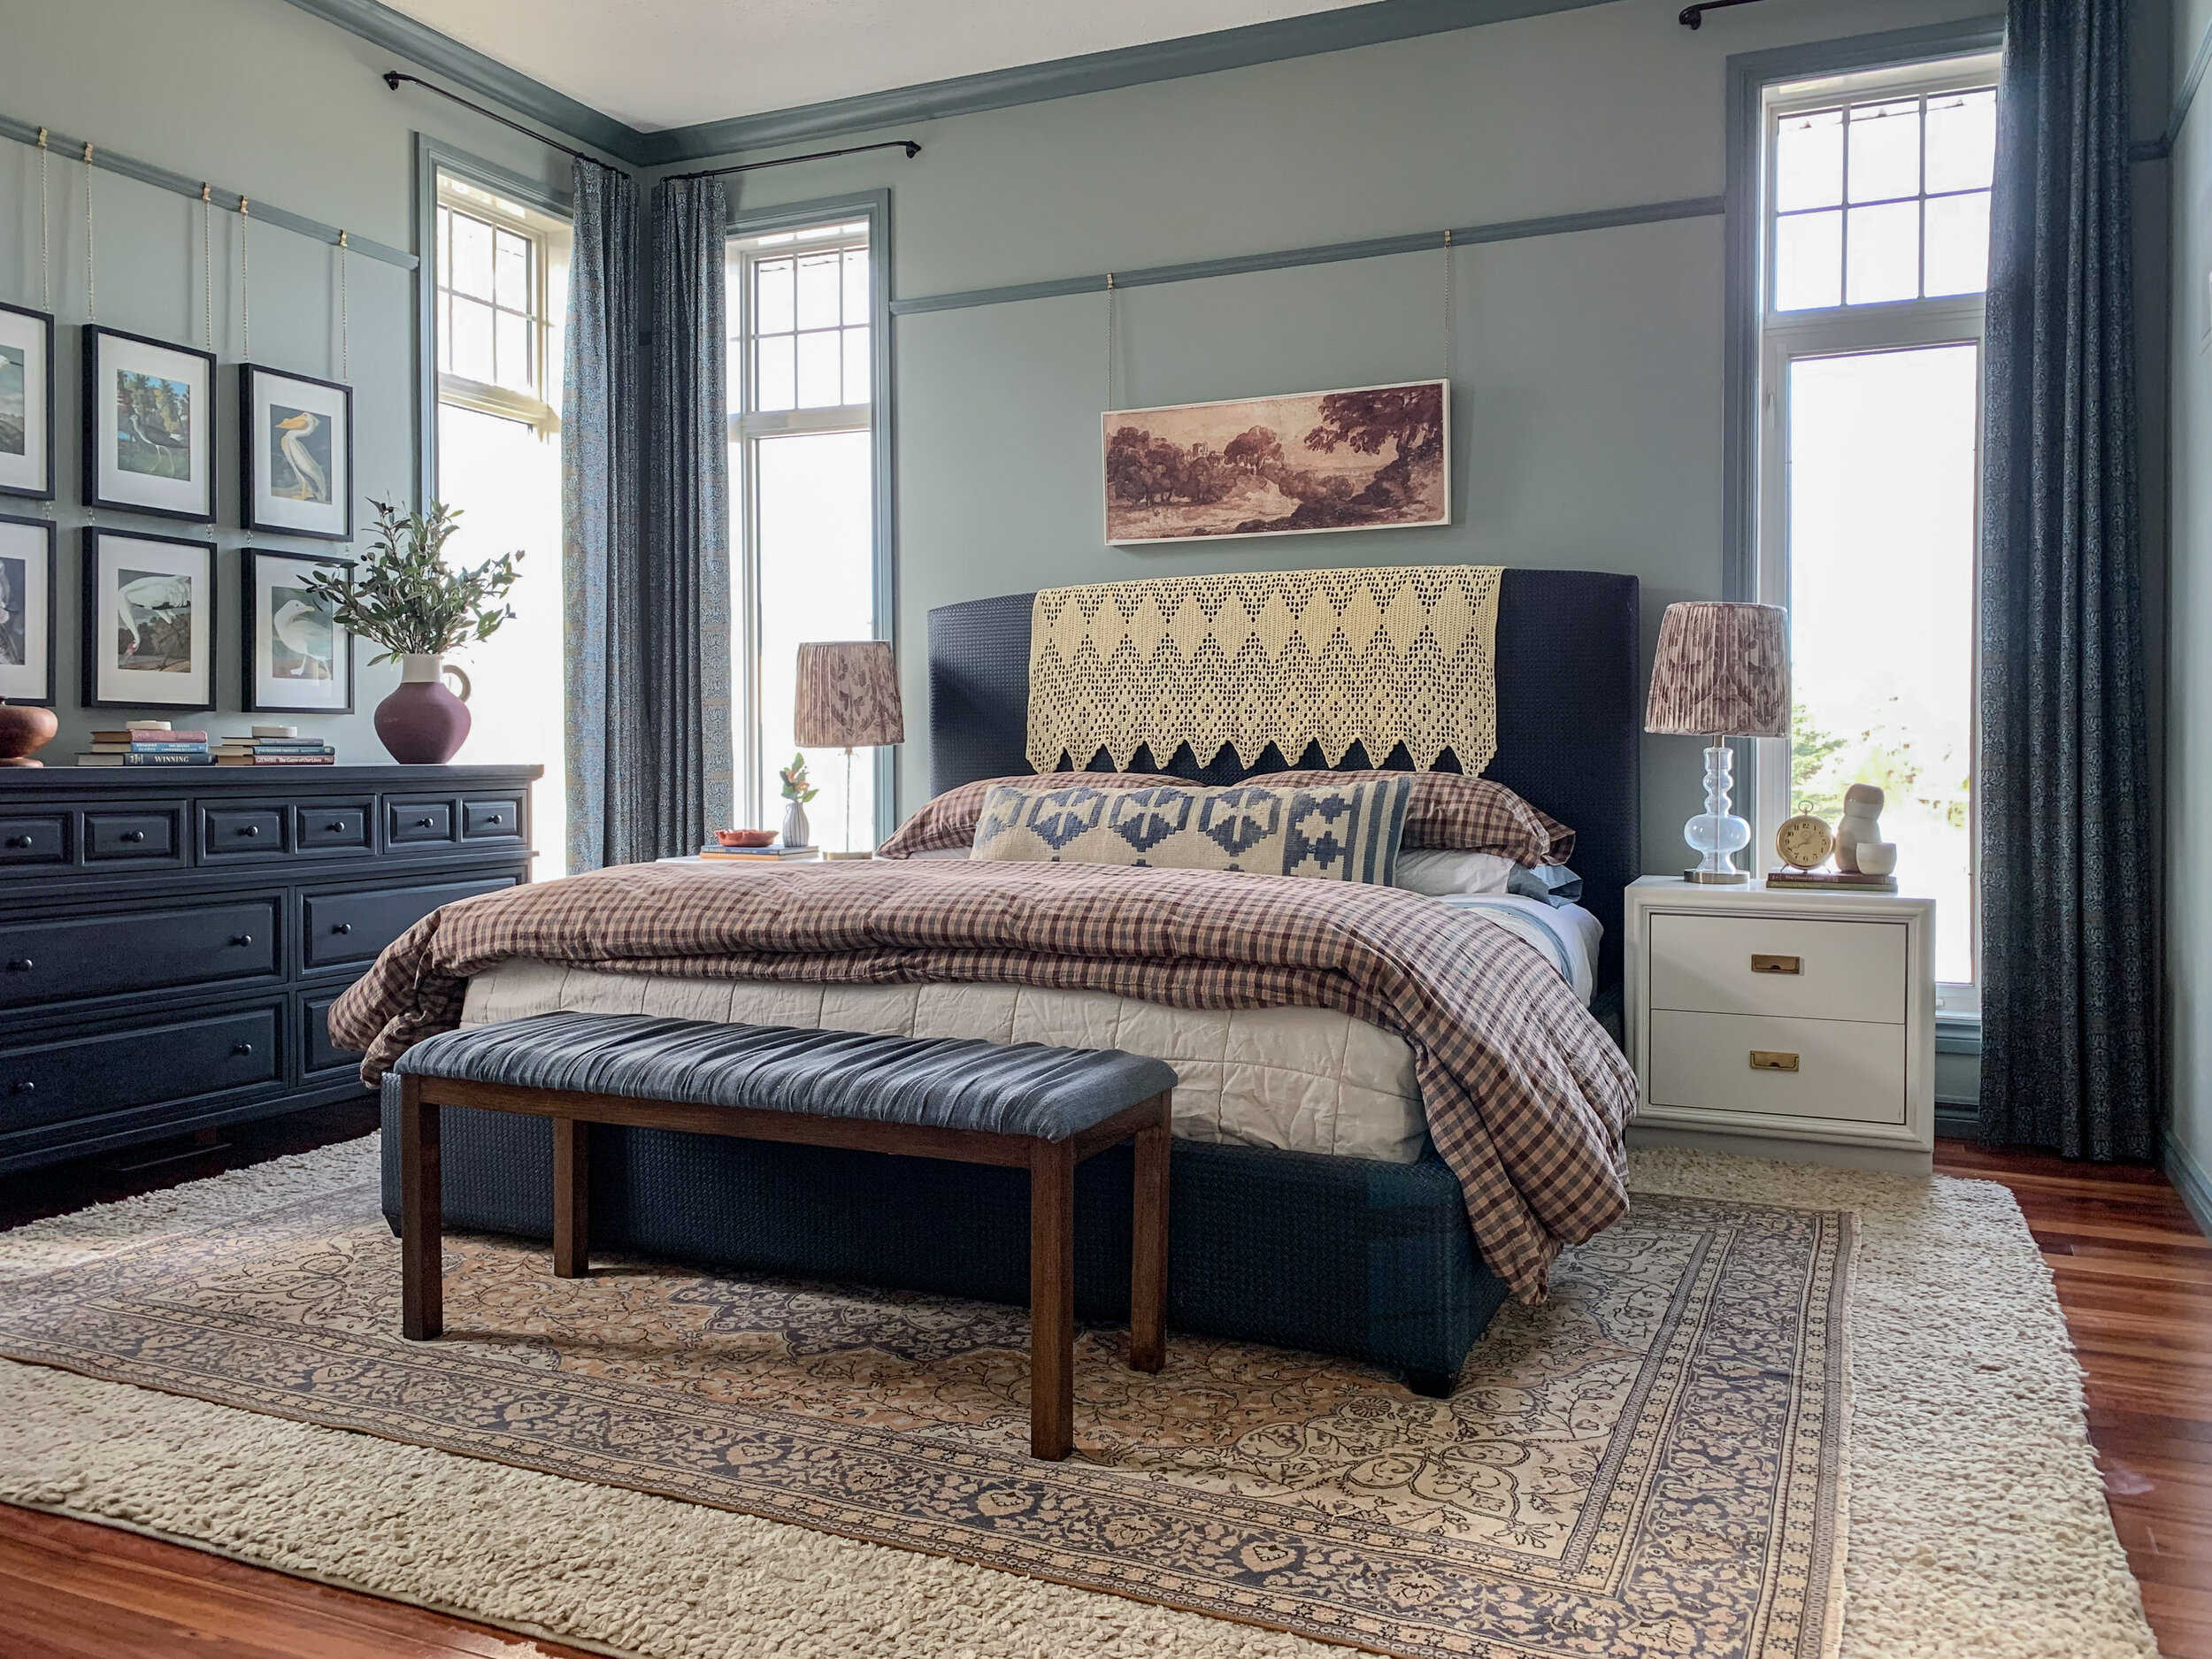
That’s it! That is your completed curtain panel, now all you need to do is hang using hooks and rings! Originally, my mom included some directions for making these with back tabs because that is how I used to do it, but since I’ve discovered curtain tape, rings and hooks, that is my preferred method. They slide much better on a rod when you use rings and look a lot more custom. You can get different types of hooks to give you different types of pleats, like the triple pleats I used on my living room curtains (green) or the single pleat hooks I used on my bedroom curtains (patterned)!
(If you are interested in seeing how to add triple pleat hooks, I have an Instagram story saved in my highlights with a little video that walks you through that! It’s called “Curtain Hack” and you can find it on my profile HERE.)
Here are some links to curtain tape, rings, and hooks that I have used in the past. I’ve also included links to the two types of linings I have used – blackout and regular, depending on your needs. Just add the fabric of your choice and say hello to your new custom curtains! (The fabric I used to make my bedroom curtains can be found HERE.)

I also have used Ikea hooks and tape (I’m not sure they sell this anymore!) in the past, those are a great option too!

This is very helpful, Erin, so thanks to both you and your mom. I have two questions. If you want to make wider curtains, do you sew the panels together before attaching the front to the back? Do you wash and iron your material before measuring and cutting?
I think I would sew the fabric together first, yes. Regarding washing, if you want to be able to wash them later and preshrink the fabric, you can wash it first. I generally don’t wash the fabric first, however, because sometimes it can come out quite wrinkly and require a lot of ironing. If/when I ever want them laundered I just take them to the dry cleaners because I don’t like the idea of trying to get everything ironed again! We will iron the fabric first if it’s really wrinkly and interfering with accurate measuring, but if it comes off a bolt it’s usually not to bad and we just iron them at the end, so it depends on the fabric.
Hello and thank you for the tutorial! I’m very curious what type of fabric do you use for your liner?
Thank you! I use fabric that is marked as “drapery liner” in the fabric store. They have regular lightweight liner or blackout options, depending on your needs!
I am making lined curtains for a patio door. 2 doubled width/s. How should I make my lining?
Should I sew 2 panels of lining together first and then cut down to 6 inches narrower?
I am using a lot of brain energy doing this!!
[email protected]
Hi Jeanie – I would sew the lining together first! Best of luck!
I love the tutorial, but I don’t see anywhere that says how to determine how wide to make the drapery. I vaguely remember home ec class (1975), but I seem to remember for gathered curtains it was 2 to 2 and a half times the width of the window.
Hello Cyndie! The current best practice is 1.5 – 2x the window width.
Very good tutorial, one of the few I have understood properly!
I’m glad it was helpful!
Your tutorial is very helpful. However I have a query:
In section 2. Cut your lining fabric, you say to cut the lining to 2.5” longer than the finished length. I’m confused as don’t understand why this should be longer than main fabric. Shouldn’t it be 2.5” SHORTER?
Thanks
Thanks Jill! You want the liner to be longer than the finished length so it can be hemmed. Note that I said it should be 2.5″ longer than the FINISHED LENGTH not the main fabric. The main fabric is 10″ longer than the finished length. Hope that clears it up!
Looking at this and your website and loving it! You show green velvet IKEA curtains with sheers….can you share how you hung the sheers…Double rod? Thanks.
I did a bit of a hack on those where I added a white ikea curtain track just a bit below the existing rod. It is not an idea soution, a double rod or double track would work better but I already had my green drapes up and my home made wood rod which I wanted to keep, so I made that work.
This is so helpful! About to jump into this project this weekend!
One question. I was originally planning to make the drapes and hang them up and then make the final hem on the bottom to ensure I have the right length given rod and hardware palcement. How would that change the instructions for the distance to place the lining fabric on the curtain fabric (1.5” from the bottom hem), if I waited to hem at the end?
I don’t think that would really change anything! Good luck with your project!
Hi! If I am planning to triple pleat my fabric – how much wider does my fabric need to be to get the desired width at the end? I.e, if it needs to be 36” wide at the end – do I double or triple this number to make sure it’s wide enough after the pleats are done? Thank you!
Hi Savannah, I actually made some pinch pleat cafe curtains and I went over the math on how to figure out the width in that post. You can find that here: https://erinzubotdesign.com/diy-pinch-pleated-cafe-curtain/
Why do you hem the lining first instead of just hemming both fabrics at the same time?
They are not attached at the bottom.
I’m not understanding step 8. Can you explain a little more please?
The bottom hem will be folded straight and 90 degrees to the sides. You can just tuck that corner in so that there is a 45 degree angle on that fabric and stitch it. (This is totally optional, you can also just leave it the way it is and sew it closed if this is confusing!)