Drywall, Moulding and Paint, Oh My!
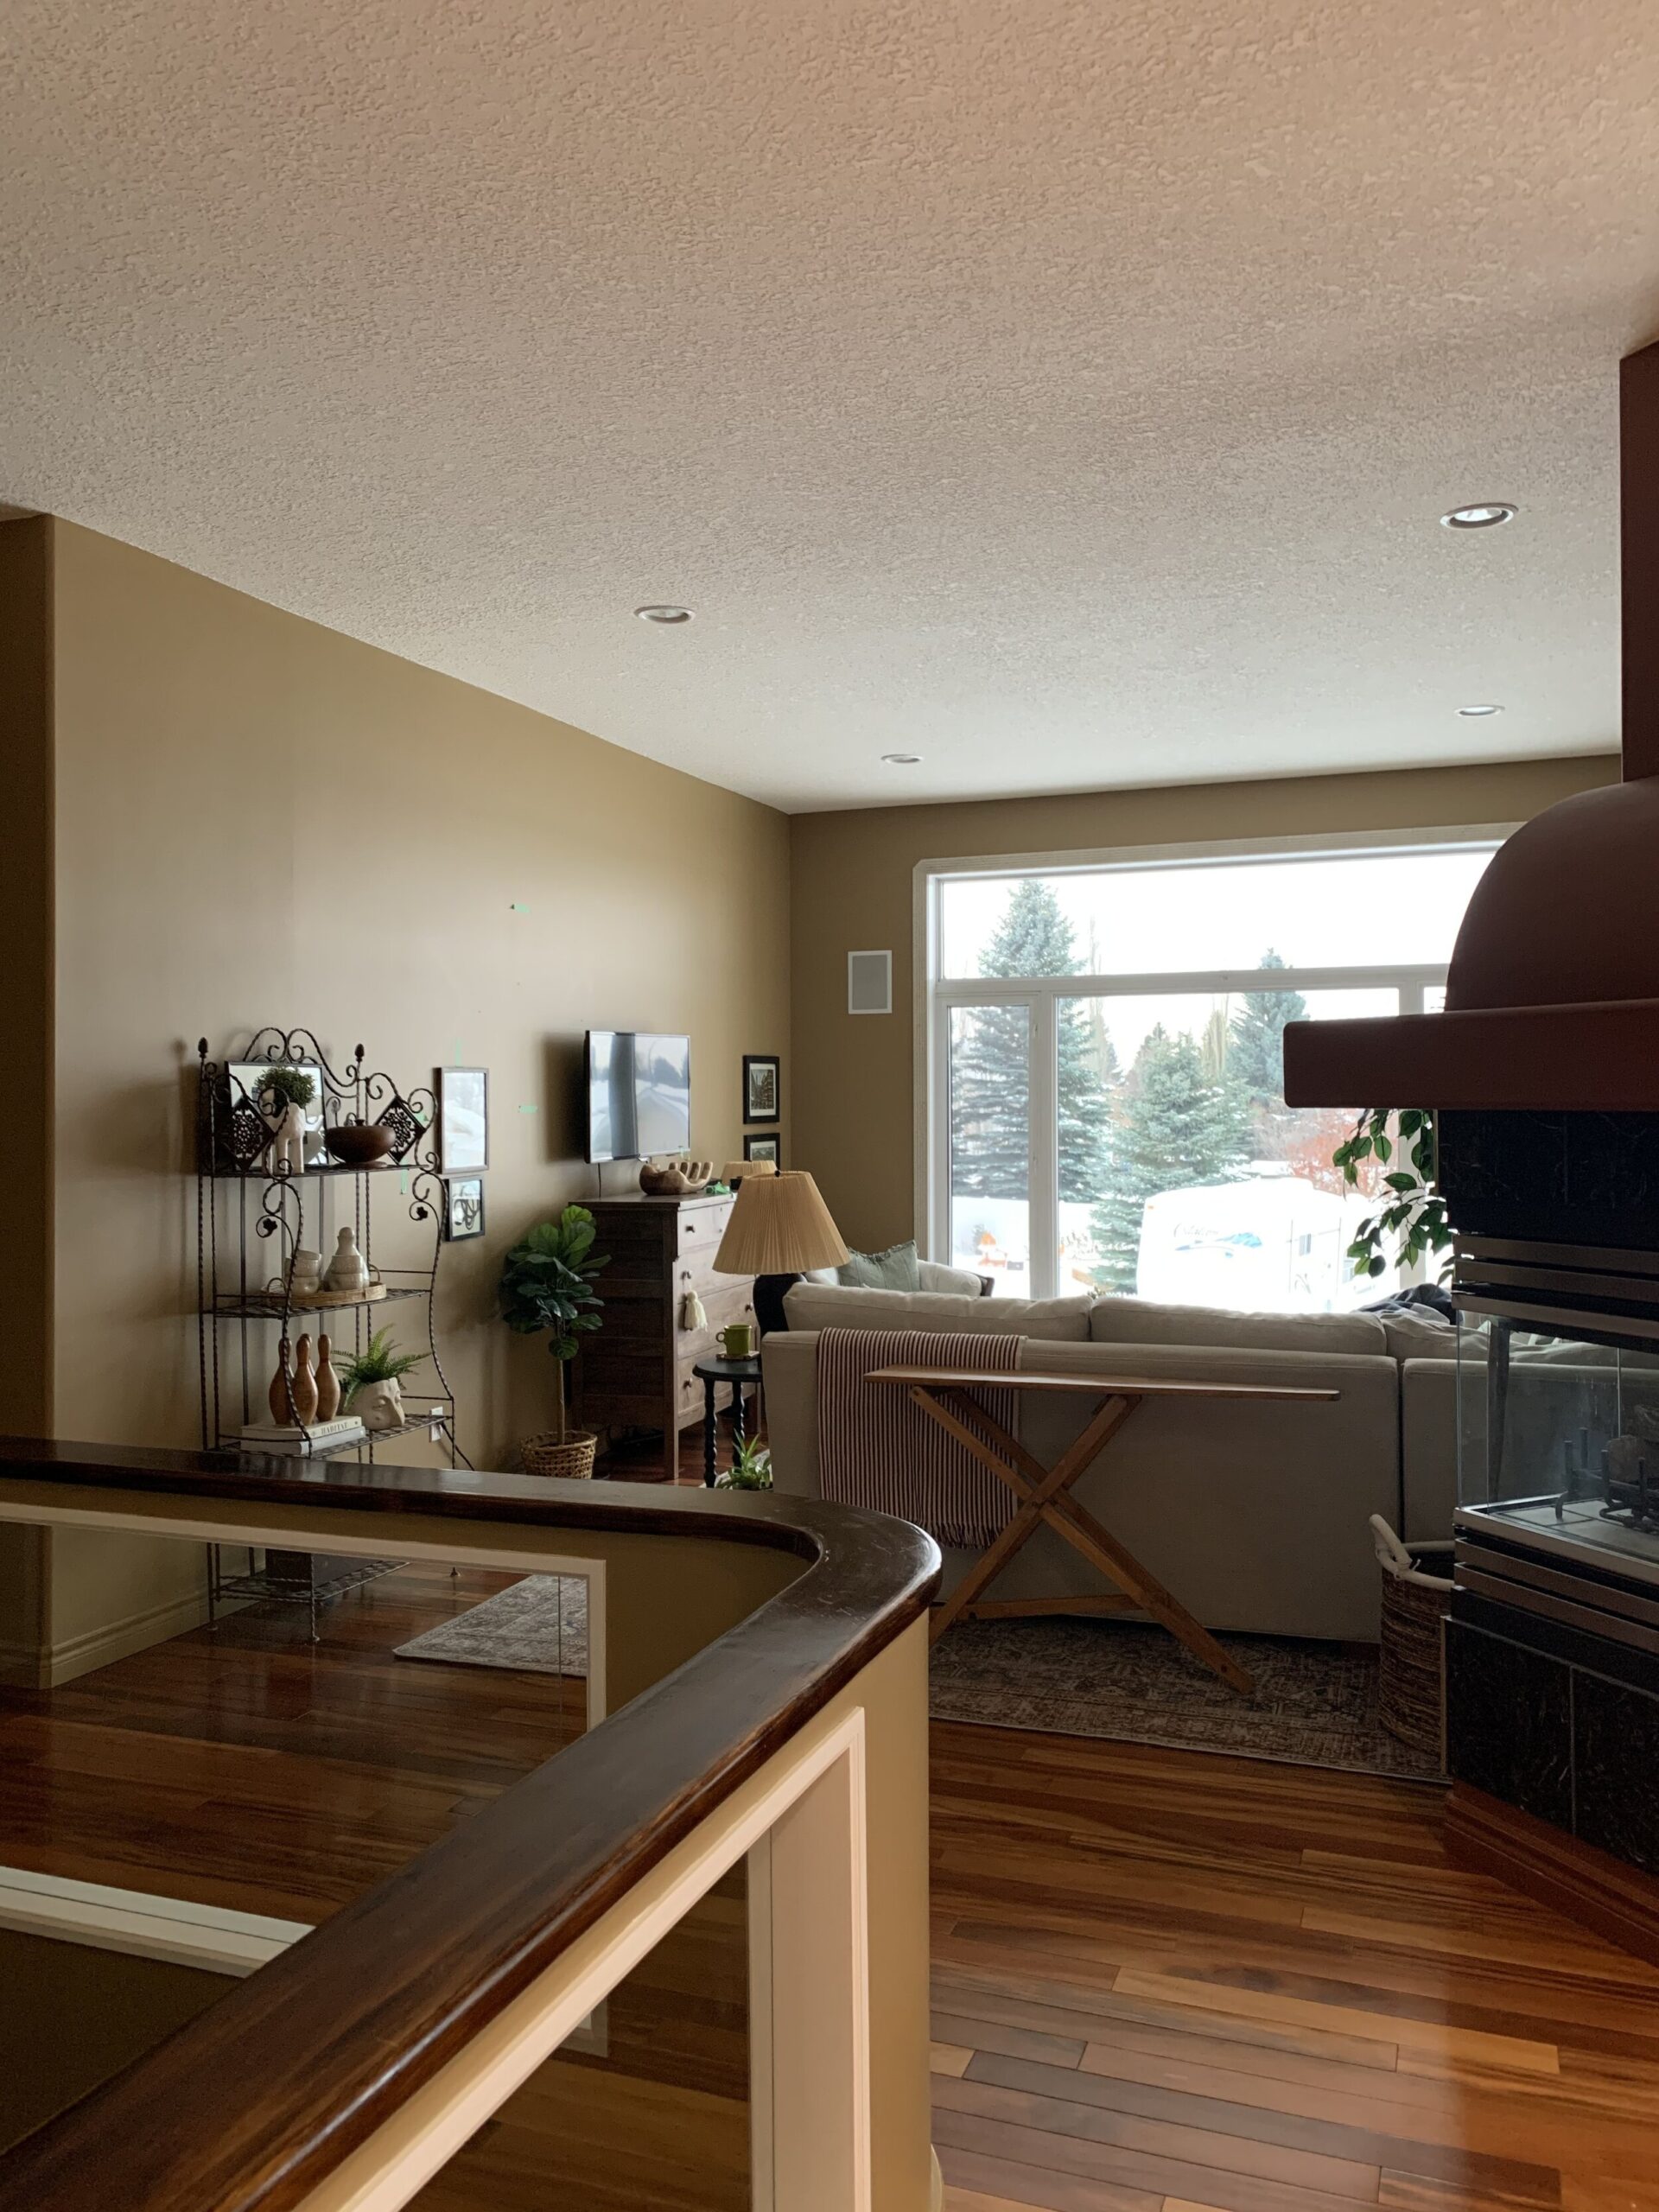
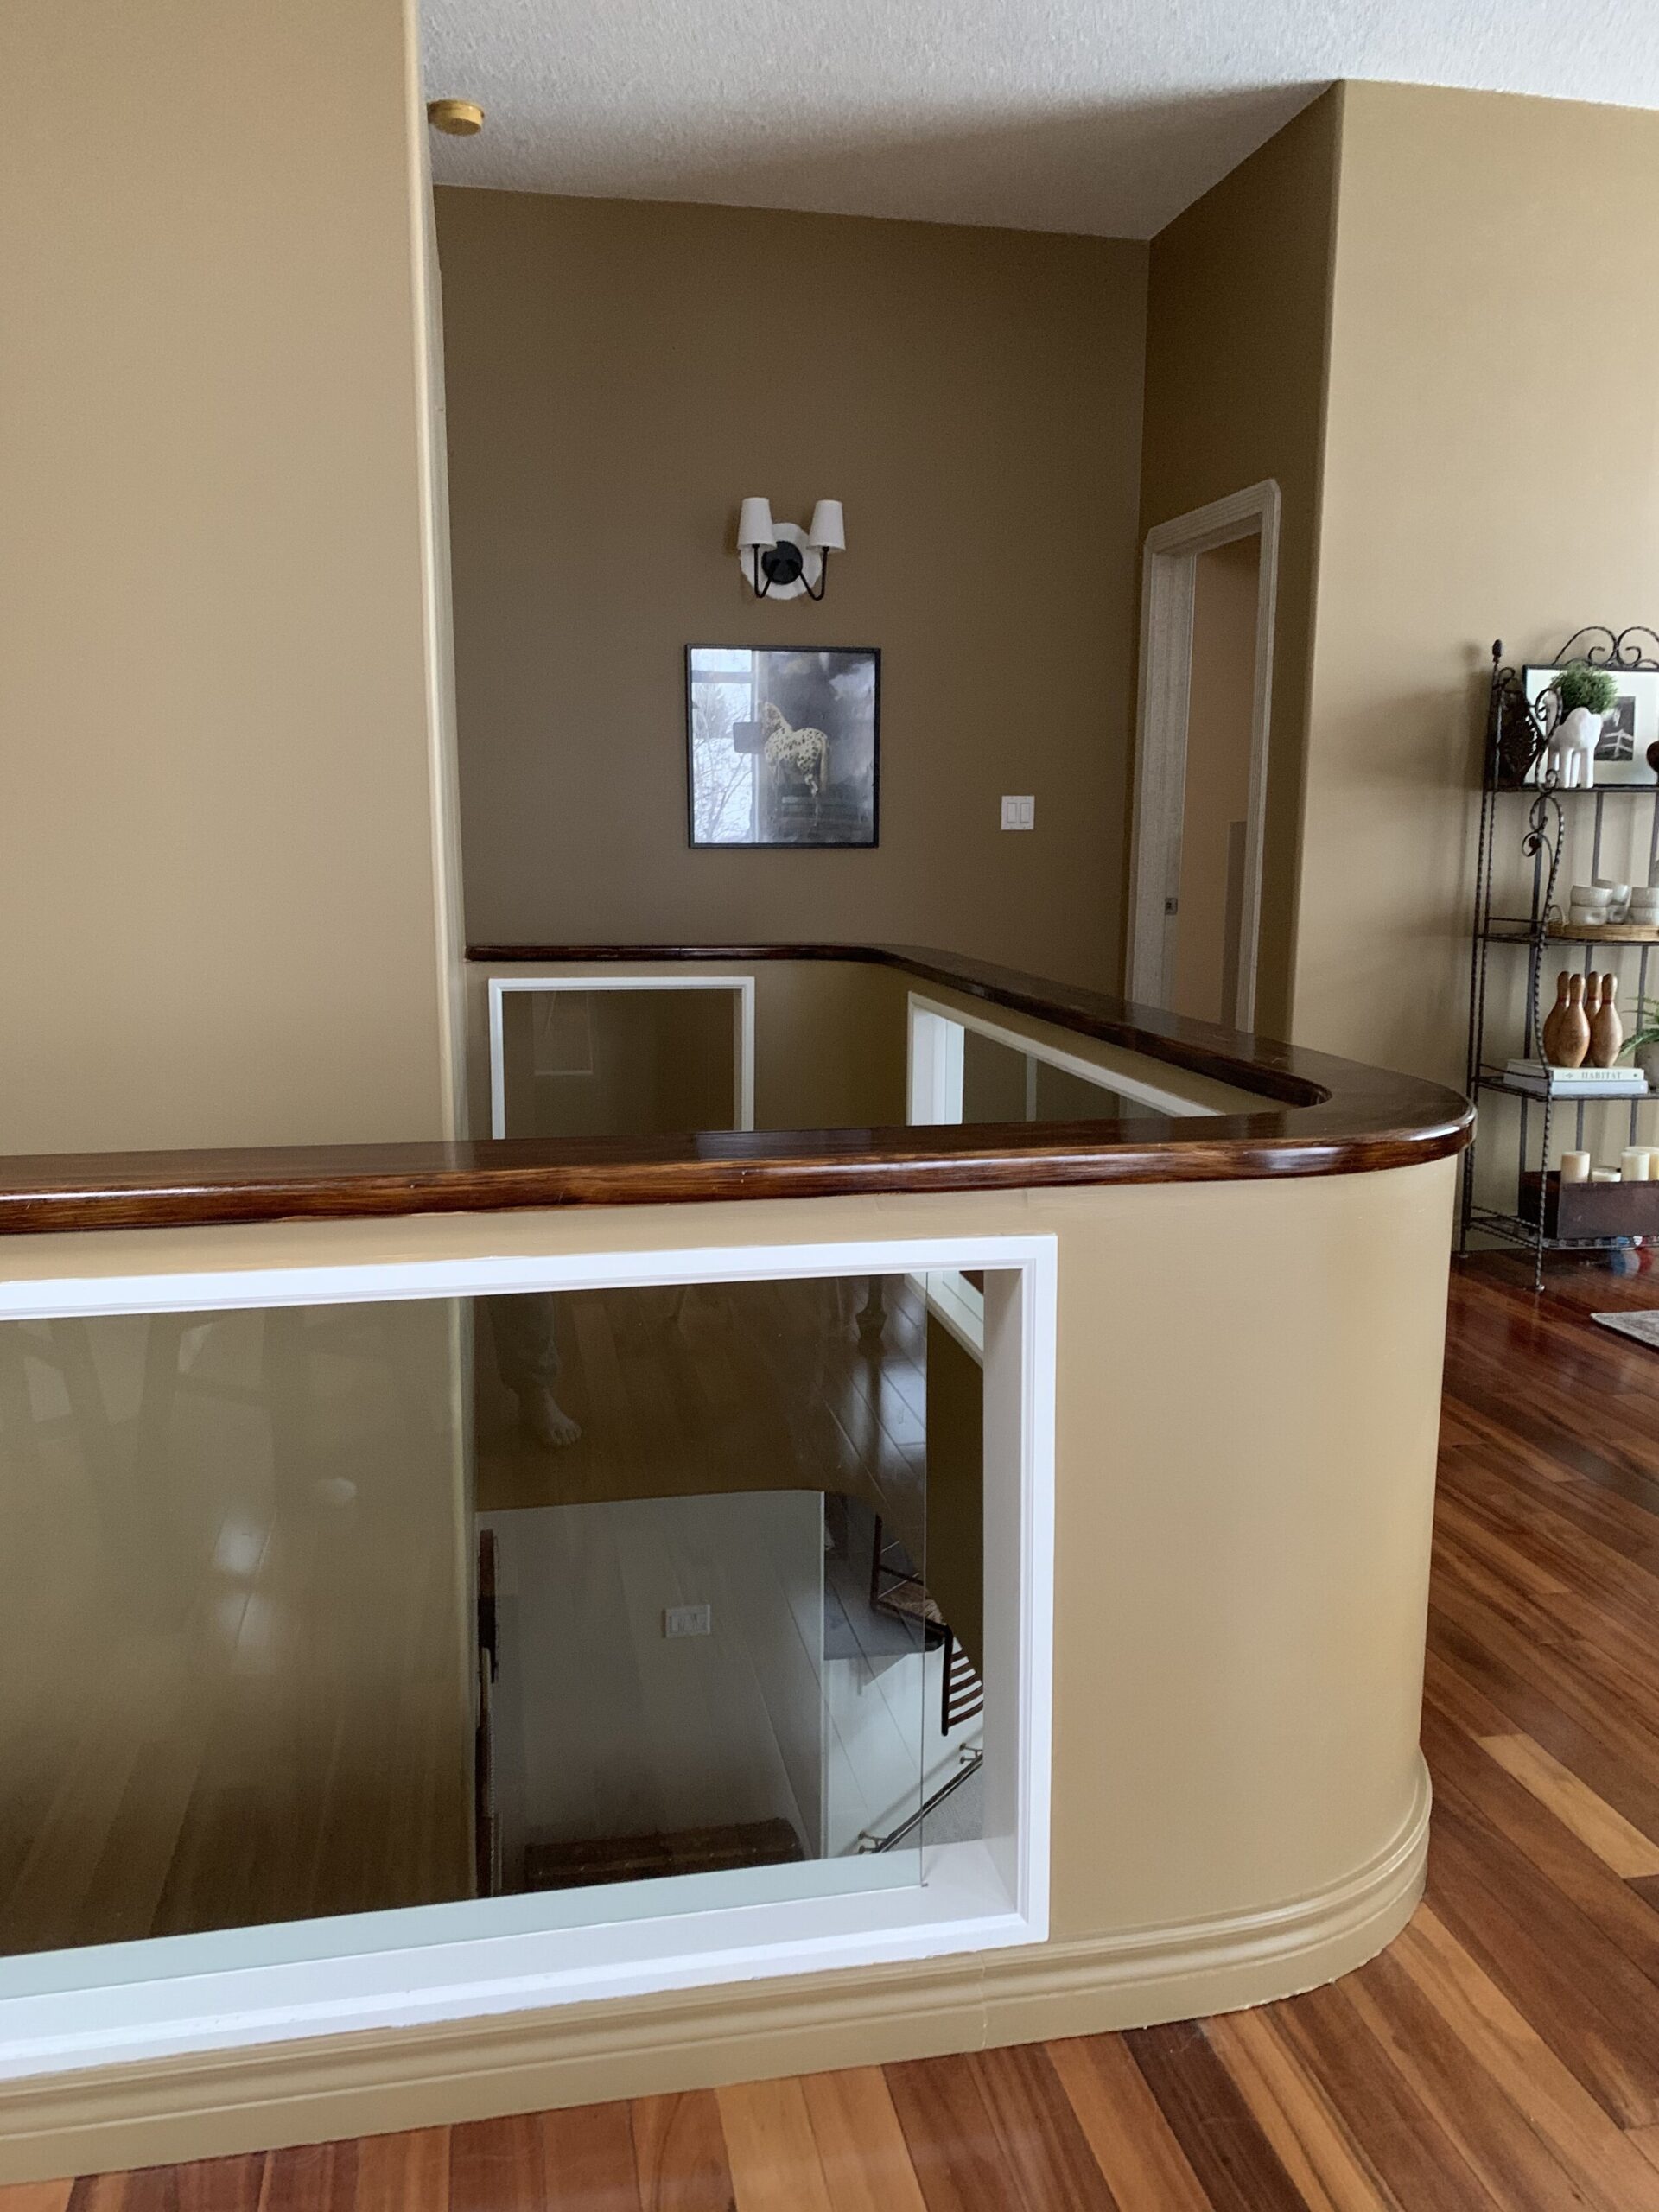
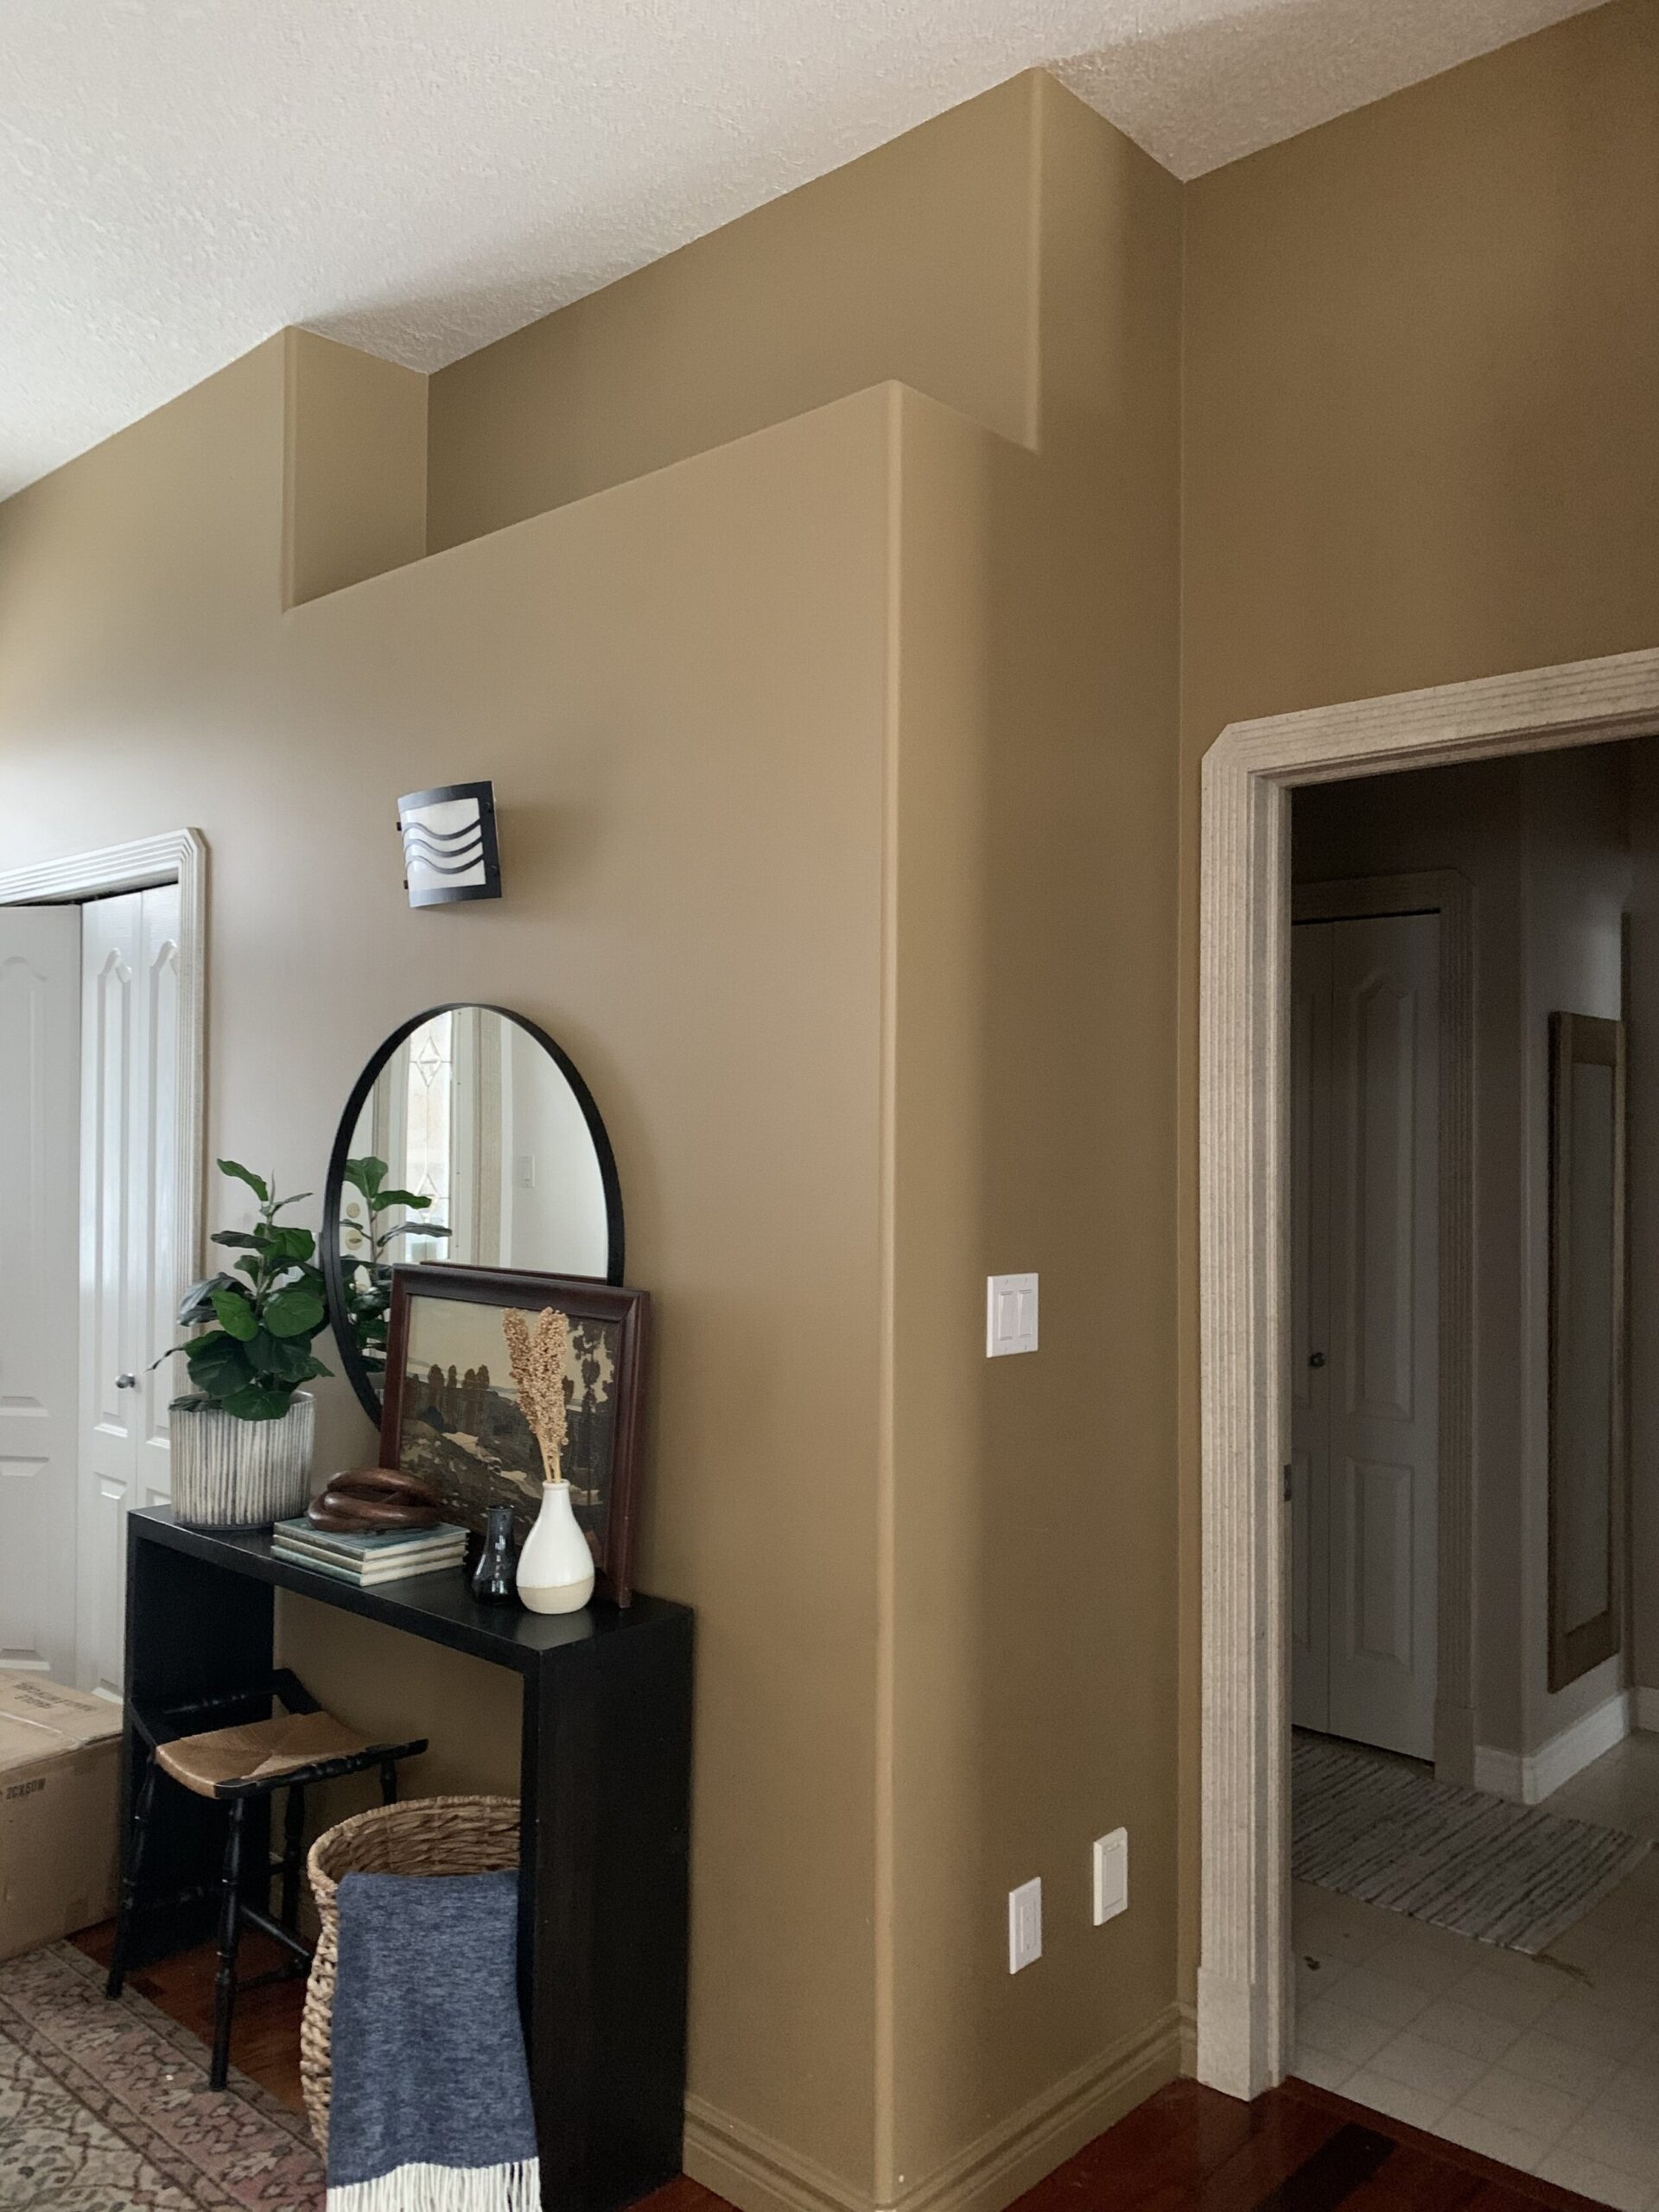
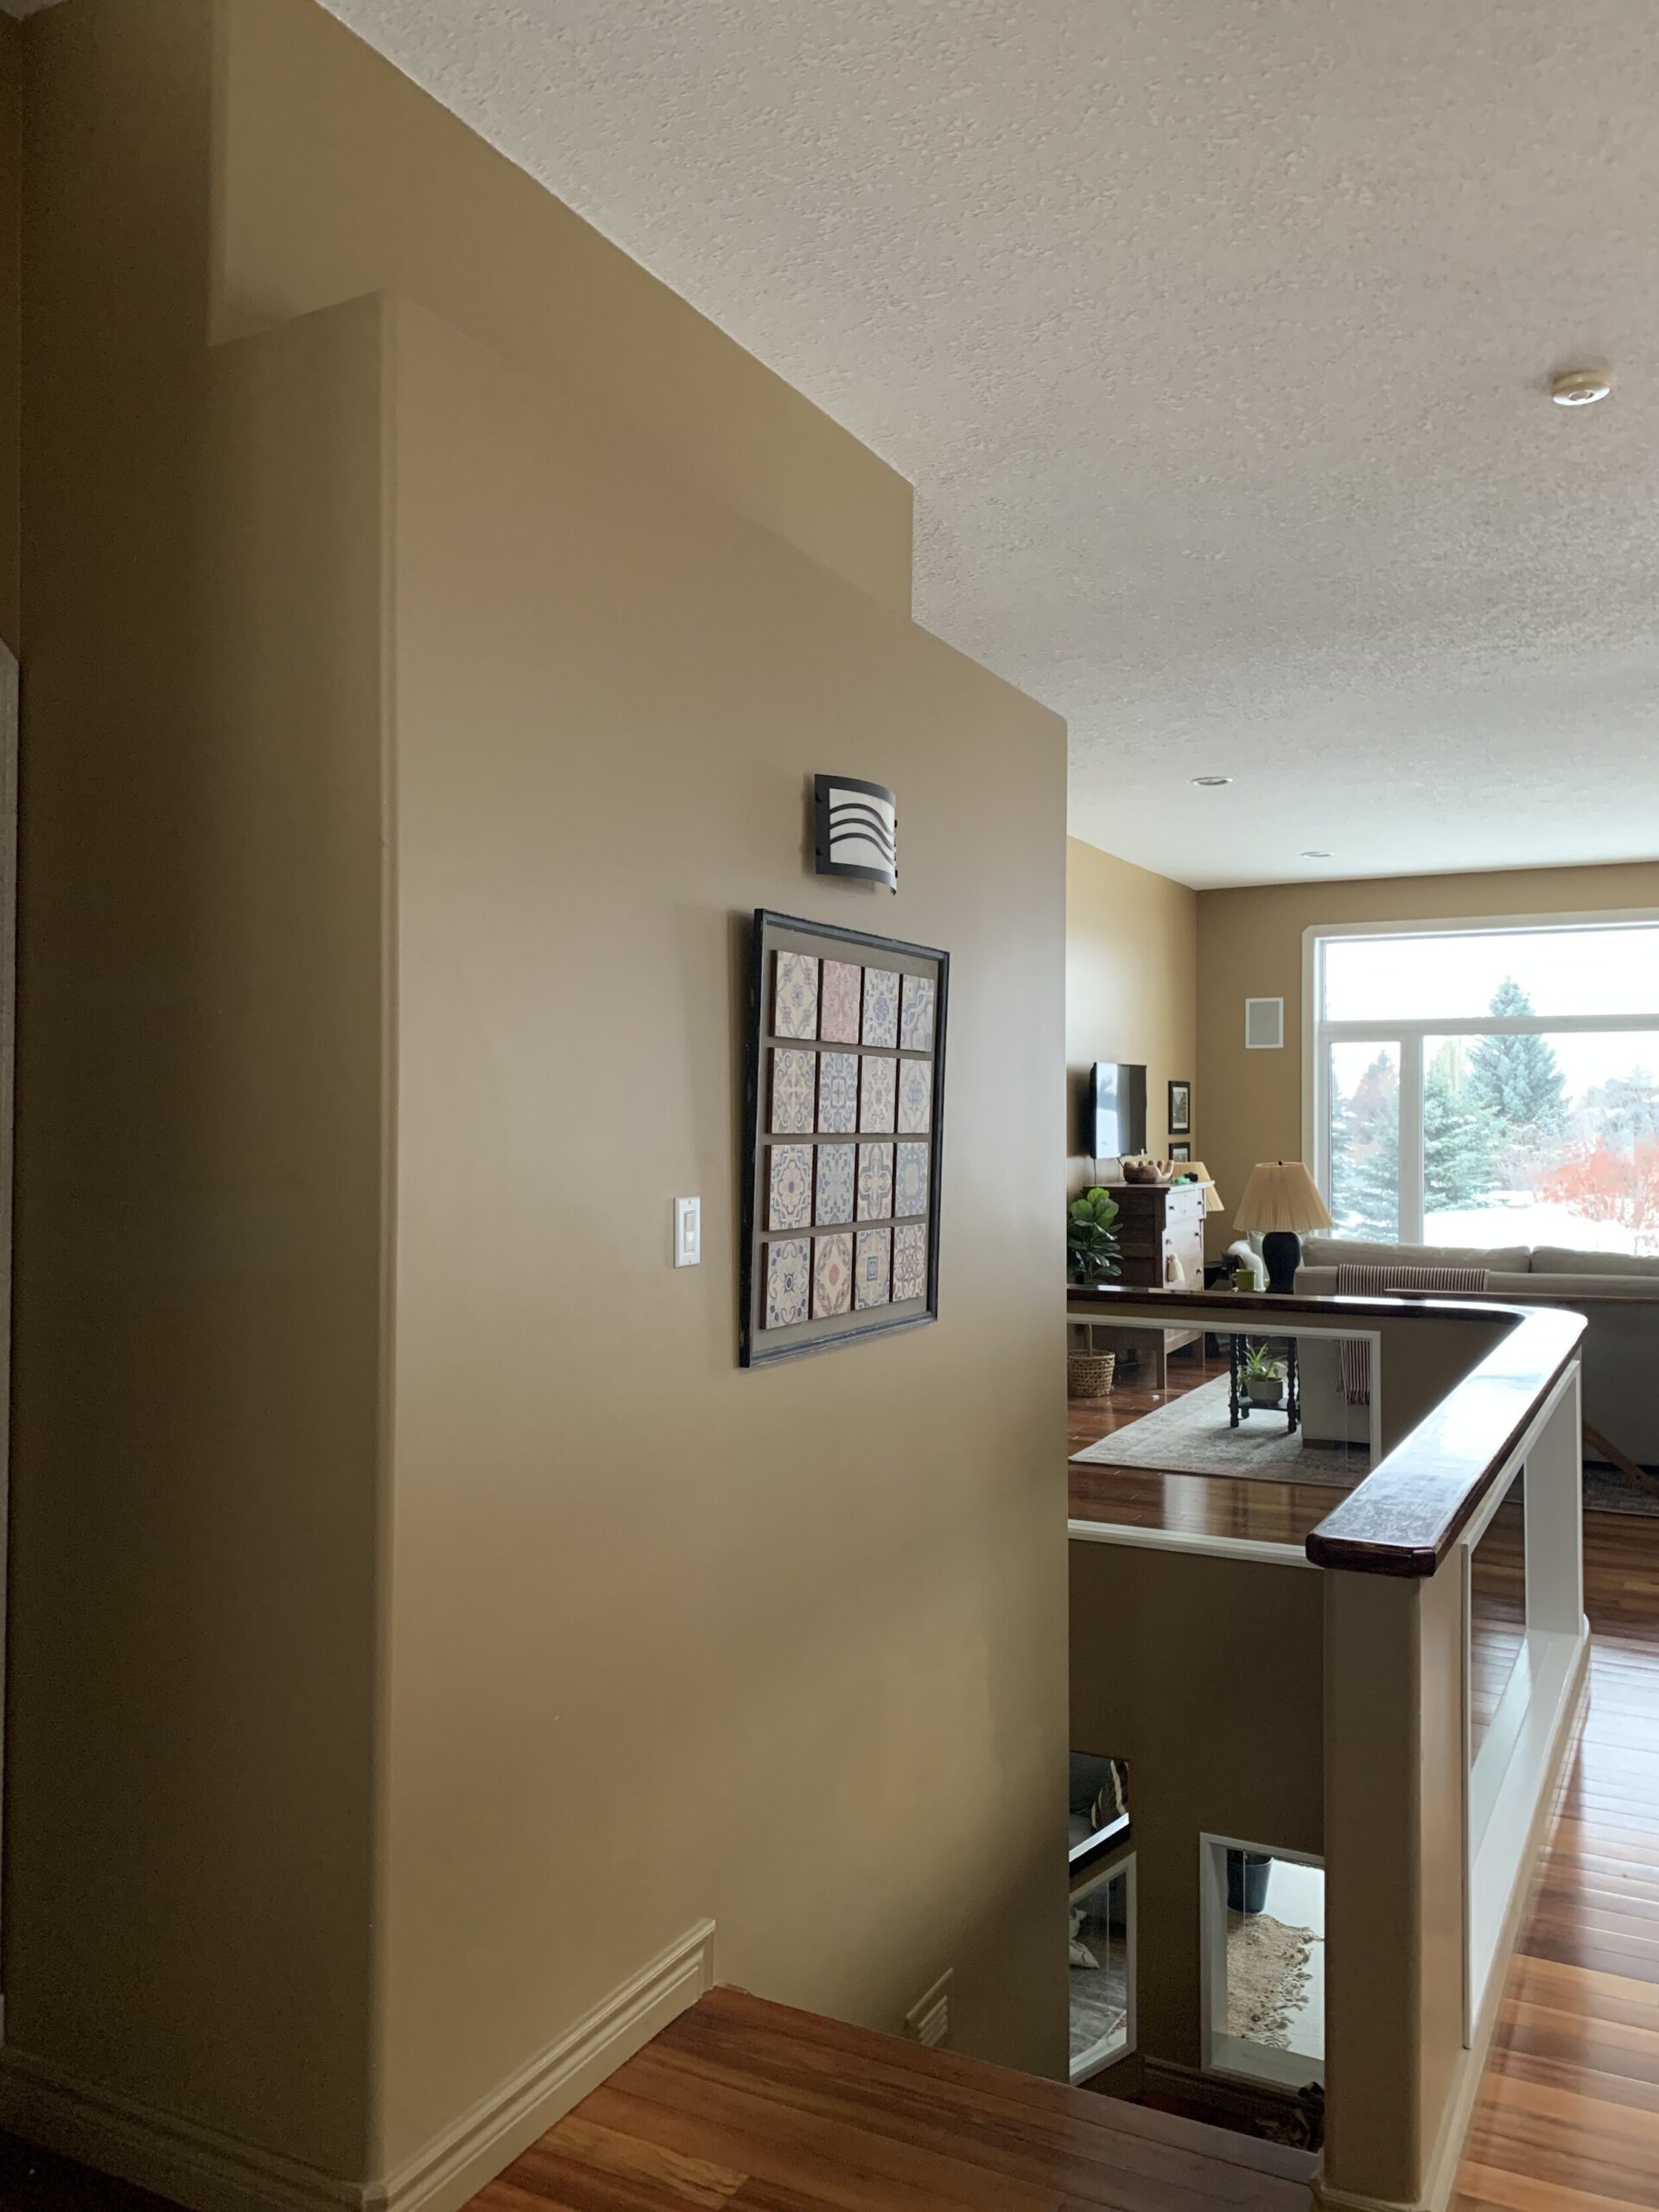
We just completed a fairly major project that I’ve been dreaming about since we first looked at this house. You see, the house was built in the late ’90s, at a time where adding details like ledges, niches, cutouts, and such was pretty common. This house was full of that good ol’ 90’s character! It had dust-collecting ledges partway up walls, cut-outs, a ledge over the kitchen cabinets, glass cut-outs in the railing, an open concept bathroom and a very interesting detailed fireplace!
This post may contain affiliate links. That means if you purchase anything from these links I earn a small commission, at no extra cost to you! This helps support my blog, so thank you!
When we were considering buying this house we, of course, try to think about all of the changes that we want to make, the work involved, and the cost. I said to my husband, “if we are buying this house, there are a lot of ‘drywall’ changes I want to make. And a lot of painting” My husband, a contractor, replied with “drywall and paint are cheap baby!” and we signed on the dotted line.
Now drywall may in fact be cheap but it is extremely messy and a pretty nasty situation to live with. I think I underestimated the mess part! But, just like childbirth, once you go through it and have the beautiful baby you sort of forget about the pain! The pain is still fresh but the beautiful baby is here so let’s take a look!
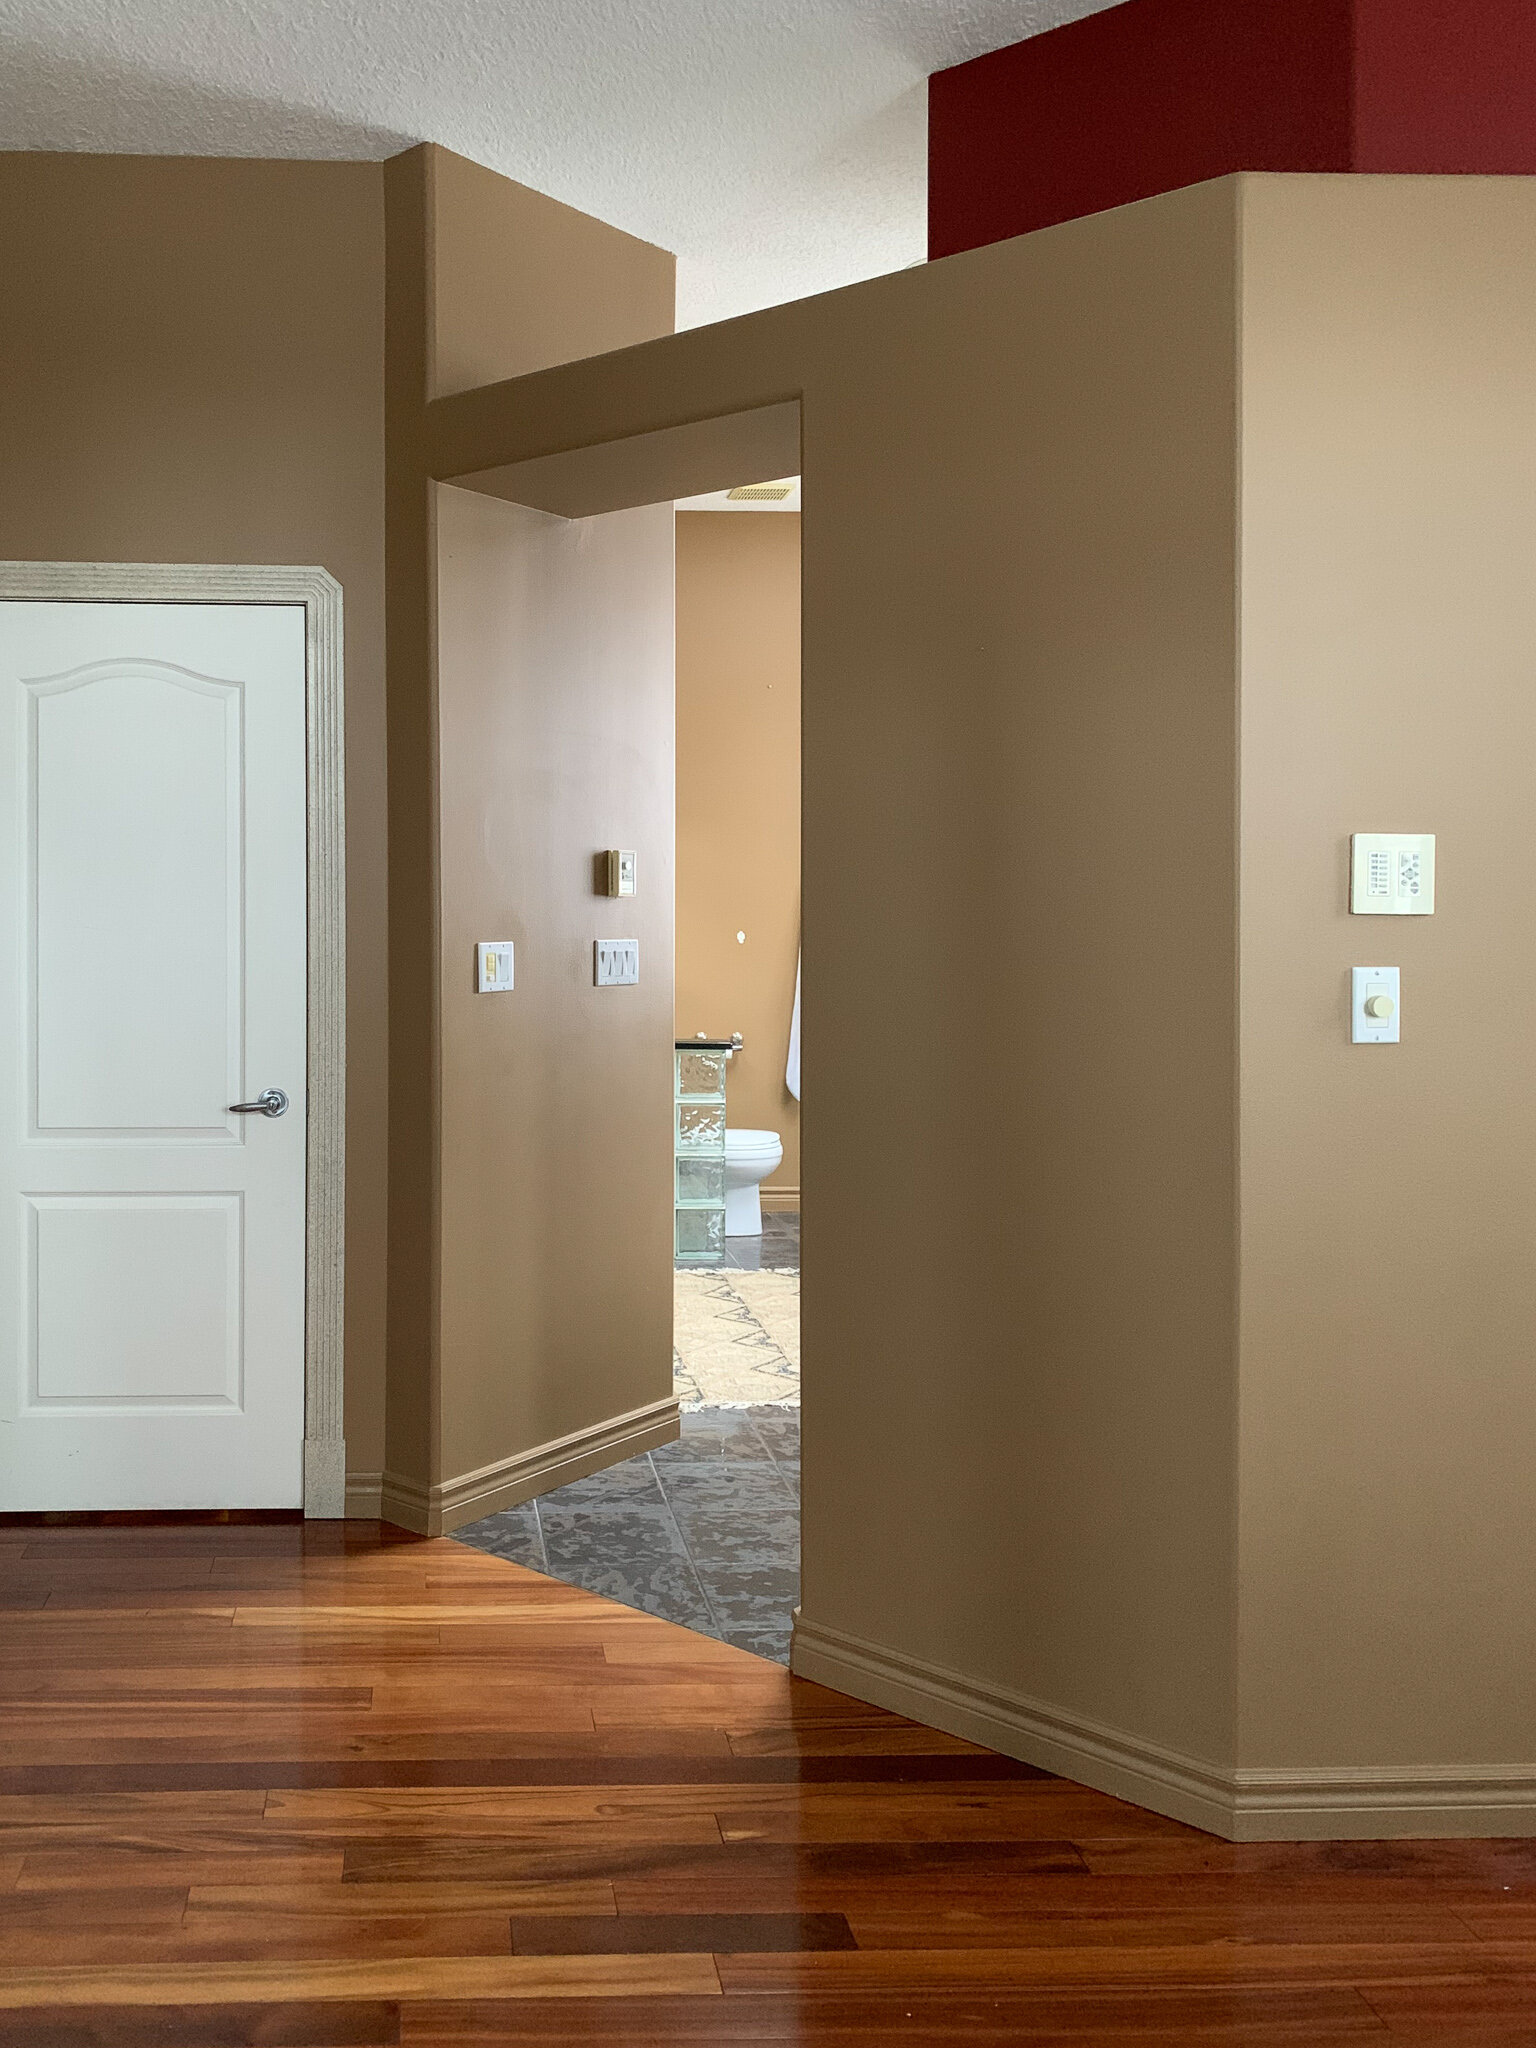
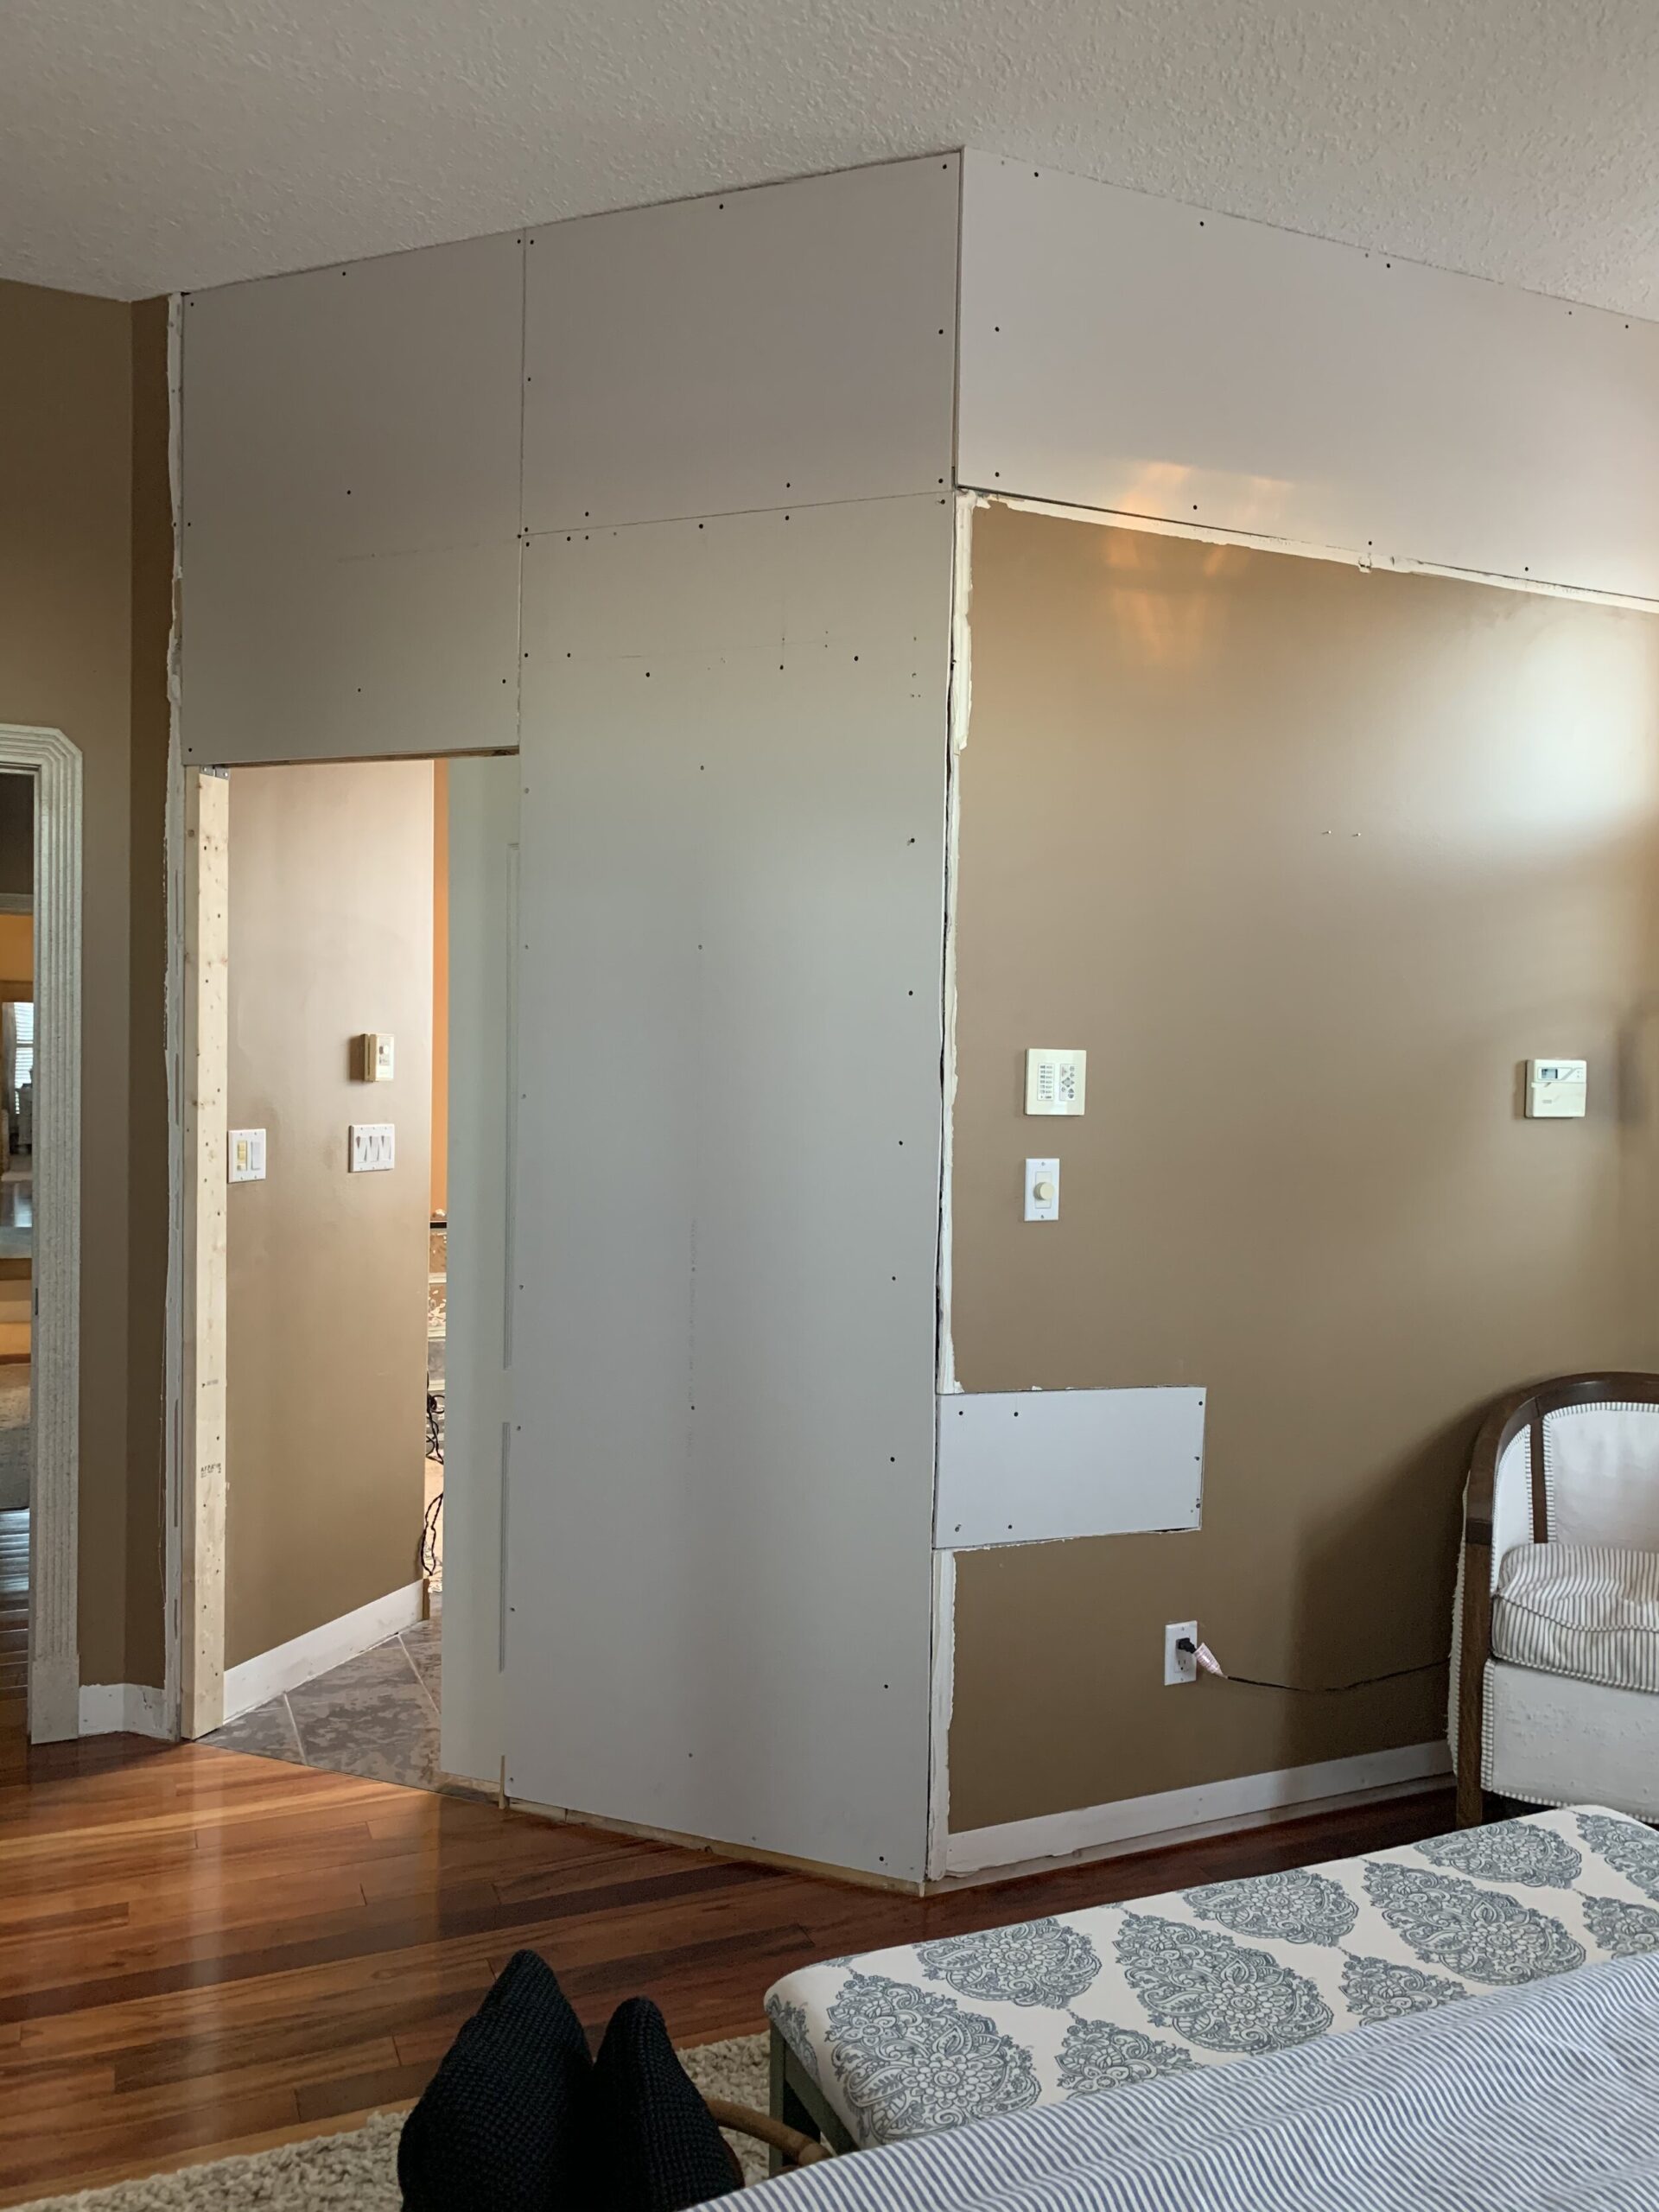
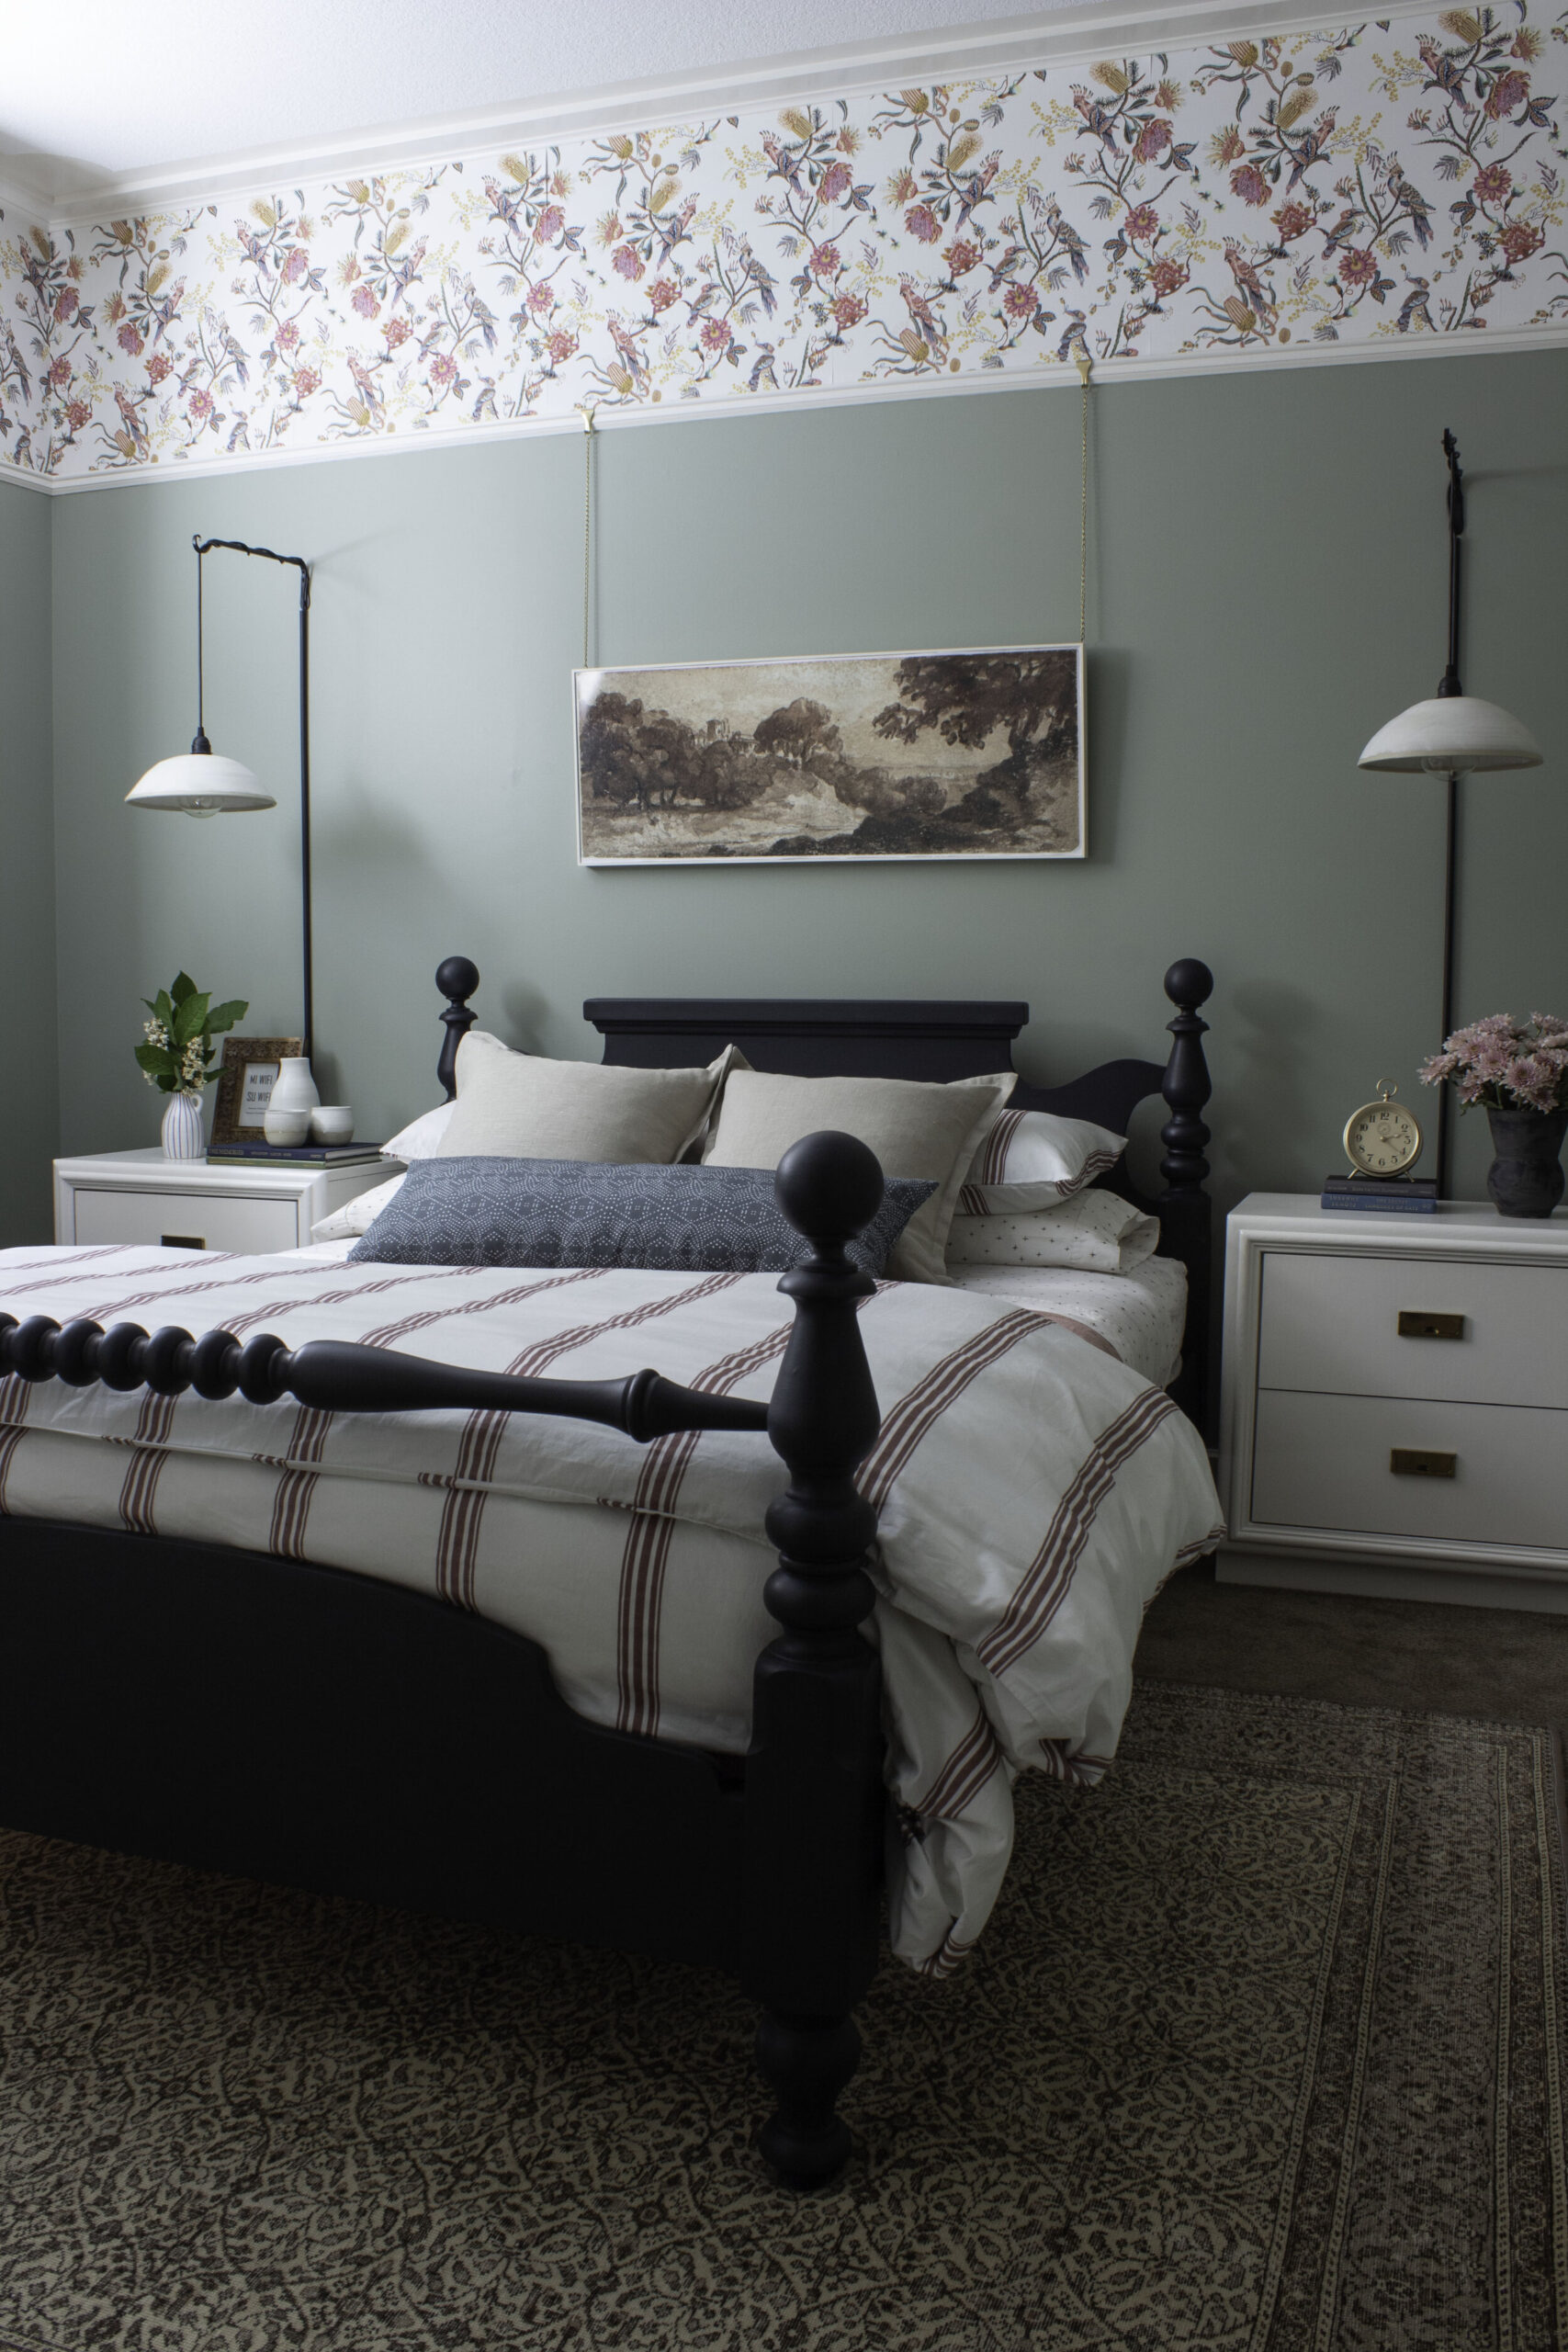
The first thing we did is close in our open-concept bathroom by adding a pocket door and framing out the “ledge” that was partway up the wall. We did this first so we could start to enjoy some bathroom privacy sooner rather than later! But, I haven’t gotten around to the bedroom design yet, so this area is patched but still needs to be painted and trimmed out. That’s a post for another day!
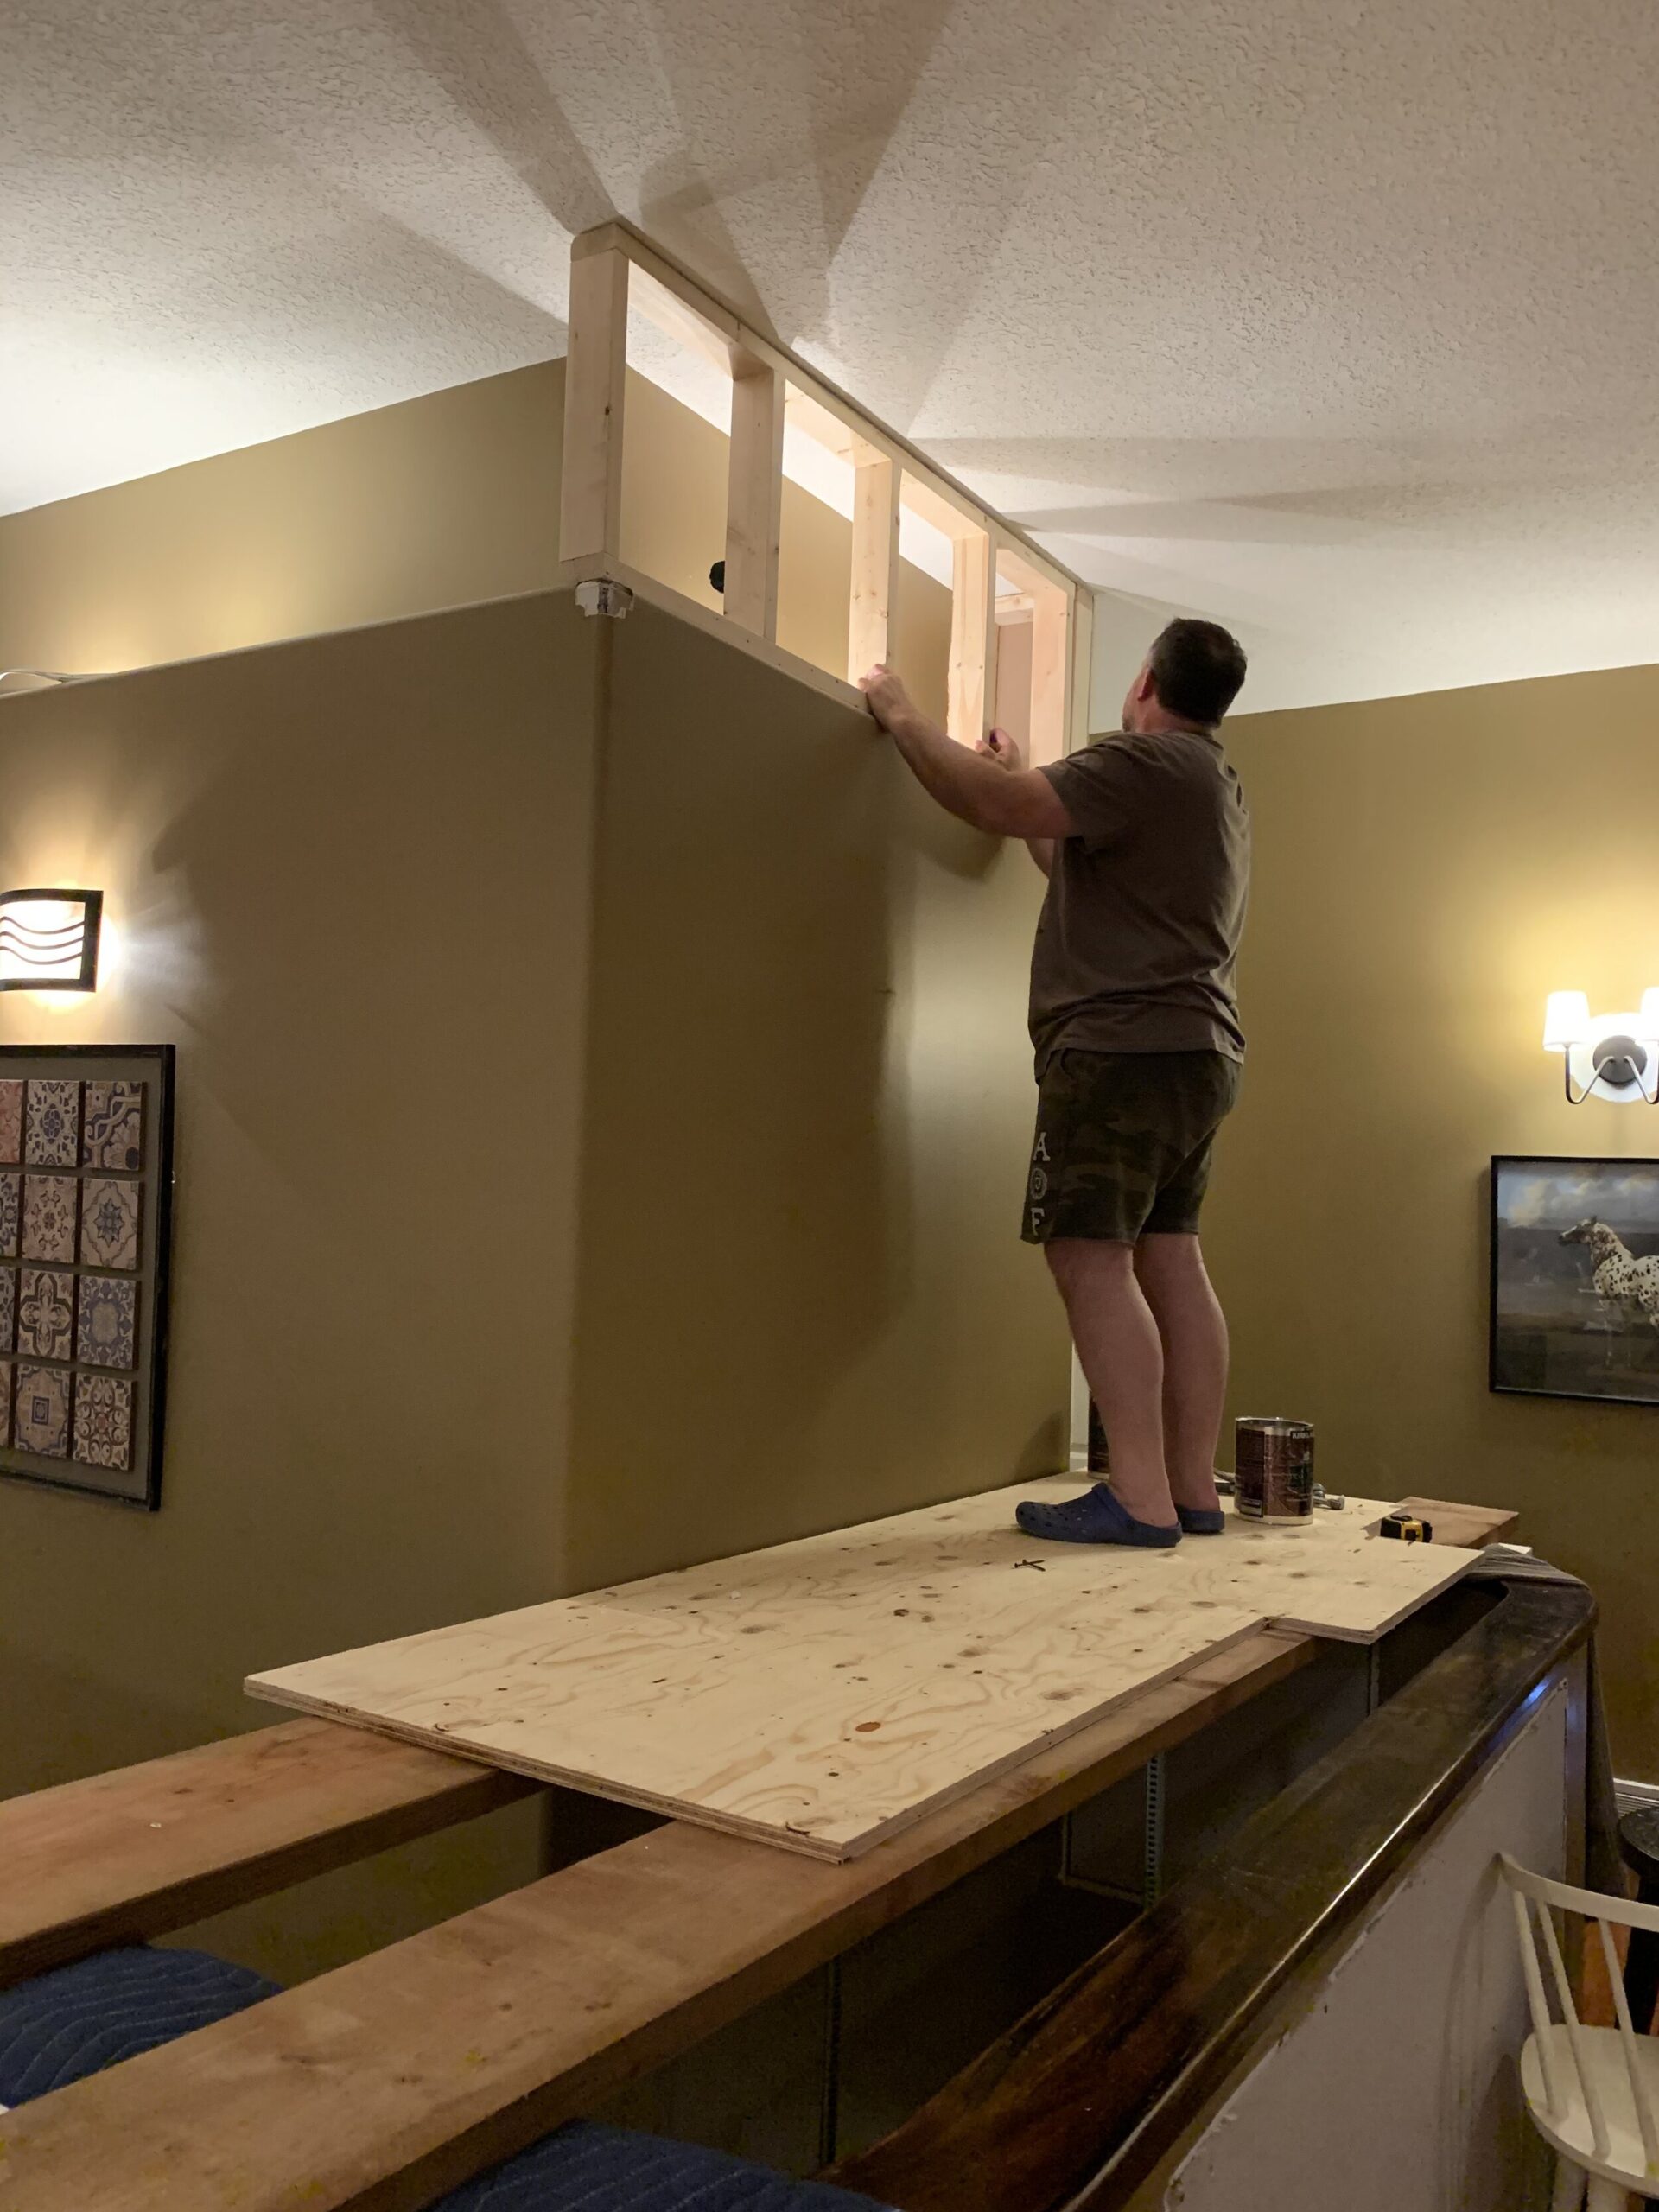
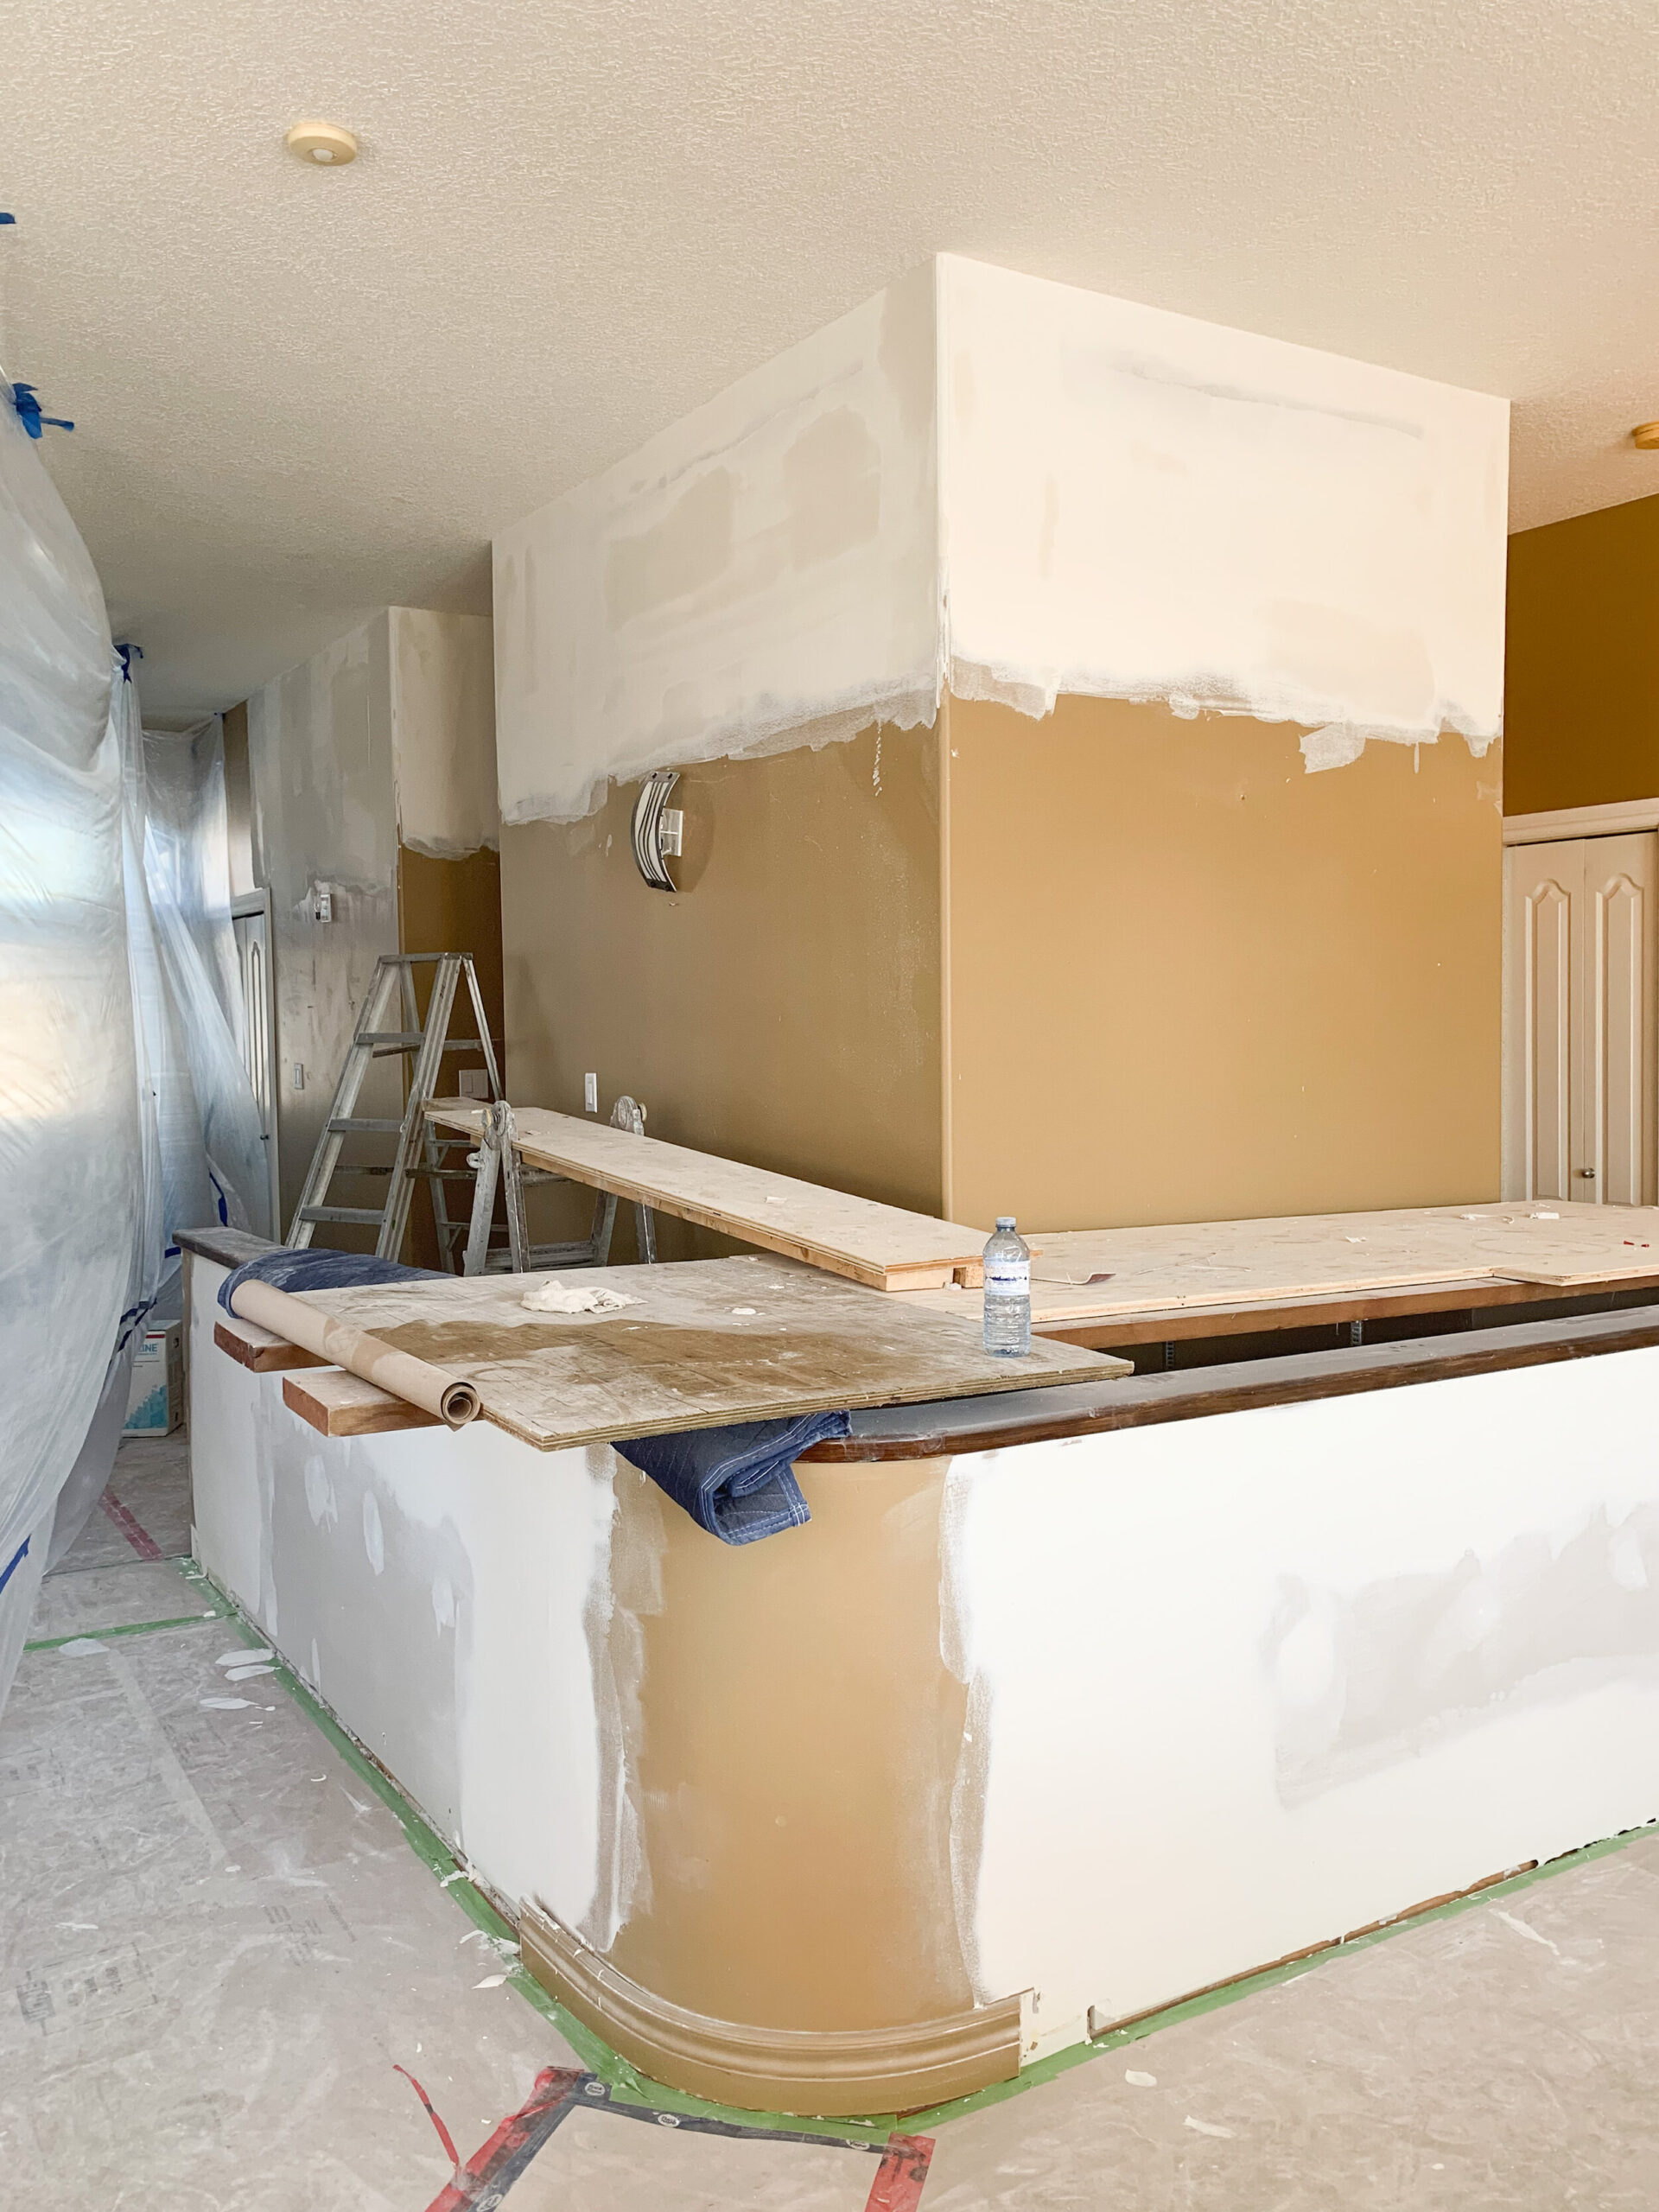
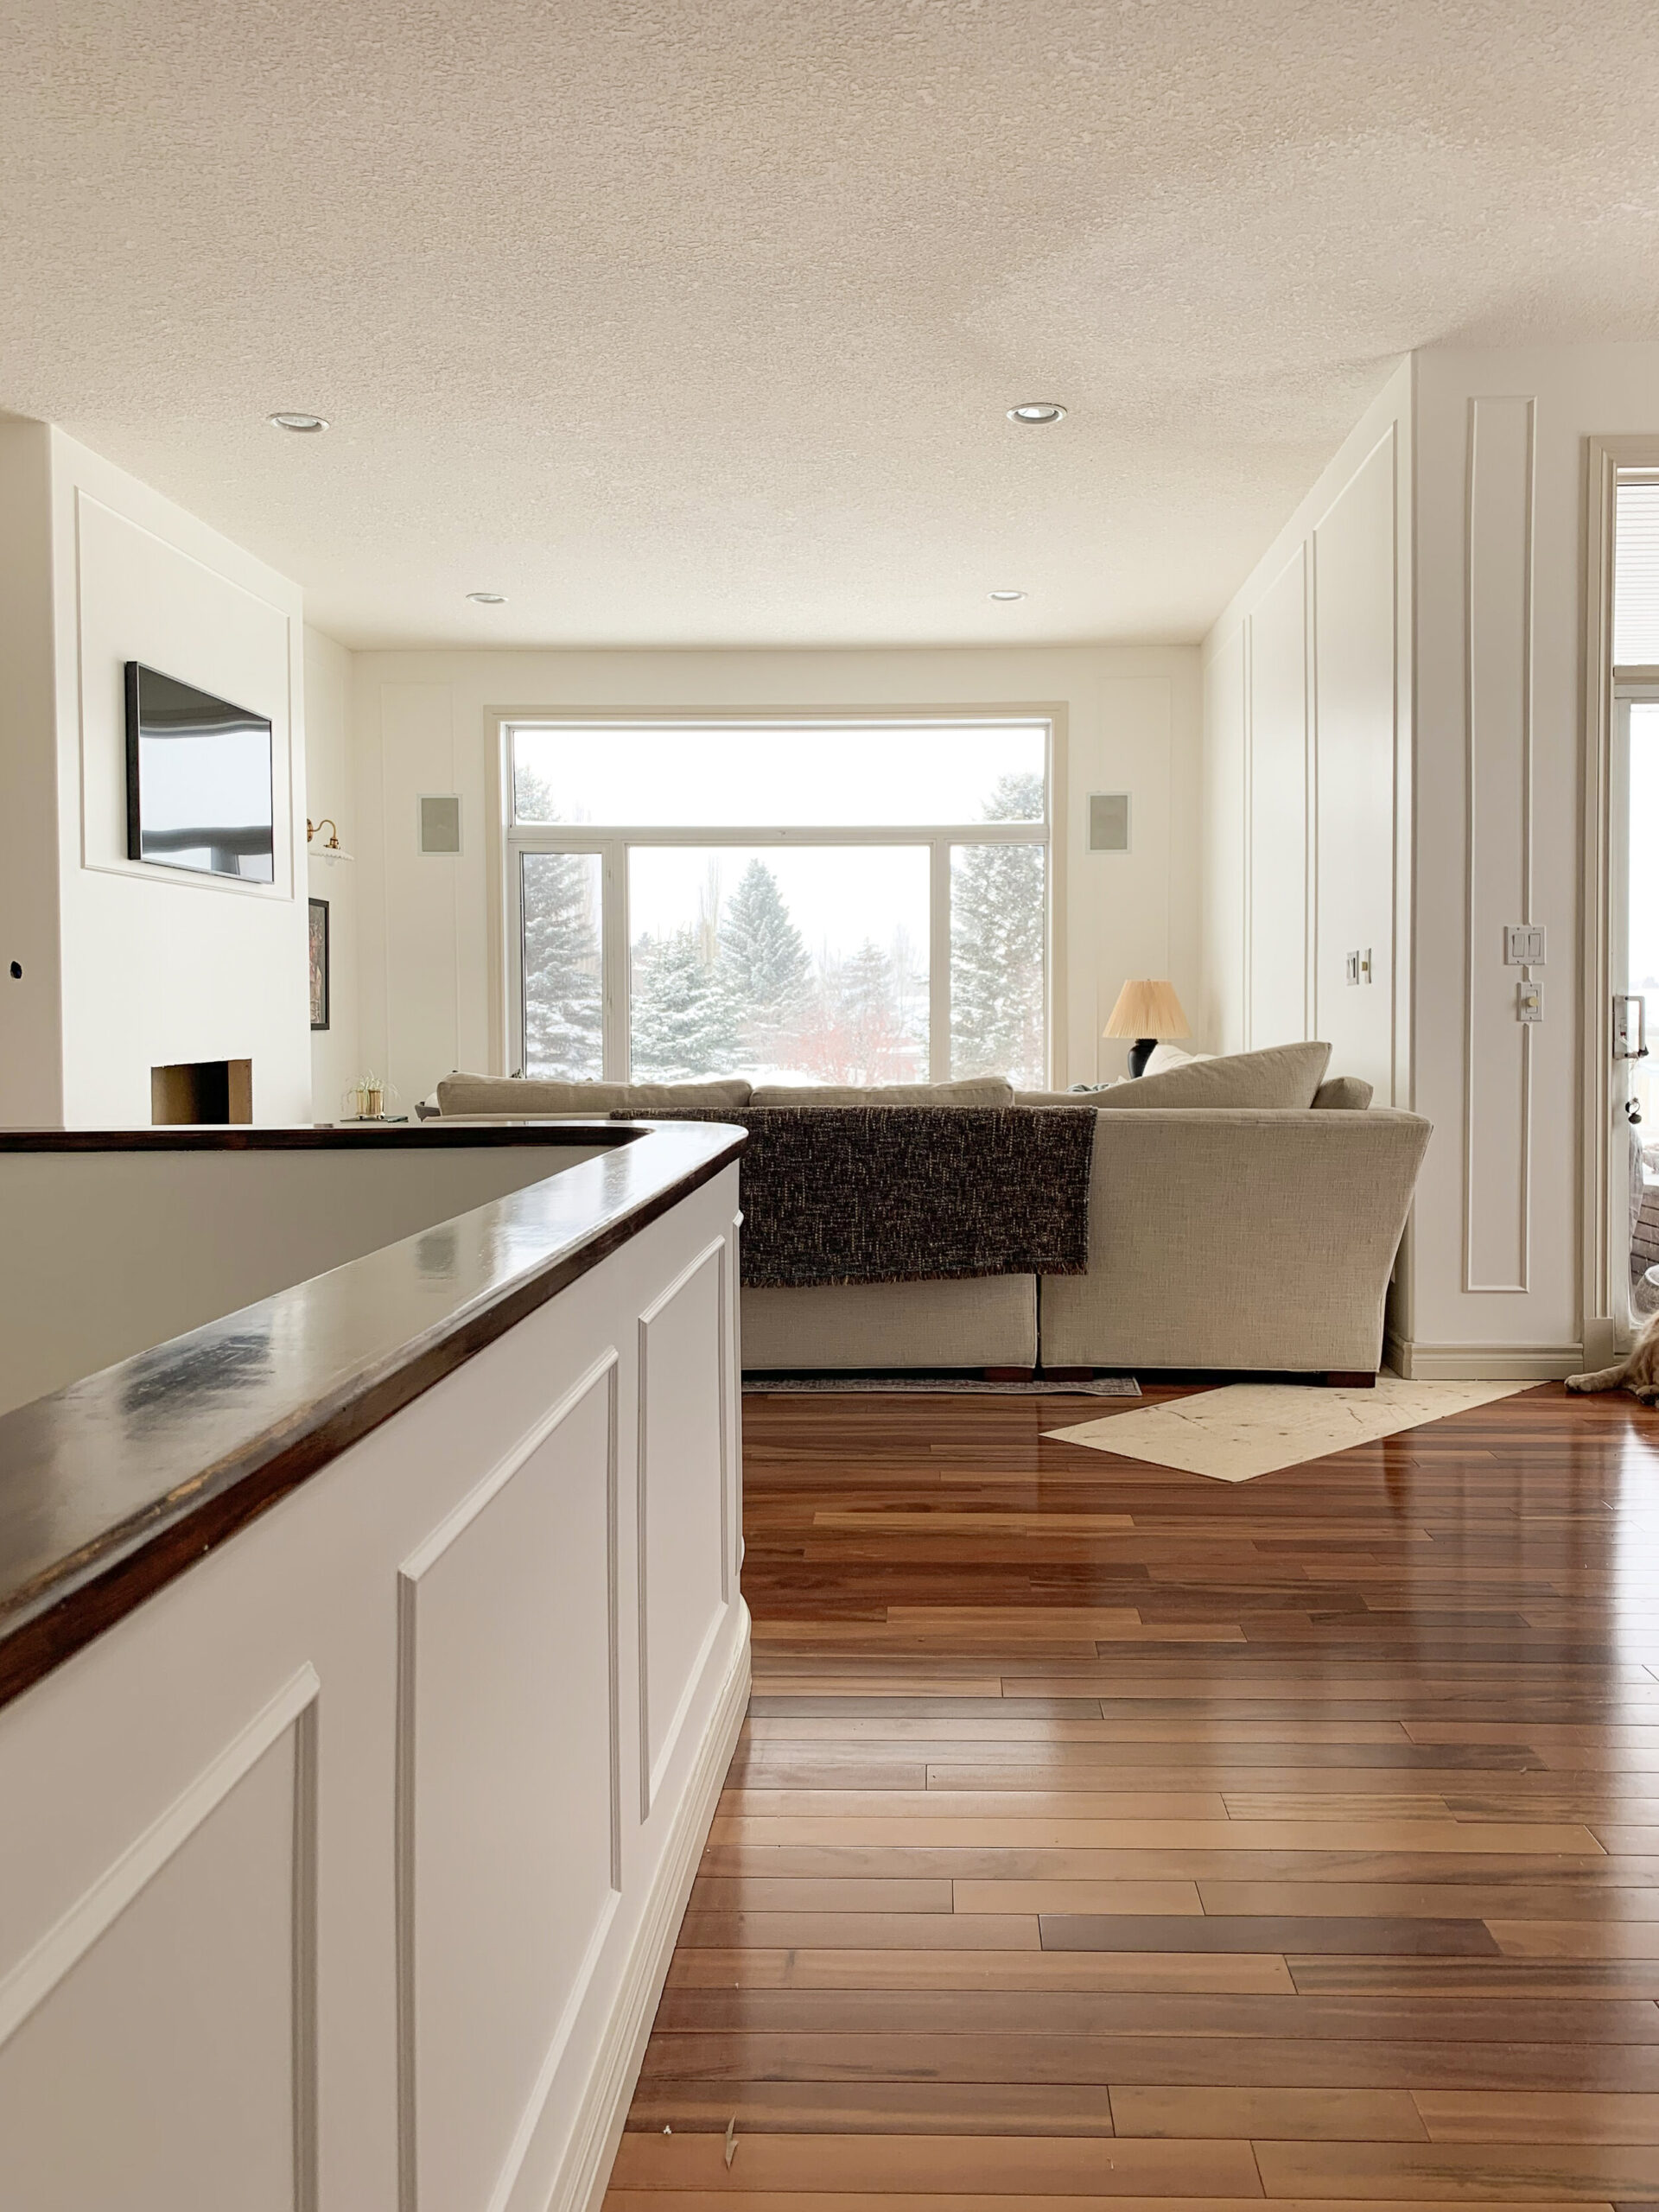
The next thing we did is remove the fireplace. This was a HUGE MESS (even if demo day was sort of fun!) This was the most invasive thing we did as removing the fireplace left a patch on the ceiling as well as the floor for us to deal with. (We know a pretty good drywall mudder and taper, and so decided that we would have him in to do his best at matching the texture on the rest of the ceiling, and to do all the mudding and taping for us after we put up the drywall. This was the BEST decision as he was better at it, faster, and was able to do it with much less sanding than we could of, and therefore, less mess.) At any rate, the chimney was closed off, some speaker wire and electrical that was in the fireplace framing was moved, and the gas line capped.
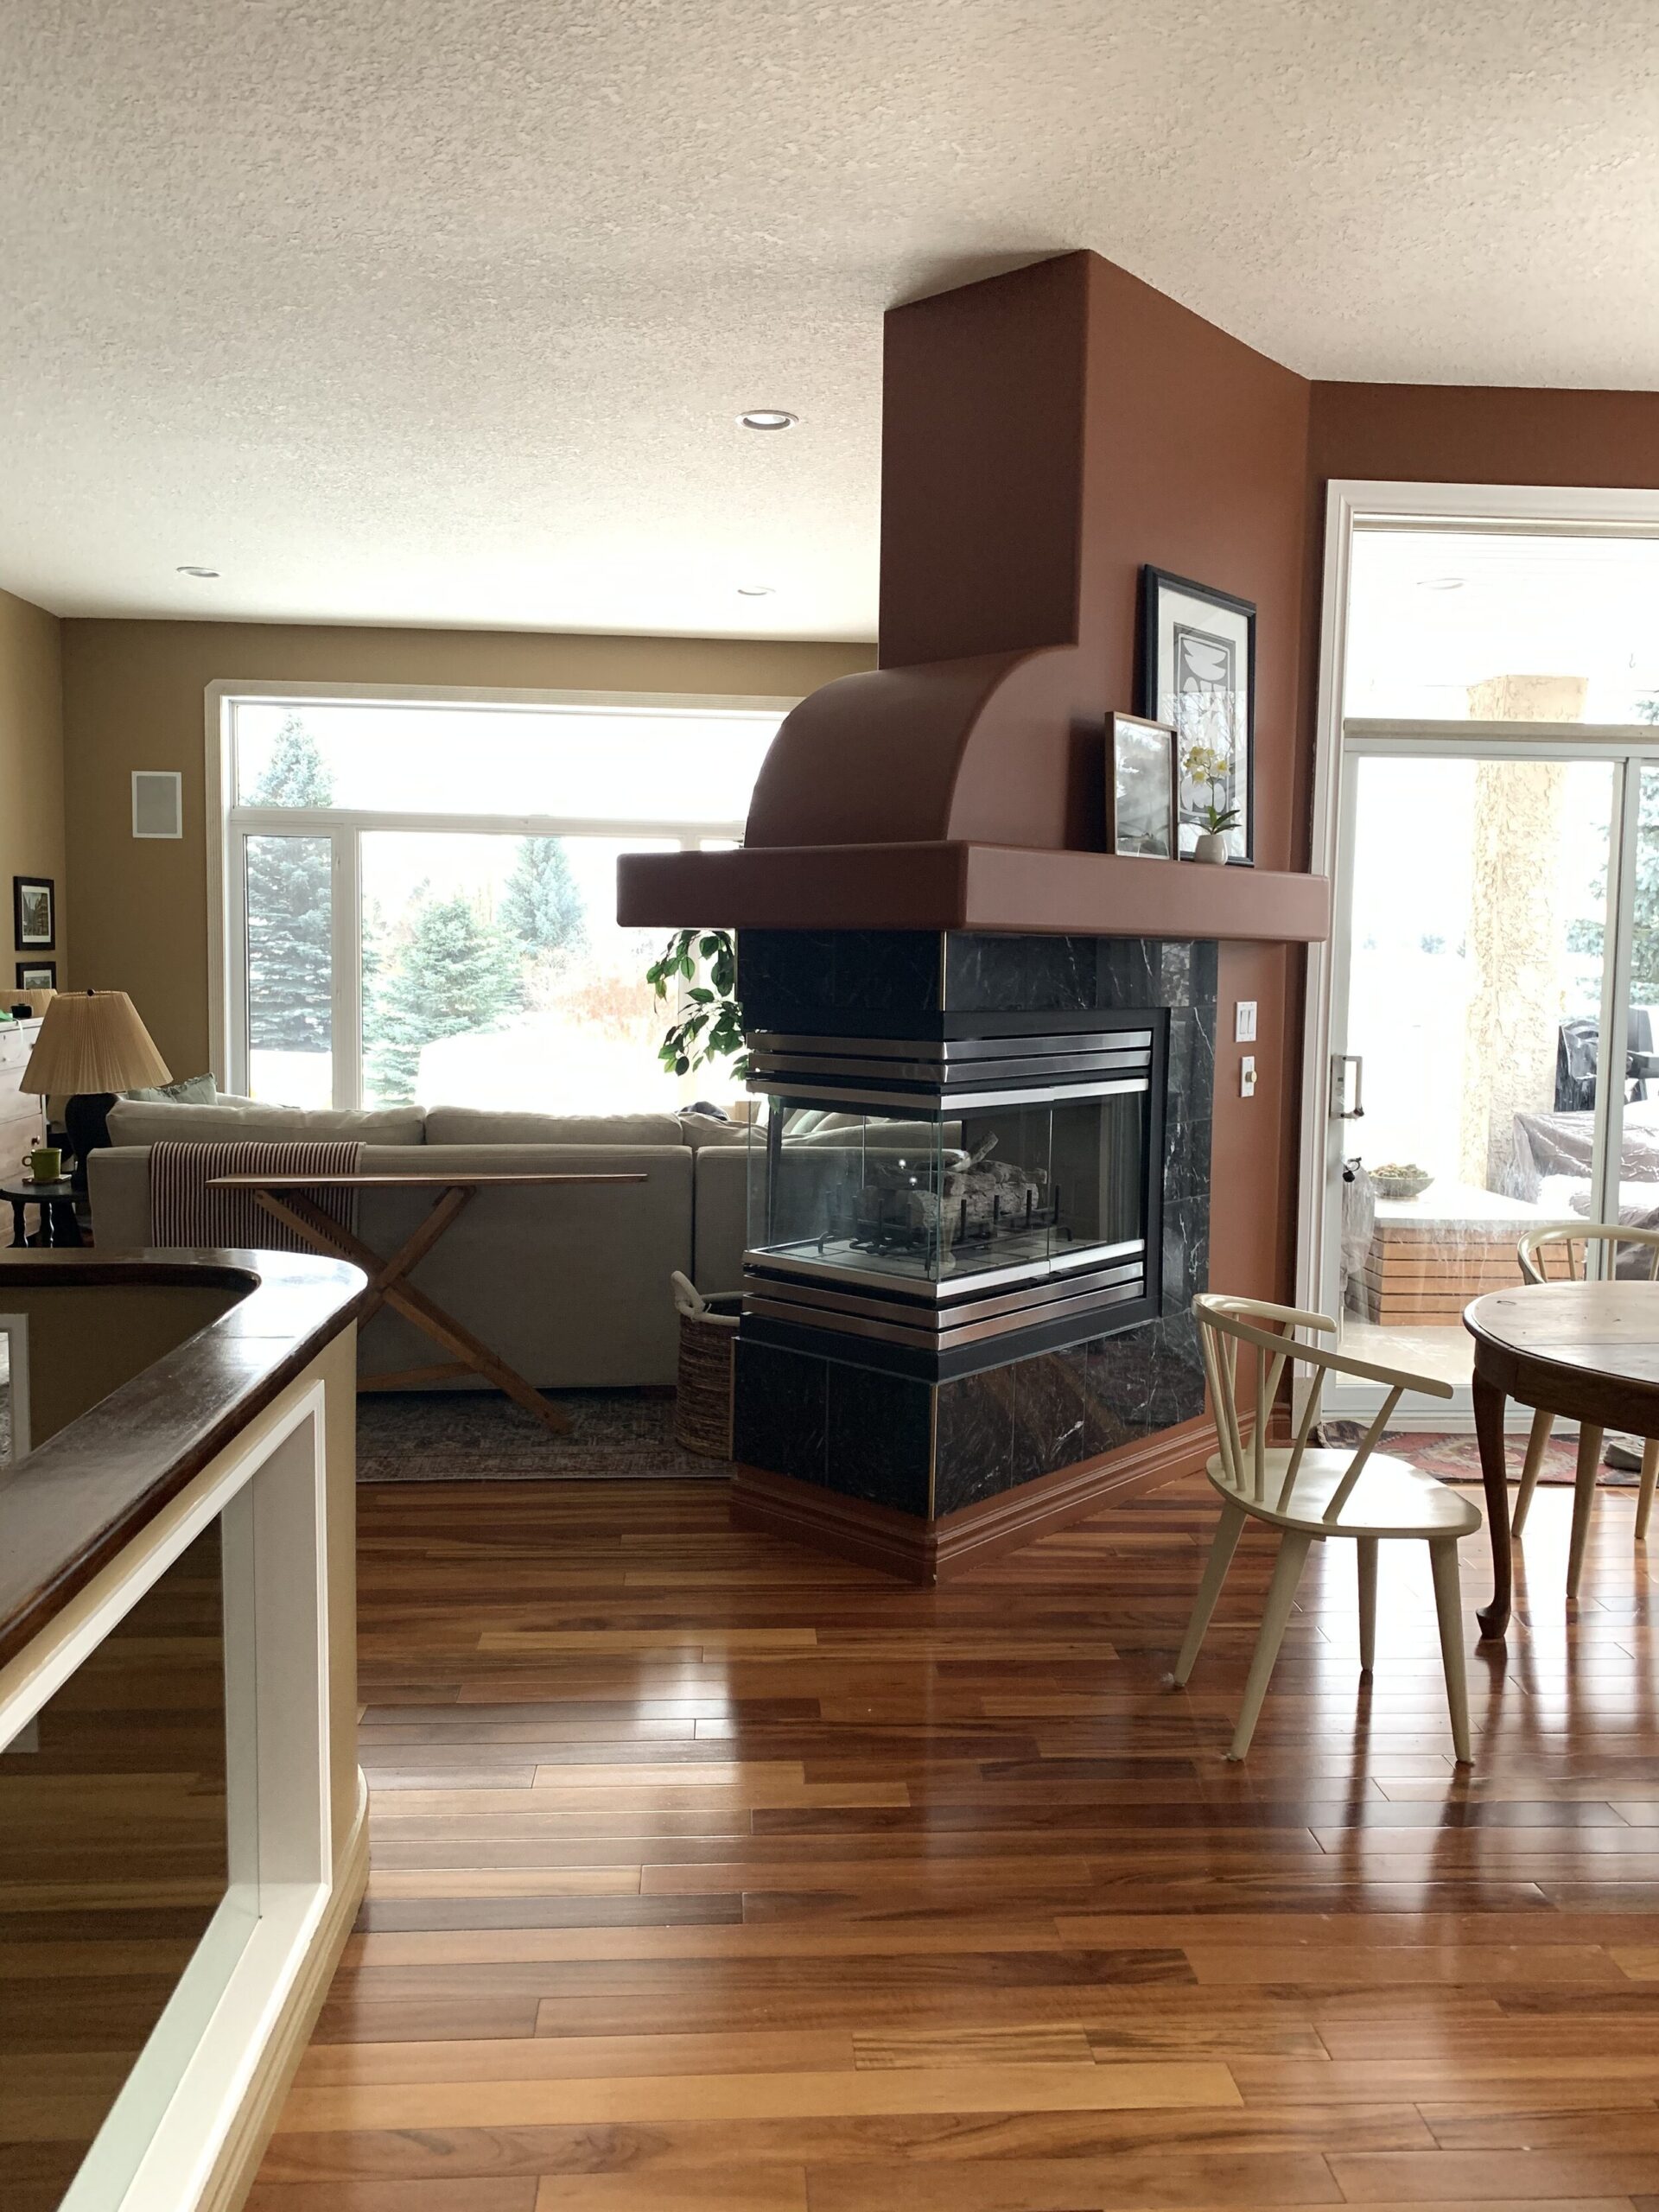
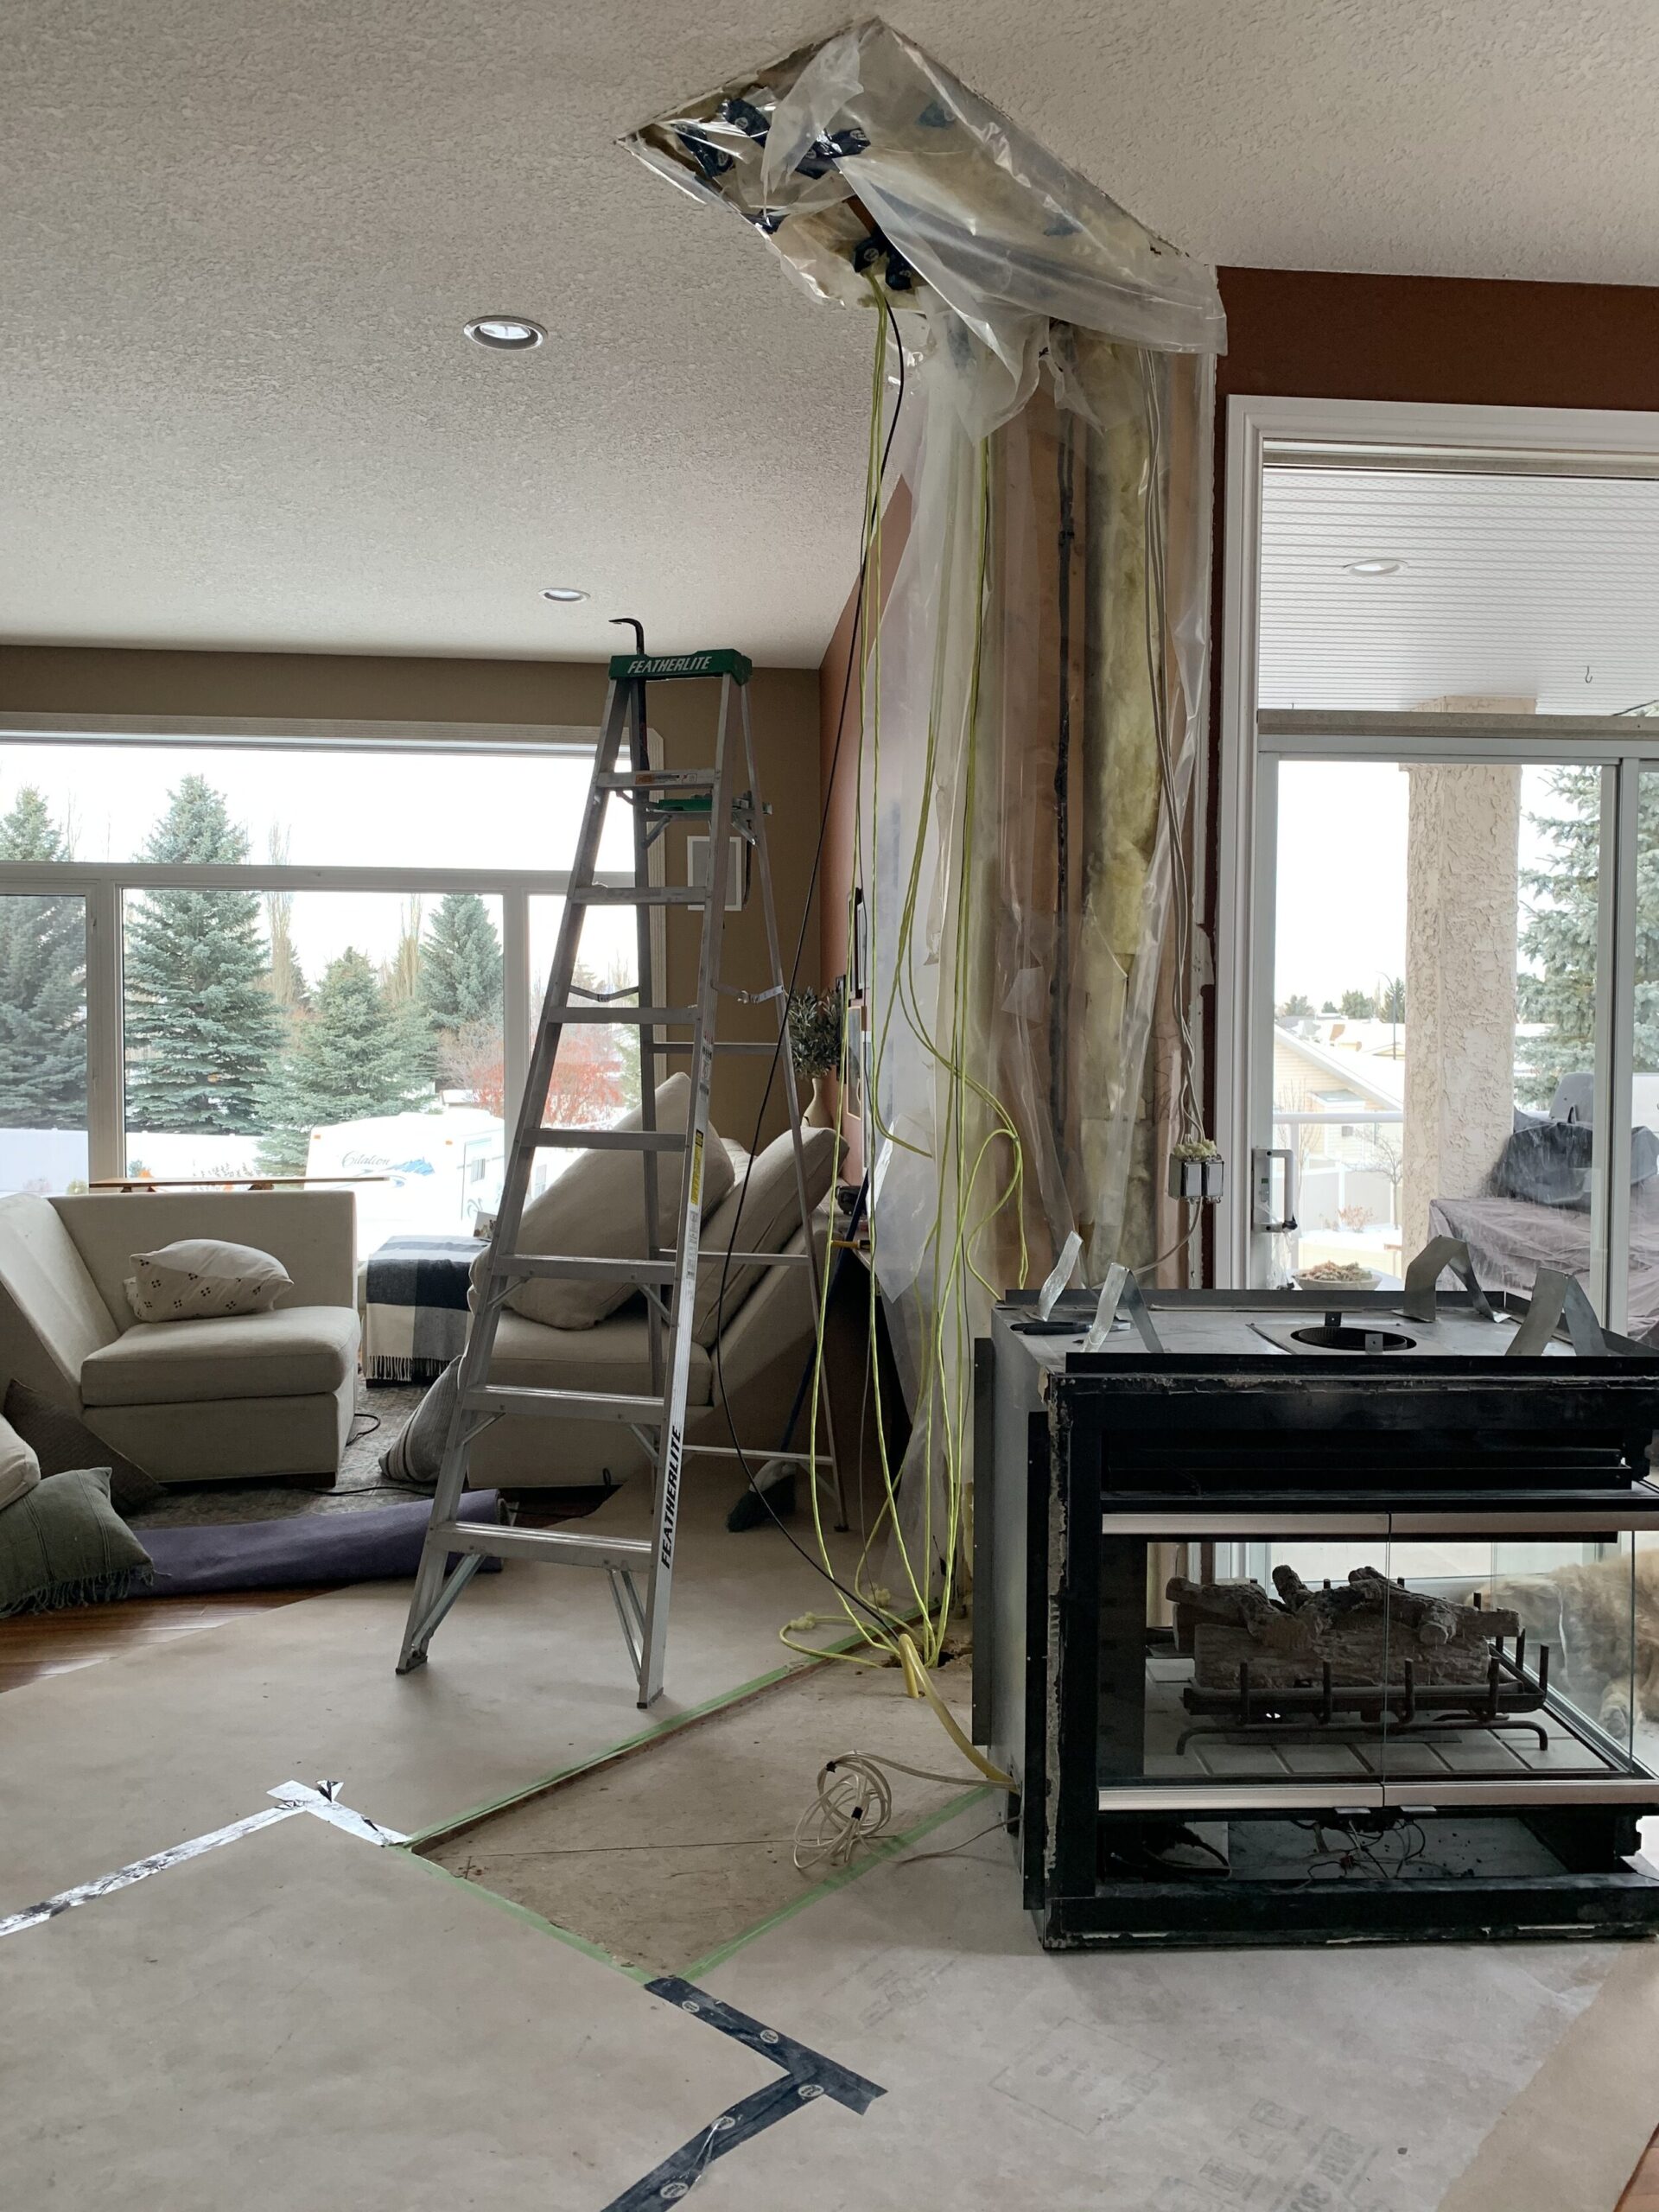
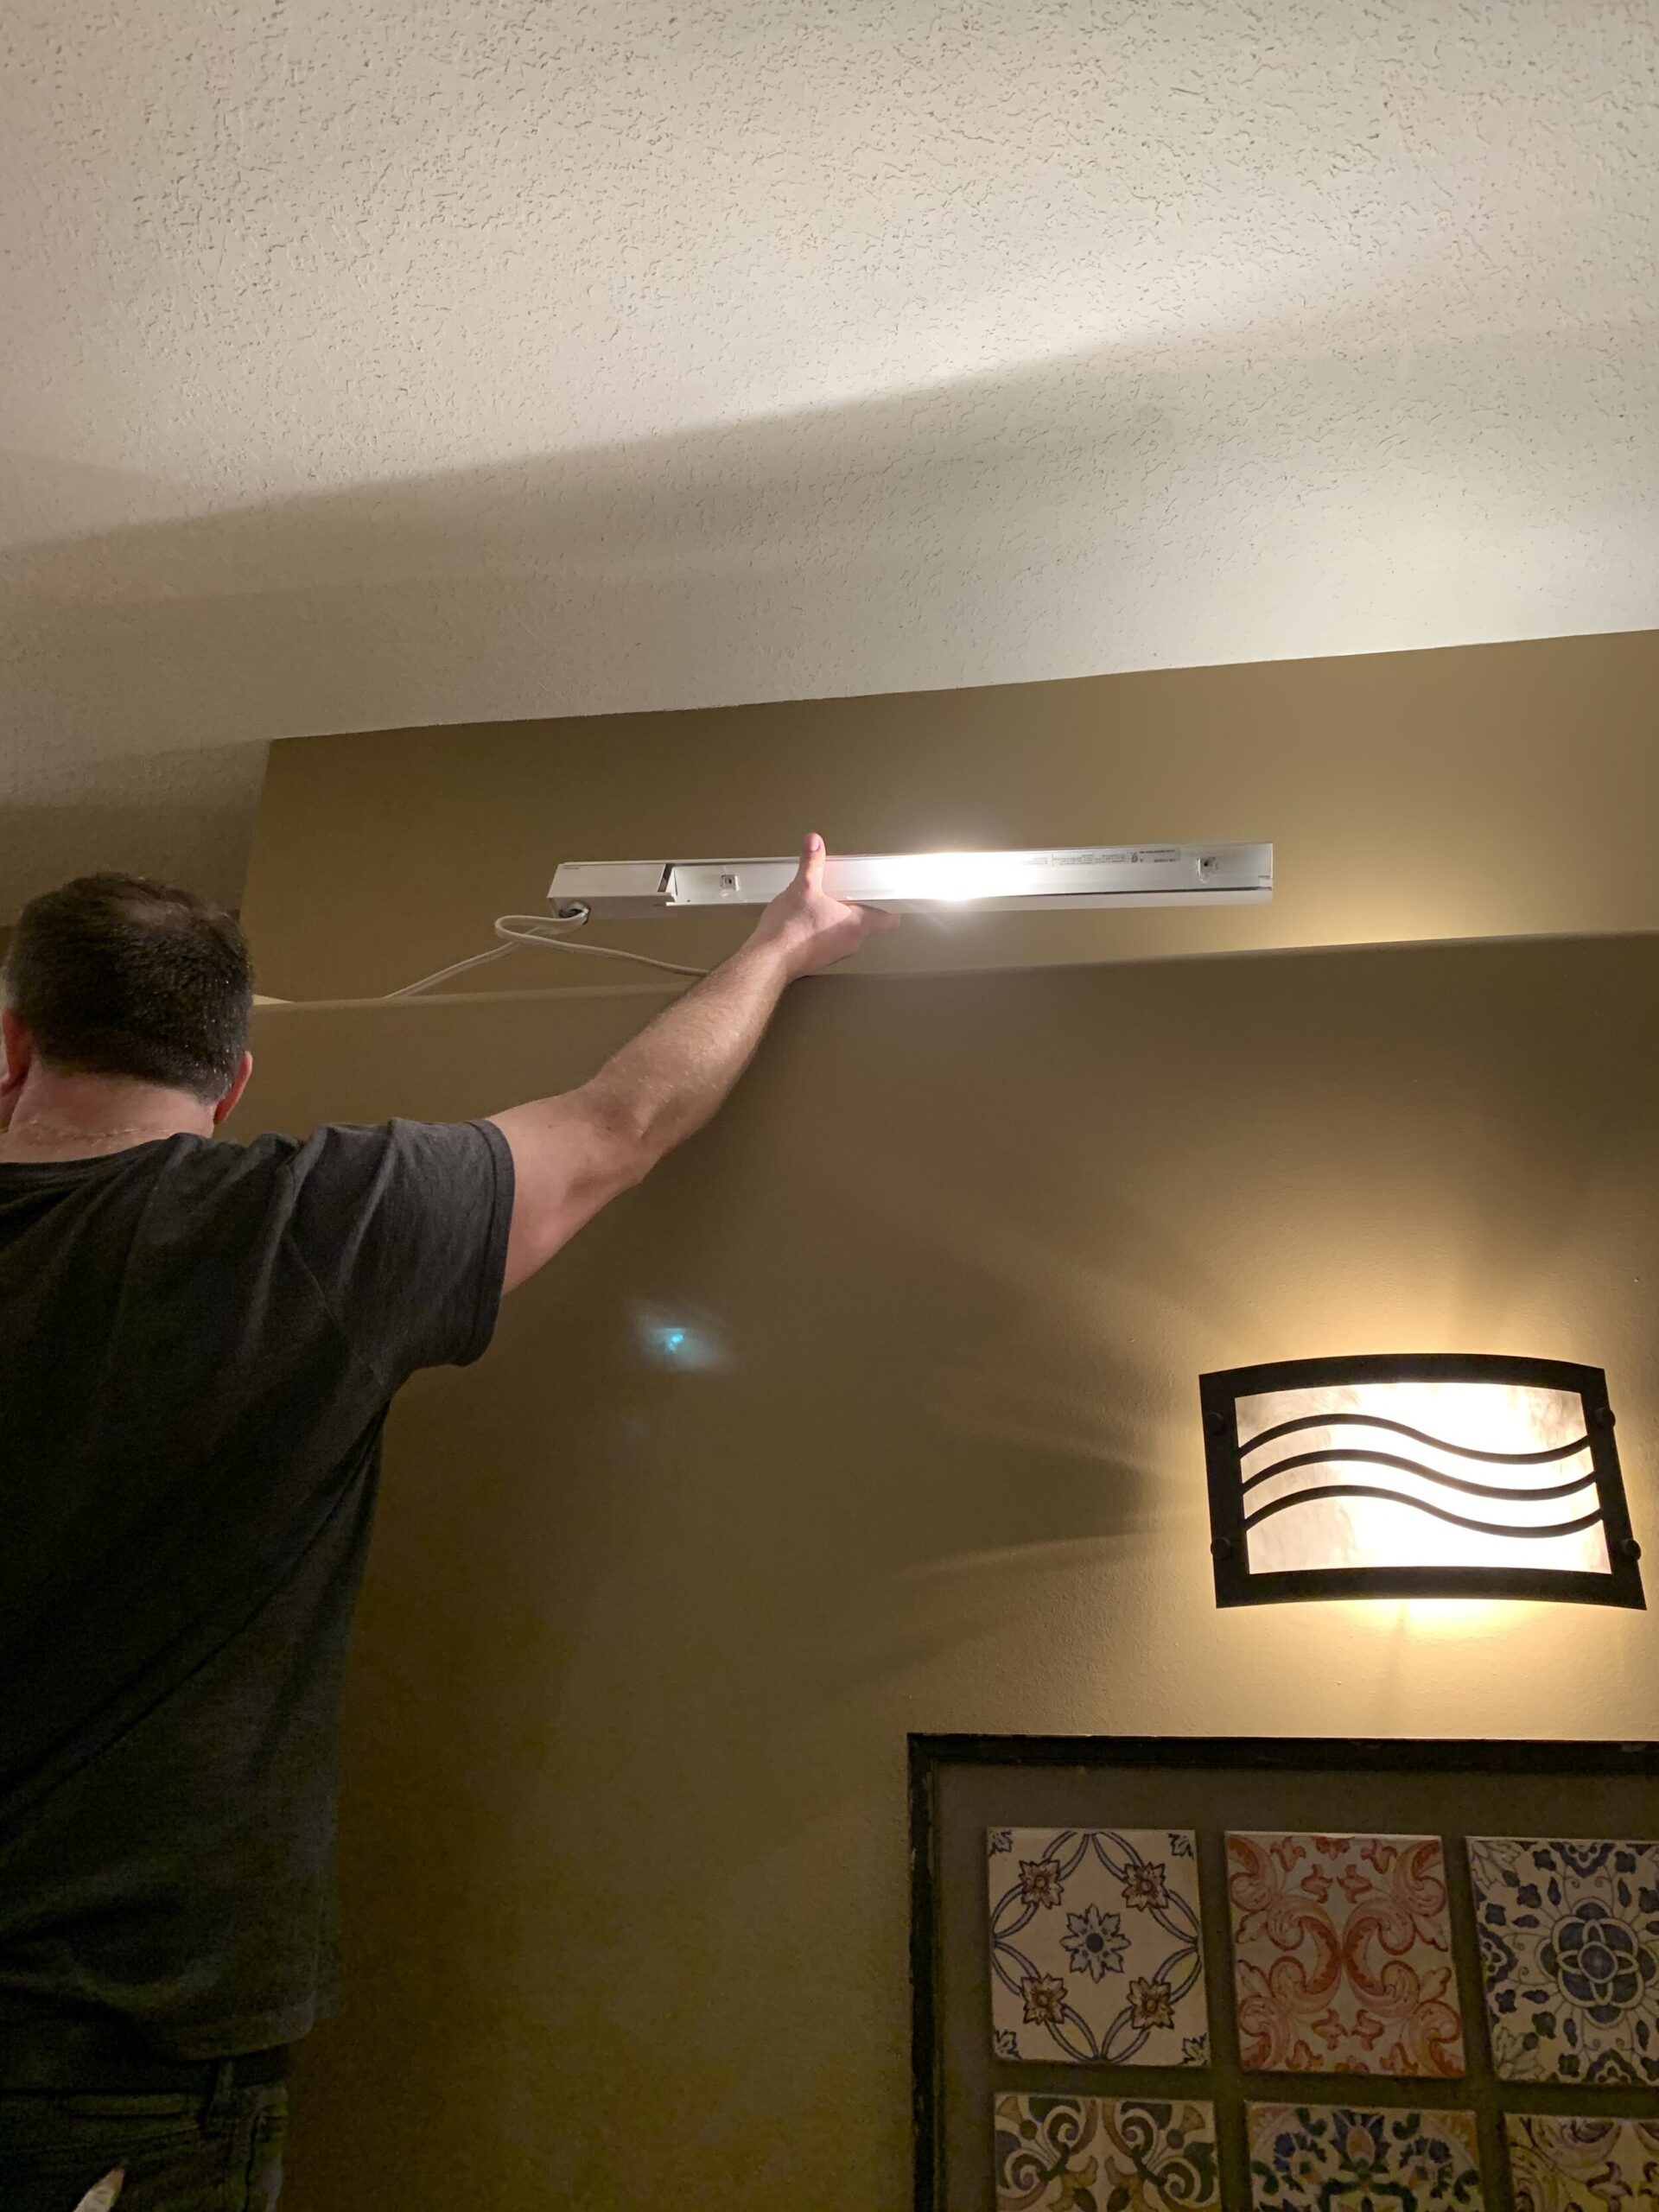
We could have put a new gas fireplace fairly easily on that same wall, but we decided that for the layout and functionality of the living room it was really better to have a fireplace on the opposite wall. Getting the gas line and a new chimney to that wall was just too cost-prohibitive so we decided we would install an electric fireplace instead. We framed out the new fireplace location, removed the hardwood from the new location to use to patch the floor in the old location, and brought the electrician to get the electrical ready for the fireplace (we also had him add a couple more sconces while he was here because sconces are always a good idea!)
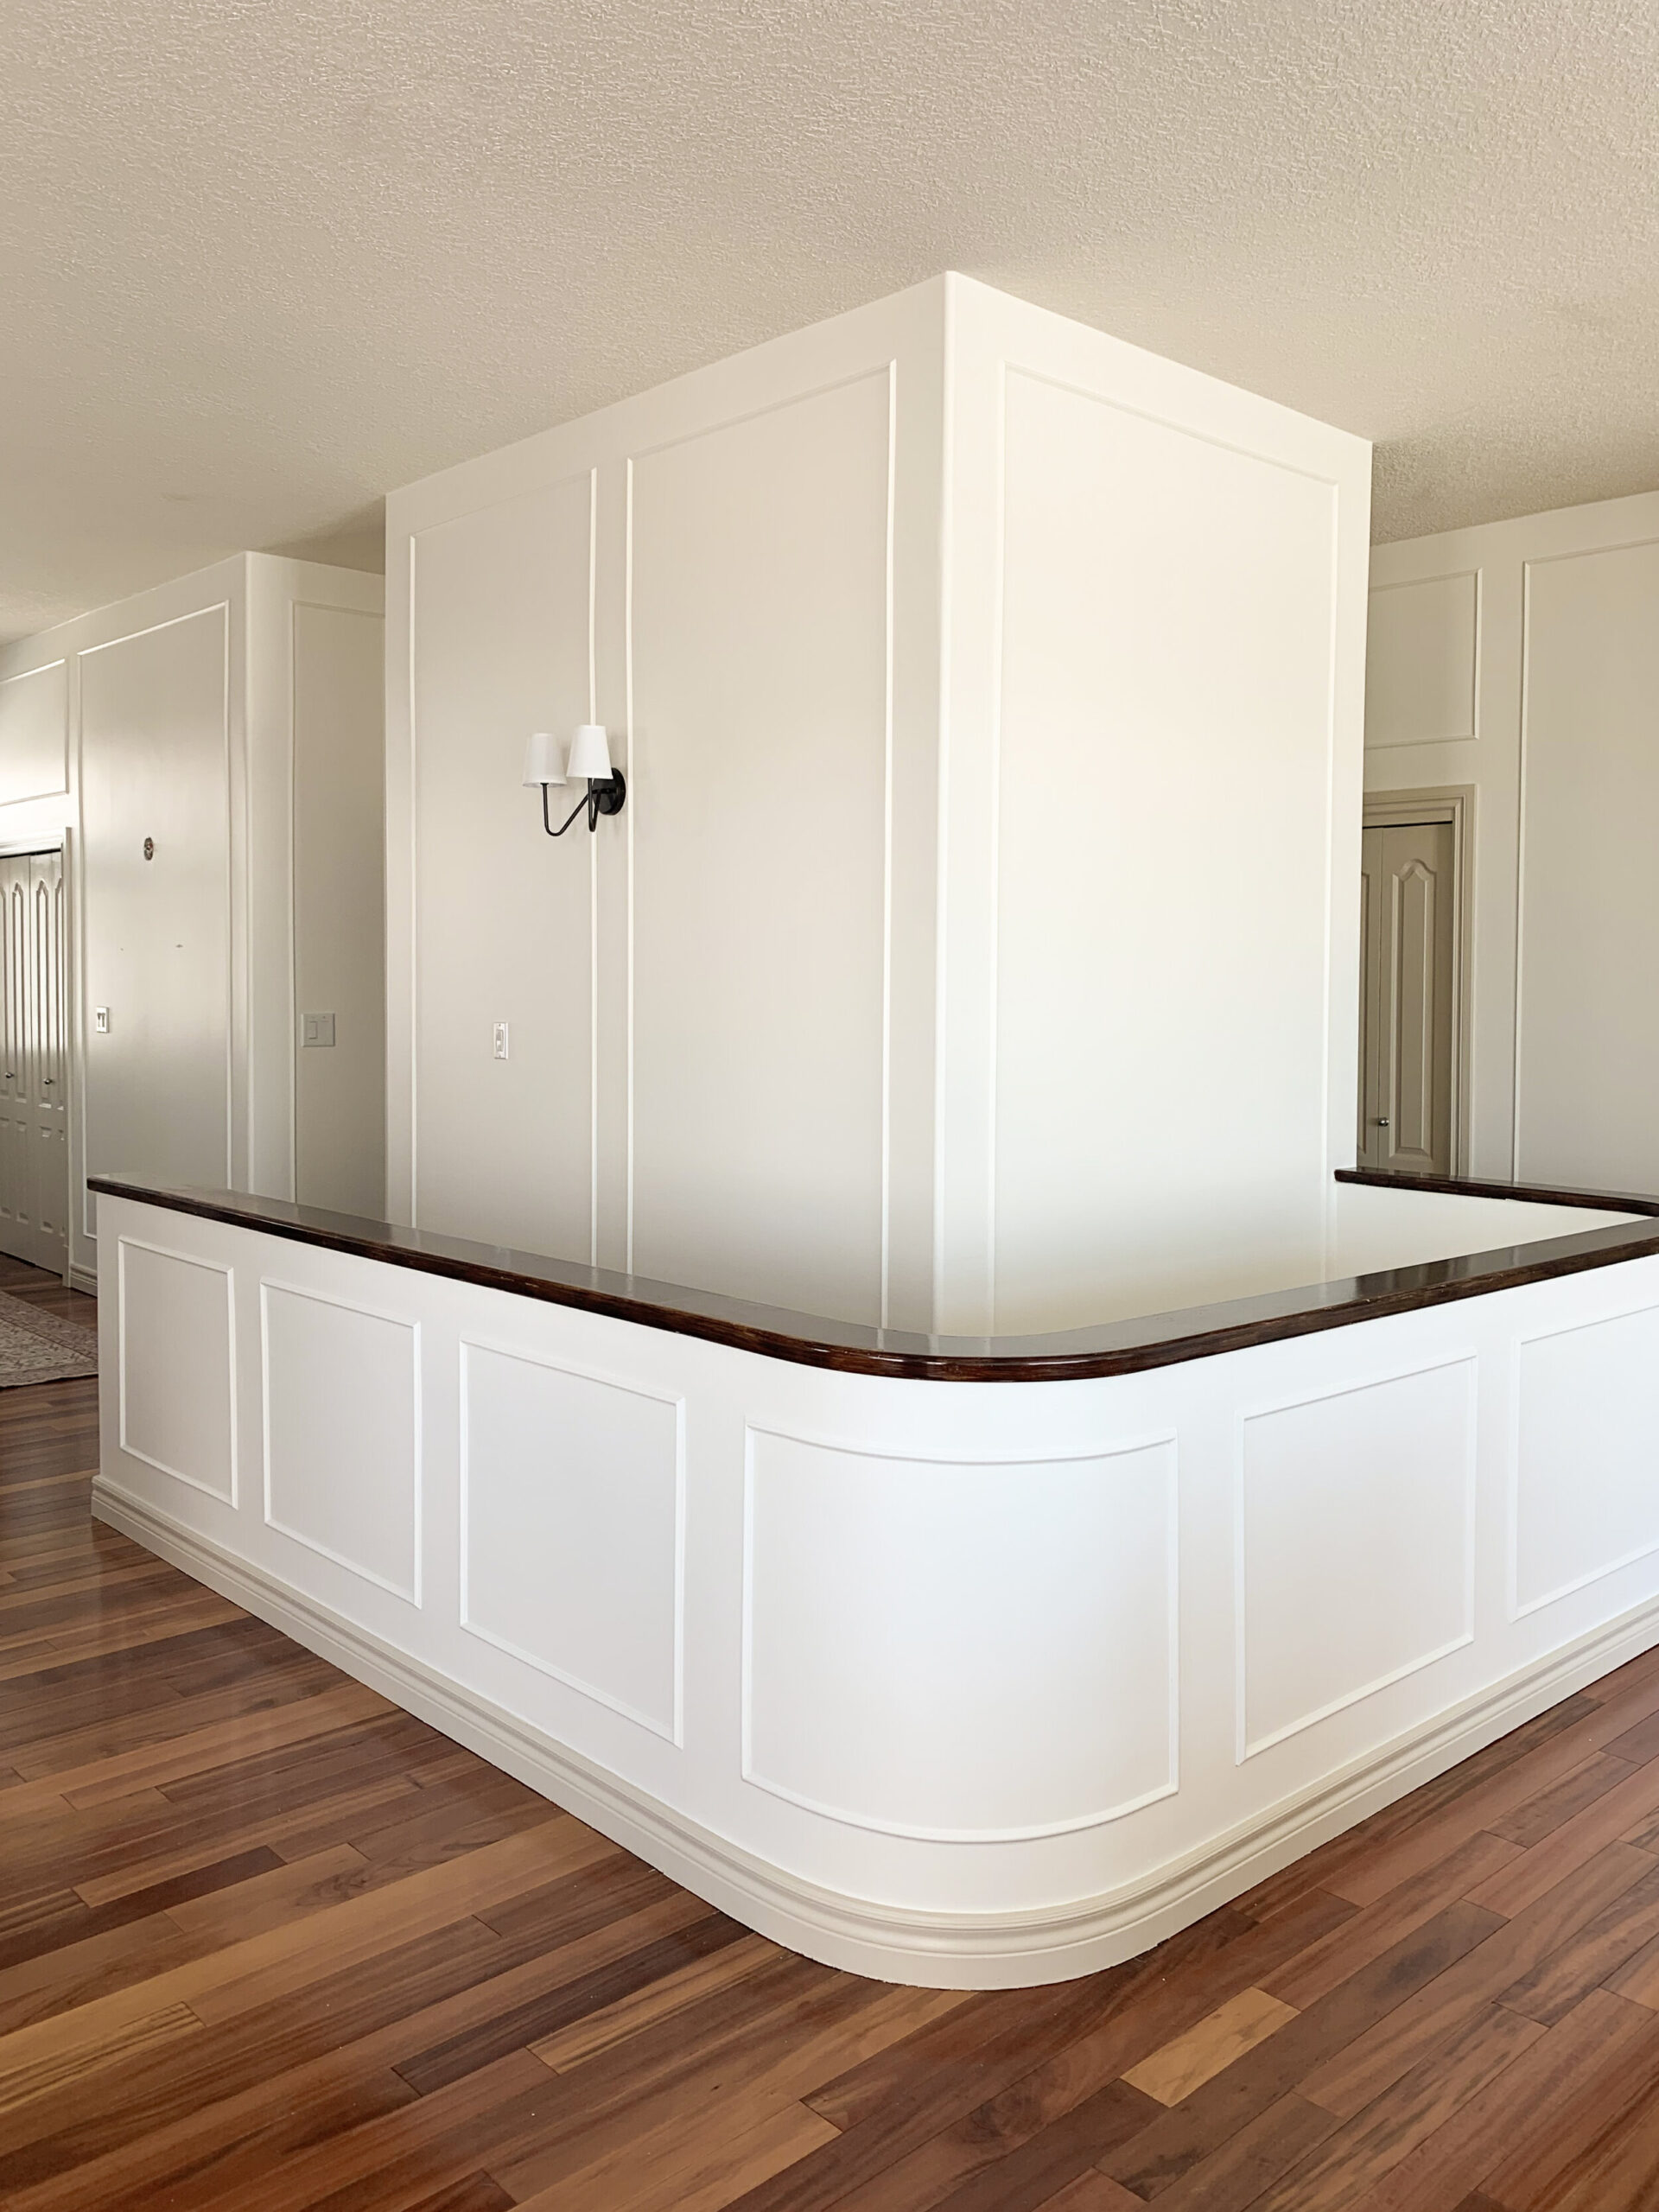
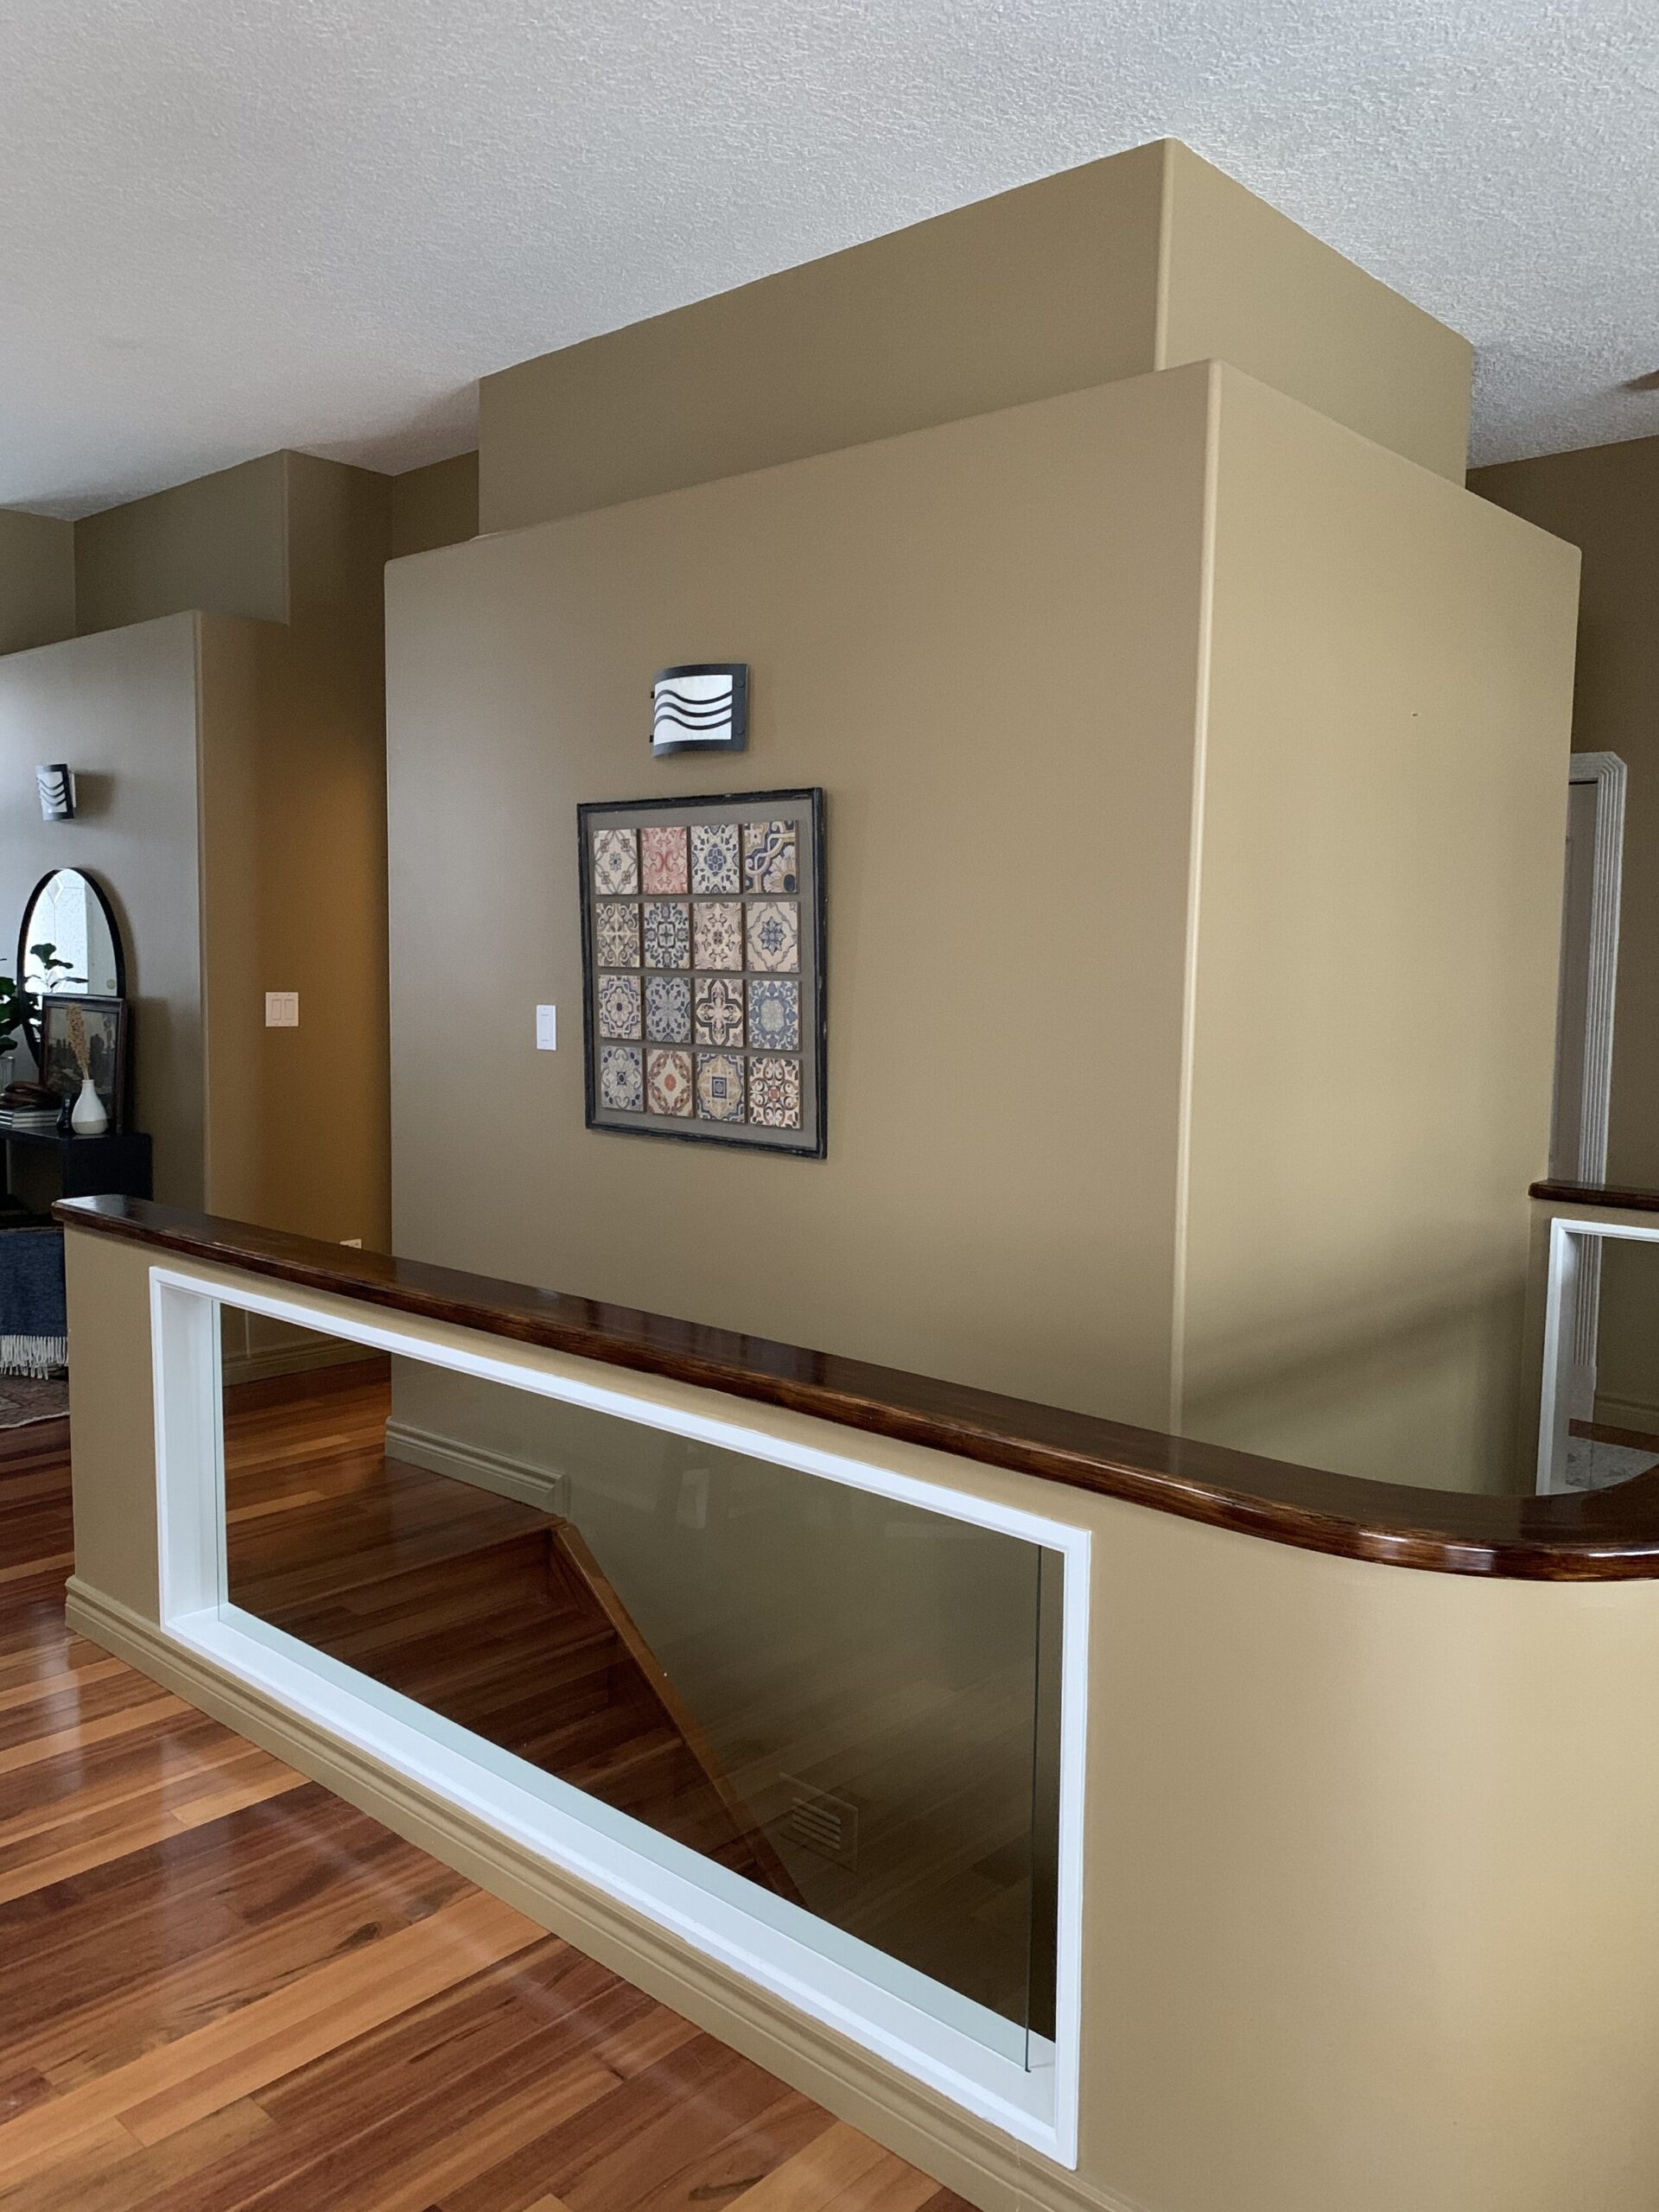
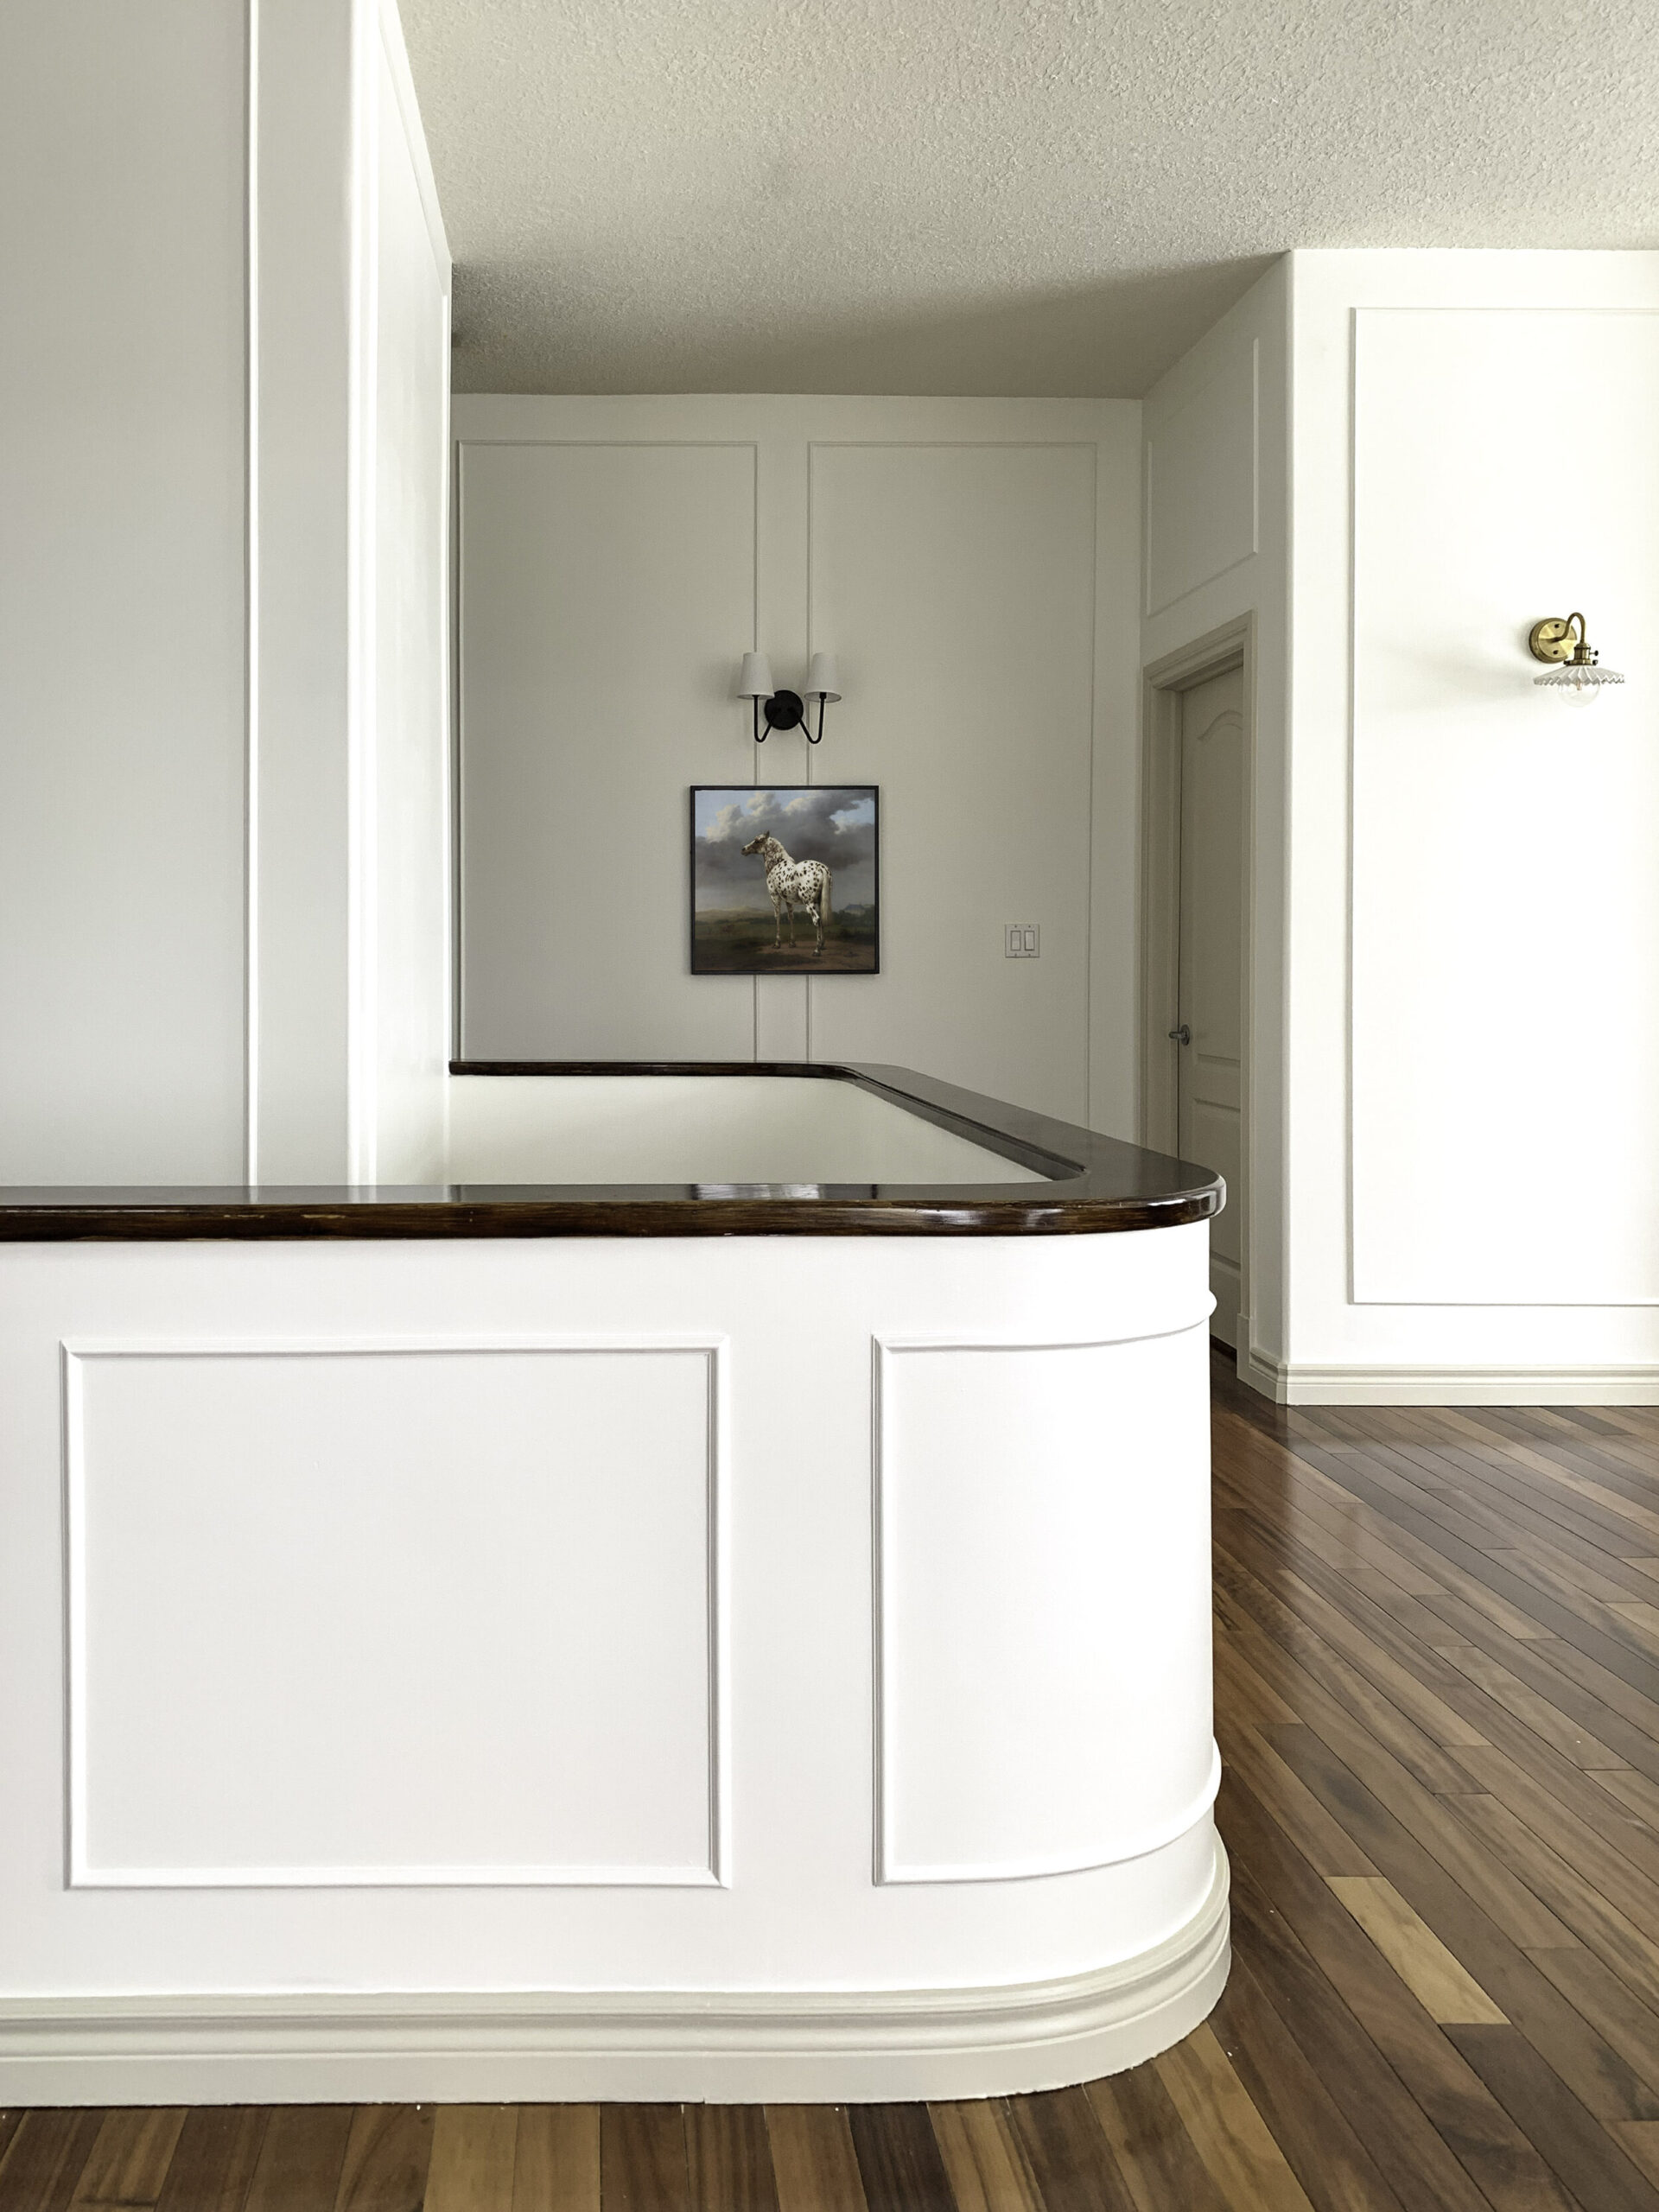
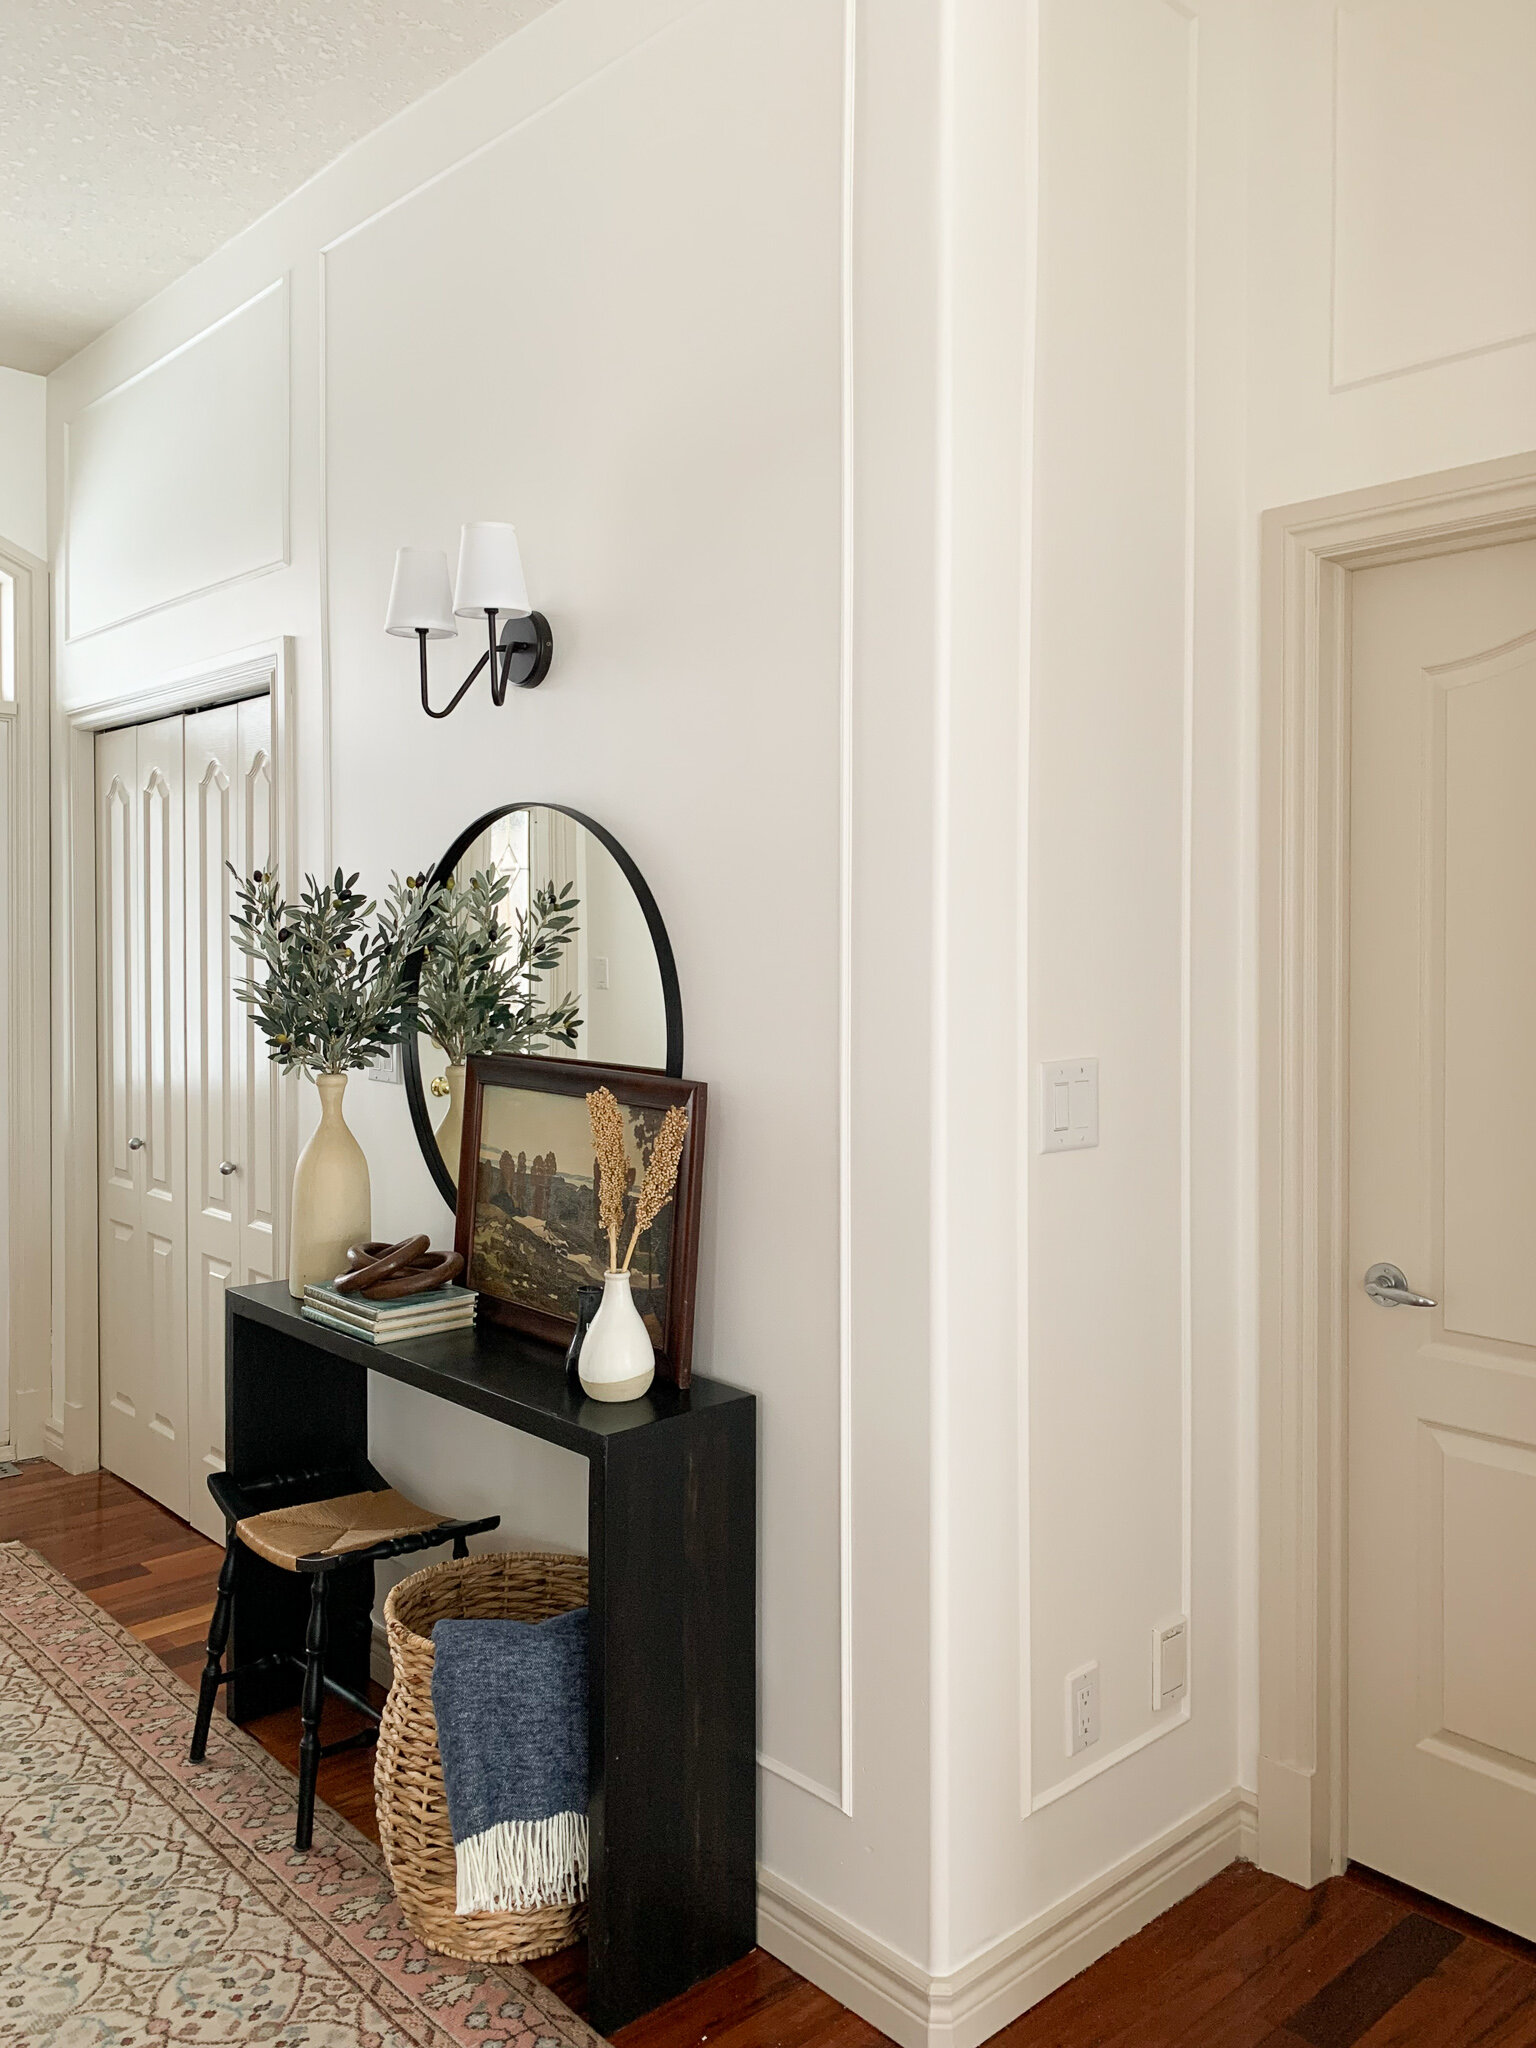
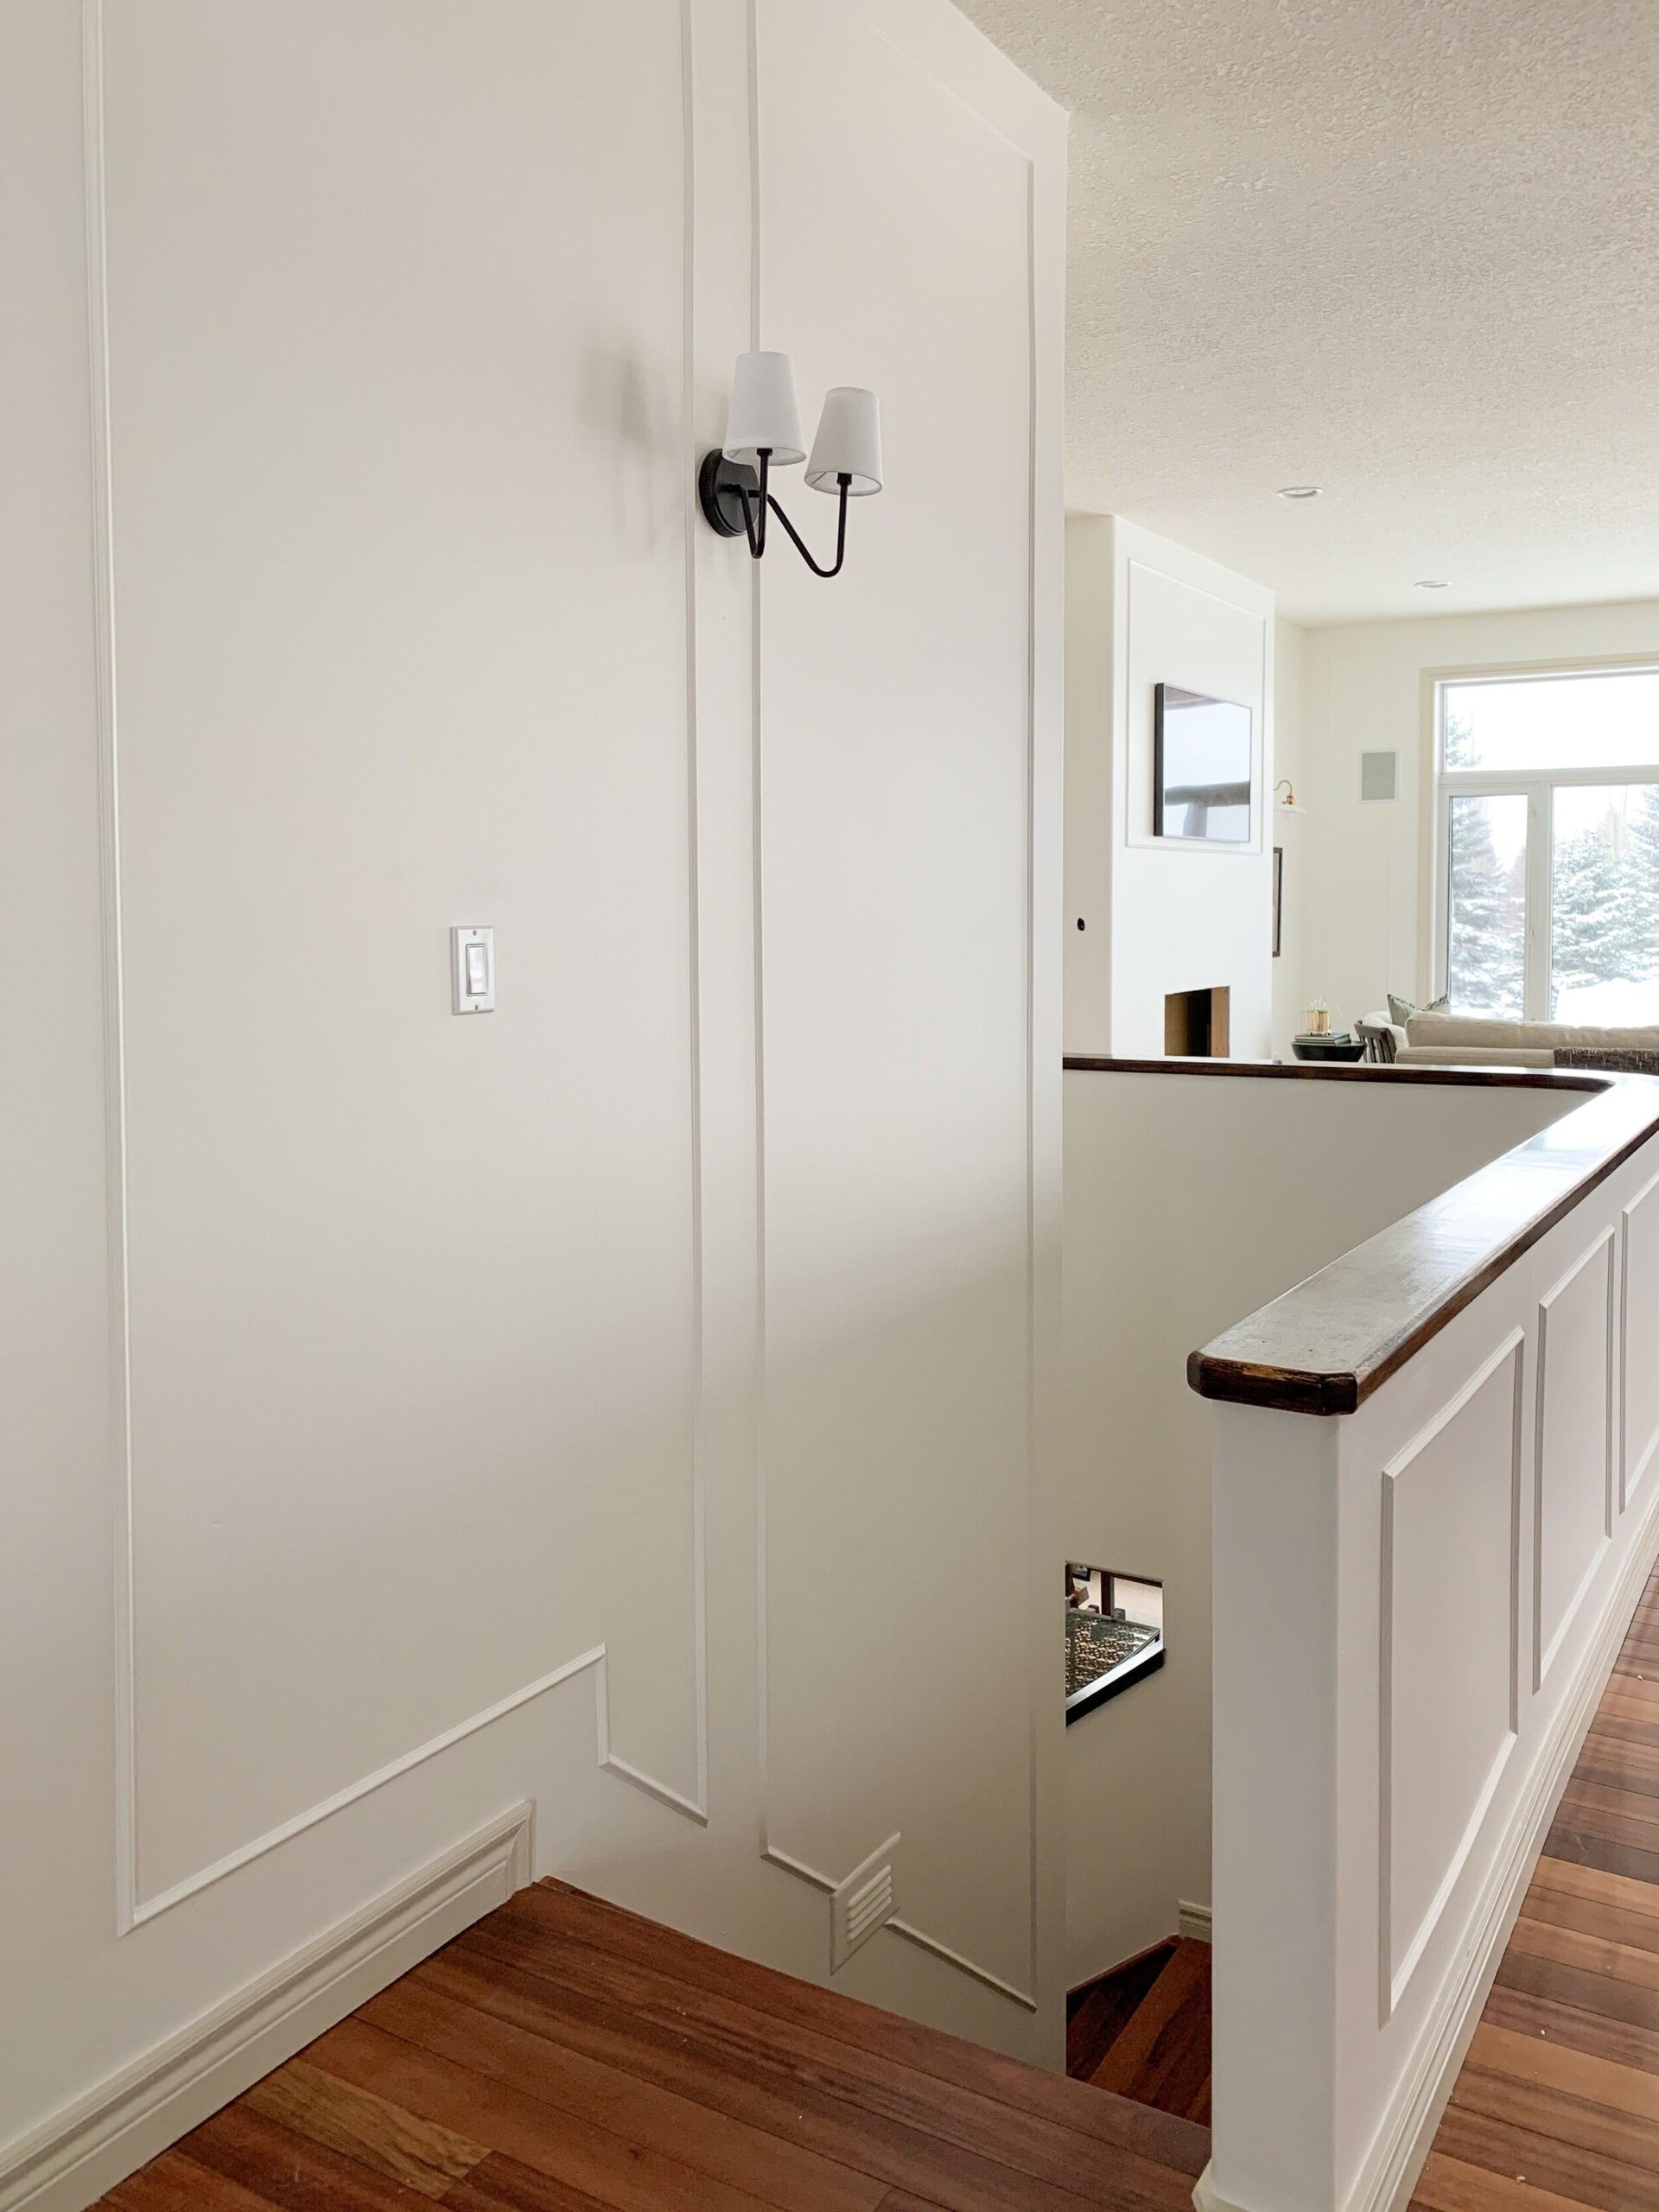
The next thing we did was remove the glass from our stairway railing. This was a controversial choice on instagram (and with my husband!) because that glass was “expensive” when it was installed. But I say, no matter how much it costs, it’s not worth anything if you don’t like it. I have a much more traditional aesthetic that I was working towards, and so this more contemporary glass rail didn’t fit in with that. So we removed it, framed out the holes it left and added drywall to these spots too. Lastly, there were some ledges over the stairway area and entry about 8’ up the 10’ walls. These actually had some lighting on them (strip lighting just sitting there, actually) which we had our electricain remove. These changes were relatively easy, we framed this up and added some drywall.
There are still some ledges left in the kitchen – which we will be removed when we get to the kitchen renovation. But we thought it would be best to leave them until we start working in that space.
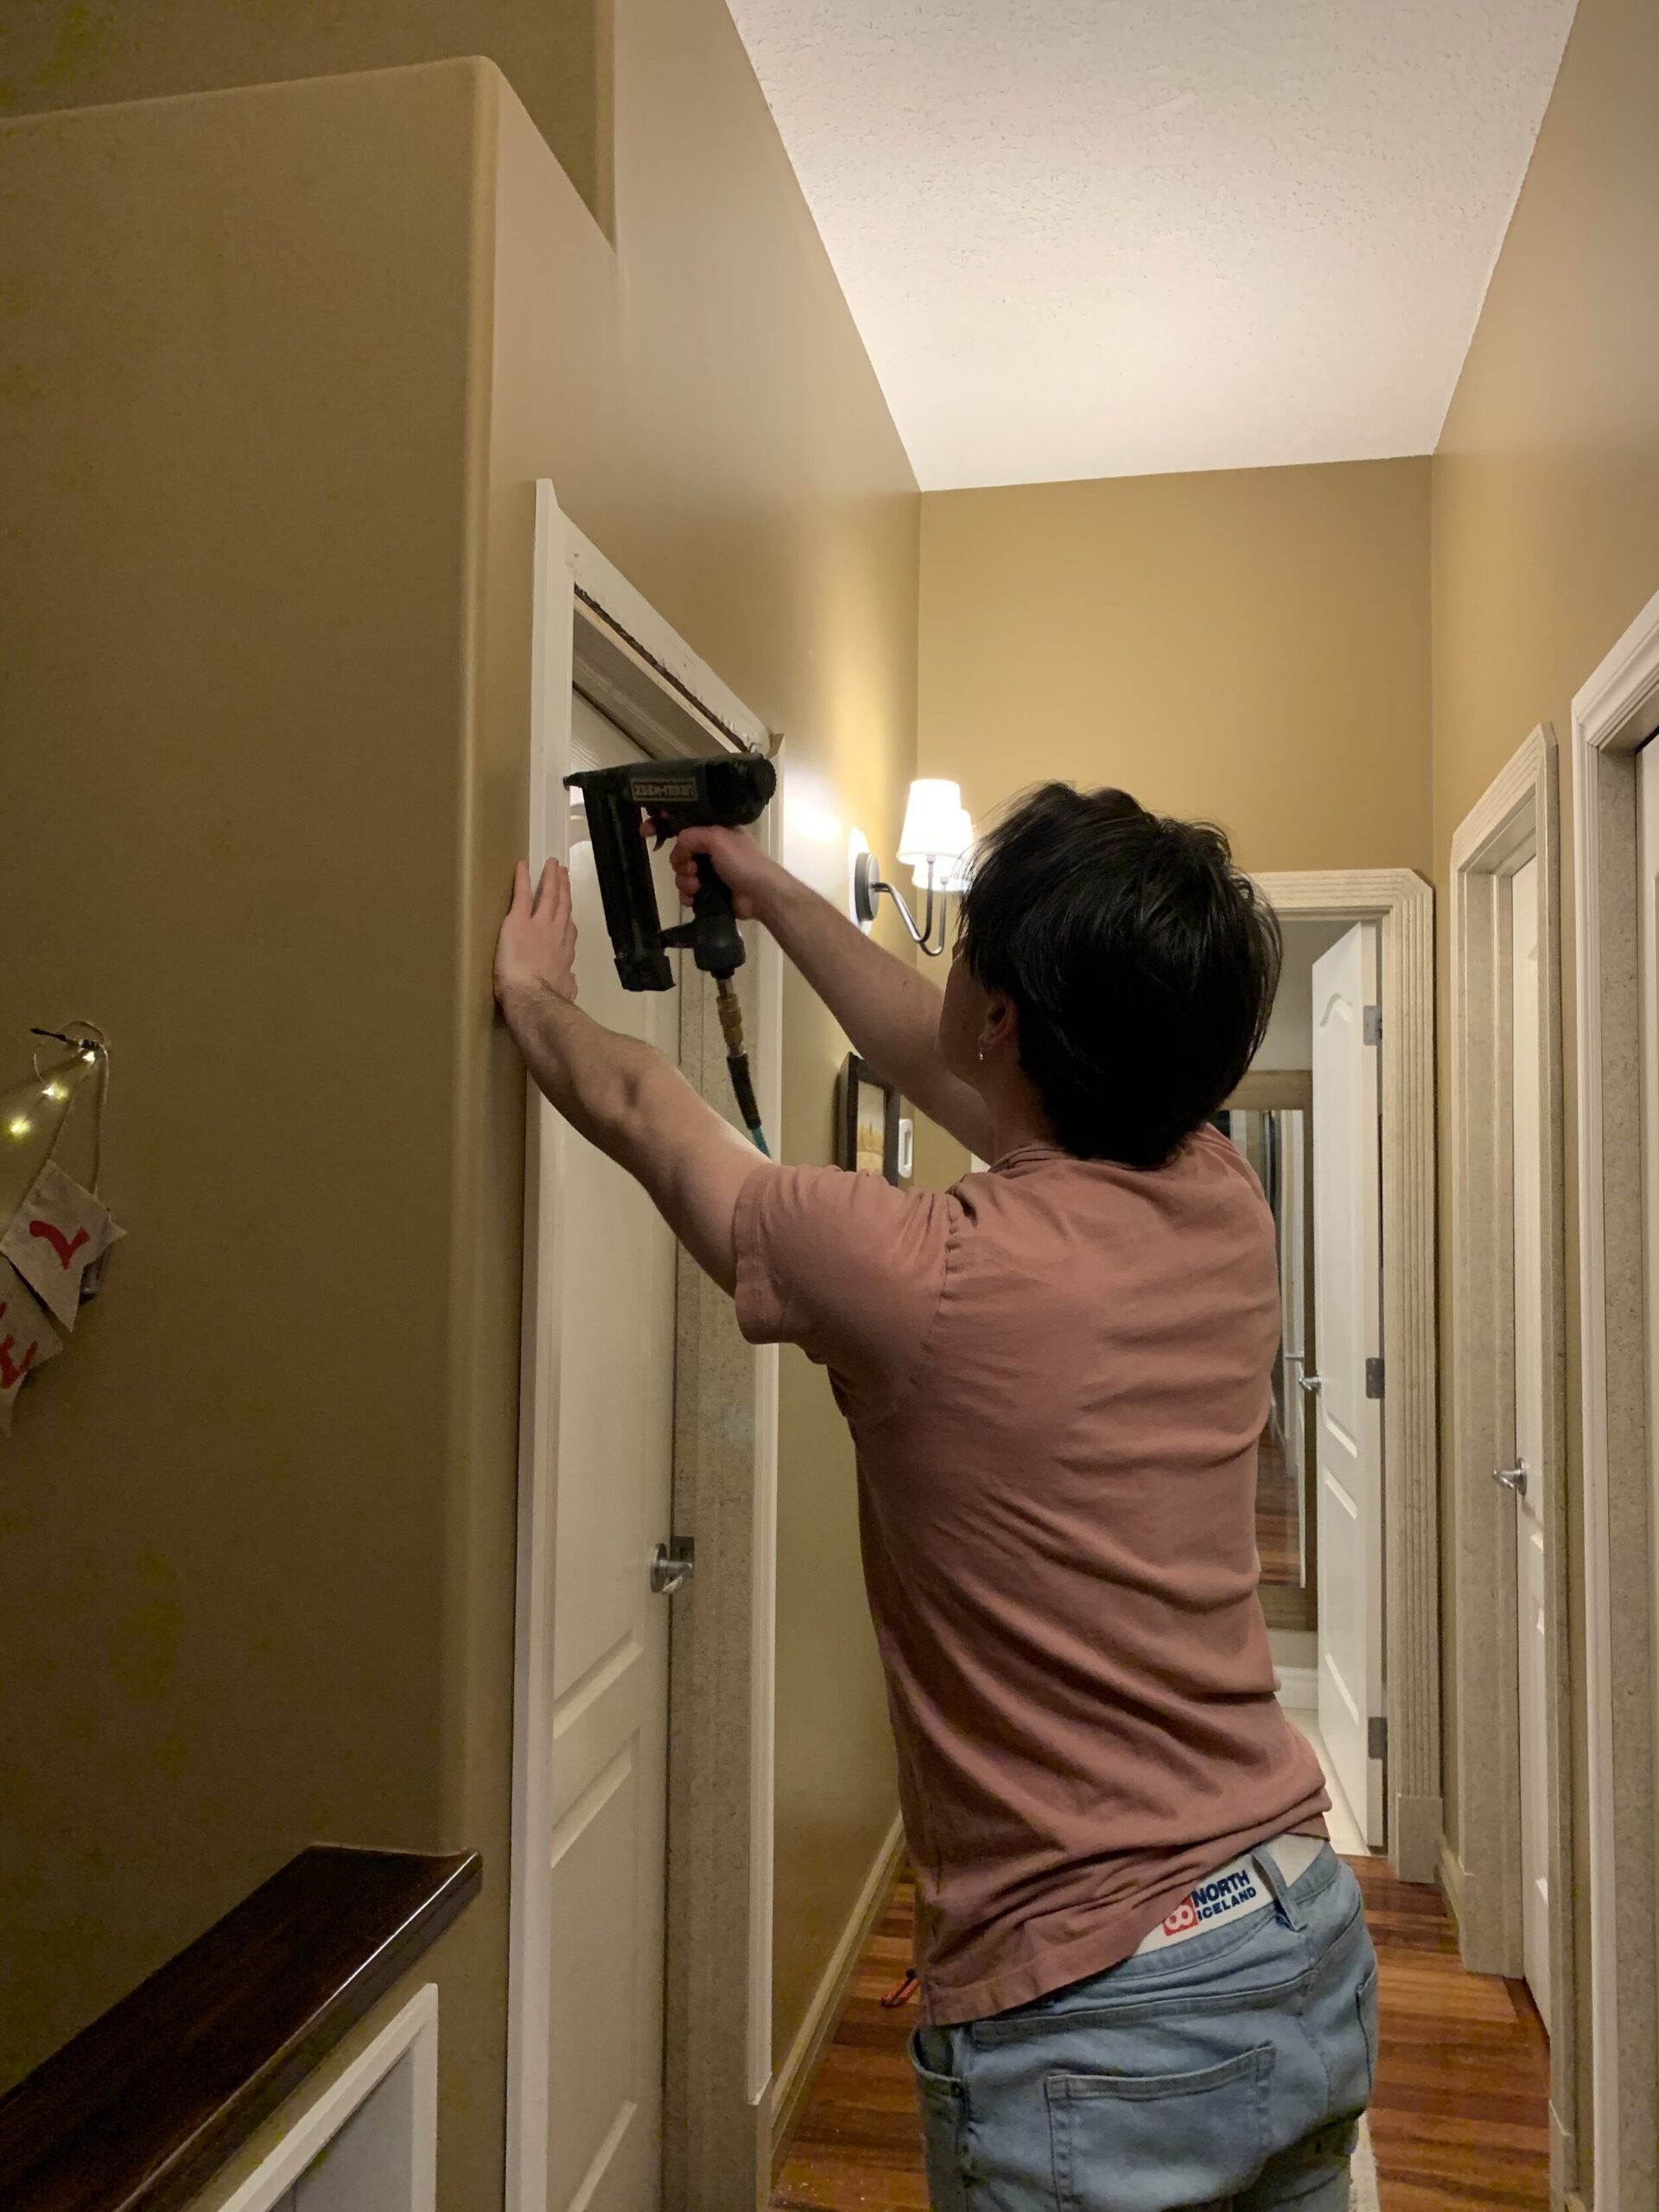
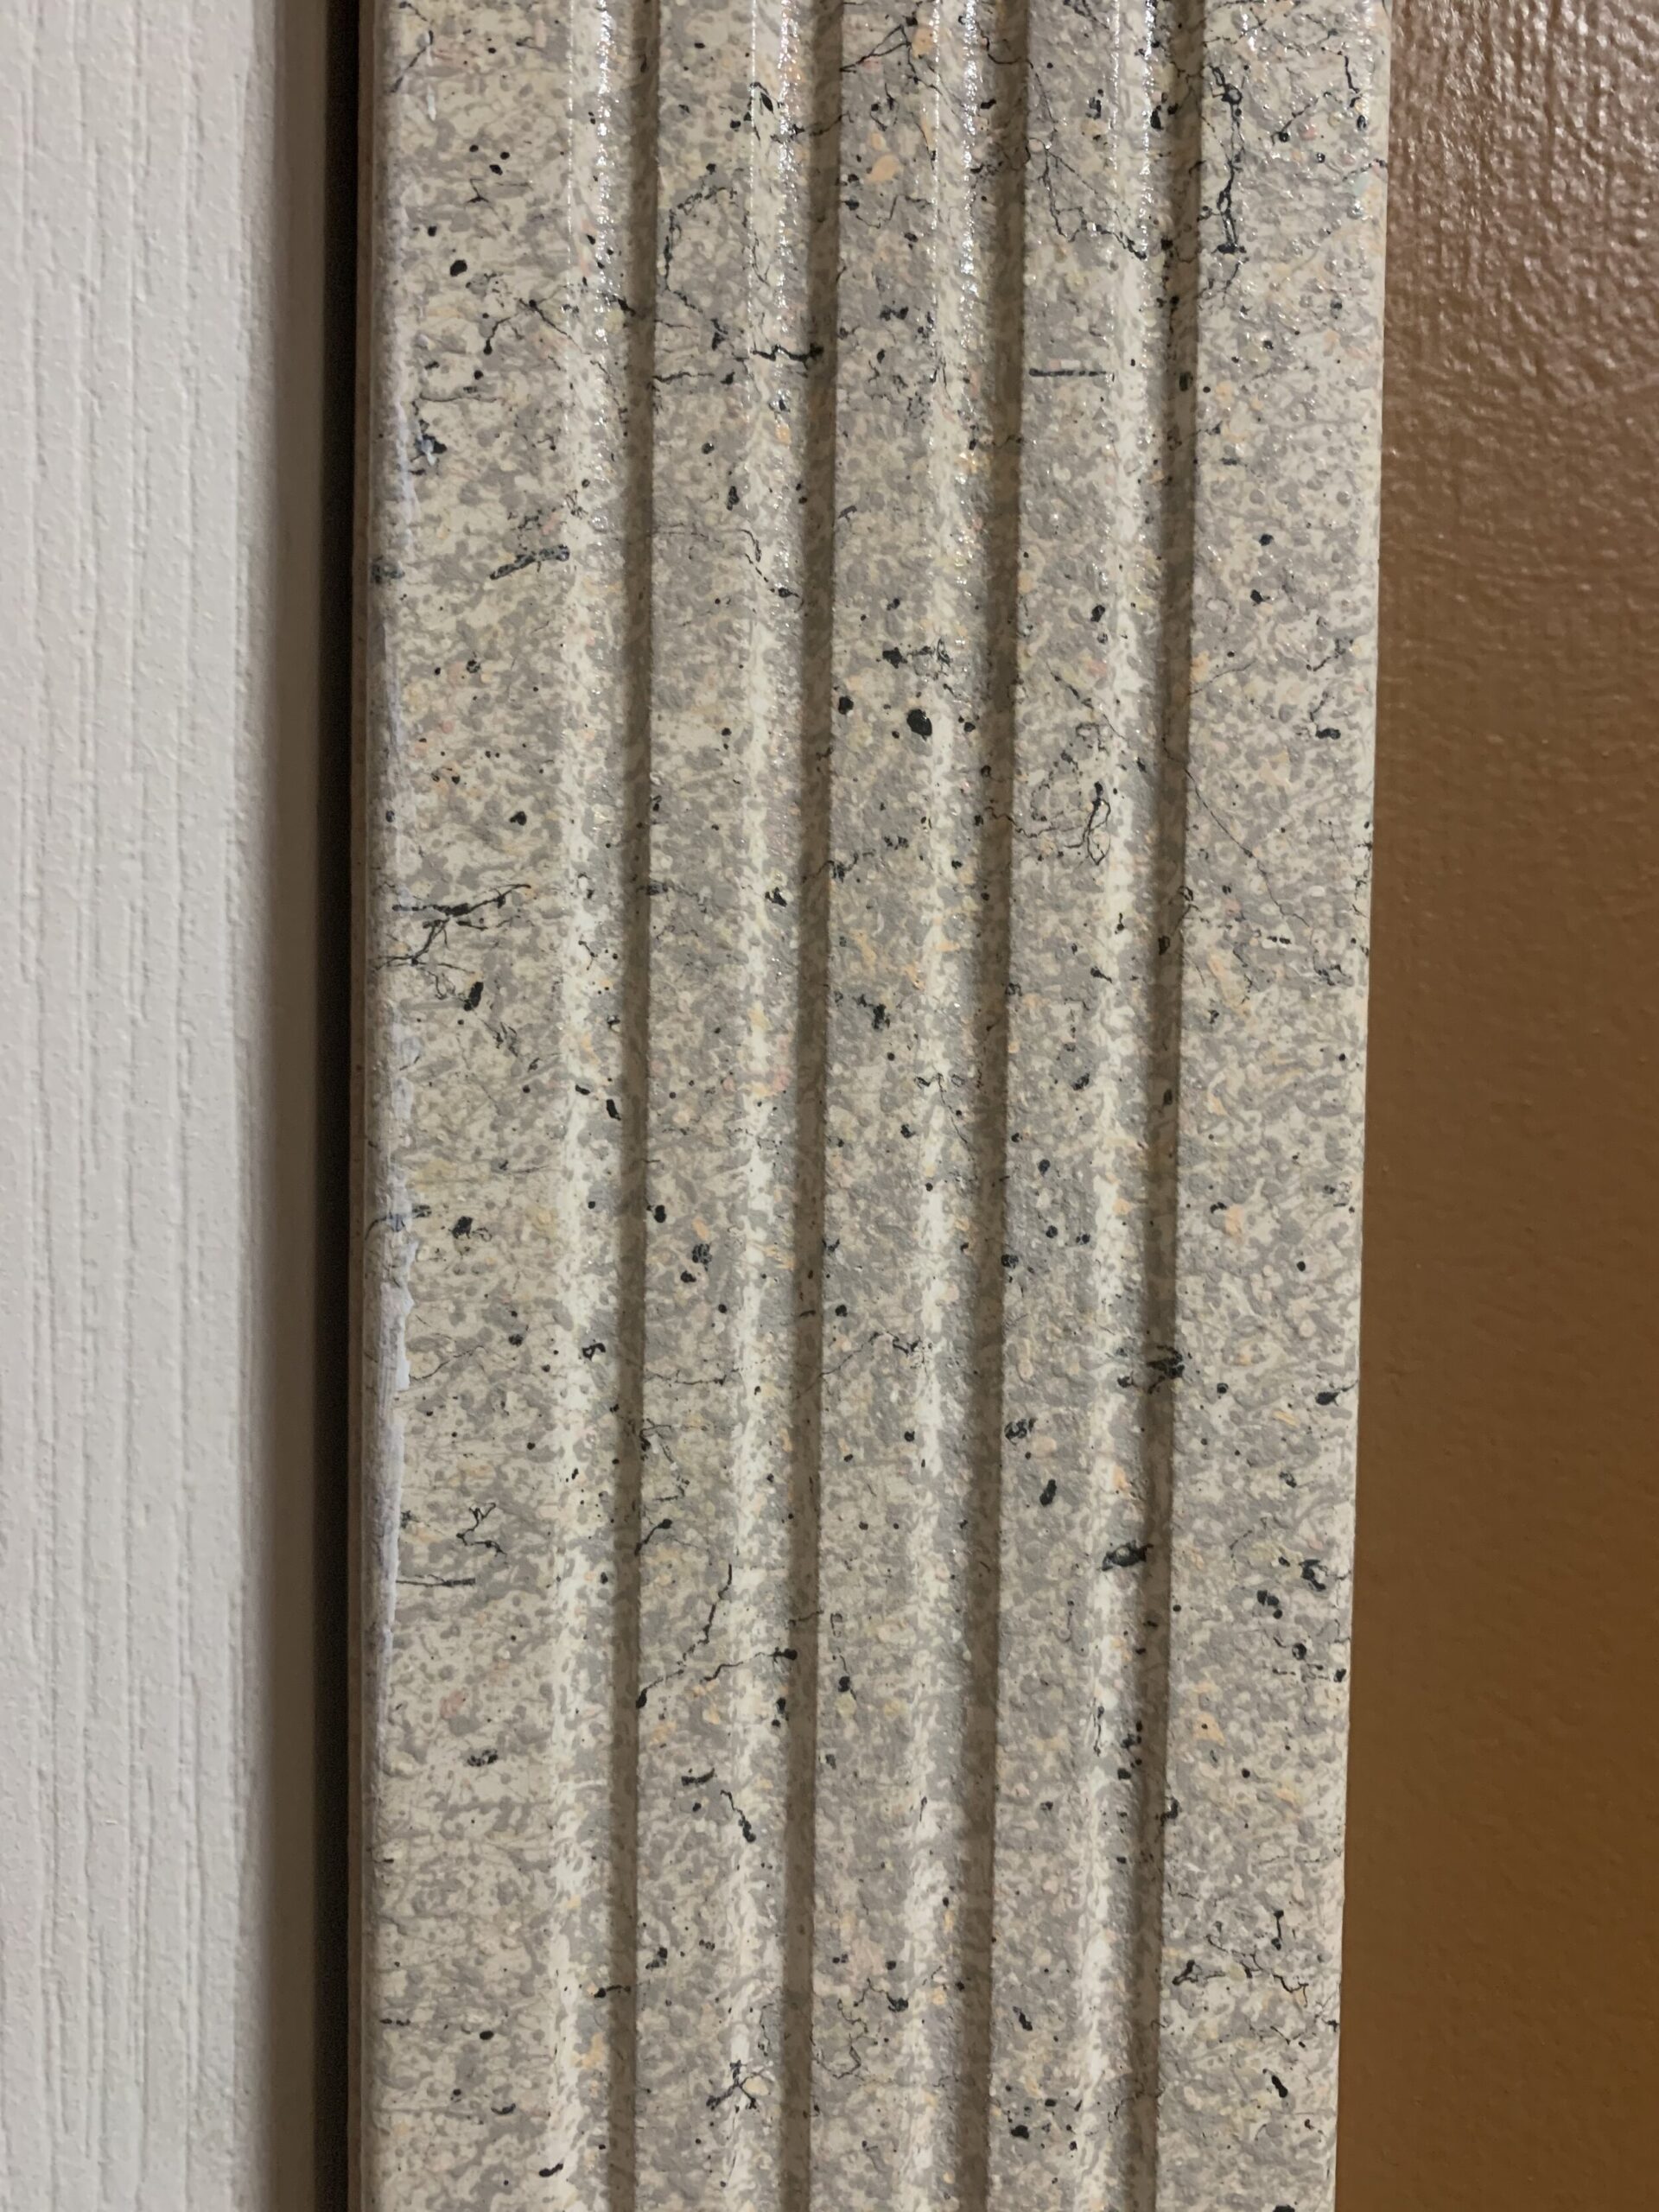
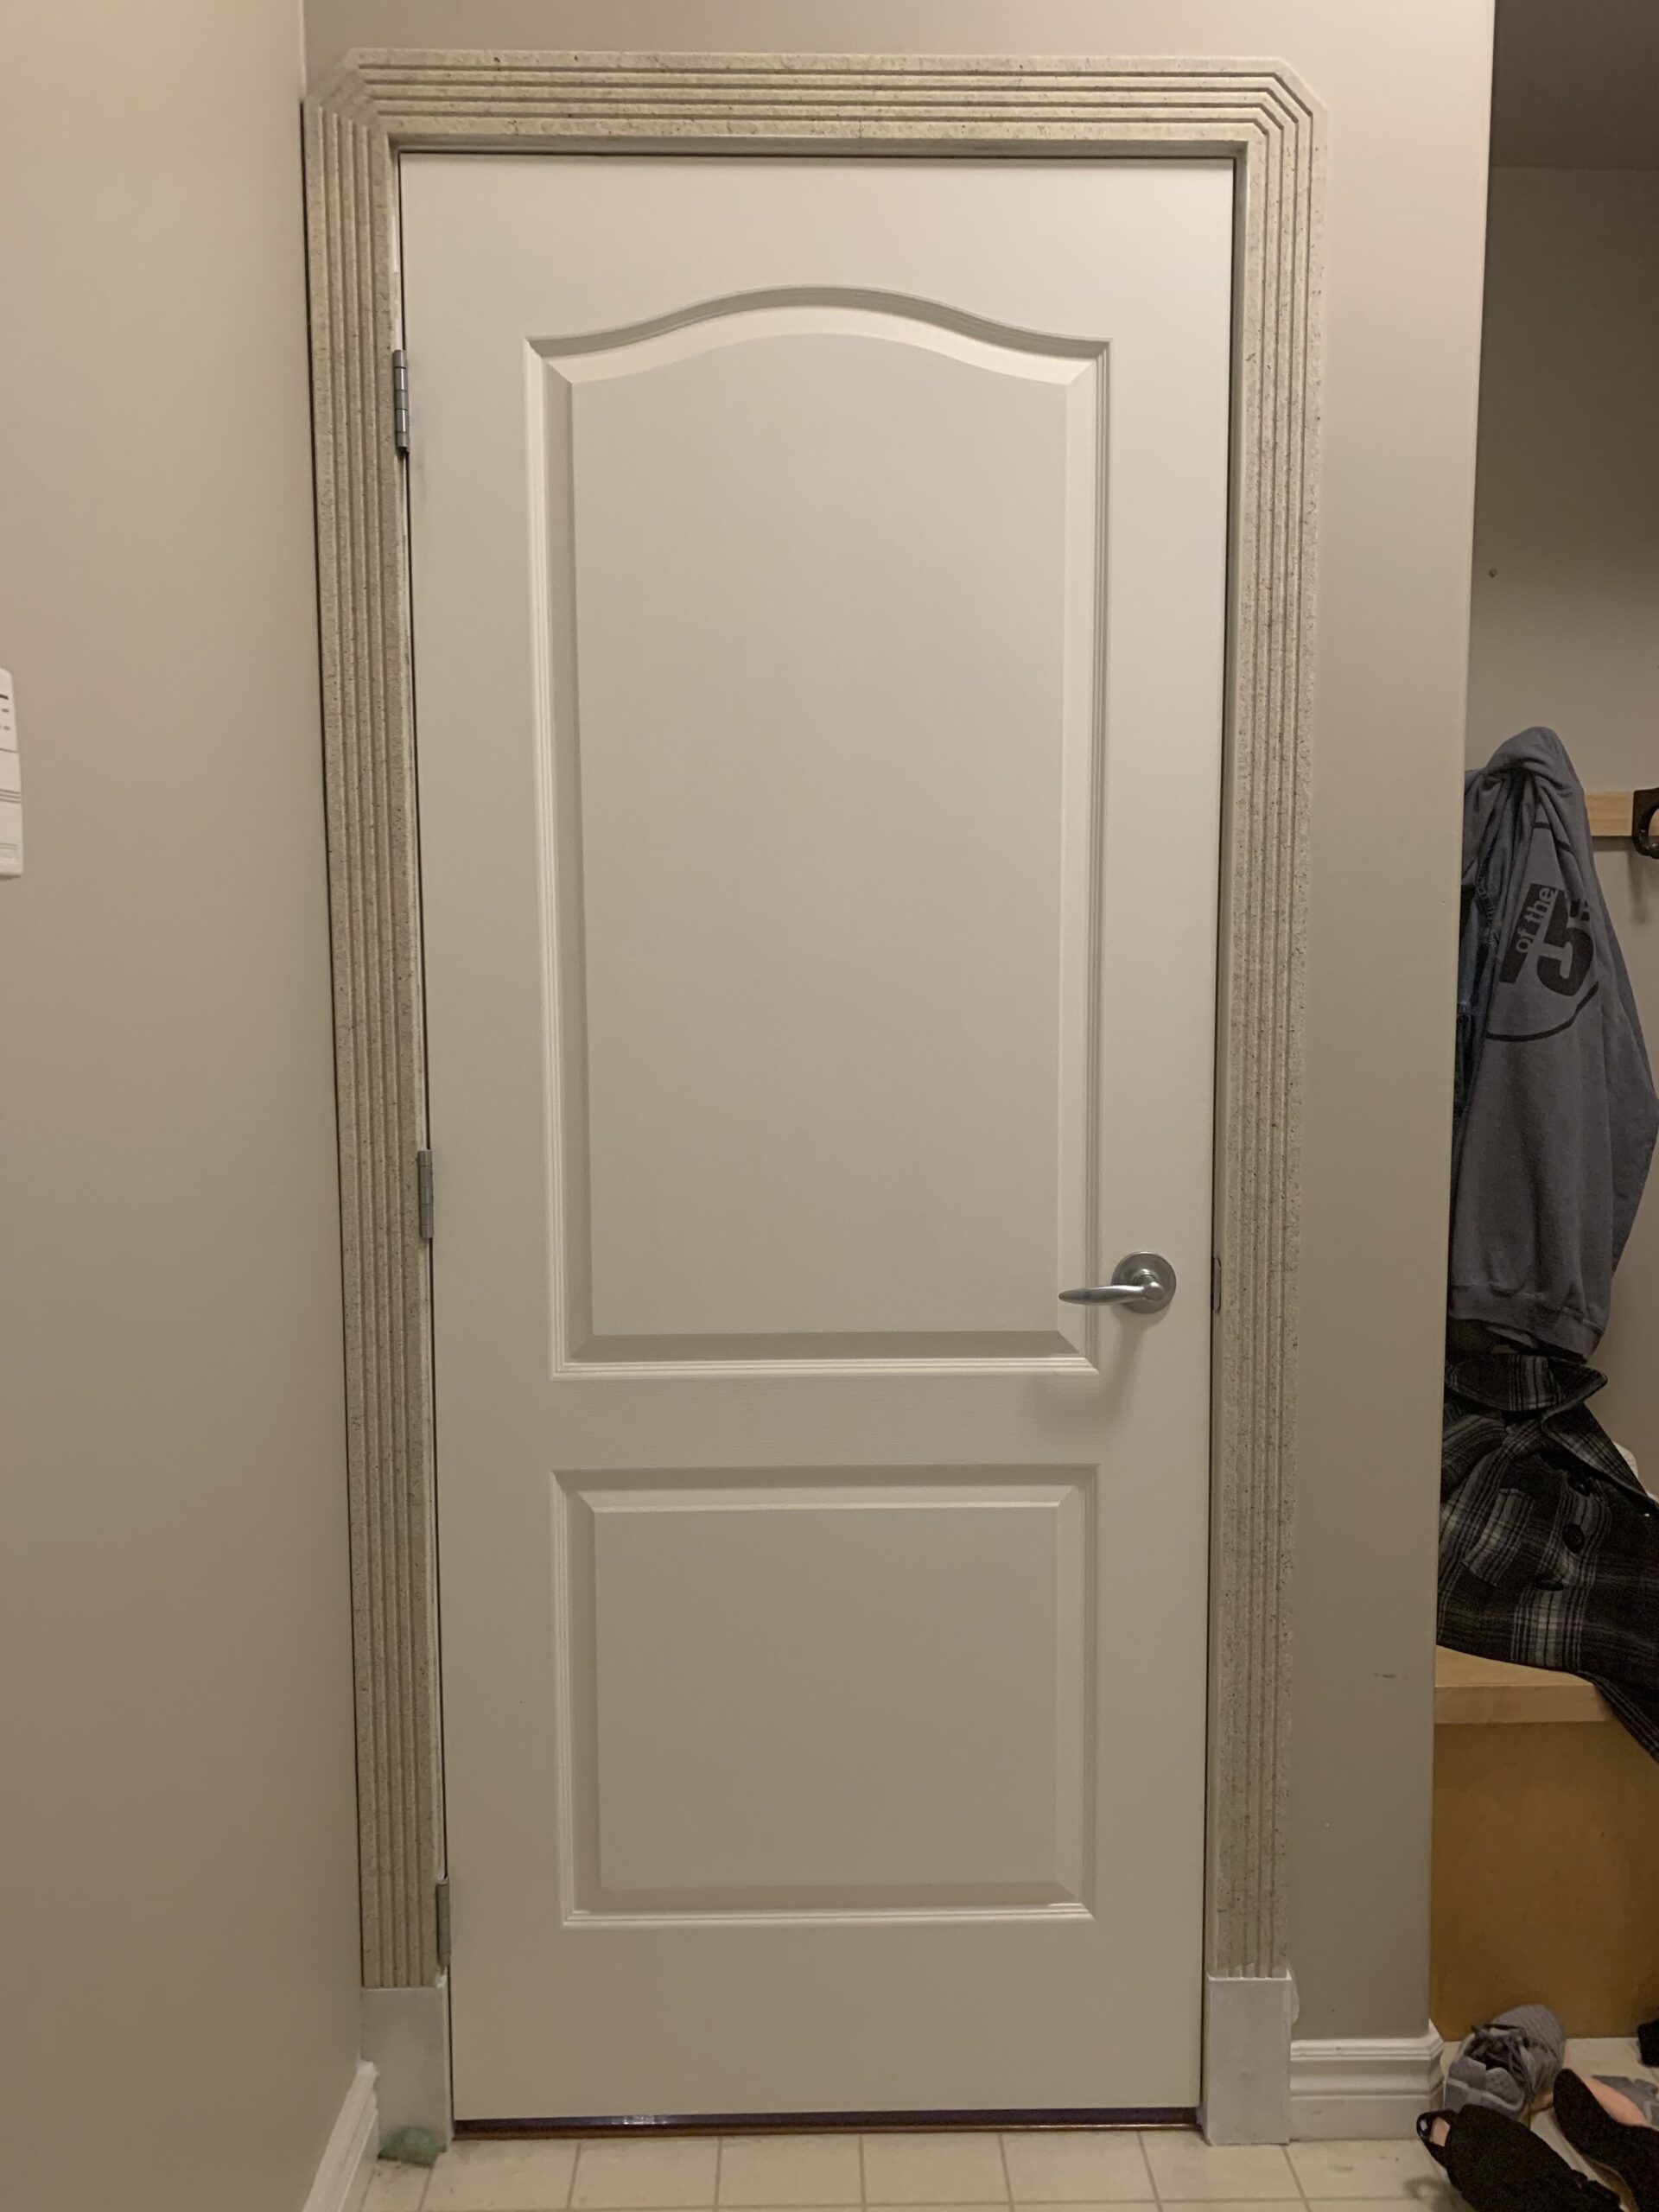
During this time, we also slowly started replacing the door and window casings on the main floor. They were all coated in a speckled textured paint (thank you, 90’s decorating) and we thought it would be easier to remove and replace than to try and sand and paint over that texture. The door jams were also coated in that speckled paint, and for those, we did sand and paint rather than replace them. That in itself was a huge job! I taught my son how to do trim work and he did most of this for us in his free time, which thanks to Covid, was plentiful.
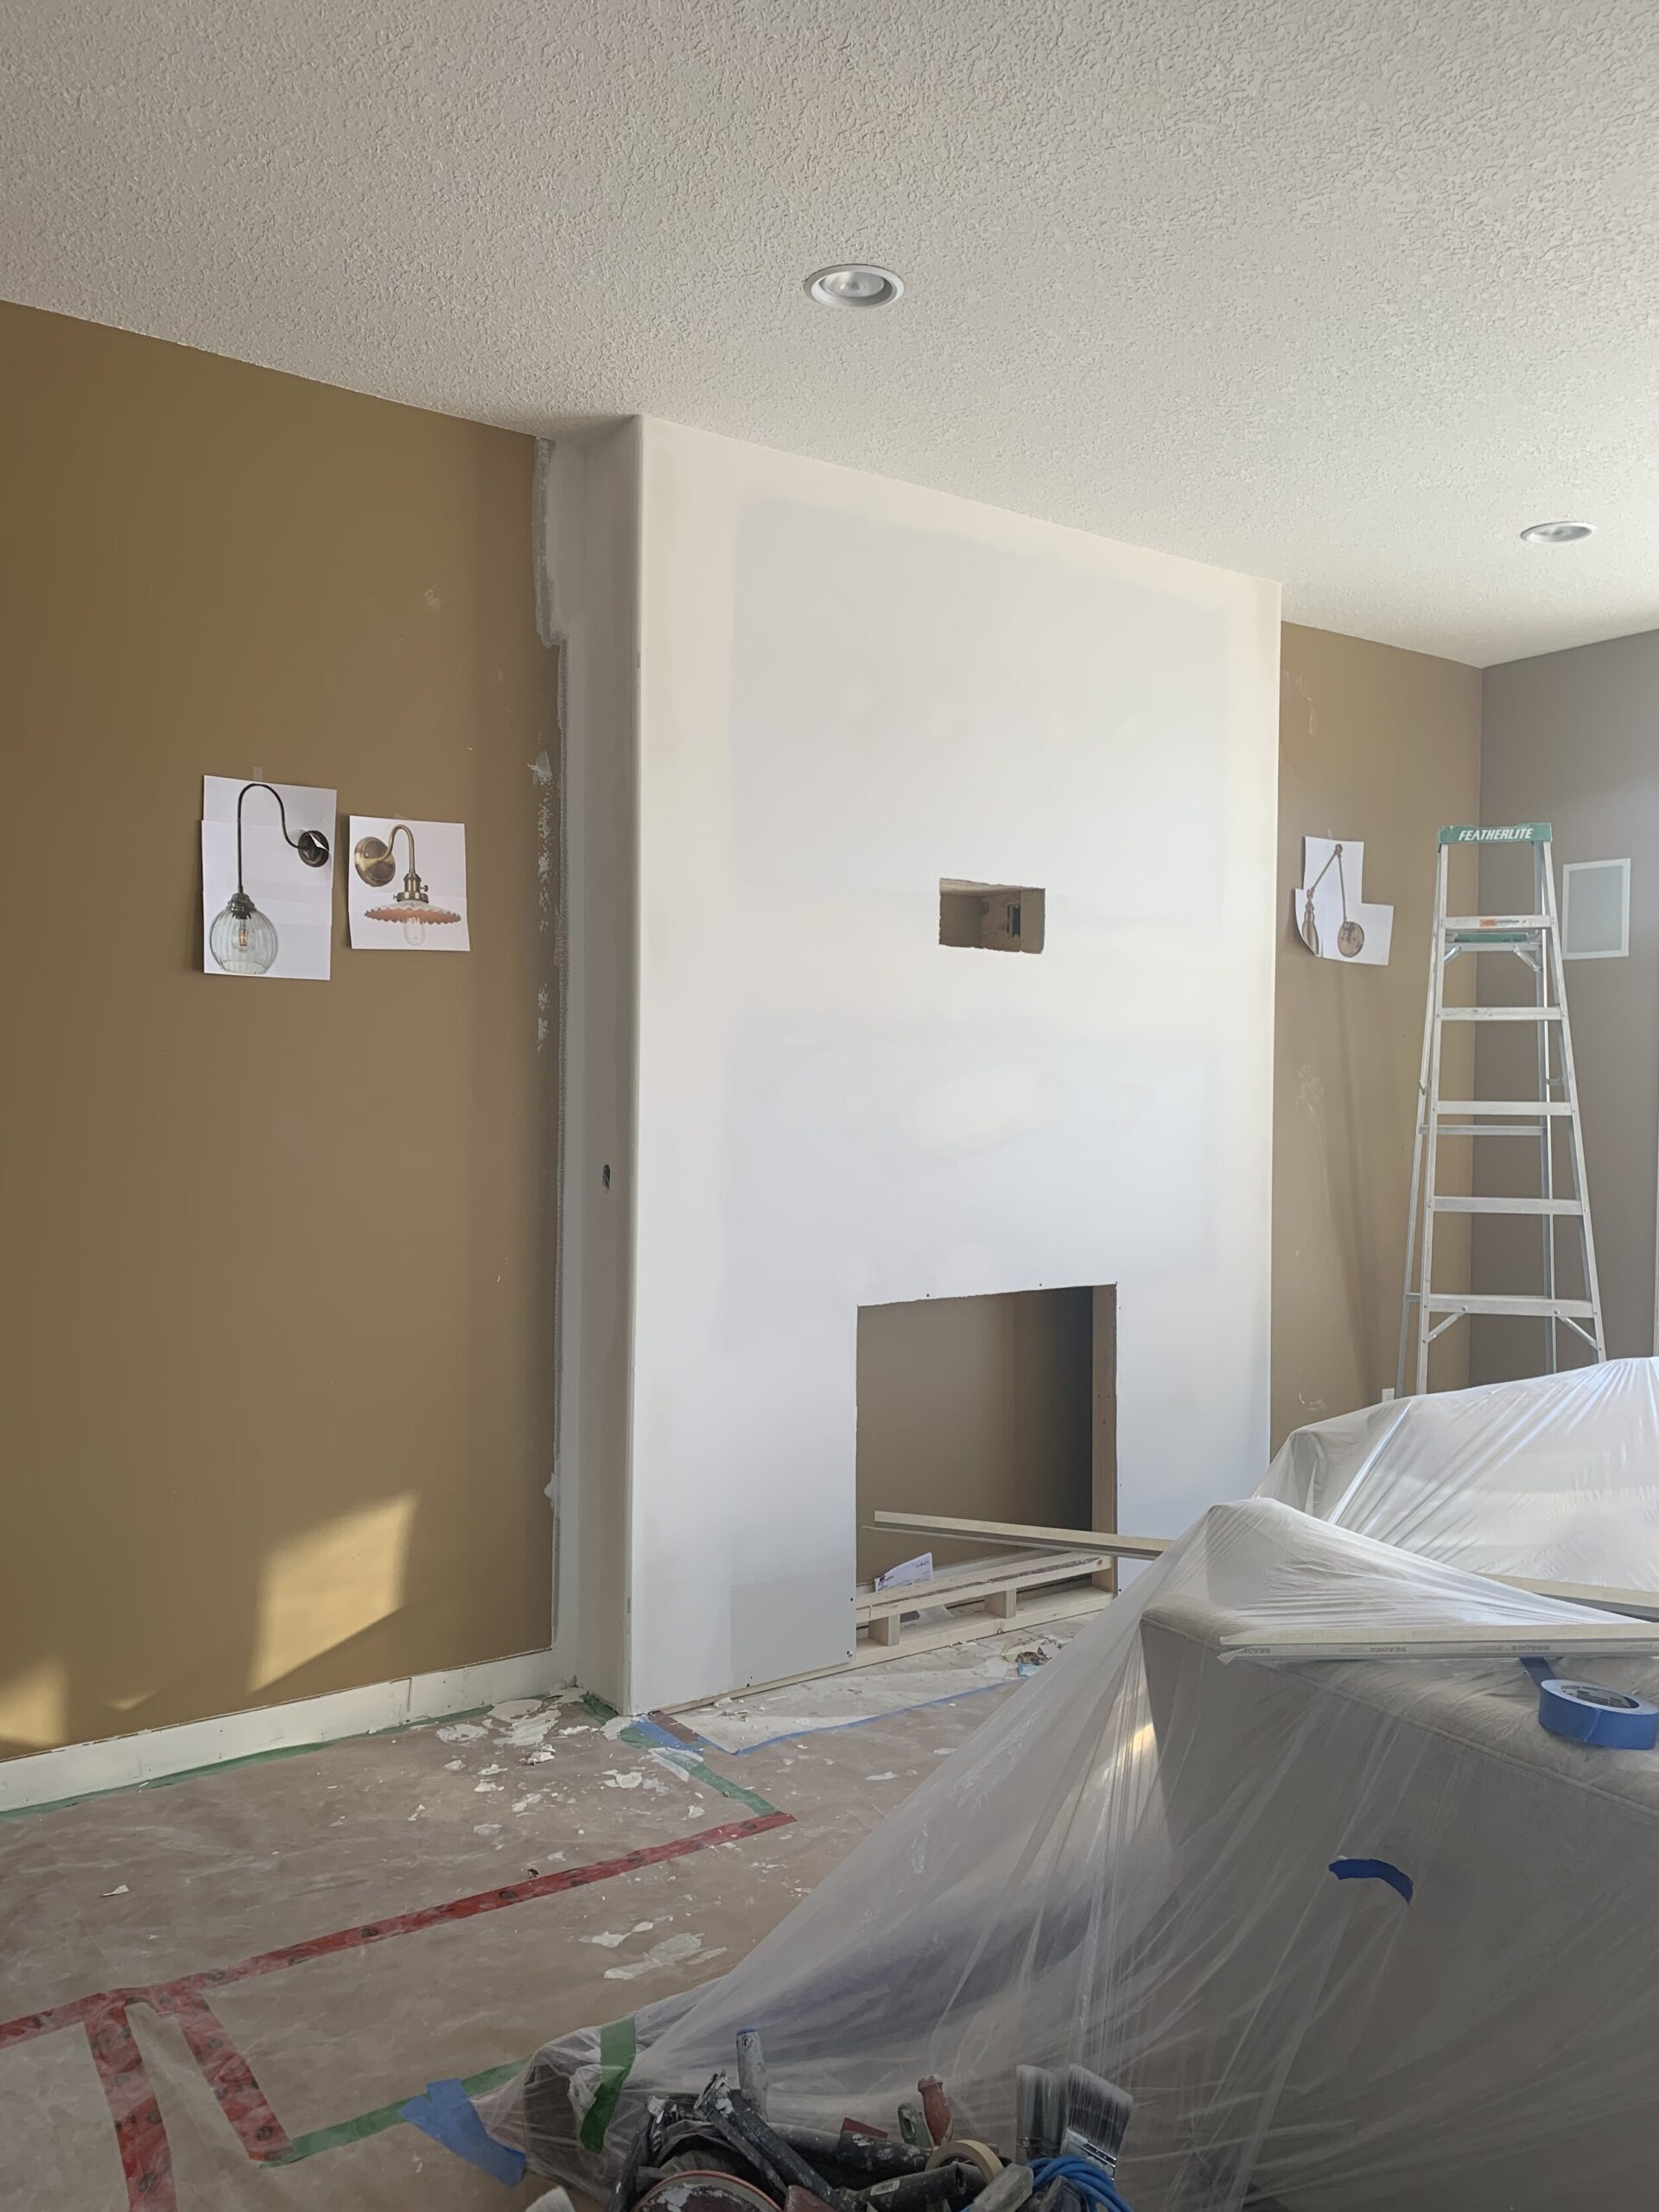
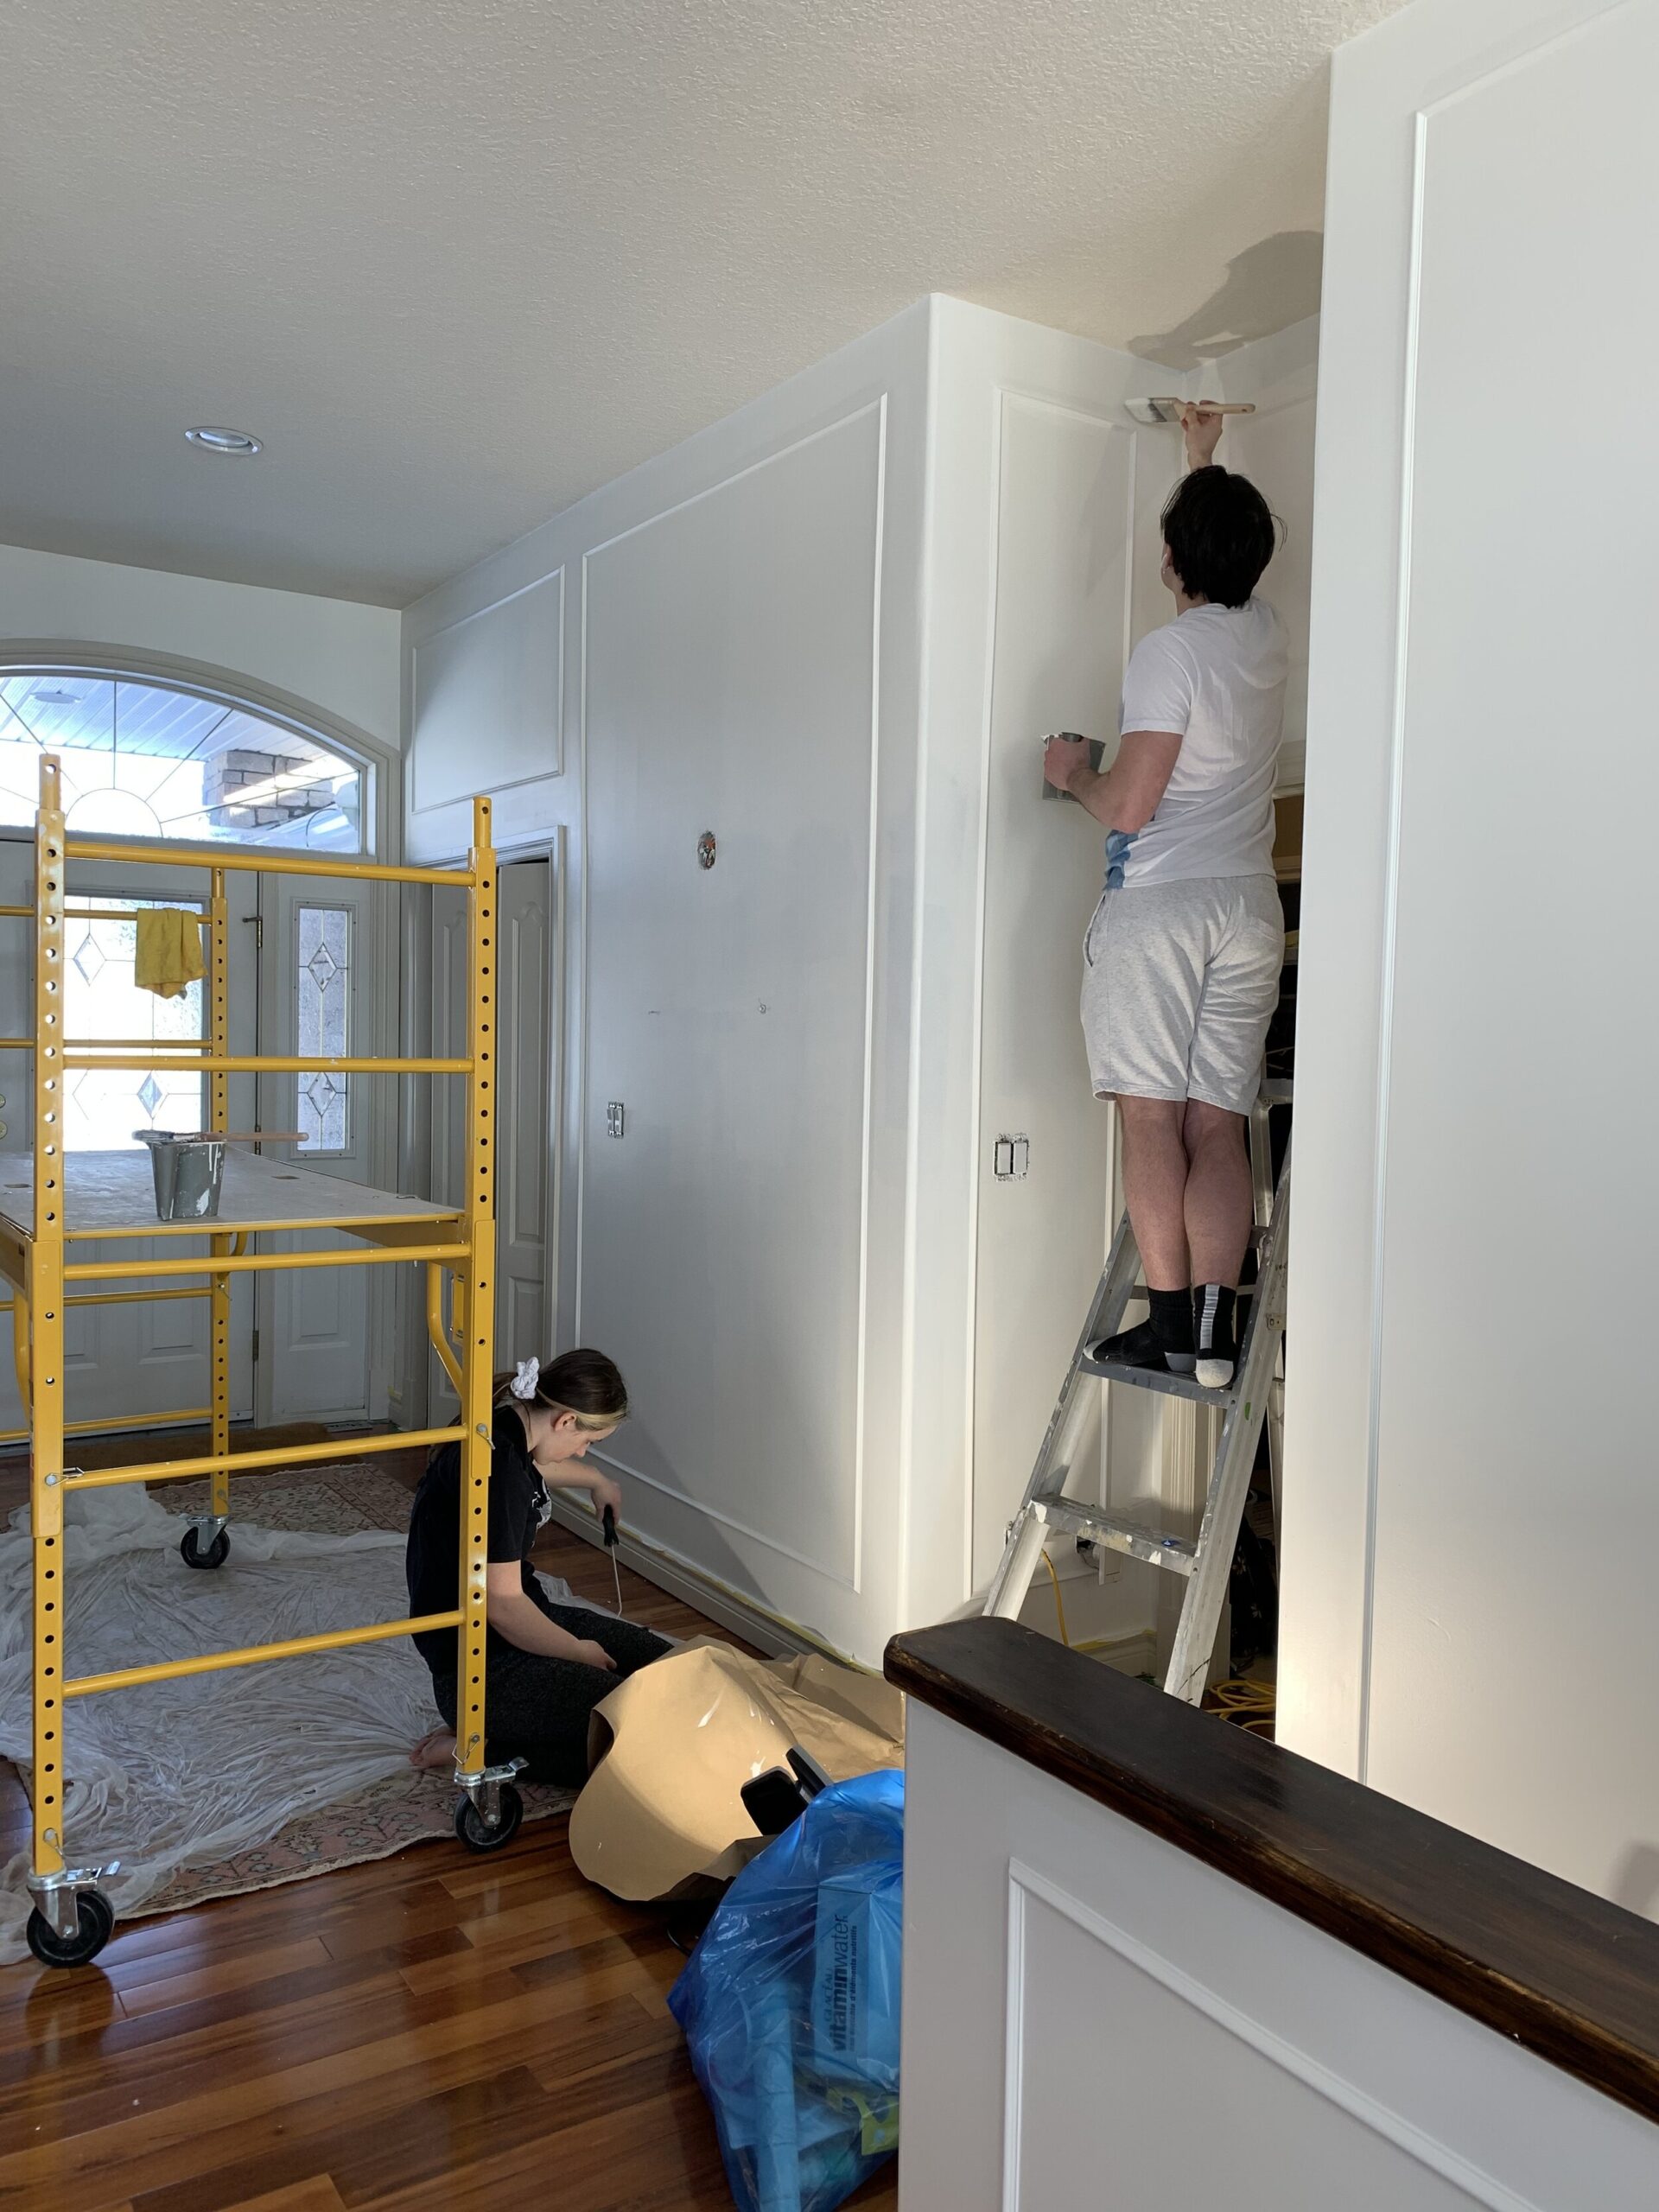
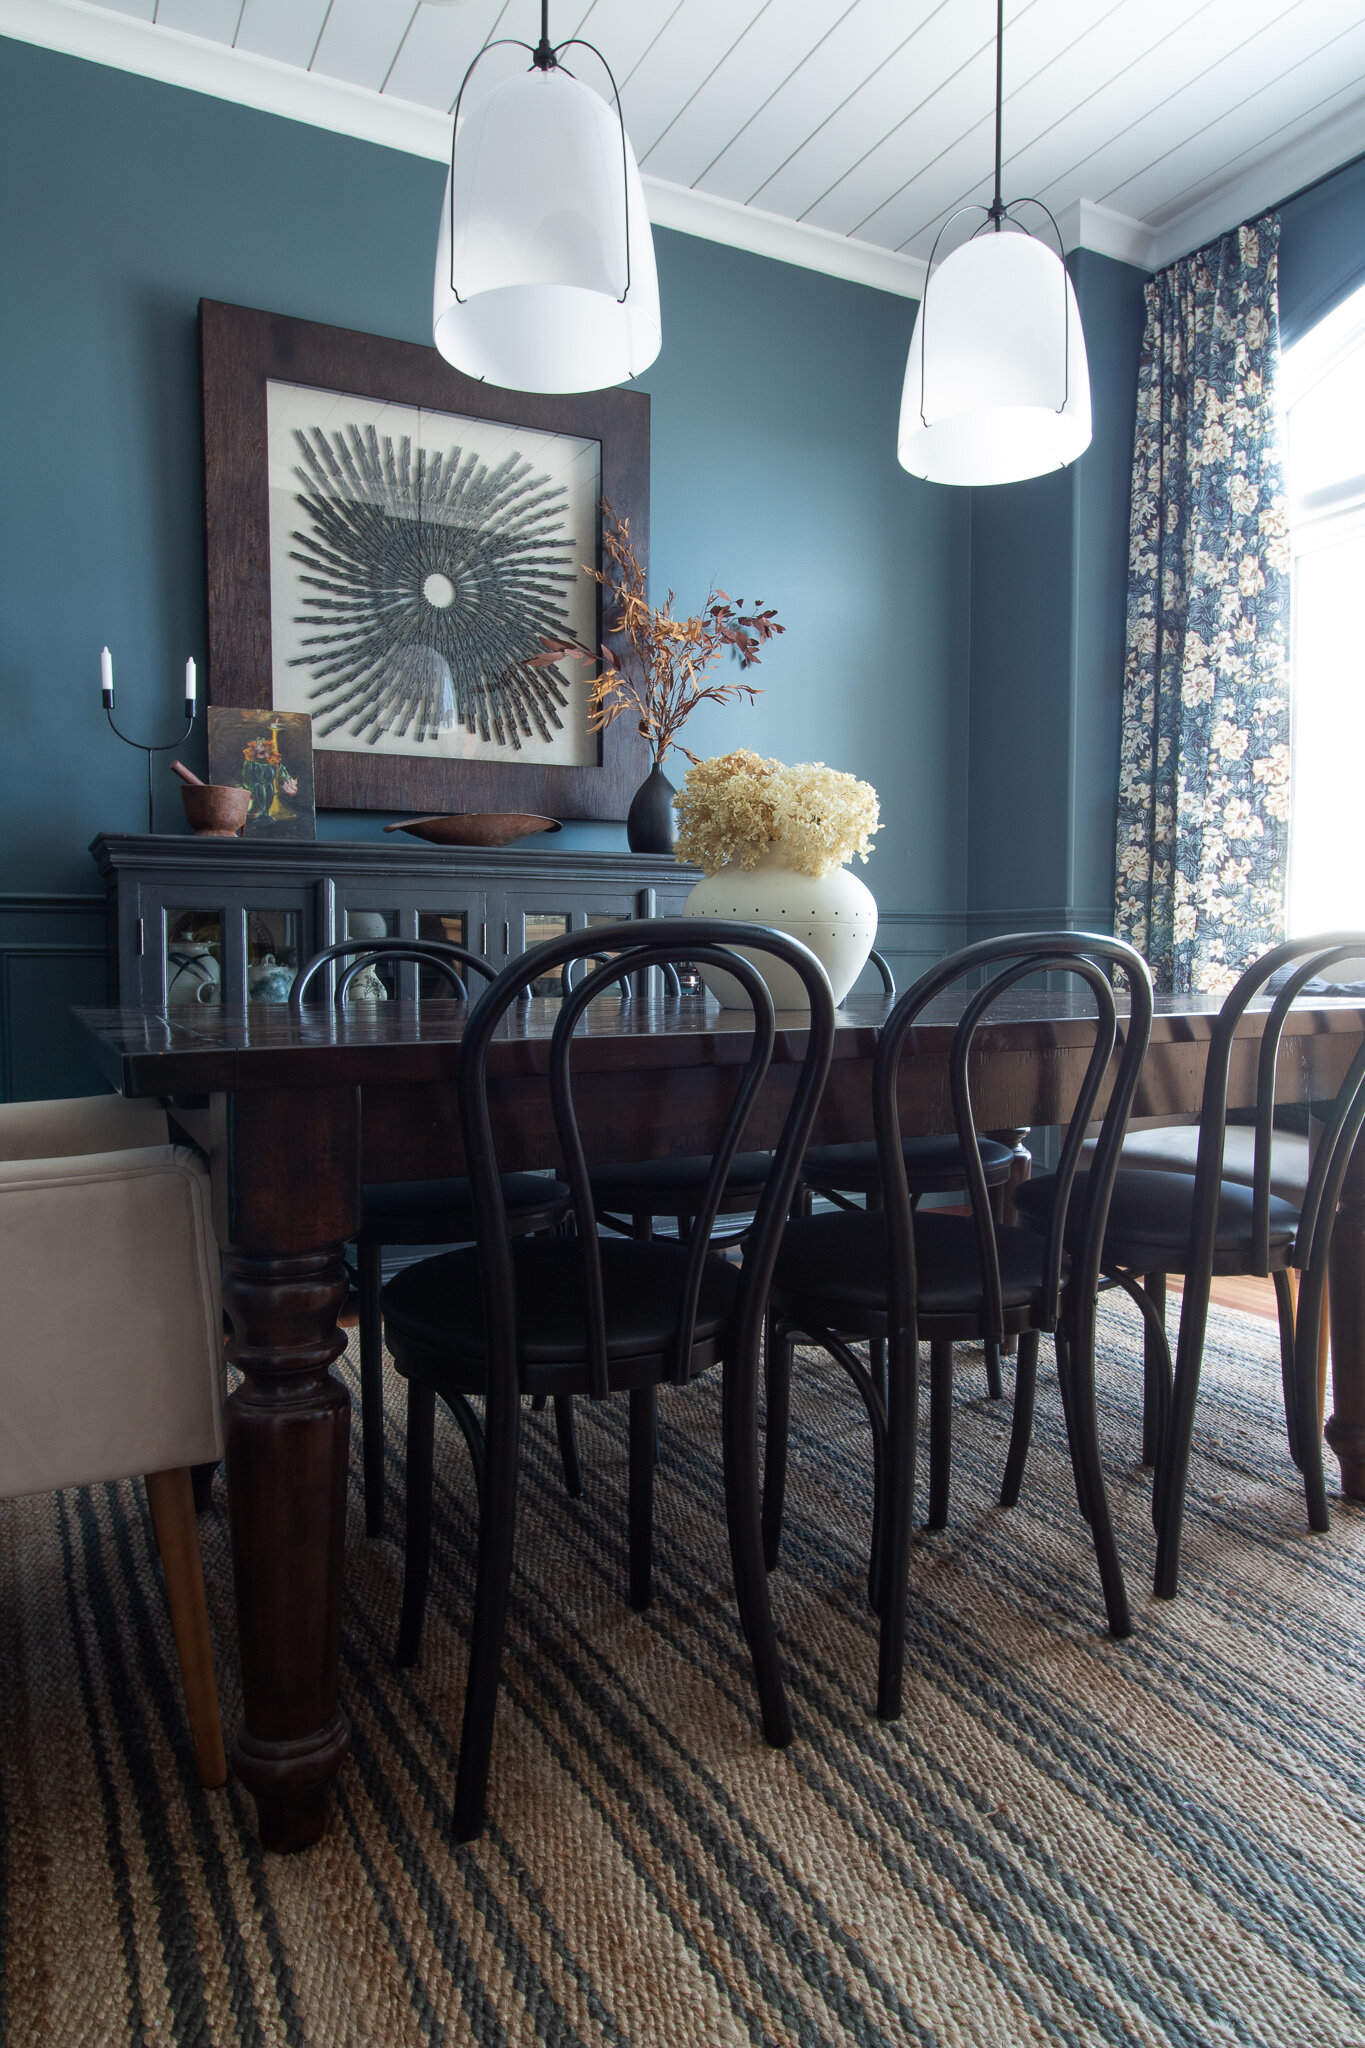
Once the drywall mudder and taper was finished, we started adding back in that character. We added box moulding throughout the whole open part of the main floor – in the entry, stairwell, on the stair half wall, in the hallway, living room and dining nook. It was over 500’ of moulding and it took quite a long time to cut, install, fill and caulk and at times I wondered if we were crazy to be adding it everywhere! With some walls still brown, some walls red, some with white primer from the drywall patching, and then this moulding added the house was certainly at the “it gets worse before it gets better” stage!
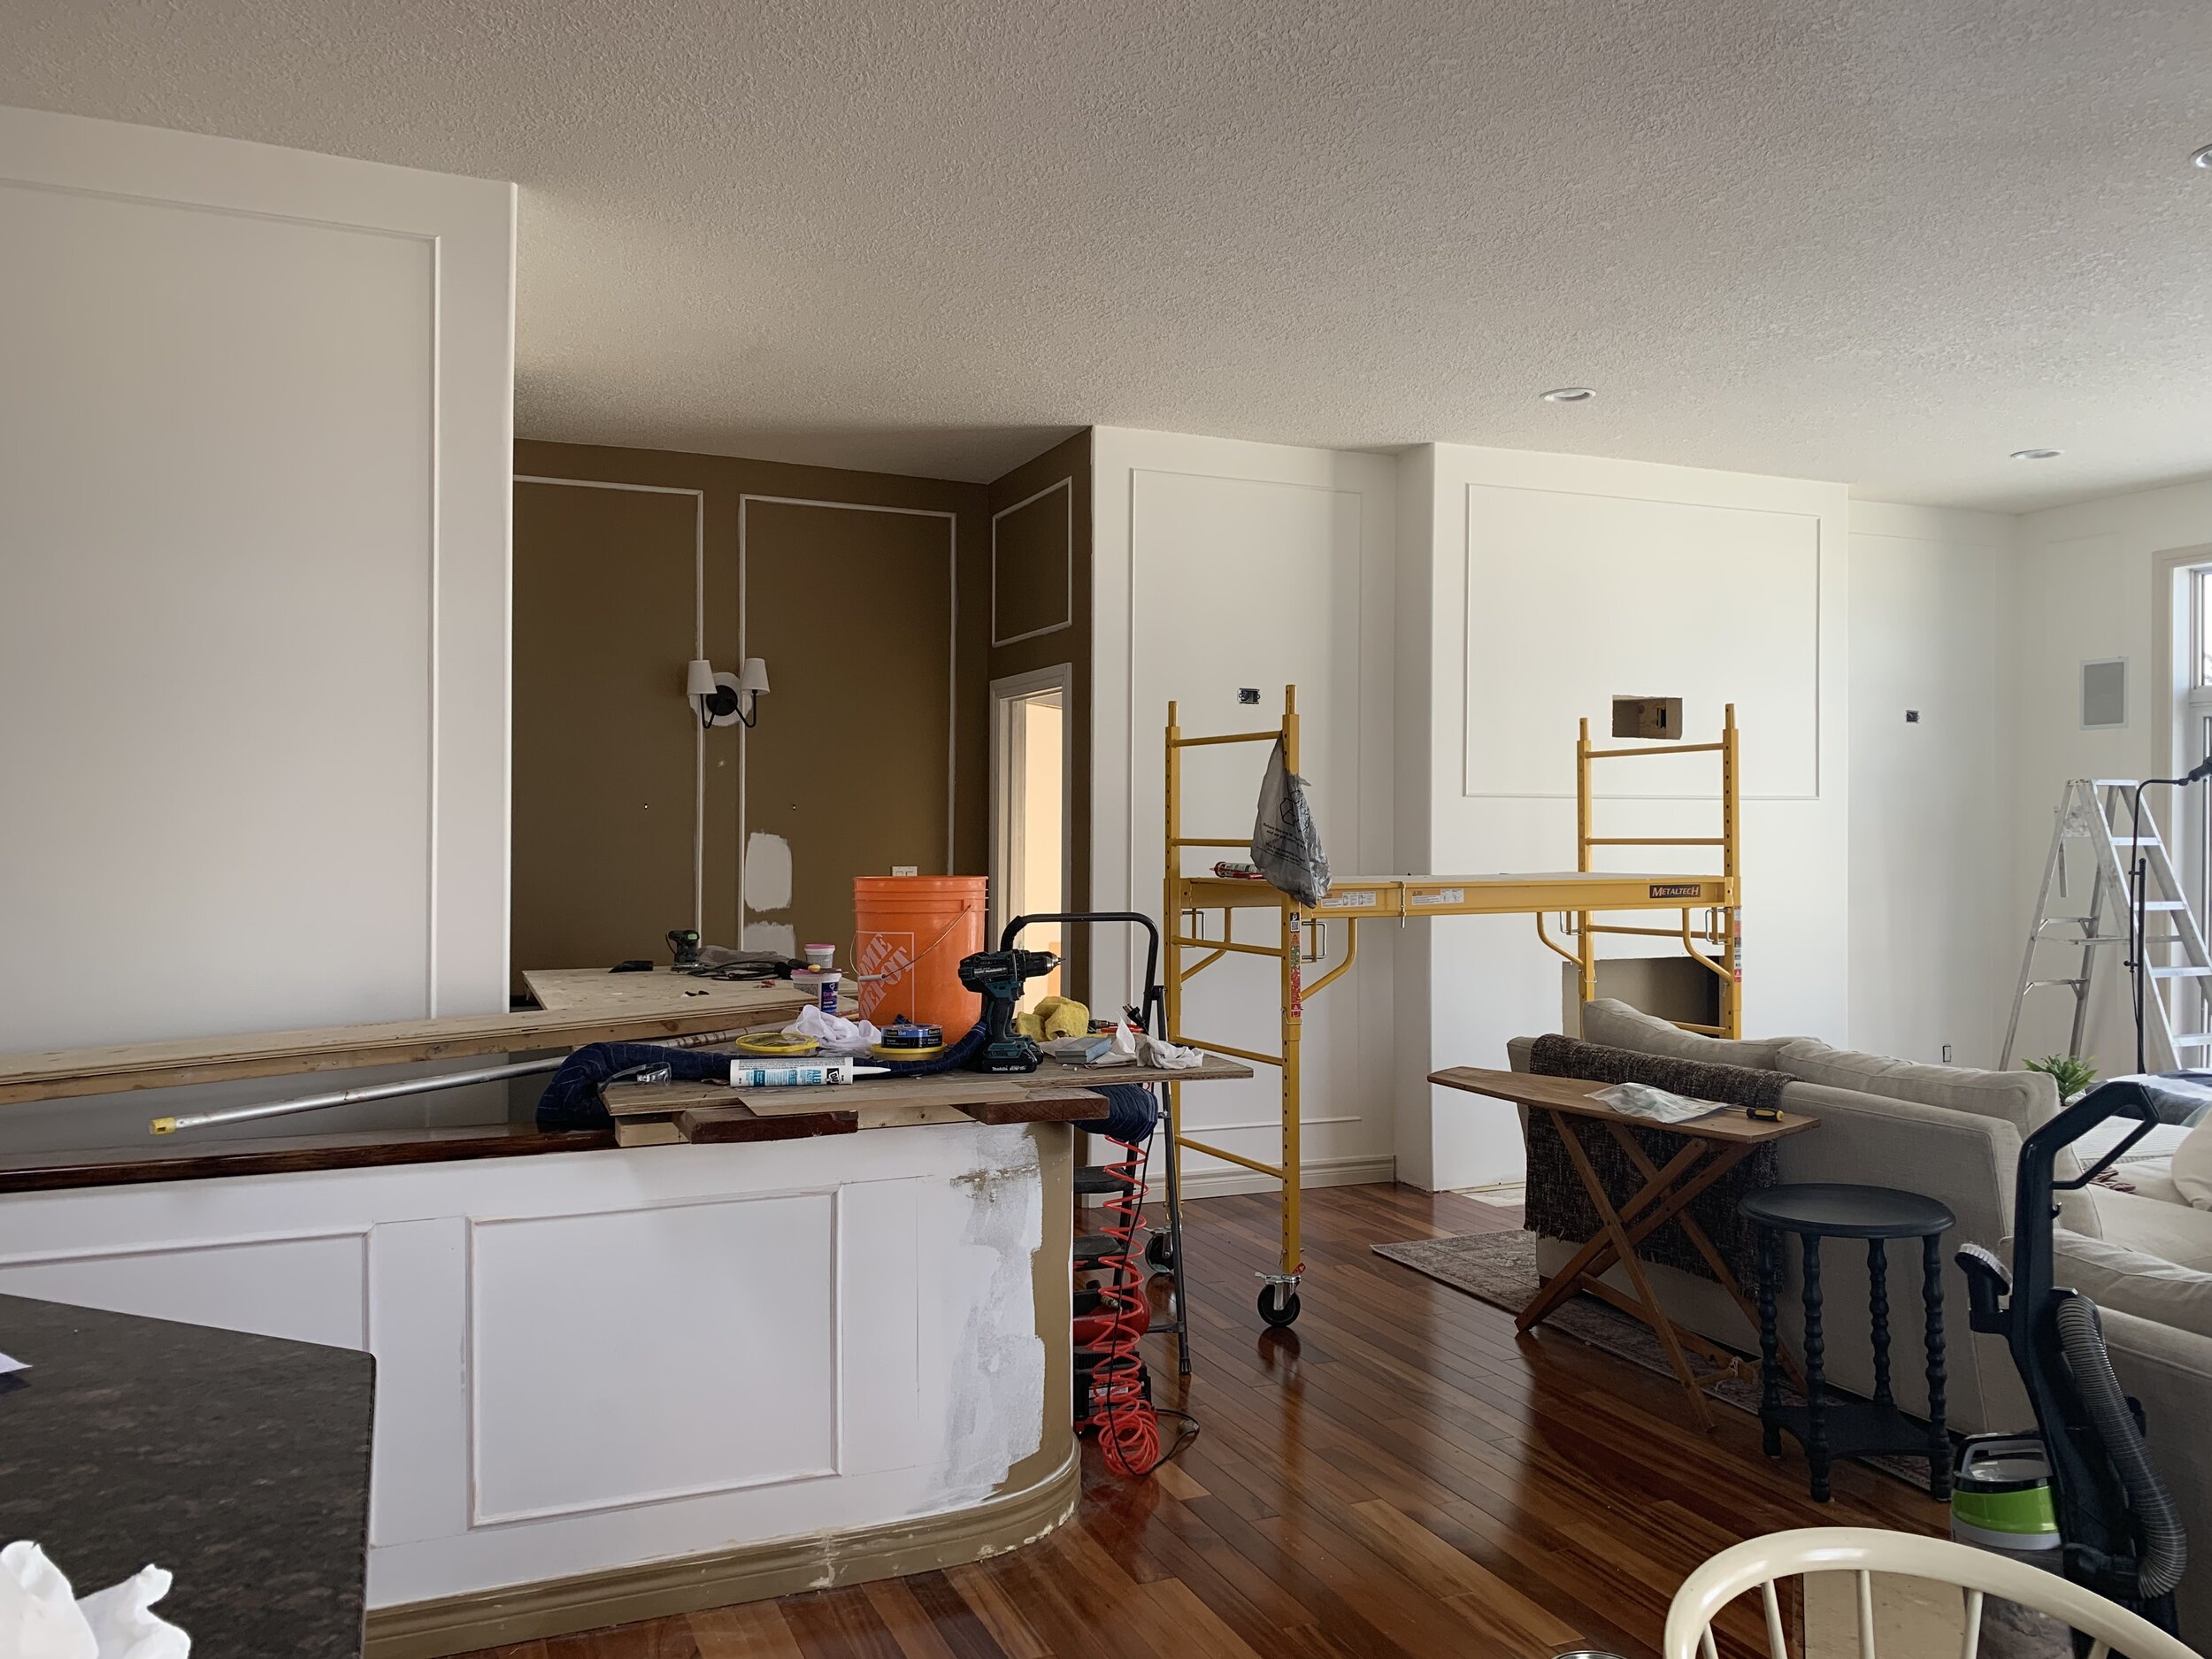
Once all that moulding and prep work was done, it was time for that magical moment when the house went from ugly duckling to a beautiful swan – painting day! Ever since the very first time we walked into this house I’d been envisioning how much better the house could look with some updated colours and that day had FINALLY arrived! (For reference, we started demo on the first part of this project in early November and finished painting in early February so this all took 3 months!! 3 months of mess, three months of almost constant work on our nights and weekends. So many people thought we did it really fast but to us, that was a loooooong road!)
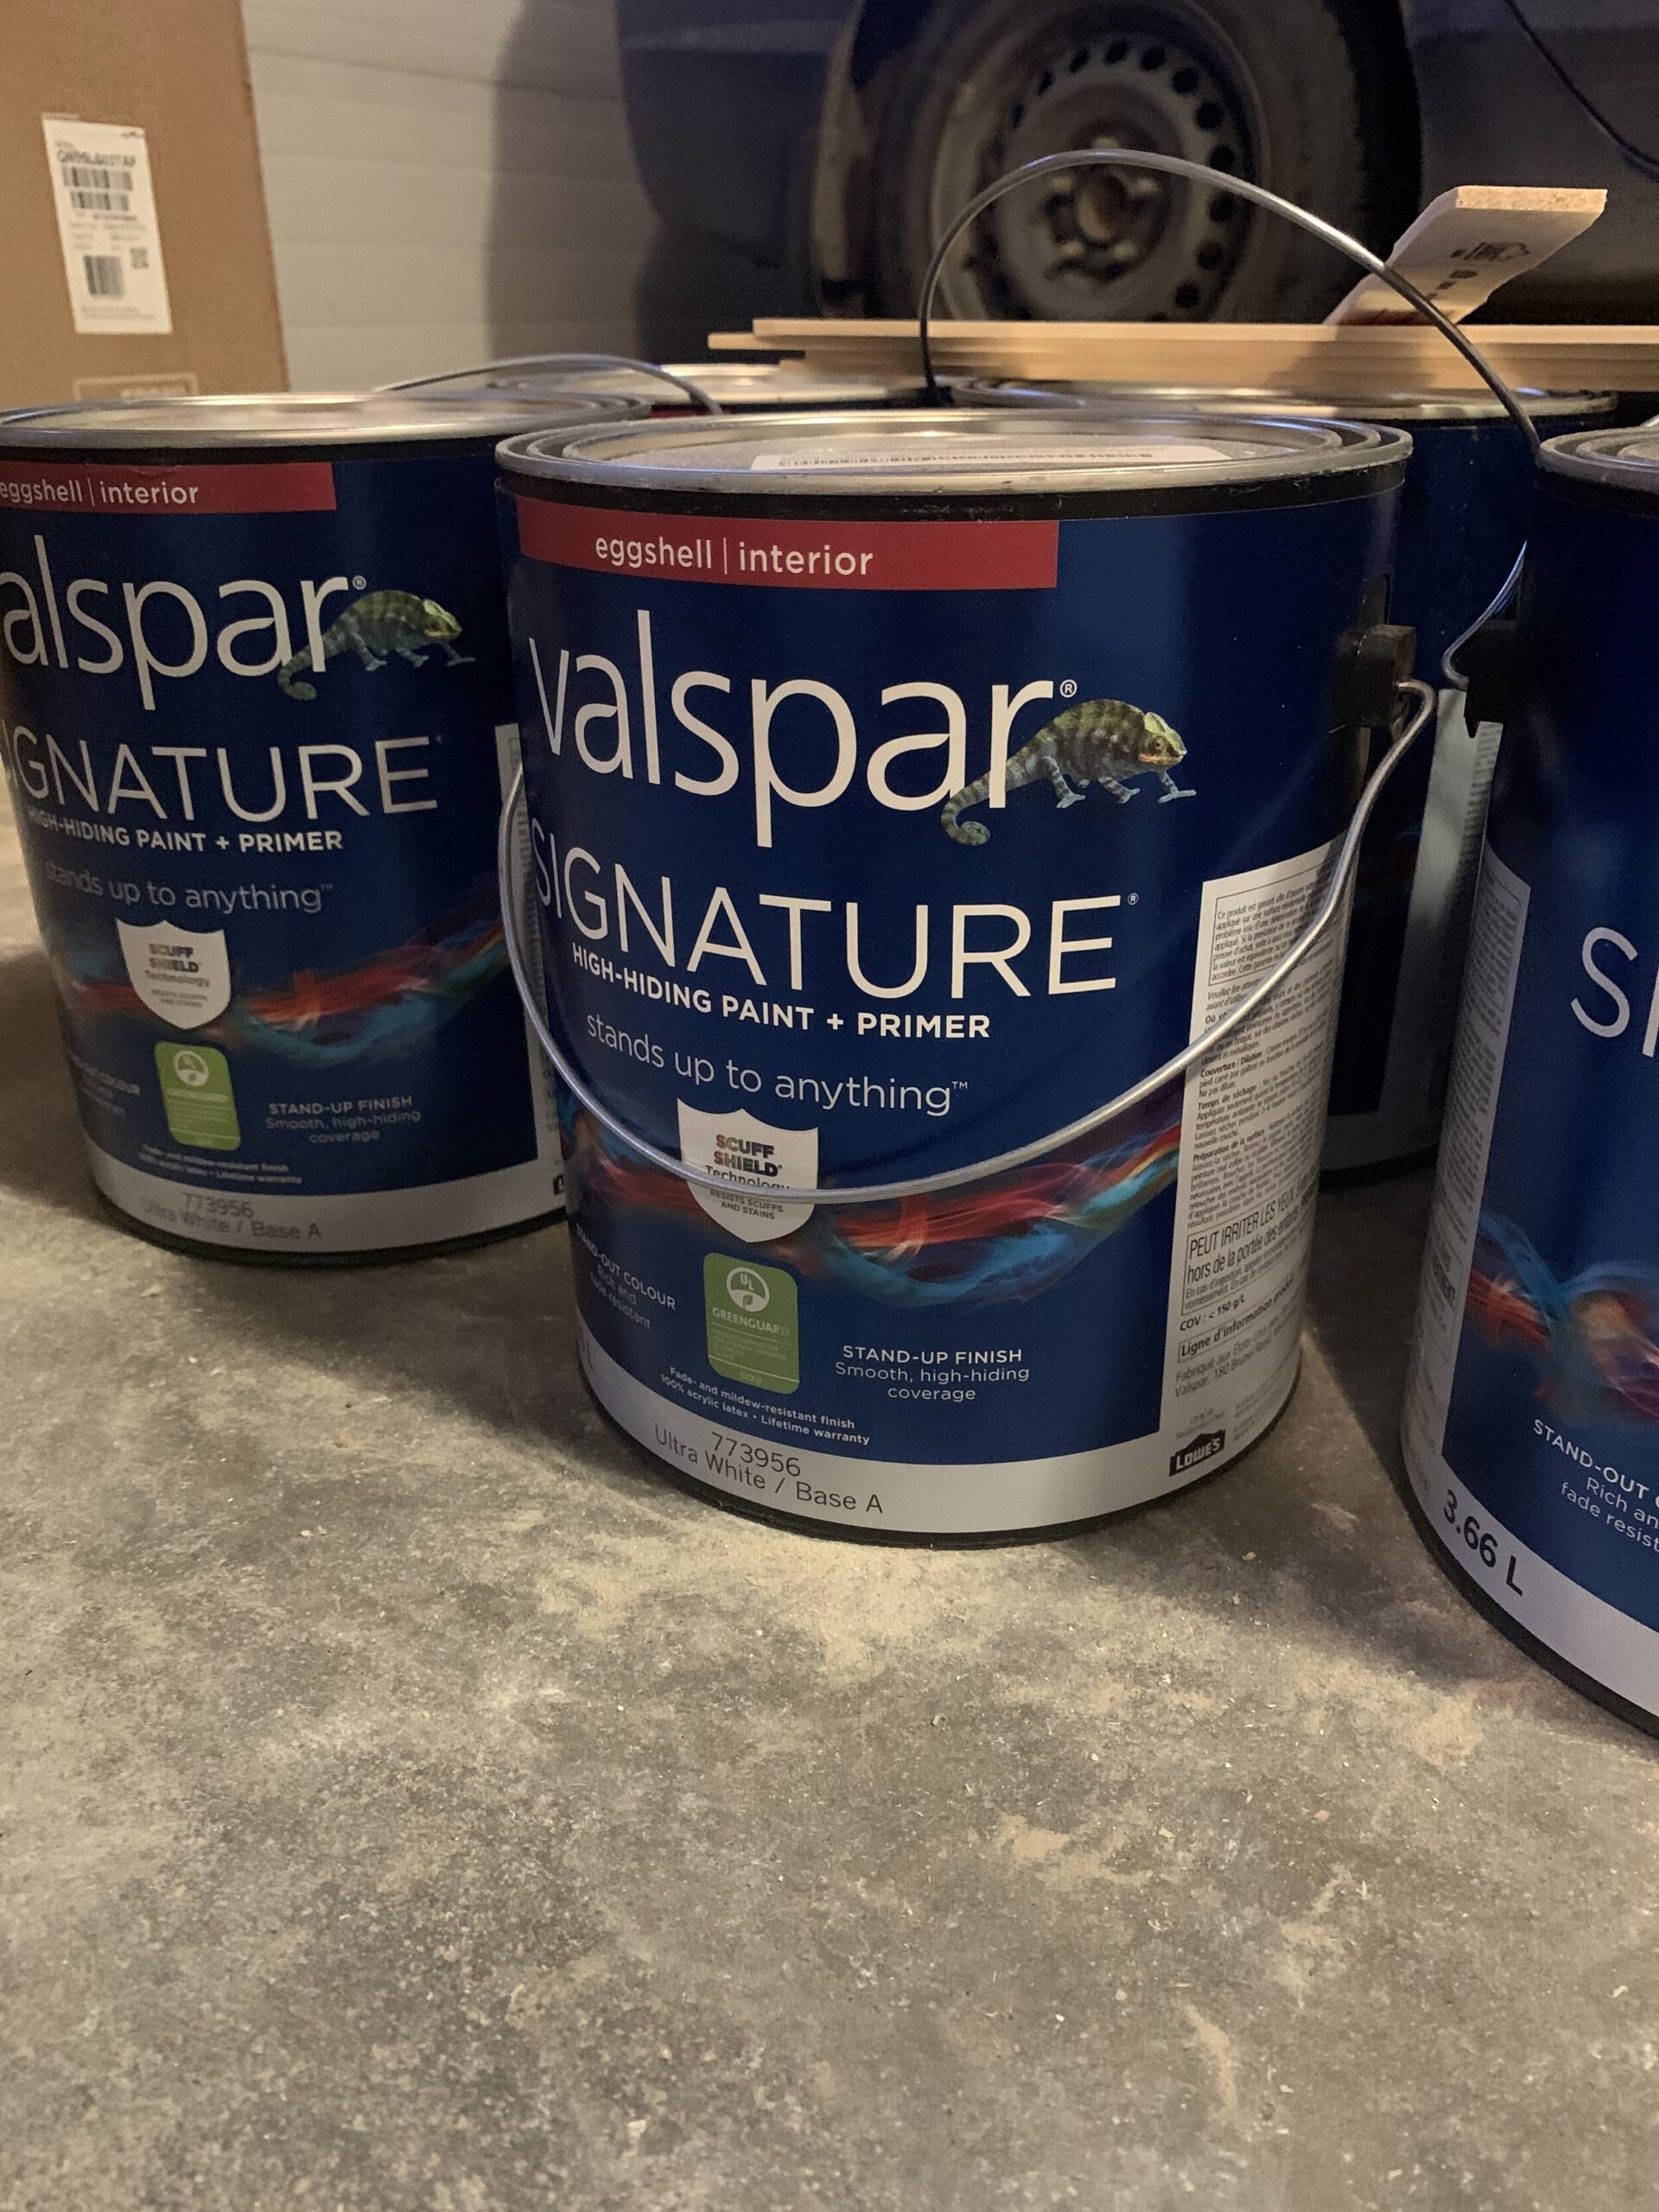
Just for the record – had we not decided to do all the drywall changes and add moulding, the paint alone would have been transformative. I’ve said it before and I’ll say it again, paint changes EVERYTHING!! We partnered with Valspar on this project, and I knew I wanted to use Valspar Signature paint because of my experience working with that paint before. Covering a dark brown with white is always going to be tricky and Valspar’s coverage is second to none. Just as I suspected it covered beautifully and I’m just in love with the colour I chose – Valspar’s Swiss Coffee! It is a warm white that is not too stark, and it’s just perfect.
So although we aren’t done, this was a huge chunk of work and it’s such a relief to be done with the dirtiest messiest part! So here are a few side-by-side before and afters for your viewing pleasure! Next up – finish up that fireplace!

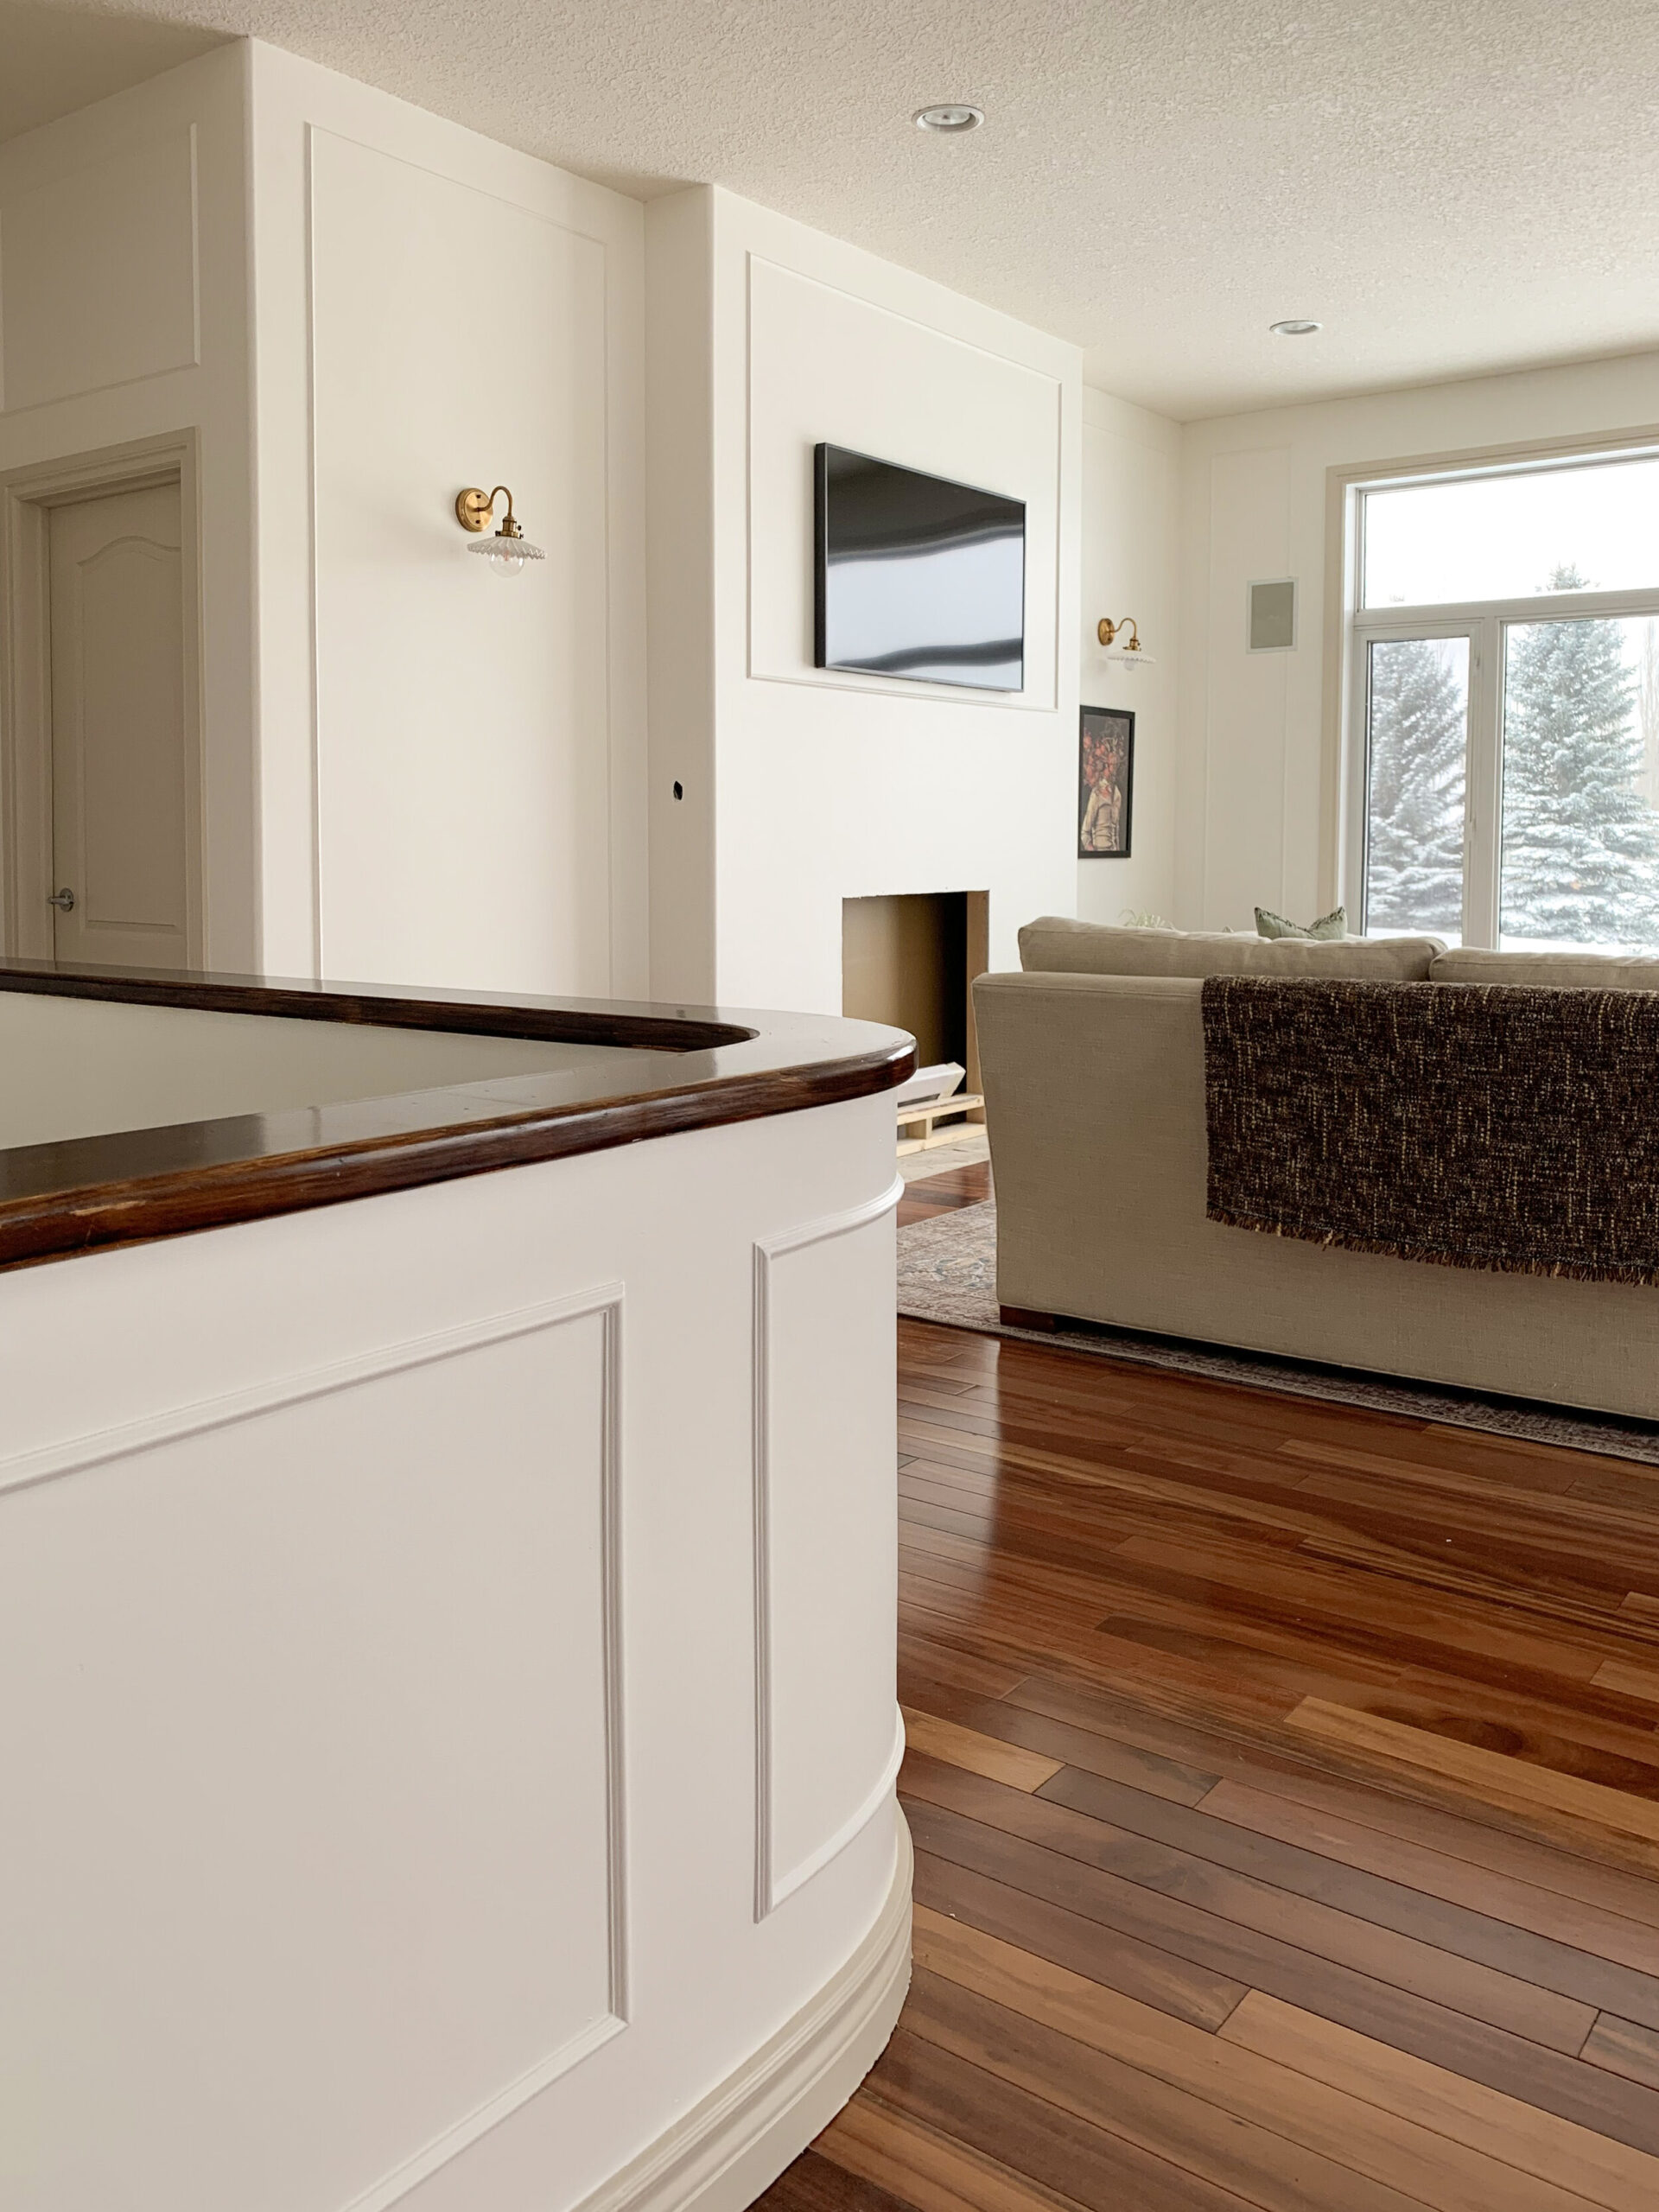
Oh, one more thing I almost forgot! We also updated the sconces and installed new ones next to the fireplace, you probably noticed! What a difference pretty lights can make! (I’ve linked the sconces we used below. These are affiliate links, if you purchase from these links, I receive a small commission at no extra cost to you! That helps to support my blog, so thank you!)

Love reading about all your awesome Reno’s. Can’t wait to see it all. Looking fantastic!
Love all these satisfying side-by-side shots! Also love that you have the whole family involved! So fun! Can’t wait to see how you furnish and decorate!!!
Beautiful and timeless, wondering how thick your moulding is. The selections at lumber yard are next to nothing right now
Hi Rebecca! I think ours is 5/8", it is very small. We had to special order it, they are always out it seems.
Thank you Robyn! The side by sides are kind of mind blowing aren’t they!
Thanks Elaine!
I have darker trim and walls in a new house and am going to lighten the walls but don’t want to do all the trim. Your white and darker-than-walls trim work, would you mind sharing exactly what colors they are? Thank you!
My walls are Swiss Coffee by Valspar and my trim is Edgecomb Grey by Benjamin Moore. Best of luck with your painting project!